
The aroma of spices sizzling on the stove always sparks my culinary adventures. Today, I’m excited to share a beloved dish from Indian cuisine: Spinach Puda. These savory pancakes are not only golden and crispy on the outside, but they also boast soft, tender insides that make each bite a delight. Packed with nutritious gram flour and vibrant fresh spinach, this gluten-free recipe is a versatile option for any meal of the day. Who doesn’t love a quick meal that’s not only high in protein but also sneaks in those greens effortlessly? Whether you’re whipping them up for a busy breakfast or a relaxing dinner, Spinach Puda is bound to become a staple in your kitchen. Curious about how to create this wholesome dish? Let’s dive into the recipe and bring a taste of India home!
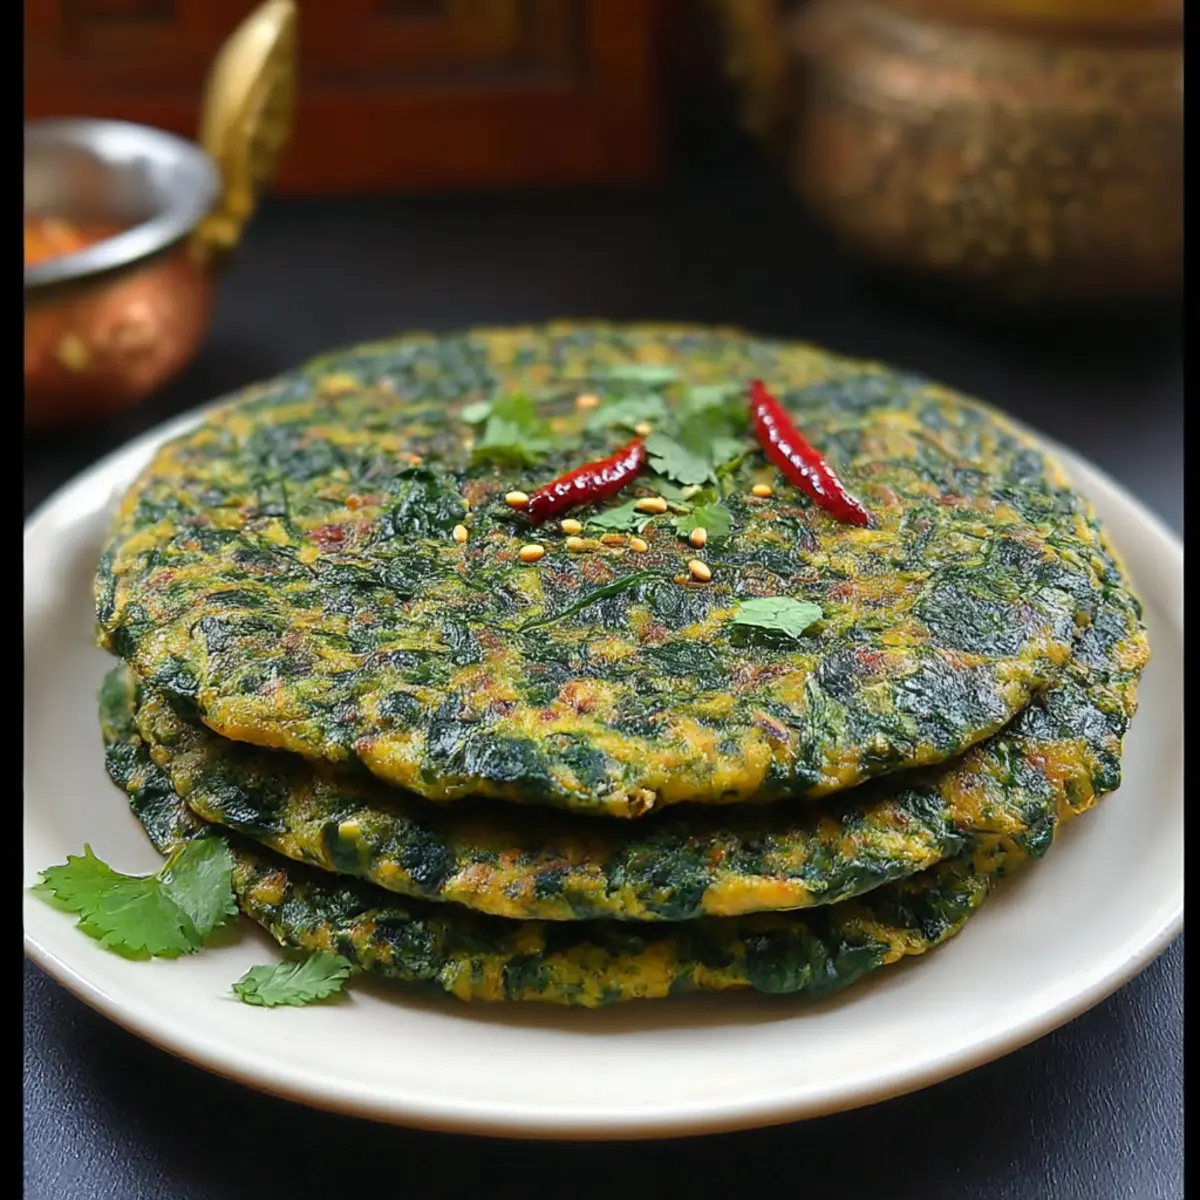
Why love Spinach Puda?
Nutrition-packed goodness: Each bite of Spinach Puda delivers a wholesome mix of nutrients, making it a fantastic option for health-conscious foodies.
Quick and easy: With minimal prep and cooking time, these pancakes are perfect for busy weeknights or lazy weekends.
Flavor versatility: Customize the spiciness and add your favorite veggies like kale or even carrots for a fresh twist—endless possibilities await!
Crowd-pleaser: These savory pancakes are sure to impress family and friends when served with mint chutney or yogurt—a delightful way to introduce them to Indian cuisine.
Gluten-free and high-protein: Ideal for those with specific dietary needs, Spinach Puda is a delightful dish that leaves you satisfied without sacrificing flavor. For more exciting and healthy recipe ideas, you might enjoy Vegetarian Pumpkin Spinach or Ricotta Pasta Spinach.
Spinach Puda Ingredients
• Get ready to cook with these simple yet flavorful ingredients!
For the Batter
- Gram Flour (Besan) – This nutty-flavored base provides a crispy texture and is packed with protein.
- Fresh Spinach Leaves – Adds vibrant color and nutrients; fresh is best to avoid sogginess.
- Onion – Finely chopped for a touch of sweetness and added crunch.
- Green Chili – Adjust the quantity based on your spice preference; it adds a delightful kick.
- Garlic – Minced for that extra depth of savory flavor.
- Cumin Seeds – This warm spice introduces a subtle, smoky aroma.
- Turmeric Powder – Adds beautiful color and a mild earthy flavor.
- Salt – Essential to enhance all the flavors in your Spinach Puda.
- Water – To achieve that perfect smooth and slightly thick batter consistency.
- Oil – Necessary for pan-frying to give those pancakes a golden crisp.
With these straightforward ingredients, your journey to creating scrumptious Spinach Puda can begin—enjoy this gluten-free delight that oozes with flavor!
Step‑by‑Step Instructions for Spinach Puda
Step 1: Prepare the Batter
In a mixing bowl, combine gram flour and enough water to create a creamy, slightly thick batter. Whisk vigorously until smooth, ensuring there are no lumps. Aim for a pancake batter-like consistency that will hold together. This step is crucial, as the batter forms the base of your delicious Spinach Puda.
Step 2: Add Flavorful Ingredients
Once your batter is smooth, gently fold in the finely chopped fresh spinach, onion, minced garlic, green chili, cumin seeds, turmeric, and salt. Mix until all the ingredients are well integrated. The vibrant green color will brighten your batter, indicating you’re on the right track to making tasty Spinach Puda.
Step 3: Heat the Skillet
Place a non-stick or cast-iron skillet over medium heat and drizzle a couple of teaspoons of oil to coat the surface evenly. Allow the oil to heat for about 1-2 minutes until shimmering, signaling it’s ready for the batter. The right temperature ensures your Spinach Puda achieves a perfect crispy exterior.
Step 4: Cook the First Pancake
Using a ladle, pour a generous scoop of the batter onto the hot skillet. Quickly spread it out into a round shape, about 6 inches in diameter. Cook for 2-3 minutes, watching for the edges to firm up and the bottom to turn golden brown. This visual cue indicates it’s time to flip.
Step 5: Flip and Finish Cooking
Gently flip the pancake using a spatula, taking care not to break it. Cook for another 2-3 minutes, pressing lightly with the spatula for even browning. The Spinach Puda should be golden on both sides and have a lovely crisp texture.
Step 6: Repeat the Process
Remove the cooked Spinach Puda from the skillet and keep it warm on a plate, covered with a kitchen towel. Repeat the process with the remaining batter, adding oil to the skillet as needed for each batch. Each pancake should come out golden, crispy, and full of nutritious flavor.
Step 7: Serve and Enjoy
Once all your Spinach Puda is cooked, serve them hot with mint chutney, yogurt, or a warm bowl of dal for a delightful meal. The contrast of textures and fresh flavors will surely make this gluten-free pancake a favorite in your kitchen.
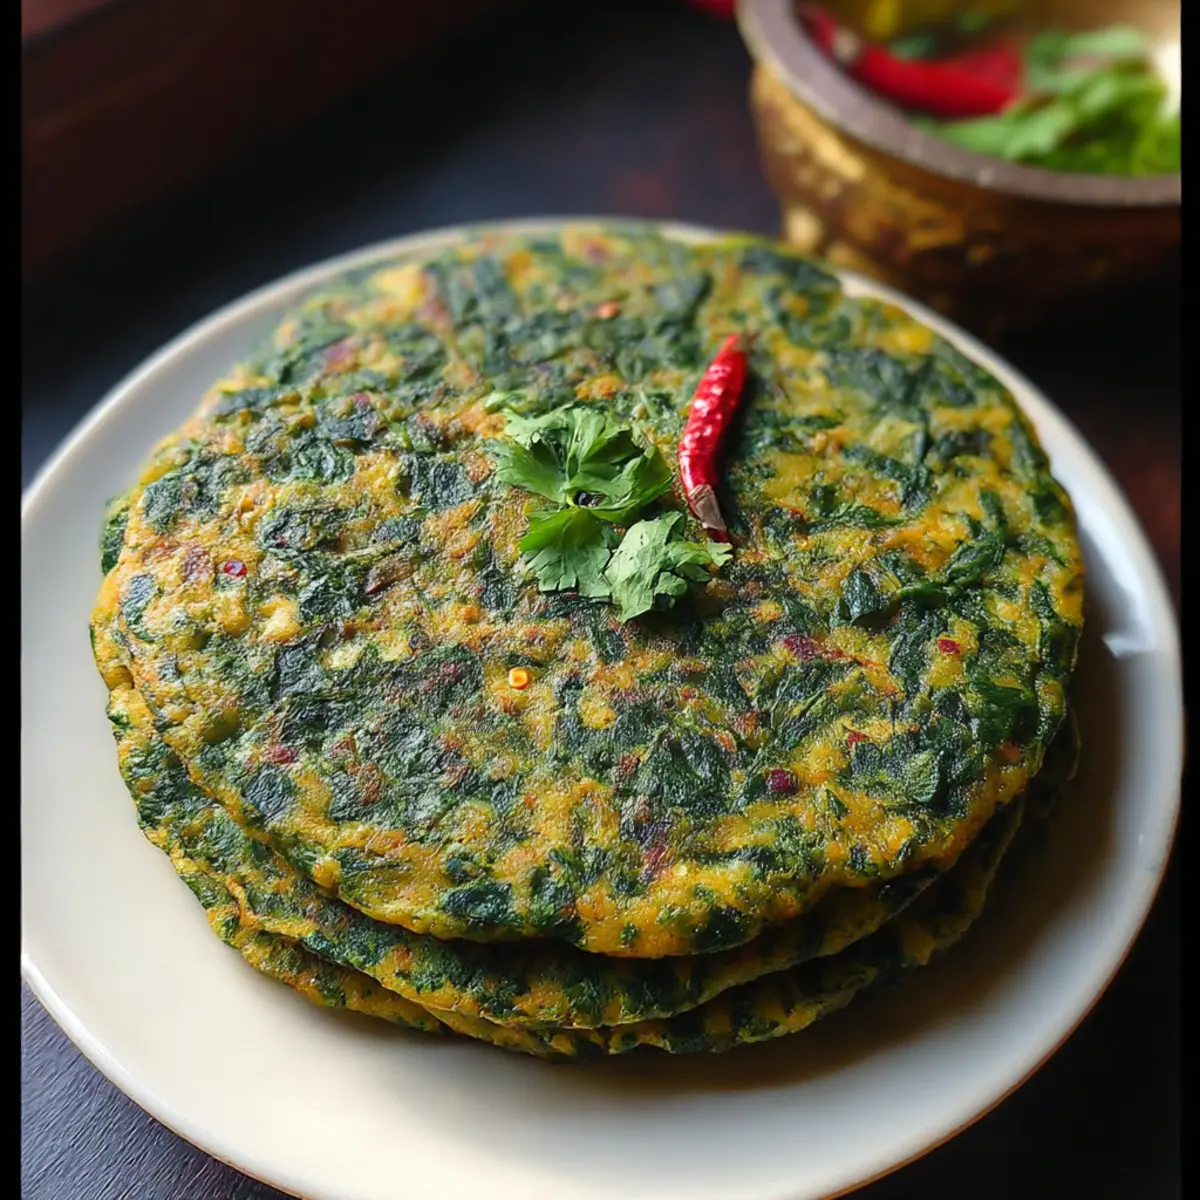
What to Serve with Spinach Puda
Delight in a complete meal experience that pairs beautifully with the savory flavors of spinach pancakes.
-
Mint Chutney: A fresh and zesty accompaniment that adds a wonderful burst of flavor and complements the earthy taste of the puda.
-
Plain Yogurt: Creamy and cooling, yogurt balances the spices in Spinach Puda while providing a refreshing contrast to each bite.
-
Warm Dal: Served alongside a bowl of dal, you create a nourishing and hearty meal, enhancing protein and flavor with every mouthful.
-
Cucumbers Salad: Light and crunchy, a refreshing cucumber salad introduces a crisp texture, balancing the softness of the pancakes perfectly.
-
Pickled Onions: Tangy and piquant, pickled onions cut through the richness, offering a delightful surprise on your plate.
-
Lemon-Lime Sparkling Water: A refreshing drink that cleanses the palate and complements the savory notes of Spinach Puda, making every bite memorable.
-
Chai Tea: Sipping on traditional chai brings warmth to your meal, and the spices invite cozy comfort, enhancing the overall experience.
Elevate your dining with these thoughtful pairings that will surely transform your meal into a loved experience!
Spinach Puda Variations & Substitutions
Feel free to explore and customize your Spinach Puda with these delightful variations that will tantalize your taste buds!
-
Kale Swap: Substitute kale for spinach for a different but equally nutritious pancake. Kale brings a robust flavor and pairs well with spices.
-
Extra Heat: If you love a kick, increase the quantity of green chili or add a dash of red pepper flakes for an extra spicy version. Your taste buds will thank you!
-
Veggie Boost: Add shredded carrots or bell peppers for extra sweetness and color. These veggies add a lovely crunch that beautifully contrasts the soft pancake texture.
-
Herb Infusion: Incorporate fresh herbs like cilantro, parsley, or even dill to bring freshness and a burst of flavor. Herbs elevate your Spinach Puda to a whole new level of deliciousness!
-
Onion alternatives: Swap in leeks or green onions for a milder flavor, enhancing the sweetness of your pancake with a new twist.
-
Dairy-Free: Make it vegan by omitting any dairy-based accompaniments or making a yogurt alternative. A silky coconut yogurt is perfect for dipping!
-
Texture Variations: For a bit of crunch, sprinkle some crushed nuts or seeds into the batter before cooking. These add a delightful texture contrast to each bite.
-
Try Different Flours: Experiment with other flours like chickpea flour or a gluten-free blend to suit your dietary needs while keeping that delicious flavor intact.
With these variations in hand, you can discover the endless possibilities that Spinach Puda offers! For more exciting veggie-packed ideas, don’t forget to check out Vegetarian Pumpkin Spinach and Ricotta Pasta Spinach. Happy cooking!
How to Store and Freeze Spinach Puda
Fridge: Store Spinach Puda in an airtight container after cooling completely. They can be kept in the fridge for up to 3 days, ensuring they stay fresh for your quick meals.
Freezer: For longer storage, individually wrap each pancake in plastic wrap and place them in an airtight freezer bag. Spinach Puda can last in the freezer for up to 2 months.
Reheating: When ready to enjoy, reheat in a skillet over medium heat. This method preserves their crispy texture and delicious flavor better than a microwave.
Layering: If stacking pancakes, place parchment paper between layers to prevent sticking and maintain their tenderness.
Expert Tips for Spinach Puda
-
Choose Fresh Spinach: Ensure you’re using fresh spinach leaves as frozen ones can lead to a soggy texture; properly chop before adding to the batter.
-
Correct Batter Consistency: Aim for a smooth, slightly thick batter; adding too much water can make your pancakes fall apart.
-
Heat Management: Maintain medium heat while cooking; too high can burn the pancakes, while too low will result in sogginess. Adjust heat as necessary.
-
Reheating Leftovers: To keep the crispiness of leftover Spinach Puda, avoid the microwave; instead, reheat in a skillet for the best texture.
-
Flavor Variations: Feel free to experiment with ingredients, such as adding herbs or adjusting spice levels for a personalized taste in your savory pancakes.
Make Ahead Options
These Spinach Puda are perfect for busy home cooks looking to save time! You can prepare the batter up to 24 hours in advance. Just mix together the gram flour, water, chopped spinach, onion, green chili, garlic, cumin, turmeric, and salt as usual. Store the batter in an airtight container in the refrigerator to keep it fresh. Be sure to give it a good stir before cooking, as it may thicken slightly overnight. For best results, cook them fresh in the skillet for a crispy texture; simply heat a little oil and ladle in the batter when you’re ready to eat. This way, you get delightful, restaurant-quality Spinach Puda with minimal effort!
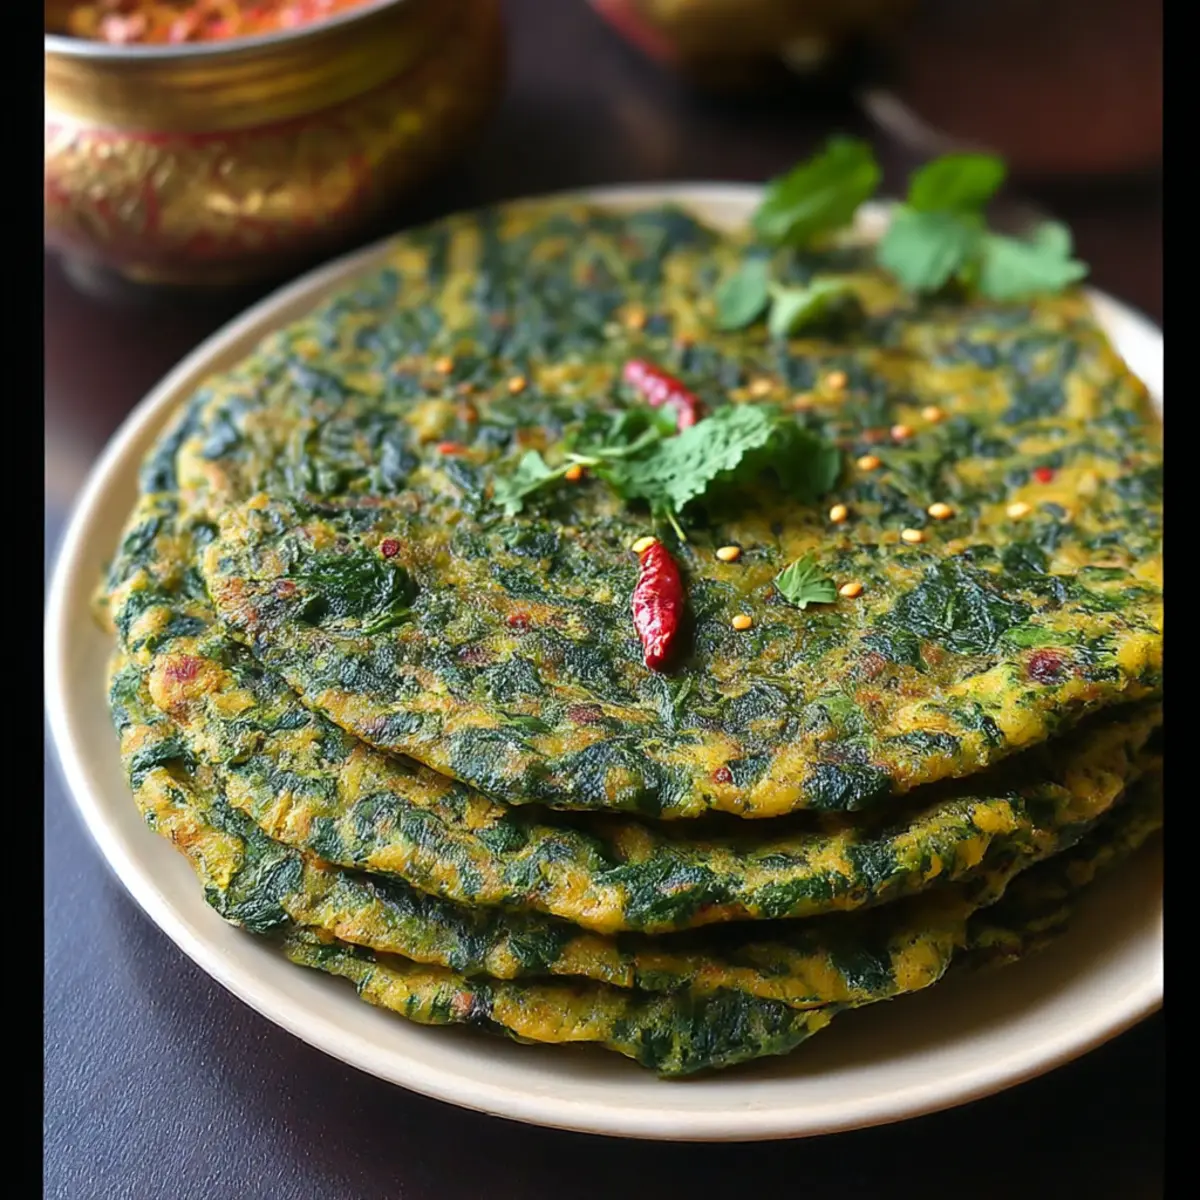
Spinach Puda Recipe FAQs
How do I choose the freshest spinach for my Spinach Puda?
Absolutely! Look for vibrant green leaves without any dark spots or wilting; fresh spinach should feel crisp and firm. Avoid using frozen spinach, as it tends to release excess moisture, making the pancakes soggy.
What’s the best way to store leftover Spinach Puda?
You can store Spinach Puda in an airtight container once they have cooled completely. Keep them in the refrigerator for up to 3 days; they’ll be ready when you need a quick, nutritious meal!
Can I freeze Spinach Puda for later use?
Yes, you can! To freeze, individually wrap each pancake in plastic wrap and then place them in an airtight freezer bag. They should last in the freezer for up to 2 months. When you’re ready to enjoy, reheat them in a skillet over medium heat for the best texture.
What should I do if my batter is too runny?
If you find your batter is too watery, don’t worry! Simply add a little more gram flour, about 1-2 tablespoons at a time, until you reach a smooth, slightly thick consistency. This will prevent the pancakes from falling apart when cooking.
Can I make Spinach Puda with other vegetables?
The more the merrier! You can definitely customize your Spinach Puda by substituting kale, shredded carrots, or even zucchini. Just ensure any added vegetables are finely chopped to maintain the right batter consistency and texture.
Are there any dietary considerations for Spinach Puda?
Very! Spinach Puda is naturally gluten-free due to the use of gram flour, making it suitable for those with gluten sensitivities. However, always check for any cross-contamination if you’re serving individuals with severe allergies.
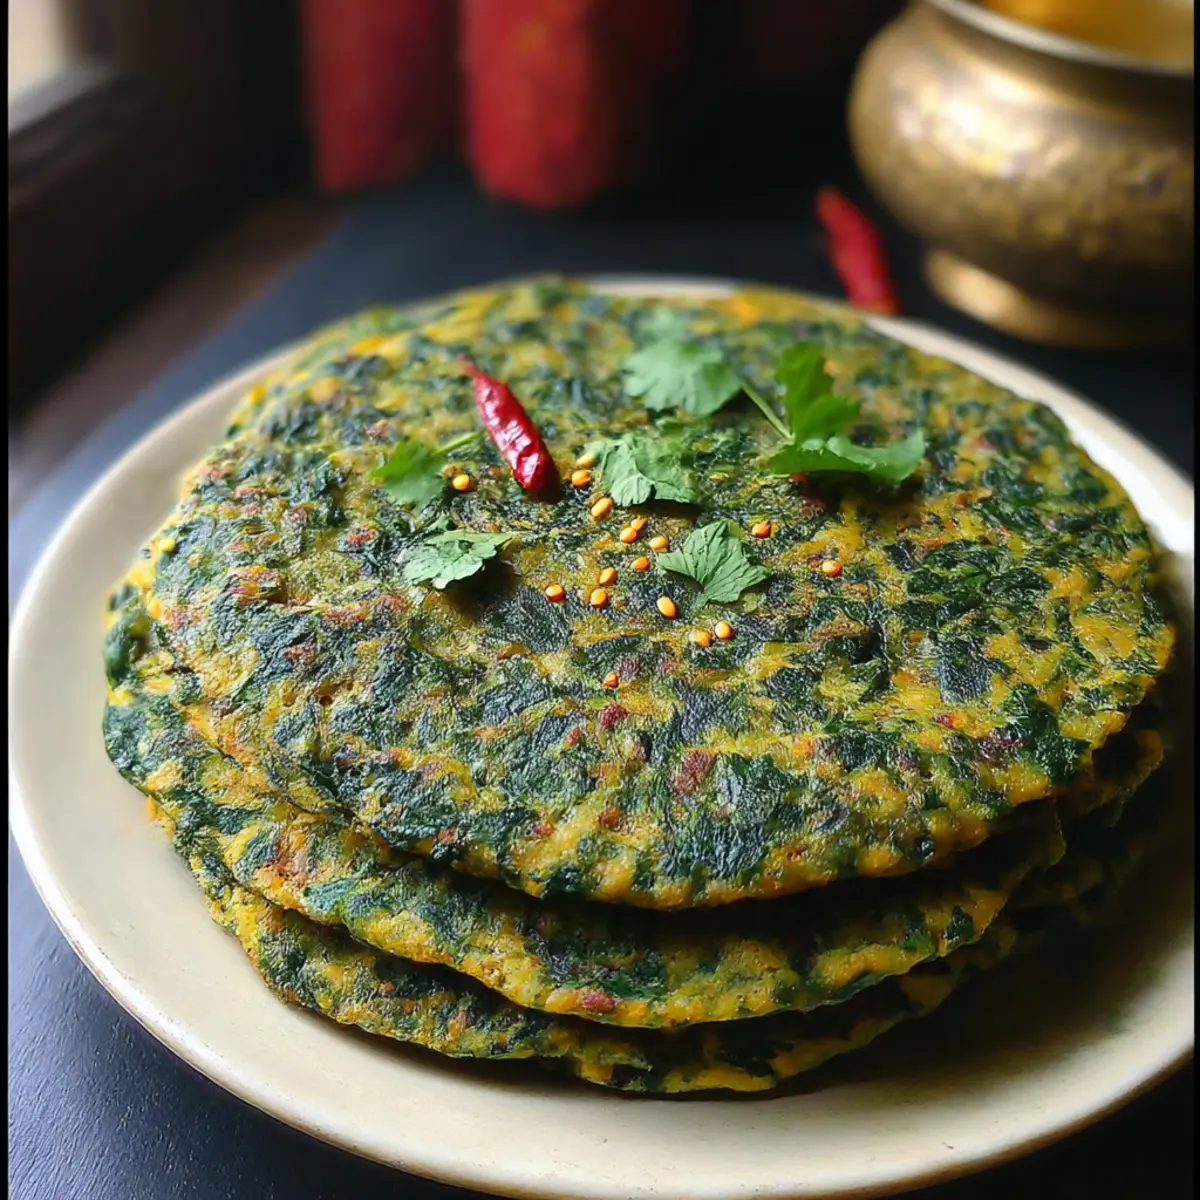
Savory Spinach Puda: Gluten-Free Pancakes You’ll Love
Ingredients
Equipment
Method
- Prepare the Batter: In a mixing bowl, combine gram flour and enough water to create a creamy, slightly thick batter. Whisk until smooth, ensuring there are no lumps.
- Add Flavorful Ingredients: Gently fold in chopped spinach, onion, garlic, green chili, cumin seeds, turmeric, and salt into the batter.
- Heat the Skillet: Heat oil in a non-stick or cast-iron skillet over medium heat until shimmering.
- Cook the First Pancake: Pour a ladle of batter onto the skillet, spreading into a round shape. Cook for 2-3 minutes until golden at the bottom.
- Flip and Finish Cooking: Carefully flip the pancake and cook for another 2-3 minutes until both sides are crispy.
- Repeat the Process: Remove cooked pancakes, keep warm, and repeat with the remaining batter, adding more oil as needed.
- Serve and Enjoy: Serve hot with mint chutney, yogurt, or dal for a complete meal.
Leave a Reply