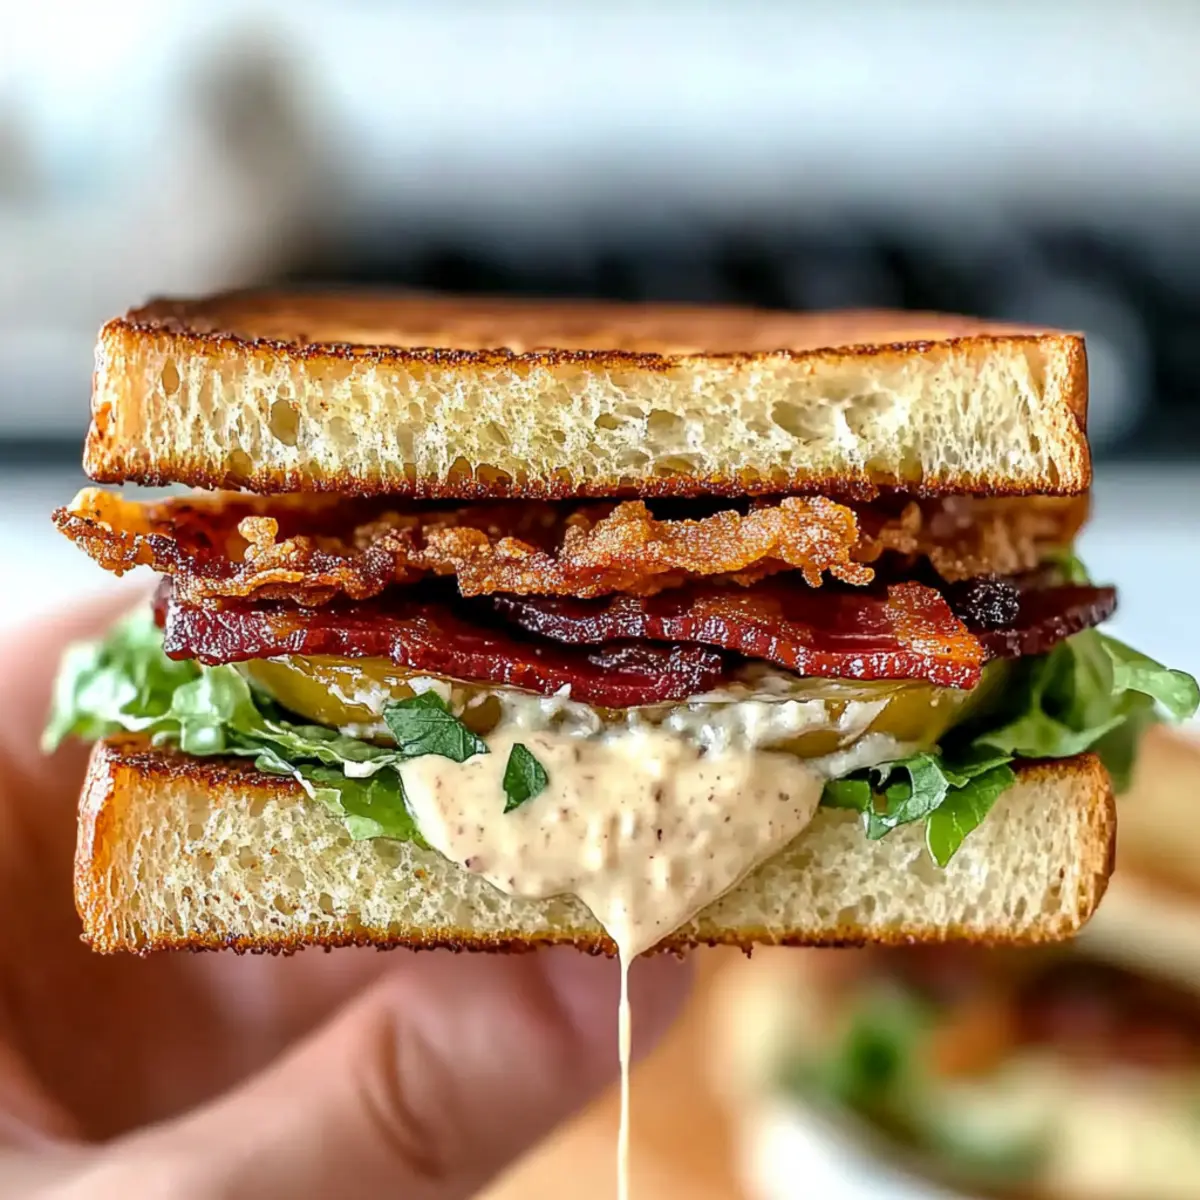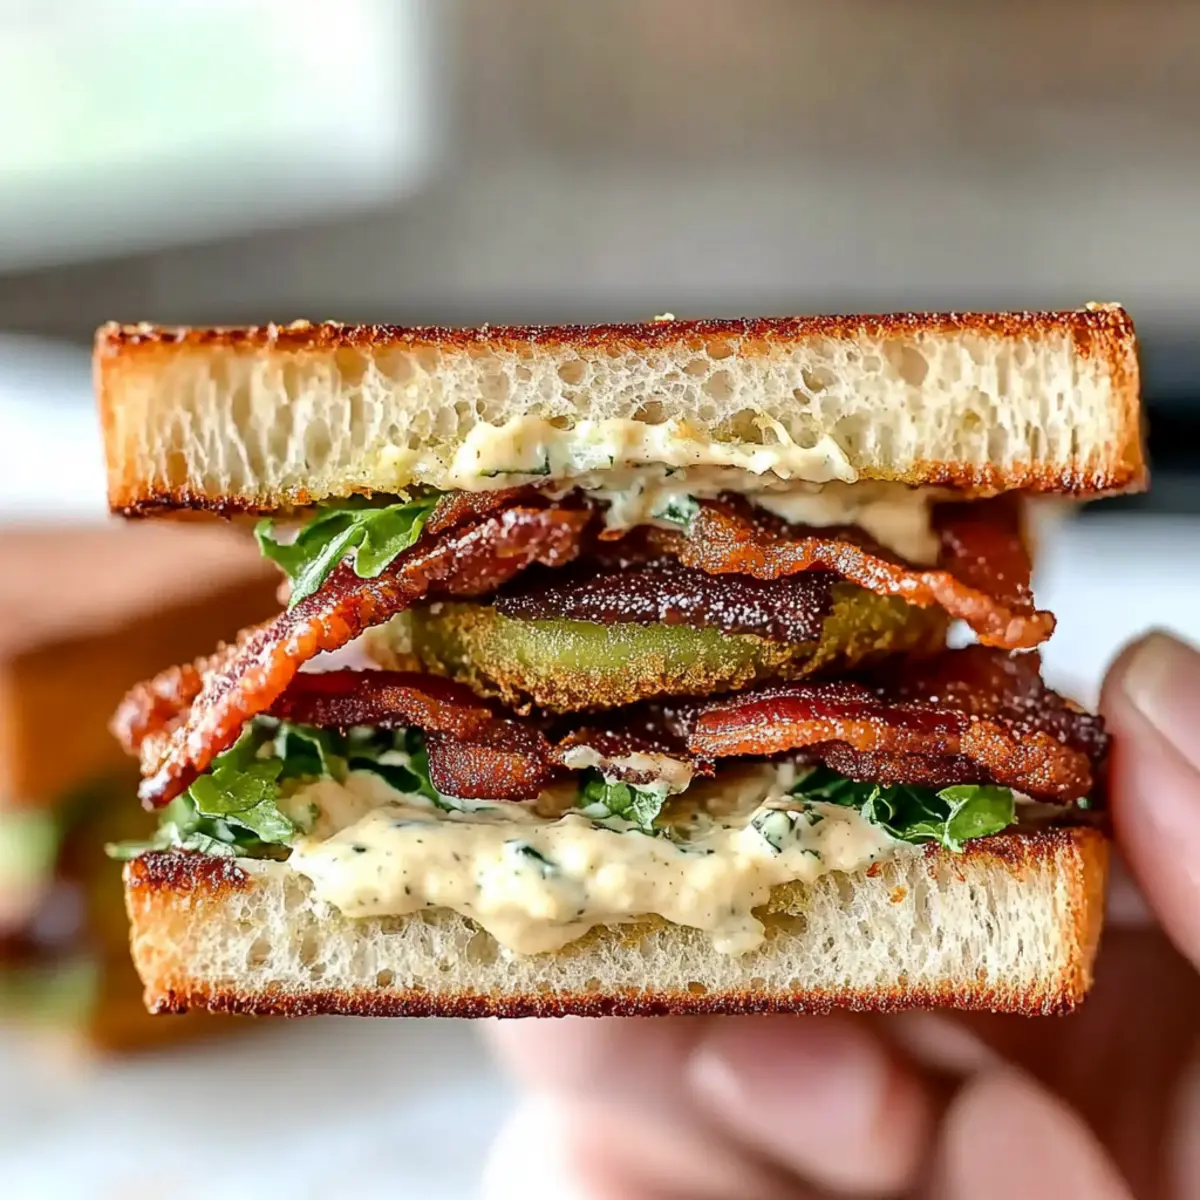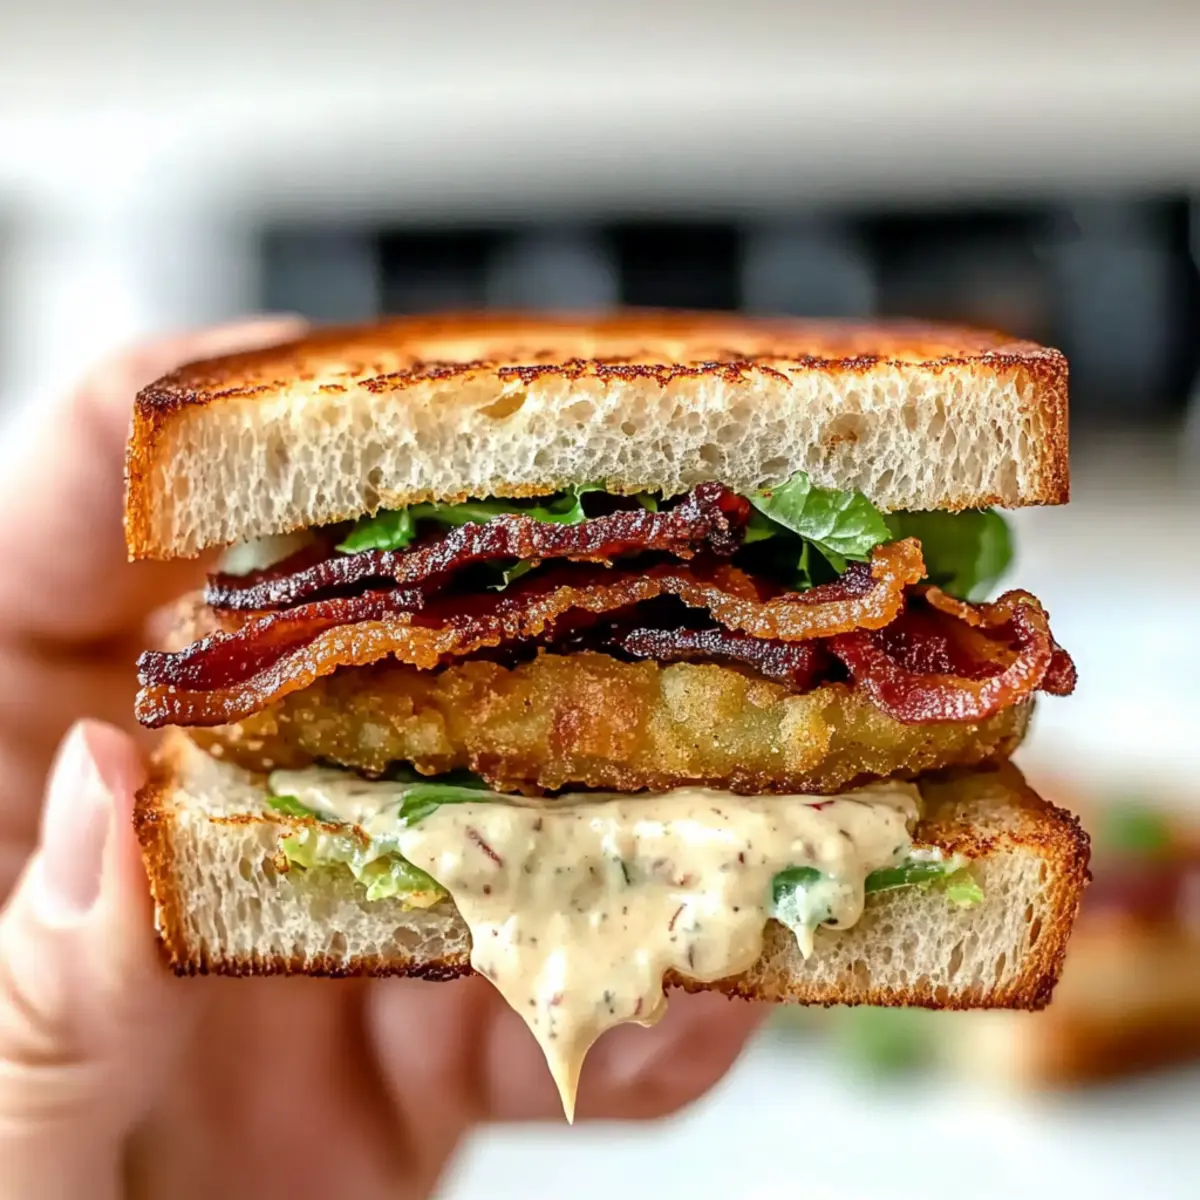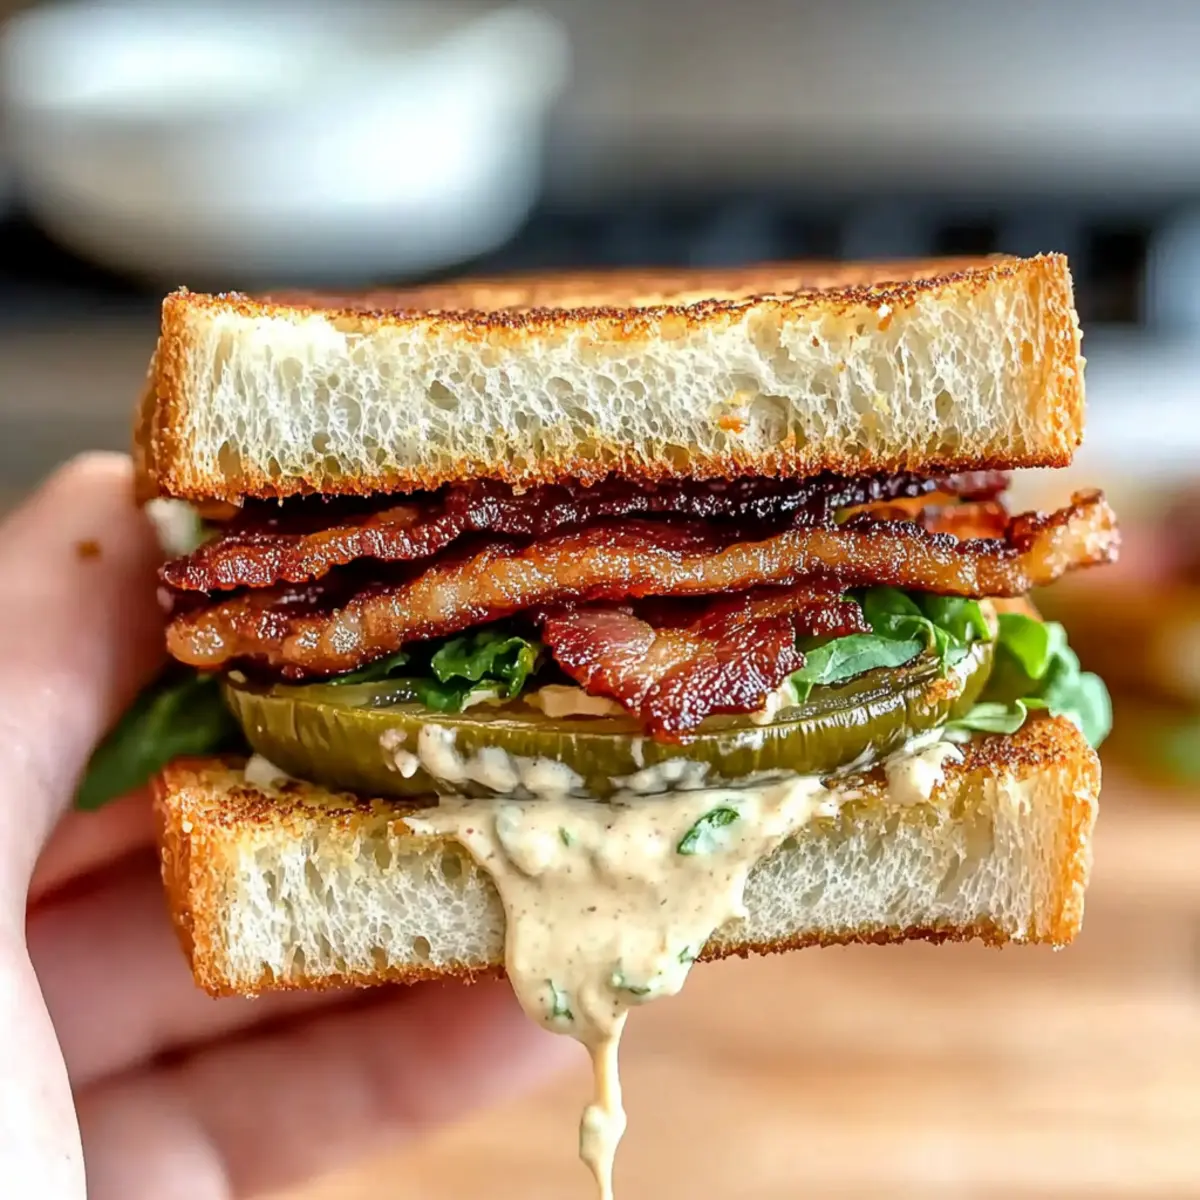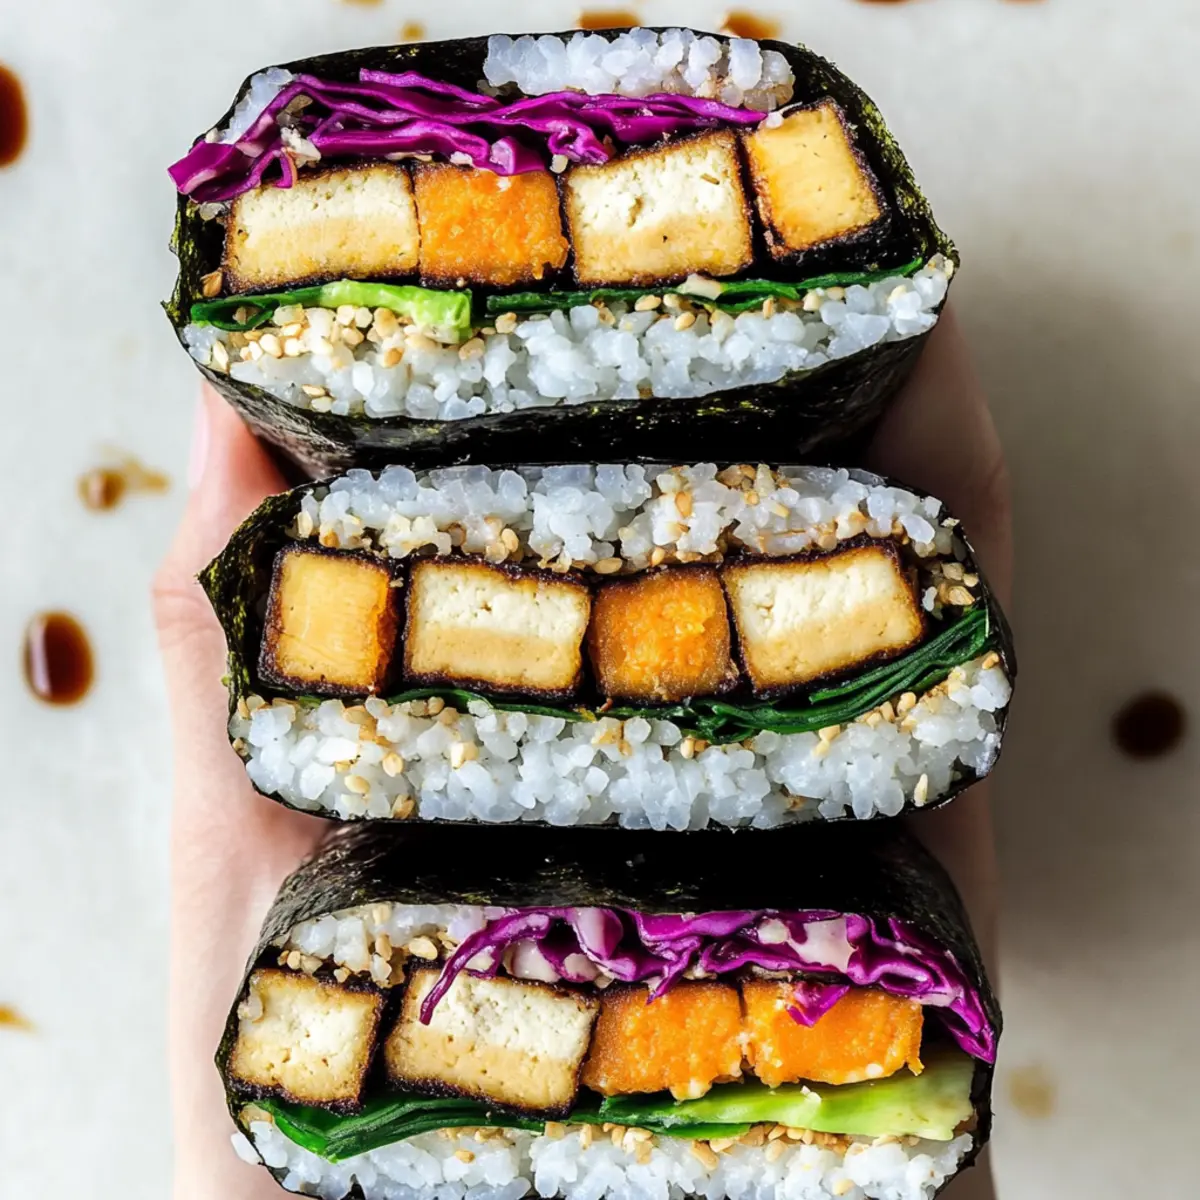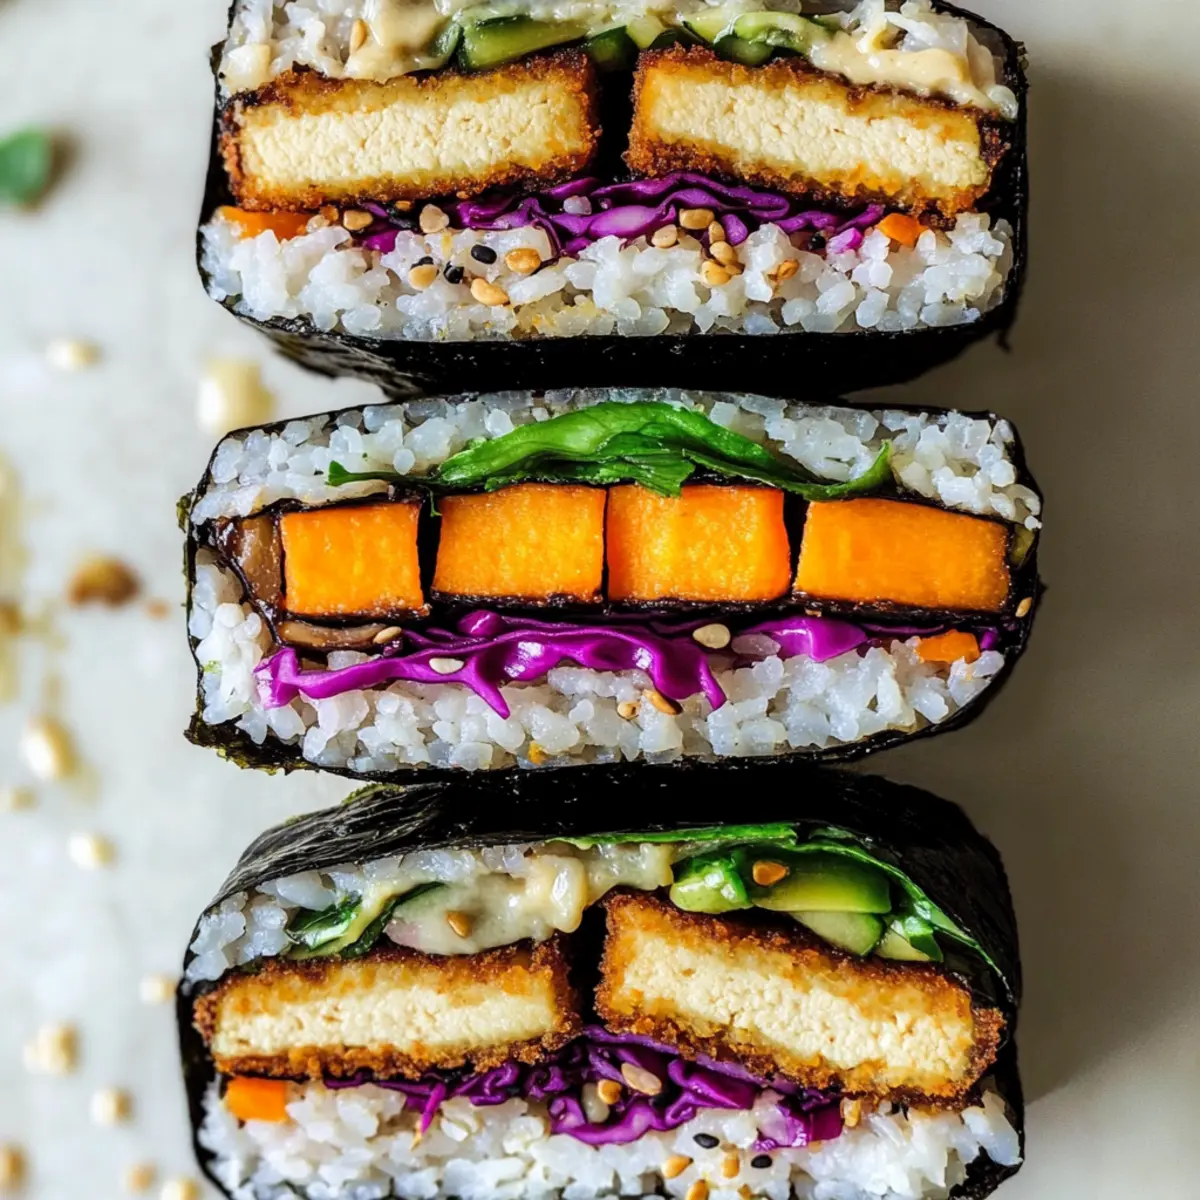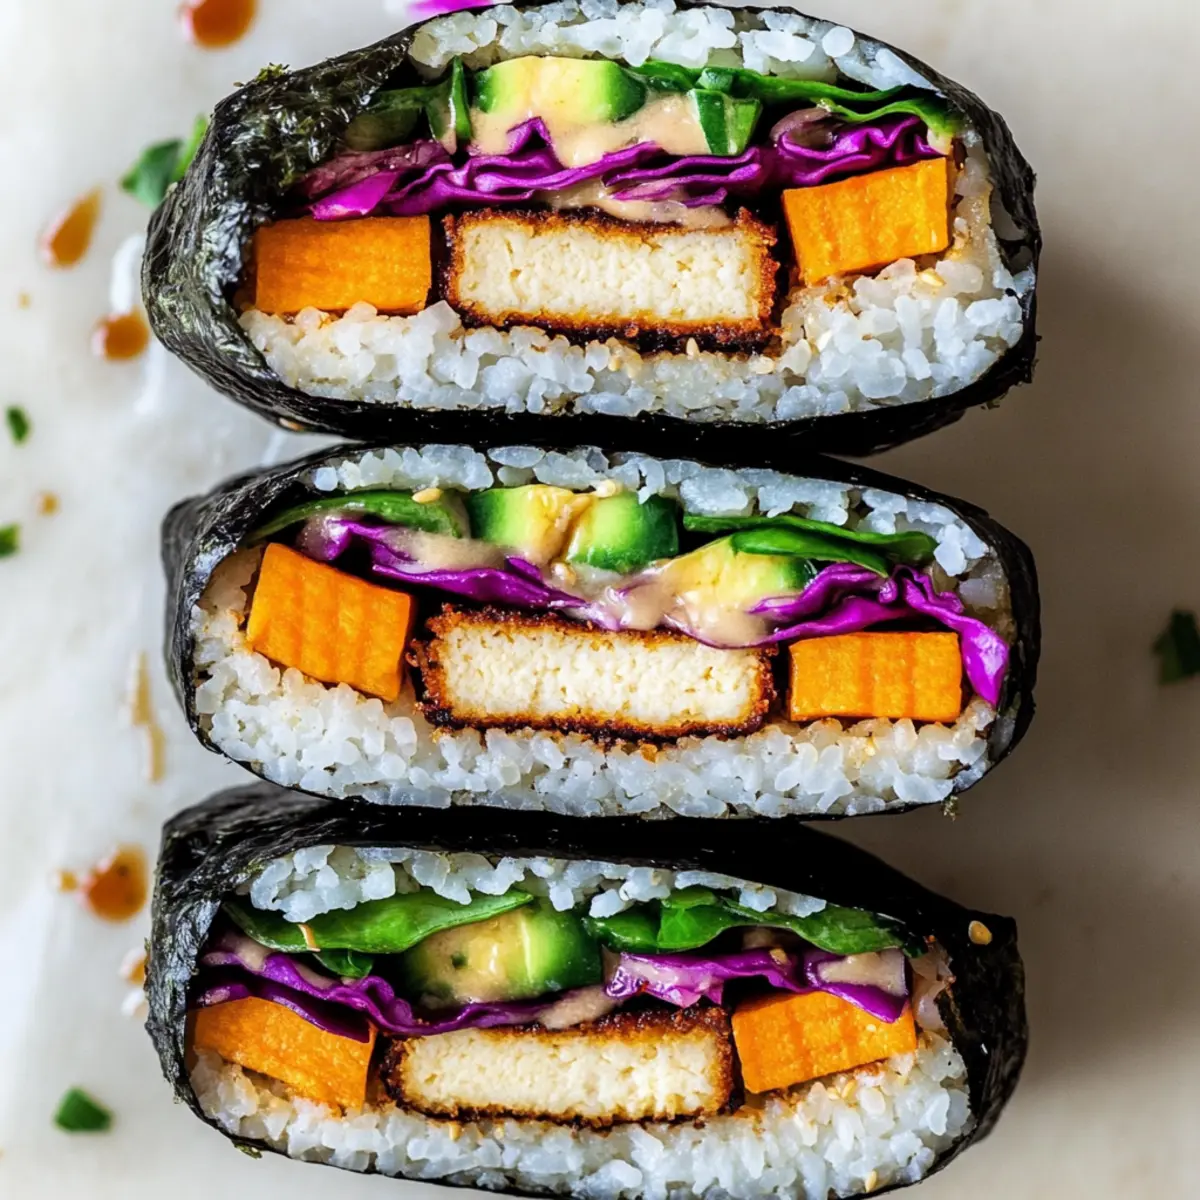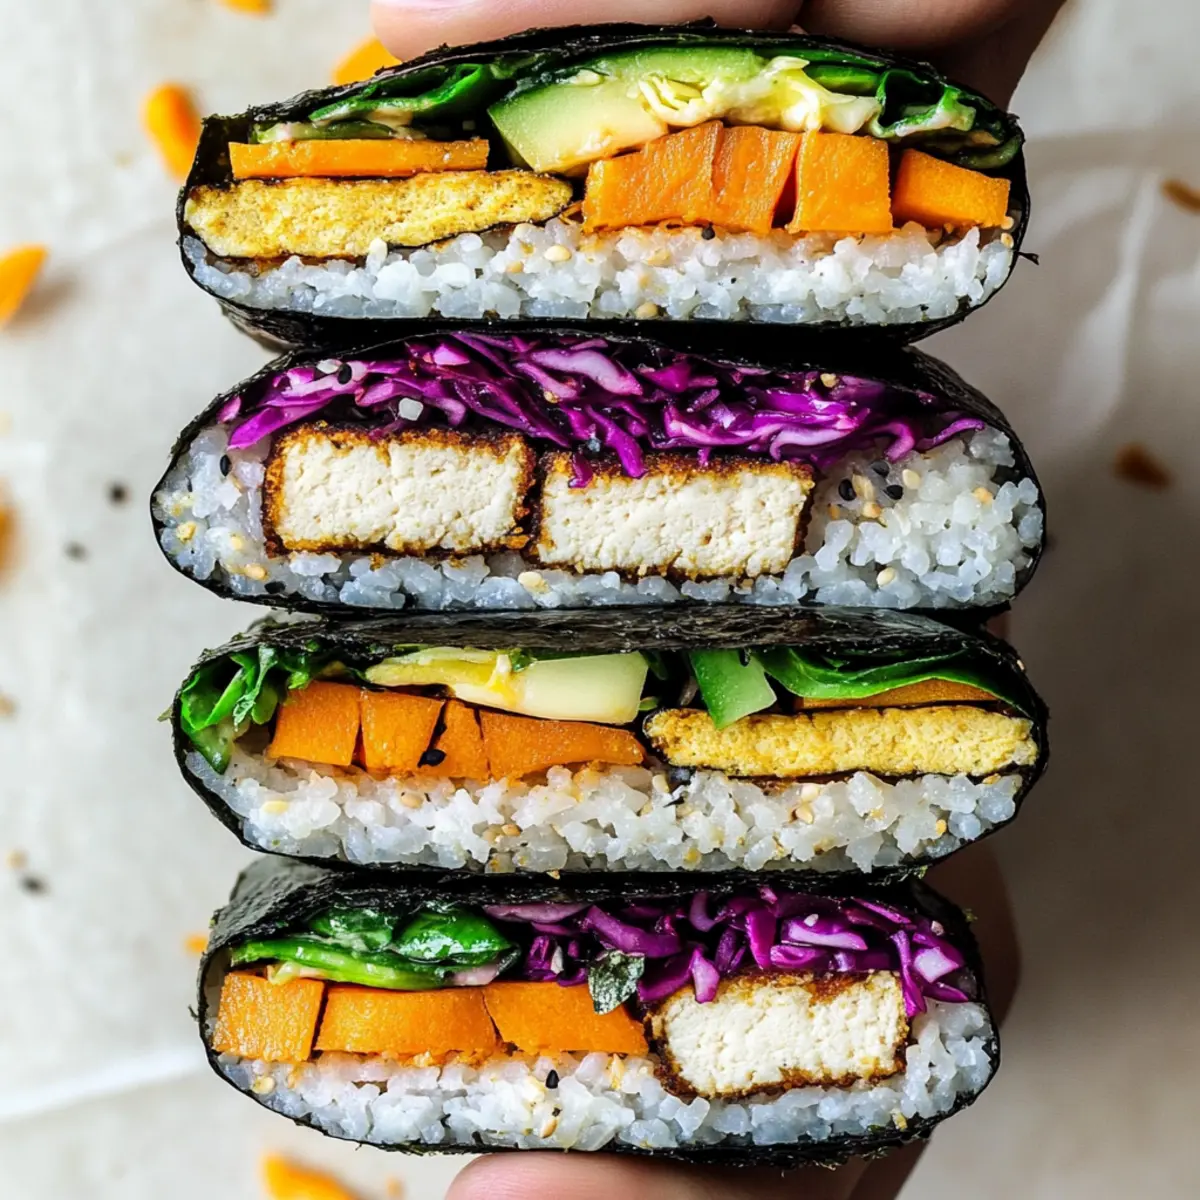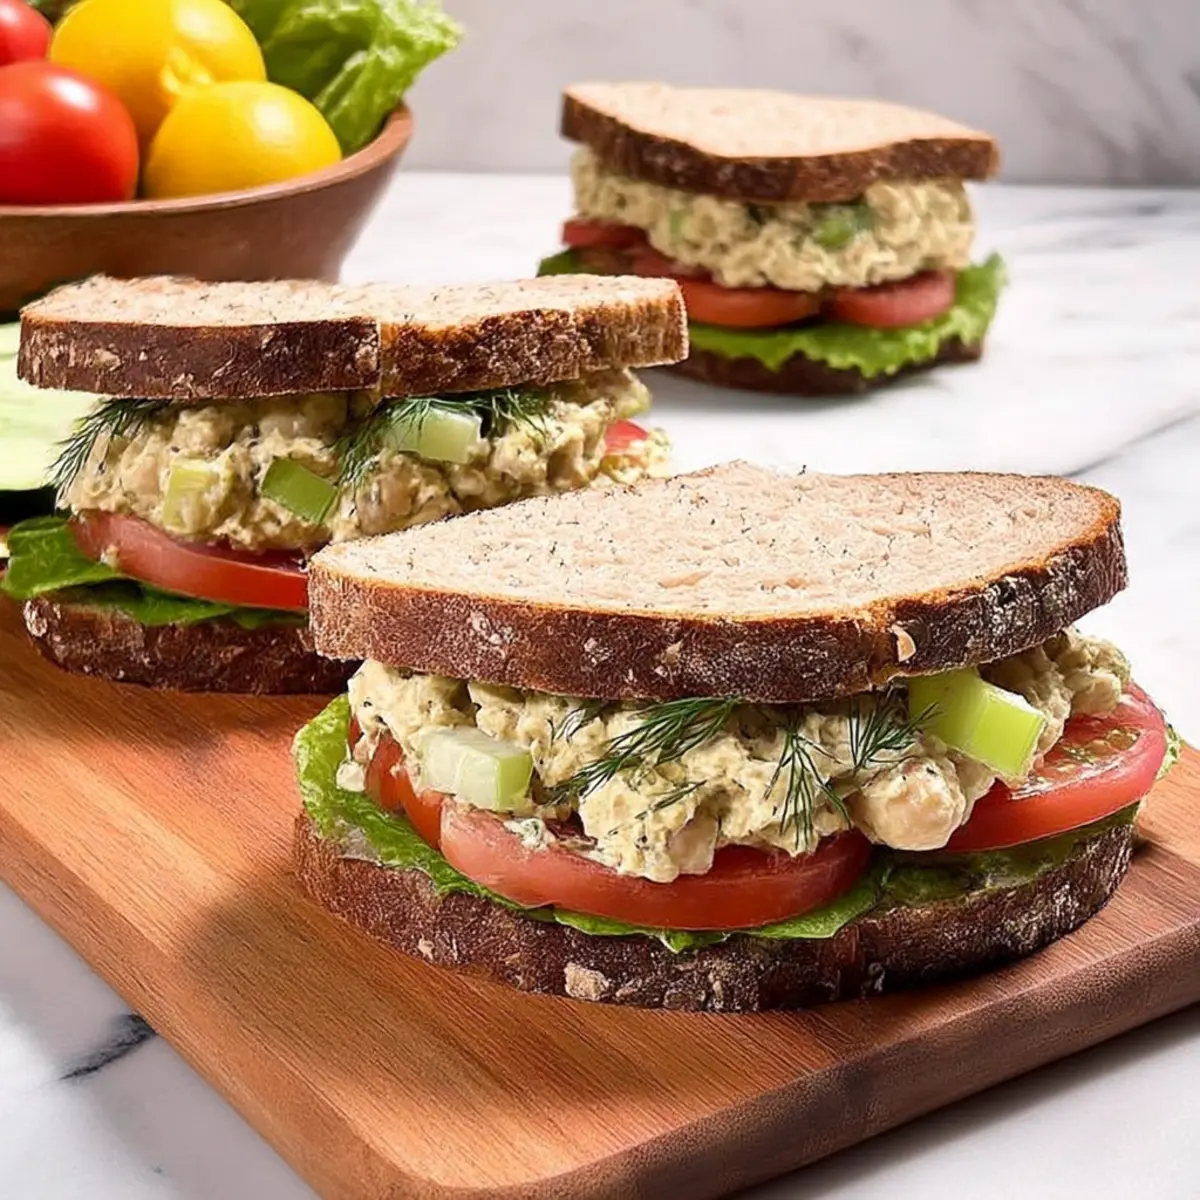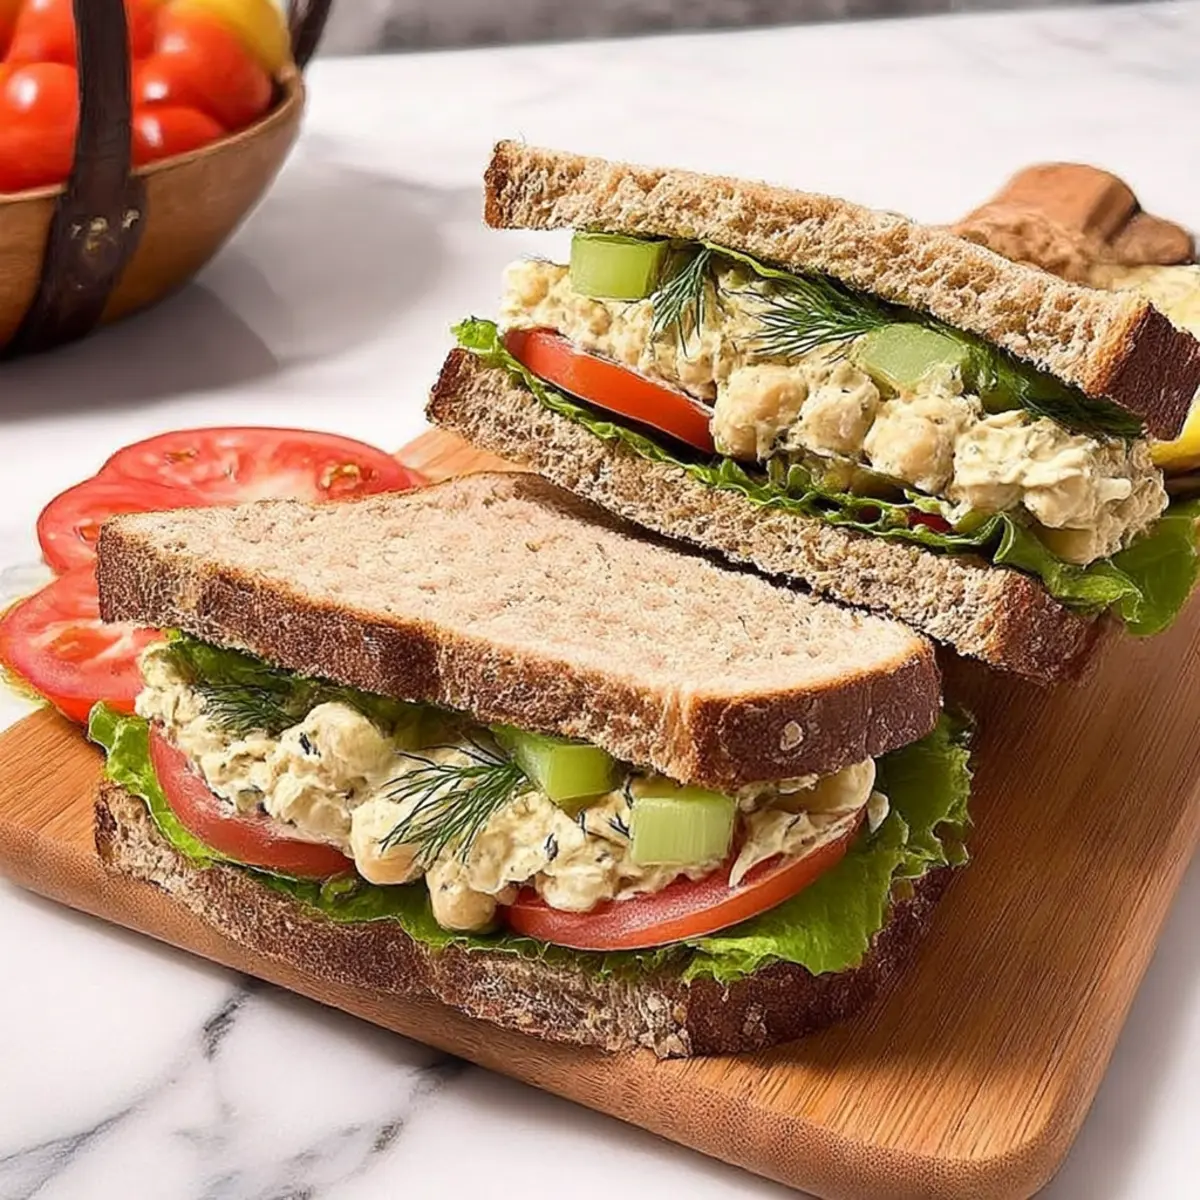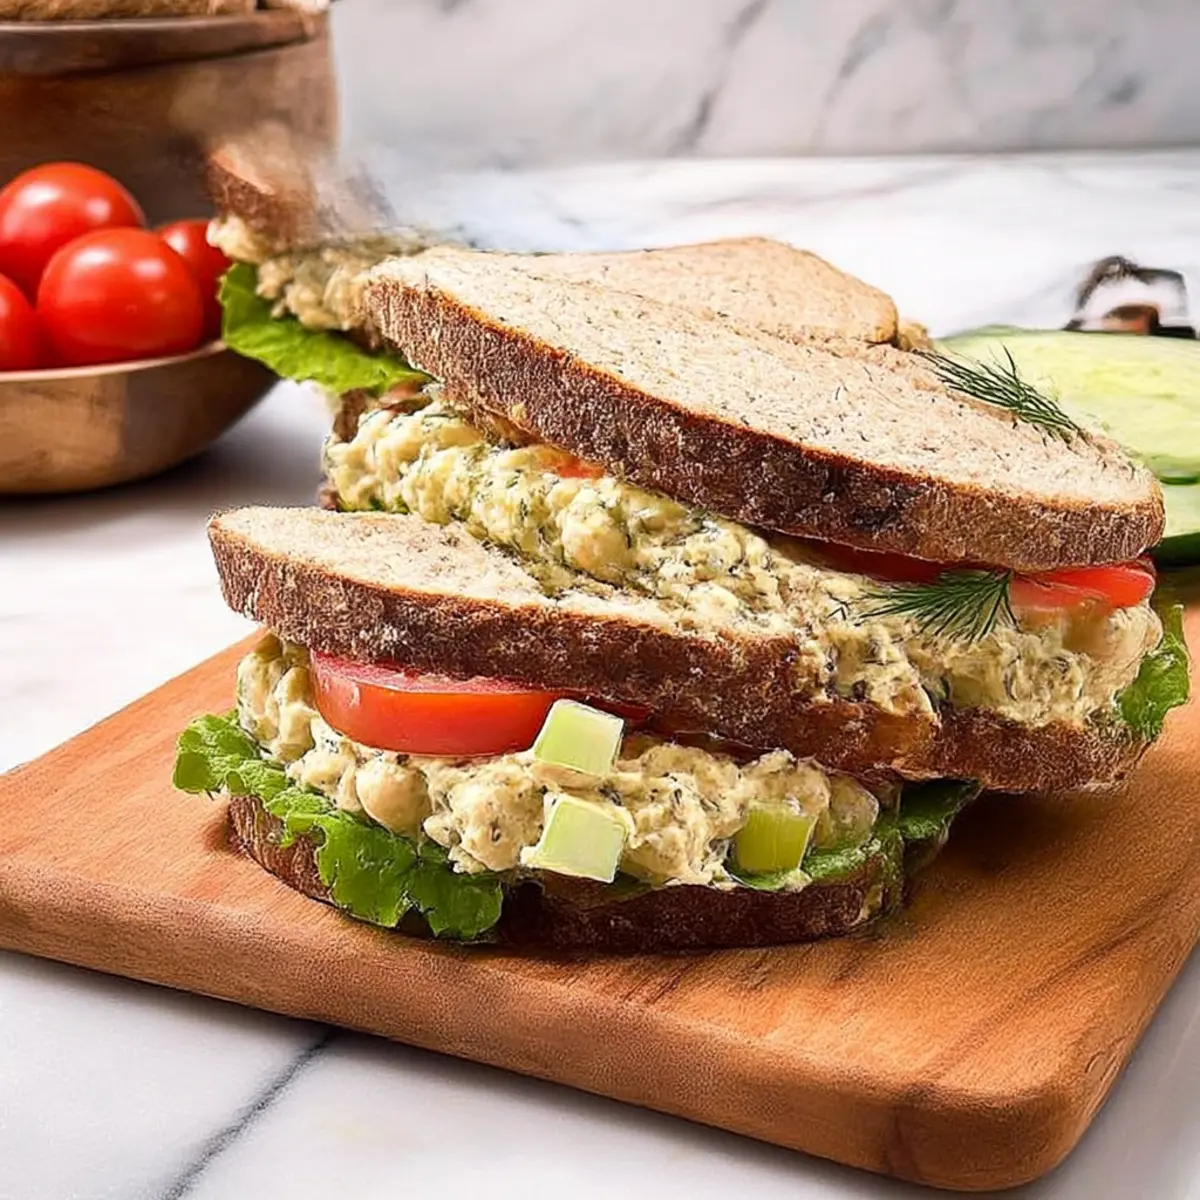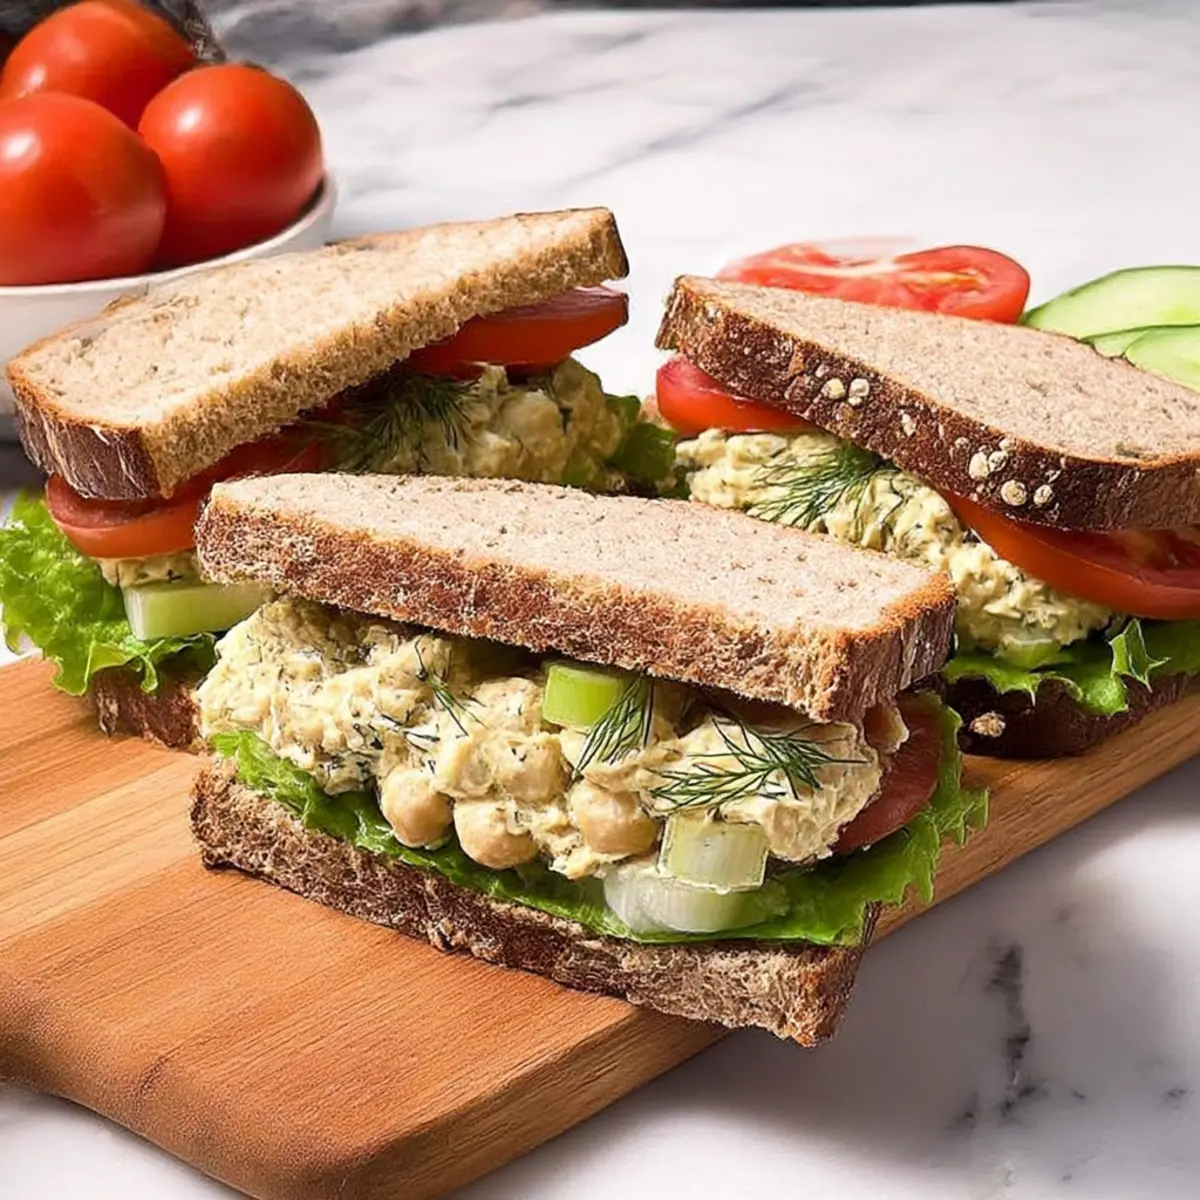
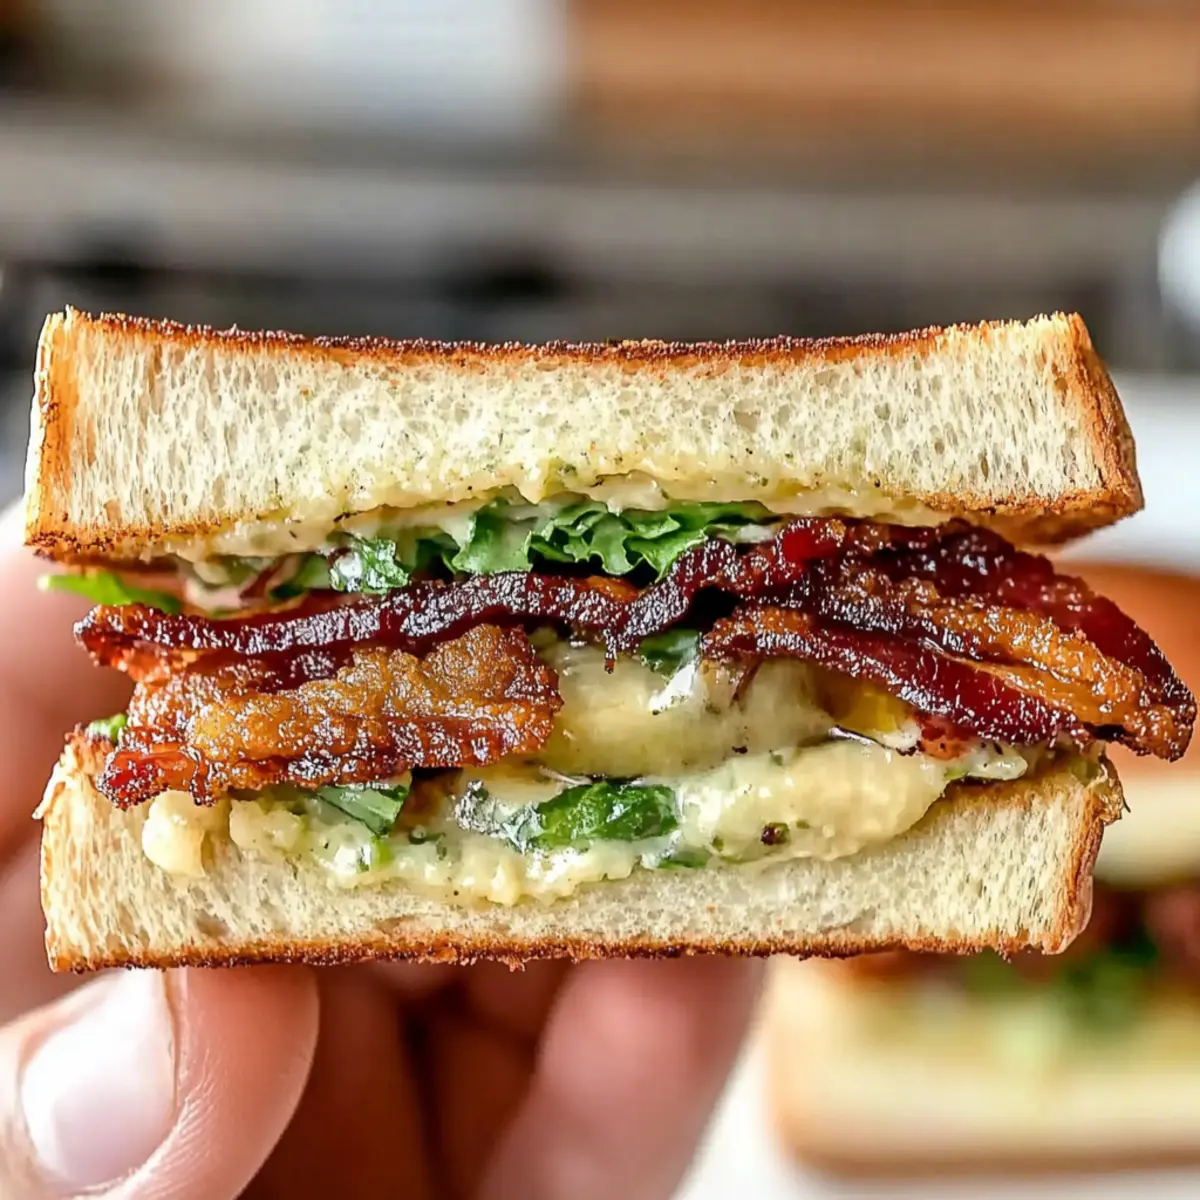
As I pulled up to the farmer’s market last weekend, the vibrant, unripe green tomatoes called out to me, hinting at a dish I couldn’t resist. This inspired my Crunchy Fried Green Tomato BLT Sandwich—a delightful twist on a classic favorite that combines Southern comfort with the essential elements of a beloved BLT. With just a hint of preparation, you can create this picnic-friendly masterpiece that not only delivers an irresistible crunch but also brings together the savory goodness of crispy bacon and fresh greens. Whether you’re looking for a quick lunch or an impressive gathering dish, this sandwich is sure to be a crowd-pleaser. Ready to elevate your lunchtime routine? Let’s dive into this delicious recipe!
Why is this sandwich a must-try?
Unforgettable Crunch: The golden, crispy coating on the fried green tomatoes provides a satisfying texture that elevates each bite of this sandwich to new heights.
Southern Comfort: This recipe embraces the essence of Southern cooking, turning a simple BLT into a true comfort food classic.
Quick & Easy: With straightforward steps, you’ll have this mouthwatering dish ready in no time, making it perfect for busy days or impromptu picnics.
Crowd-Pleasing Delight: The savory layers of bacon and fresh lettuce complement the tangy tomatoes flawlessly, ensuring it’s an instant hit at gatherings.
Perfect Pairings: Serve it alongside creamy coleslaw or potato salad for a well-rounded meal that everyone will adore.
Crunchy Fried Green Tomato BLT Sandwich Ingredients
For the Fried Tomatoes
- Unripe Green Tomatoes – Choose firm ones about 3 to 4 inches in diameter for the best flavor and texture.
- Cornmeal – This is essential for creating that delicious crispy coating during frying.
- All-Purpose Flour – Helps in coating the tomatoes, providing an extra crunch.
- Milk – Used in the egg wash to help the breading stick to the tomato slices.
- Eggs – Whisk together with milk to create a sticky egg wash for the green tomatoes.
For the Sandwich
- Bacon – Adds a savory crunch; feel free to substitute with turkey bacon for a lighter option.
- Lettuce – Use iceberg or romaine for a fresh, crispy layer in this delightful sandwich.
- Bread – Opt for hearty varieties like Texas toast or sourdough to hold up against the juicy ingredients.
- Mayo (or tangy remoulade sauce) – Adds creaminess and balances the crunchiness of the fried tomatoes; consider making your own for added flavor.
Unlock the flavor of the Crunchy Fried Green Tomato BLT Sandwich with these essential ingredients and make your next meal an unforgettable one!
Step‑by‑Step Instructions for Crunchy Fried Green Tomato BLT Sandwich
Step 1: Cook the Bacon
In a large skillet, cook the bacon over medium heat until it’s crispy and golden, about 8 to 10 minutes. Remove the bacon and place it on paper towels to drain excess grease. This crunchy element will add a savory depth to your Crunchy Fried Green Tomato BLT Sandwich.
Step 2: Slice the Tomatoes
While the bacon is cooking, slice the unripe green tomatoes into 1/4 to 1/3 inch thick slices. Ensure they are firm and even to promote uniform cooking. Arrange them on a plate or cutting board as you prepare for the coating step.
Step 3: Make the Egg Wash and Breading
In a bowl, whisk together the milk and eggs to create an egg wash that will help our breading stick. In another bowl, mix together the cornmeal, flour, salt, pepper, cayenne, and a pinch of sugar. This combination is crucial for achieving the perfect crunchy coating on your fried green tomatoes.
Step 4: Heat the Oil
In the same skillet, pour in enough oil to cover the bottom, about 1/4 inch deep, and heat it to 350°F. You’ll know the oil is ready when it shimmers and small bubbles form around the sides. This temperature is vital for frying the tomatoes to a crispy perfection.
Step 5: Coat the Tomato Slices
Dip each tomato slice into the egg wash, allowing excess to drip off, then dredge it in the cornmeal mixture, ensuring an even coat on both sides. Repeat this process for all slices, setting the breaded tomatoes aside until you’re ready to fry them.
Step 6: Fry the Tomatoes
Carefully place the coated tomato slices in the hot oil in batches, being careful not to overcrowd the skillet. Fry them for about 3-4 minutes on each side until they turn golden brown and crispy. Once cooked, transfer the slices to a paper towel-lined plate to drain any excess oil.
Step 7: Prepare the Sauce
In a jar, combine your choice of mayonnaise with any additional flavors you prefer, such as a dash of hot sauce or garlic powder. Seal the jar and shake well to mix. Let it sit for a few minutes, allowing the flavors to meld, creating a delightful spread for your Crunchy Fried Green Tomato BLT Sandwich.
Step 8: Assemble the Sandwich
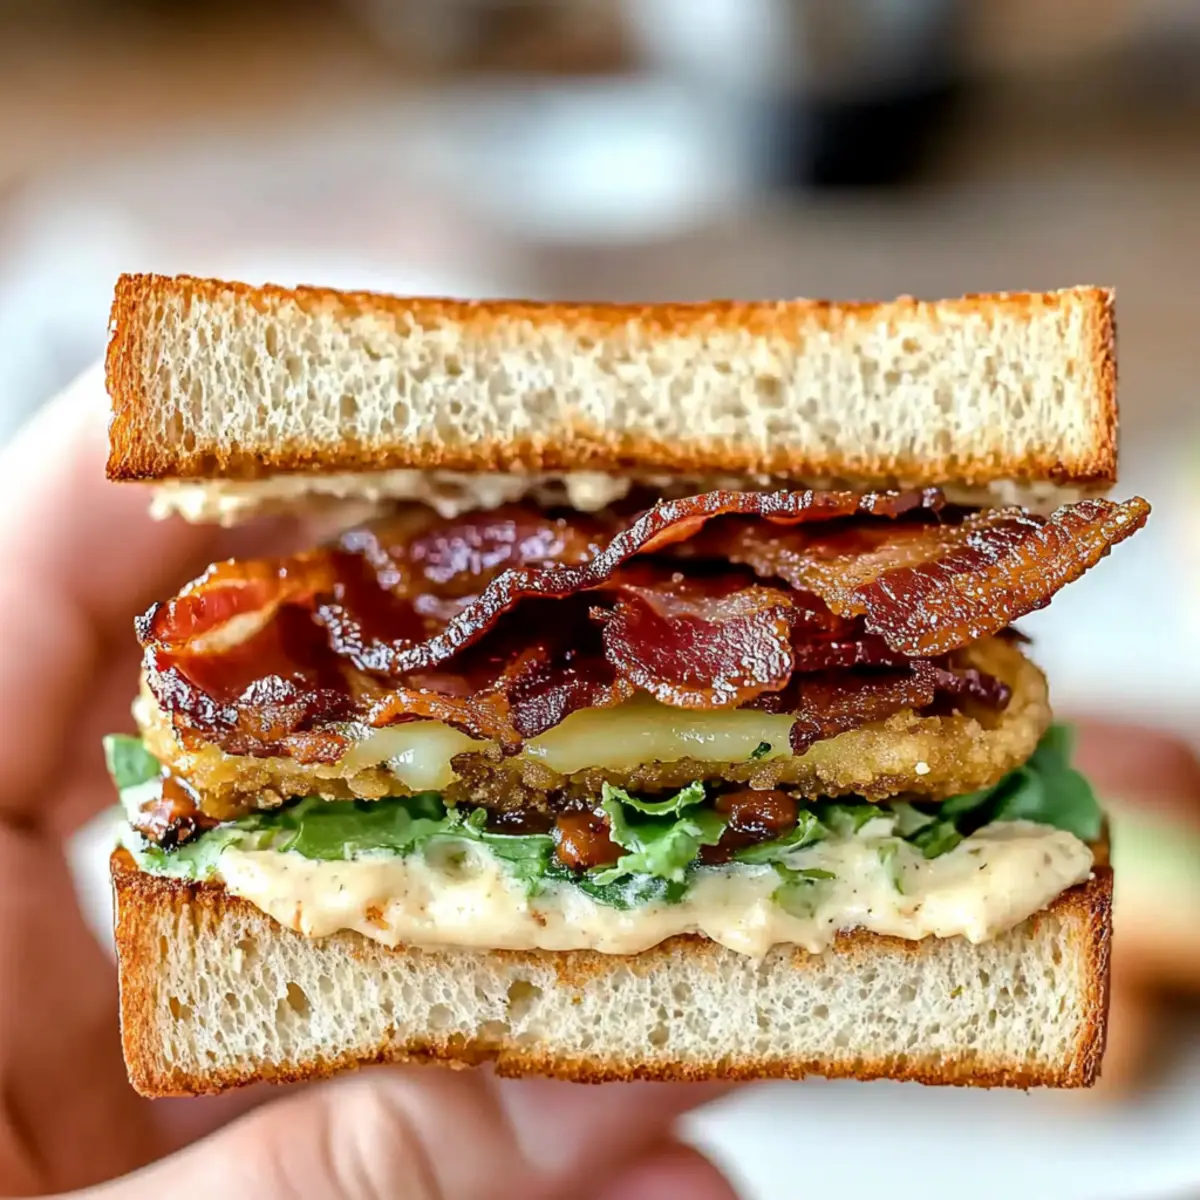
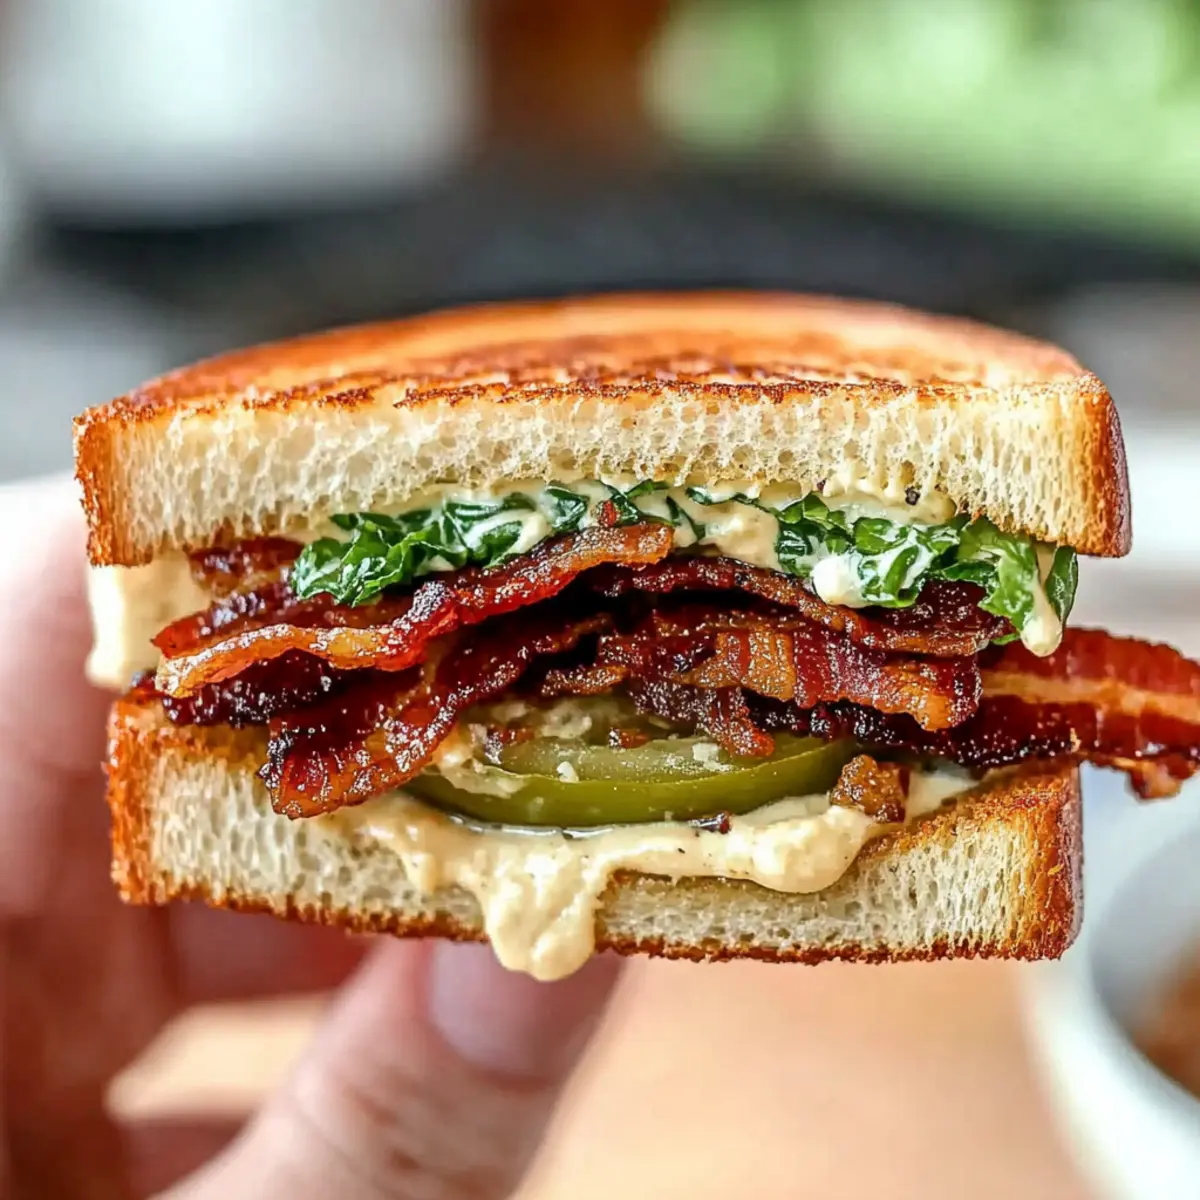
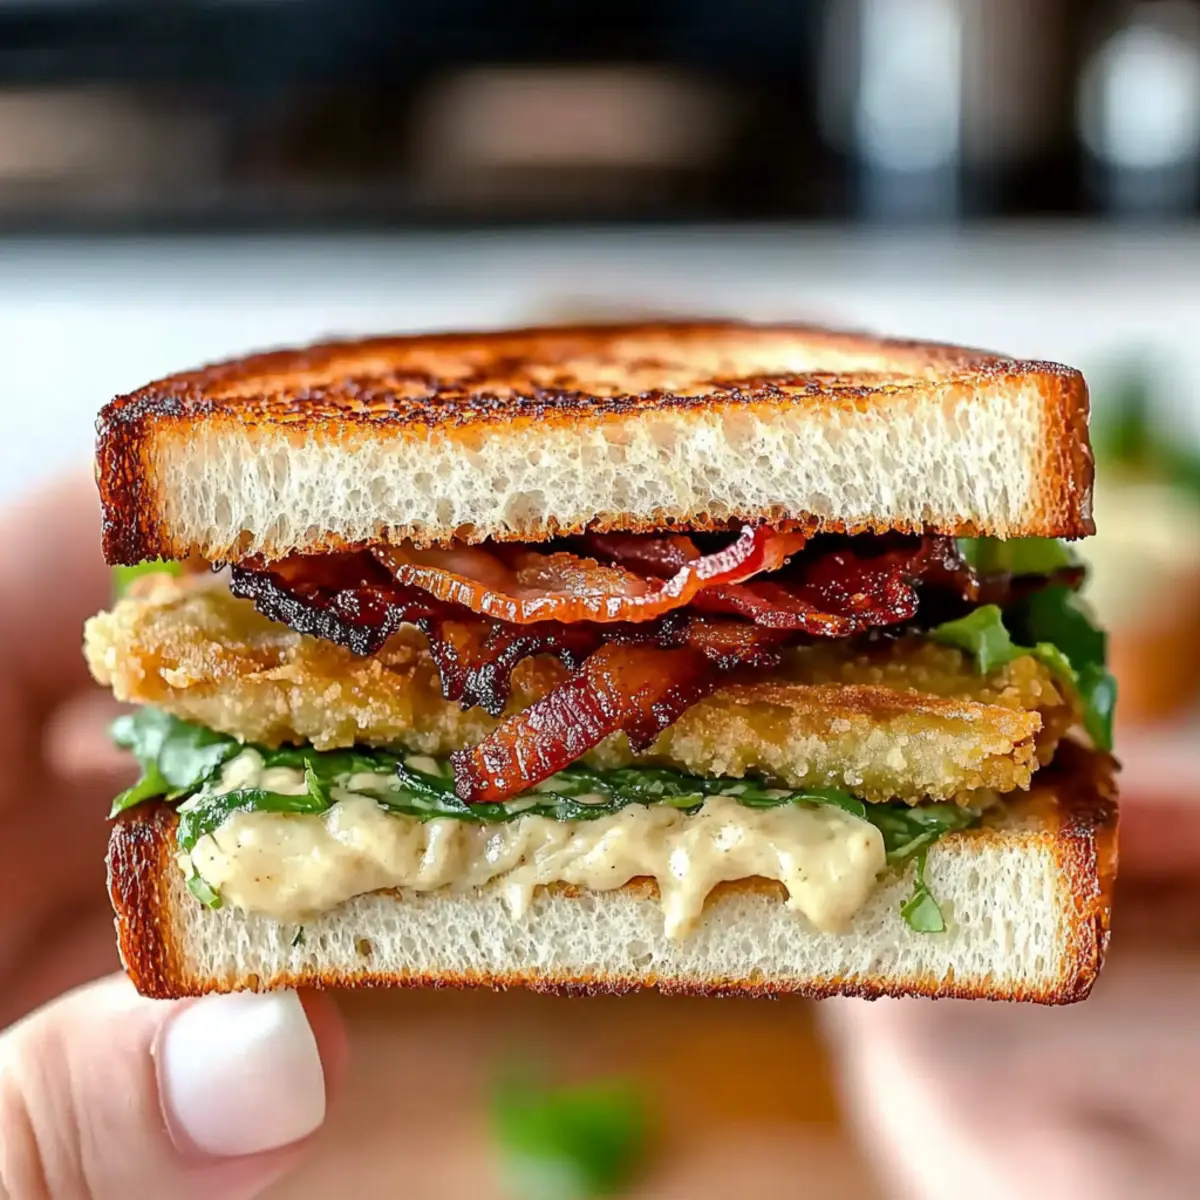
Toast your chosen bread until golden brown, then spread your sauce generously on both slices. Layer fresh lettuce, followed by the crispy fried green tomatoes, and finish with the cooked bacon. The combination of textures makes this sandwich an unforgettable experience.
Step 9: Serve Immediately
Cut the sandwiches in half and serve warm for the best experience. The Crunchy Fried Green Tomato BLT Sandwich is best enjoyed fresh, with the crispy elements and creamy sauce coming together in every delightful bite.
Make Ahead Options
These Crunchy Fried Green Tomato BLT Sandwiches are a fantastic choice for meal prep, saving you time on busy weeknights! You can fry the green tomatoes and bacon up to 24 hours in advance; simply allow them to cool completely before storing them separately in airtight containers in the refrigerator to maintain their crispness. The bread can also be toasted ahead of time—just reheat it briefly before assembling. When you’re ready to serve, layer the crispy fried tomatoes, bacon, and fresh lettuce with your sauce on the toasted bread, and you’ll enjoy a delicious sandwich with minimal effort and maximum flavor!
Expert Tips for Crunchy Fried Green Tomato BLT Sandwich
-
Temperature Check: Ensure your oil is at 350°F. This prevents soggy tomatoes and guarantees that perfect golden, crispy finish.
-
Slice Smartly: Cut green tomatoes into even 1/4 to 1/3 inch slices to ensure uniform cooking, avoiding some pieces being mushy while others are overcooked.
-
Batch Fry: Avoid overcrowding the skillet. Fry in small batches to maintain the oil temperature, which ensures each slice is evenly cooked and crispy in your Crunchy Fried Green Tomato BLT Sandwich.
-
Dry Those Tomatoes: Pat the tomato slices dry before breading to remove excess moisture, helping the coating adhere better for that coveted crunch.
-
Reheat for Extra Crisp: If you have leftovers, reheat fried tomatoes in a 350°F oven for a few minutes to regain their crispy texture before assembling.
Crunchy Fried Green Tomato BLT Sandwich Variations
Feel free to get creative and customize your sandwich with these fun variations and substitutions!
- Turkey Bacon: Swap bacon for turkey bacon for a healthier twist while still enjoying that crispy bite.
- Vegan Option: Use plant-based bacon and vegan mayo for a delightful vegan-friendly version.
- Spicy Kick: Add jalapeños or a drizzle of hot sauce to the sauce for a zesty heat that brightens every bite.
- Herbed Mayonnaise: Mix fresh herbs like basil or dill into your mayonnaise for an aromatic touch that elevates the flavor.
- Crunchy Additions: Toss in some thinly sliced pickles or crispy fried onions for an extra layer of texture and flavor.
- Different Greens: Experiment with arugula or spinach instead of lettuce for a peppery twist that complements the tomatoes beautifully.
- Sourdough Delight: Try sourdough bread for a tangy flavor that pairs perfectly with the rich tomatoes and savory bacon.
- Classic Pairings: Serve with a side of creamy coleslaw or crispy chips to make it a full meal that’s perfect for sharing.
Remember, the beauty of the Crunchy Fried Green Tomato BLT Sandwich lies in its versatility, so let your taste buds guide your delicious journey!
Storage Tips for Crunchy Fried Green Tomato BLT Sandwich
Room Temperature: Store any leftover assembled sandwiches wrapped in foil for up to 2 hours. After that, refrigeration is best to keep the ingredients fresh.
Fridge: Keep components separate in airtight containers. Fried tomatoes can last up to 2 days, while prepared sauces and mayo can be stored for up to a week.
Freezer: Fried green tomatoes freeze well; layer them between parchment paper in a freezer-safe container. They can last up to 1 month but best used within 2 weeks for optimal texture.
Reheating: To maintain crunch, reheat frozen tomatoes in a 350°F oven for 10-15 minutes before adding them to a fresh sandwich. Enjoy your Crunchy Fried Green Tomato BLT Sandwich at its best!
What to Serve with Crunchy Fried Green Tomato BLT Sandwich
Transform your delightful sandwich into a full Southern feast with these perfect pairings that enhance its rich flavors and textures.
- Creamy Coleslaw: The cool, tangy crunch of coleslaw balances the savory elements, adding a refreshing contrast to each bite.
- Cold Potato Salad: This hearty side complements the sandwich’s crunch while providing a satisfying creaminess that pairs beautifully with fried elements.
- Kettle-Cooked Potato Chips: The salty, crunchy chips create an irresistible texture contrast and are perfect for munching alongside this classic dish. A picnic favorite!
- Dill Pickle Spears: Their tangy zest enhances the rich flavors of the sandwich, making every mouthful pop. Plus, they’re great for cleanup!
- Sweet Tea or Lemonade: Serving with sweet tea hydrates and refreshes, while lemonade adds a bright, zesty note that underscores the Southern theme.
- Peach Cobbler: For dessert, this warm, sweet treat with its flaky crust is a delightful way to end your meal, leaving everyone longing for more.
Crunchy Fried Green Tomato BLT Sandwich Recipe FAQs
What kind of green tomatoes should I use for this sandwich?
Look for firm unripe green tomatoes that are about 3 to 4 inches in diameter. Avoid ripe heirloom varieties, as they won’t provide the same texture or flavor. Firmness is key to achieving that perfect crunch when fried.
How should I store leftover fried green tomatoes and sandwiches?
For the best results, keep the components separate. Fried tomatoes can be stored in an airtight container for up to 2 days in the refrigerator. The sauce can last for up to a week. Assembly of the sandwiches should be done fresh for optimal taste and texture.
Can I freeze the fried green tomatoes? If so, how?
Absolutely! To freeze your fried green tomatoes, allow them to cool completely after frying. Layer them between sheets of parchment paper in a freezer-safe container. They can be frozen for up to 1 month, although I recommend using them within 2 weeks for the best texture. When ready to use, reheat them in a 350°F oven for about 10-15 minutes until crispy.
What if the oil isn’t hot enough while frying?
If your oil is not hot enough (less than 350°F), the tomatoes can absorb too much oil and become greasy instead of crispy. To check the temperature, you can drop a small piece of bread into the oil; if it sizzles and browns in about 60 seconds, the oil is ready. Fry in small batches to keep the oil temperature consistent.
Are there any dietary considerations I should be aware of?
Yes! If you or your guests have dietary restrictions, consider using turkey bacon or a plant-based bacon alternative for a lighter option. Additionally, mayonnaise can easily be substituted with vegan versions to accommodate plant-based diets. Always check for any potential allergies when selecting sauces and additional toppings.
Crunchy Fried Green Tomato BLT Sandwich You'll Love Making
Ingredients
Equipment
Method
- In a large skillet, cook the bacon over medium heat until crispy and golden, about 8 to 10 minutes.
- Slice the unripe green tomatoes into 1/4 to 1/3 inch thick slices.
- Whisk together the milk and eggs for the egg wash. Mix cornmeal, flour, salt, pepper, cayenne, and sugar in another bowl.
- Heat enough oil in the same skillet to cover the bottom, about 1/4 inch deep.
- Dip each tomato slice into the egg wash, then dredge it in the cornmeal mixture.
- Fry the coated tomato slices in batches for about 3-4 minutes on each side until golden brown.
- Combine mayo with any preferred additional flavors in a jar and mix well.
- Toast the bread and spread sauce on both slices. Layer lettuce, fried tomatoes, and bacon.
- Cut the sandwiches in half and serve warm.