
As I stood in the kitchen, the warm, comforting scent of peanut butter whisked me back to carefree school days, where lunch trays were piled high with simple pleasures. These Peanut Butter Lunch Lady Bars capture that nostalgia perfectly, offering a soft, chewy cookie base draped in a luscious layer of chocolate frosting. Not only are they incredibly easy to make, but they also serve as an irresistible treat for parties, potlucks, or just when you need a sweet pick-me-up. Each bite is a delightful reminder that homemade desserts can bring us joy in the smallest moments. Ready to bring a taste of yesteryear into your home? Let’s get baking!
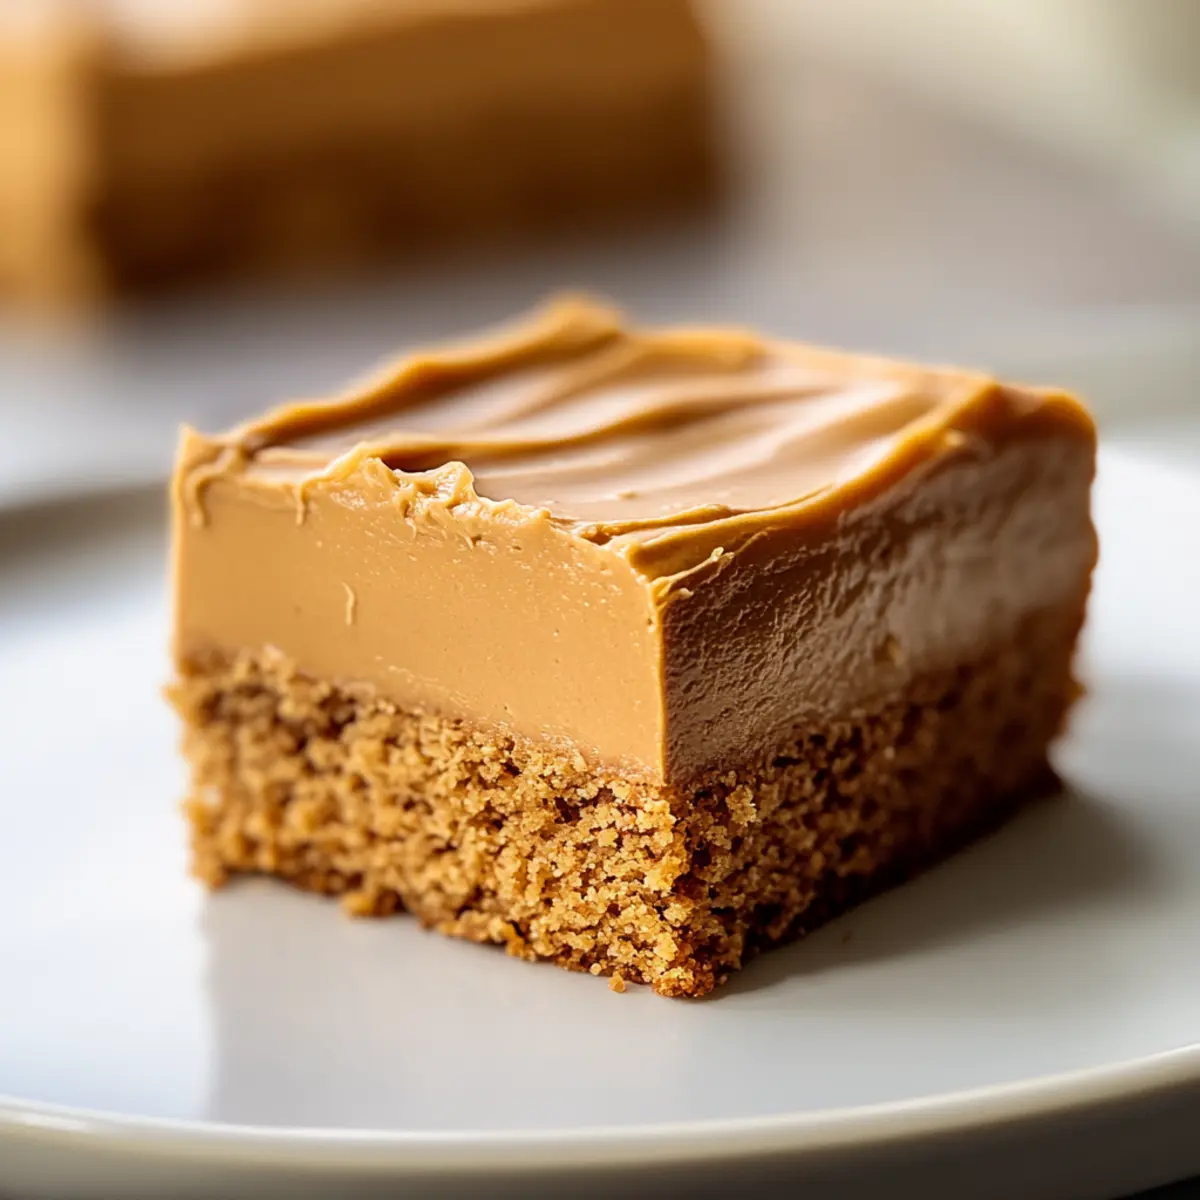
Why Are Peanut Butter Lunch Lady Bars Amazing?
Nostalgic Comfort: These bars take you back to childhood with every bite, combining the familiar flavors of peanut butter and chocolate.
Crowd-Pleaser: Perfect for potlucks or family gatherings, they are sure to impress both kids and adults alike.
Easy to Make: With just a few simple steps, you can whip up these delightful treats in no time.
Versatile Variations: Feel free to mix in your favorite ingredients, like nuts or sprinkles, making them uniquely yours!
Perfect Pair: Enjoy them with a glass of milk or coffee to elevate your snack experience. You might also love the richness of Chocolate Peanut Butter treats for an extra indulgence.
Peanut Butter Lunch Lady Bars Ingredients
For the Base
• Unsalted Butter – Provides richness and moisture; ensure it’s softened for easy mixing.
• Creamy Peanut Butter – Central flavor and texture; avoid natural peanut butter to maintain consistency.
• Granulated Sugar – Adds sweetness and aids in browning the bars.
• Light Brown Sugar – Contributes moisture and a rich, caramel-like flavor to the base.
• Eggs – Binds ingredients for proper structure; use room temperature for best results.
• Vanilla Extract – Enhances overall flavor and balances the sweetness.
• All-Purpose Flour – Essential for structure; measure carefully to avoid dryness.
• Baking Soda – Provides leavening for a chewy texture.
• Salt – Balances sweetness and enhances flavor.
• Quick Oats – Adds texture and chewiness to the base.
For the Frosting
• Chocolate Chips – Semi-sweet is traditional; swap for milk chocolate for a sweeter frosting.
• Heavy Cream (or Milk) – Used to reach the desired consistency of the frosting; feel free to adjust for richness.
These Peanut Butter Lunch Lady Bars are sure to delight with their soft, chewy texture and delicious chocolate frosting. Happy baking!
Step‑by‑Step Instructions for Peanut Butter Lunch Lady Bars
Step 1: Preheat the Oven
Begin by preheating your oven to 350°F (175°C). While waiting for it to reach temperature, prepare a 10×15-inch jelly roll pan by lining it with parchment paper or greasing it thoroughly. This will ensure your Peanut Butter Lunch Lady Bars come out easily and maintain their soft texture.
Step 2: Mix the Base Ingredients
In a large mixing bowl, cream together 1 cup of softened unsalted butter, 1 cup of granulated sugar, and 1 cup of light brown sugar until the mixture is light and fluffy, about 2-3 minutes. Next, add in two room temperature eggs, one at a time, beating well after each addition. Stir in 2 teaspoons of vanilla extract to amplify the flavor.
Step 3: Combine Dry Ingredients
In a separate medium bowl, whisk together 2 cups of all-purpose flour, 1 teaspoon of baking soda, and ½ teaspoon of salt until well combined. Gradually add the dry mixture to the wet ingredients, combining them gently and being careful not to overmix. Fold in 1 cup of quick oats until just incorporated to add that desirable chewiness to your Peanut Butter Lunch Lady Bars.
Step 4: Spread and Bake
Once your batter is well-mixed, spread it evenly into the prepared jelly roll pan, smoothing out the top with a spatula. Place it in the preheated oven and bake for 20-22 minutes. You’ll know it’s ready when the edges are gently golden and a toothpick inserted in the center comes out clean.
Step 5: Add the Peanut Butter Layer
After baking, allow your bars to cool in the pan for about 10 minutes. While still warm, spread a layer of creamy peanut butter on top using a spatula. This layer will melt slightly, creating a deliciously rich topping that balances beautifully with the chewy bars below. Let it cool completely at room temperature.
Step 6: Prepare the Chocolate Frosting
To make the frosting, place 1 cup of semi-sweet chocolate chips and ½ cup of heavy cream into a saucepan over low heat. Stir constantly until the chocolate is completely melted and the mixture is smooth. Allow the frosting to cool slightly until it thickens just enough to spread easily over the cooled bars.
Step 7: Frost and Cut
Once the frosting has cooled and is spreadable, pour it over the cooled Peanut Butter Lunch Lady Bars and spread it out evenly with a spatula. Allow the bars to set at room temperature for at least 30 minutes, or refrigerate them for quicker results. Finally, use a sharp knife to cut the bars into squares, ready to serve and enjoy the delightful nostalgia!
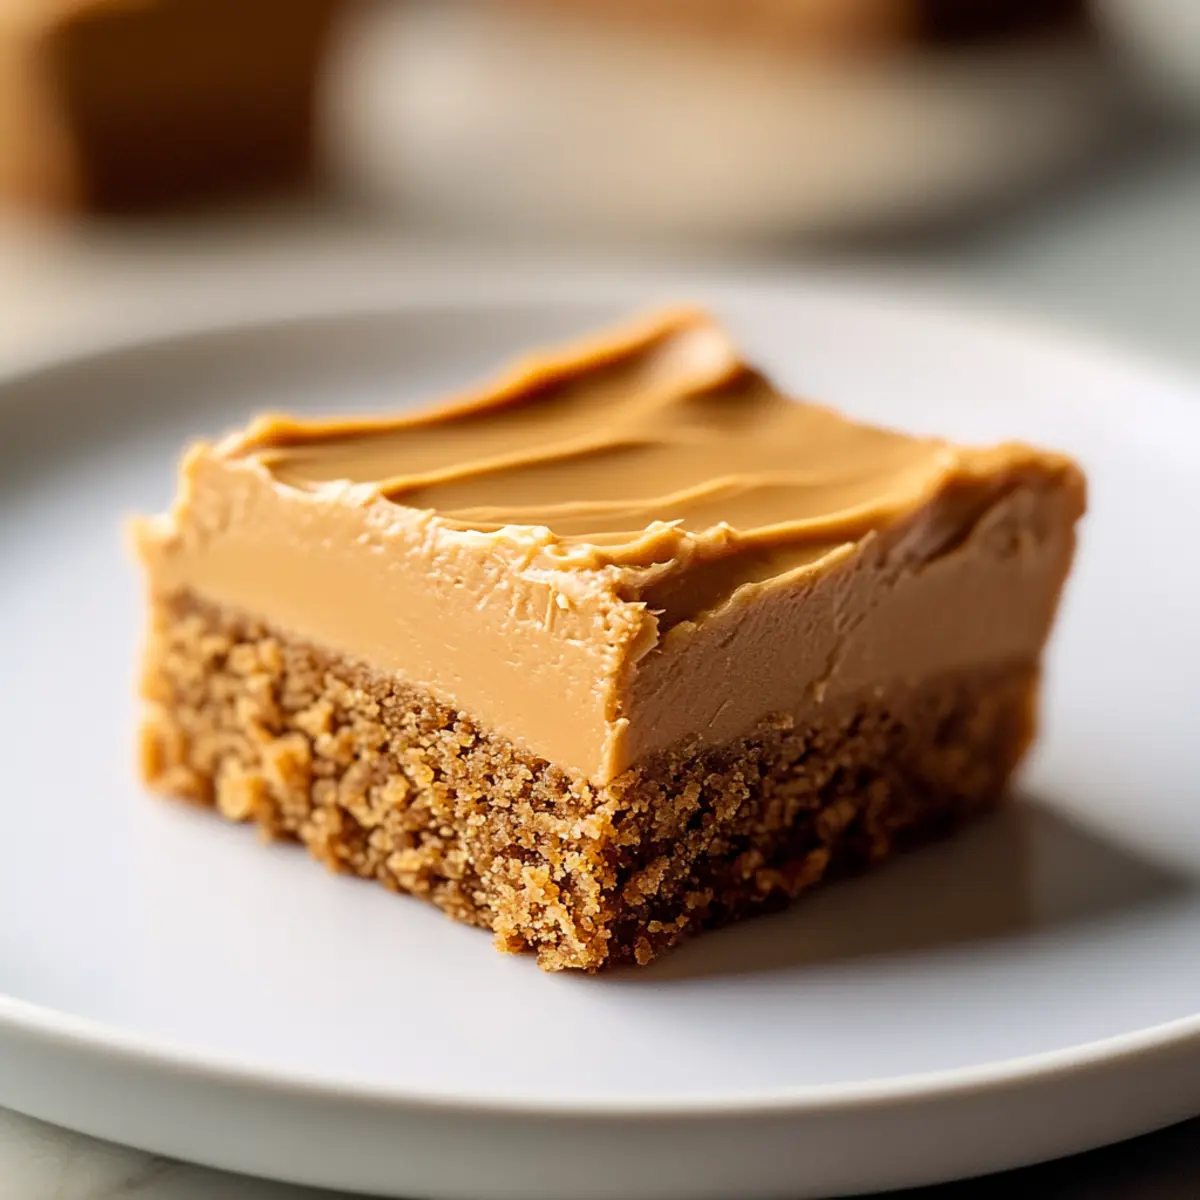
Peanut Butter Lunch Lady Bars Variations
Don’t hesitate to put your own spin on these nostalgic goodies; the possibilities are as delightful as the bars themselves!
-
Nutty Crunch: Stir in chopped peanuts or pretzels for a salty-sweet twist that adds an extra layer of texture.
-
Oatmeal Peanut Butter Bars: Incorporate 1 cup of rolled oats for a heartier texture that makes these bars even more satisfying. The added chew will take the flavors to the next level!
-
Swirled Frosting: Elevate your creation by swirling in some white chocolate into the chocolate frosting for a beautiful presentation. The contrast will have guests reaching for seconds.
-
Holiday Themed: Top with festive sprinkles or seasonal candies for a cheerful touch during celebrations. They’ll add a pop of color and whimsy to your treat table.
-
Dairy-Free Option: Use coconut cream in place of heavy cream and dairy-free chocolate chips for a delightful variation. This swap keeps the bars creamy while catering to dairy sensitivities.
-
Sweet Heat: Add a pinch of cayenne pepper to the frosting for a surprising kick that pairs beautifully with the sweet chocolate.
-
Crunchy Granola Twist: Incorporate your favorite granola into the mix for added crunch, making these bars a great on-the-go snack. You can combine oats with granola for double texture!
-
Peanut Butter Alternatives: If the creamy peanut butter isn’t your jam, try almond or cashew butter instead for a unique flavor. Each nut butter brings its own personality to the dish.
With these variations, you can keep the essence of the original Peanut Butter Lunch Lady Bars while exploring new flavors and fun textures. And if you’re looking for more chocolate indulgence, don’t miss out on these Chocolate Peanut Butter treats or our tempting Gooey Butter Pecan for an extra sweet experience!
Expert Tips for Peanut Butter Lunch Lady Bars
-
Perfectly Softened Butter: Ensure your butter is fully softened to room temperature for easy mixing, avoiding any lumps in the batter.
-
Don’t Overbake: Keep a close eye on the bars while baking; they should remain soft and chewy in the center. Overbaking leads to a dry texture!
-
Room Temperature Eggs: Using eggs at room temperature helps the batter mix more evenly, contributing to the overall texture of your Peanut Butter Lunch Lady Bars.
-
Proper Measuring: When measuring flour, spoon it into the cup and level it off without packing it down. Incorrect measurements can lead to dense bars.
-
Storage Tips: Keep leftovers in an airtight container at room temperature for up to 3 days or refrigerate to maintain moisture and freshness longer.
How to Store and Freeze Peanut Butter Lunch Lady Bars
Room Temperature: Store the bars in an airtight container at room temperature for up to 3 days to maintain their soft and chewy texture.
Fridge: If you want to keep them longer, refrigerate for up to 1 week in an airtight container. Just bring them to room temperature before enjoying!
Freezer: For longer storage, slice the bars, wrap them individually, and place them in an airtight freezer-safe container. They can be frozen for up to 2 months.
Reheating: When ready to enjoy, simply thaw them in the fridge overnight or let them sit at room temperature for an hour. You can also warm them slightly in the microwave for that fresh-baked feel!
What to Serve with Nostalgic Peanut Butter Lunch Lady Bars
These delightful treats are perfect for creating a full meal experience that warms the heart and satisfies the sweet tooth.
-
Creamy Milkshake: A thick, creamy milkshake perfectly balances the sweetness of the bars, making it a comforting duo that reminds you of childhood treats.
-
Fresh Fruit Salad: Bright, juicy fruit adds a refreshing contrast to the rich, sweet bars, making every bite a delightful blend of flavors.
-
Vanilla Ice Cream: The creamy, cool ice cream paired with these Peanut Butter Lunch Lady Bars creates a contrasting temperature and texture for an irresistible treat.
-
Chocolate Milk: An indulgent glass of chocolate milk enhances the bars’ rich chocolate frosting while giving you that cozy, nostalgic feeling.
-
Coffee or Espresso: A warm cup of coffee complements the sweetness and balances the flavors, making it a perfect afternoon snack pairing.
-
Brownie Sundae: Stack these bars with a scoop of brownie ice cream, drizzled with hot fudge, for an extra decadent dessert experience that will impress guests.
-
Warm Cinnamon Apples: The warm spice of cinnamon apples creates a comforting pairing that heightens the nostalgic flavor profile of the bars.
-
Peanut Butter Milk: Use the leftover peanut butter to whip up a creamy peanut butter milkshake that echoes the flavor of your bars deliciously!
Make Ahead Options
These Peanut Butter Lunch Lady Bars are ideal for meal prep, letting you savor their delightful flavors with minimal fuss! You can prepare the cookie base up to 24 hours in advance; simply bake and cool it before covering tightly with plastic wrap or foil to keep it fresh. The peanut butter layer can also be spread on top before refrigerating, ensuring it remains creamy when you’re ready to enjoy. For the chocolate frosting, make it up to 3 days ahead and store it in an airtight container in the fridge. When you’re ready to serve, simply let the frosting sit at room temperature for a few minutes, then spread it over the bars for just as delicious, nostalgic treats that save you time during busy weeknights!
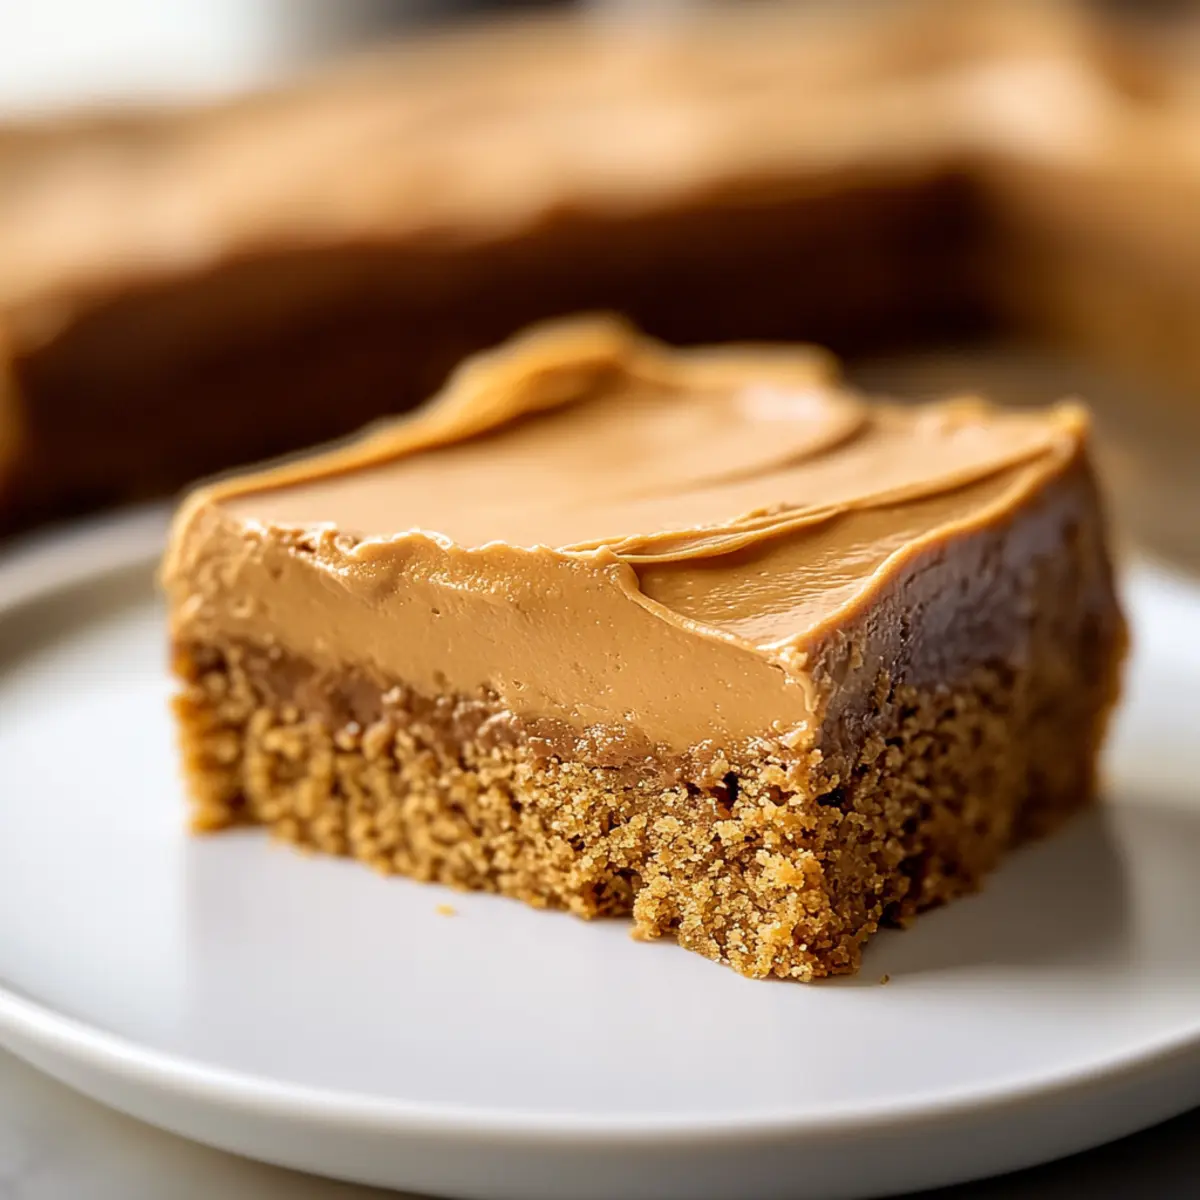
Peanut Butter Lunch Lady Bars Recipe FAQs
What type of peanut butter should I use for the bars?
Absolutely! For the best results, use creamy peanut butter as it provides the ideal flavor and texture. Do not substitute with natural peanut butter, as it contains oils that can affect the consistency and moisture of the bars.
How should I store the Peanut Butter Lunch Lady Bars?
To keep your bars deliciously soft, store them in an airtight container at room temperature for up to 3 days. If you want to extend their freshness, you can refrigerate them for up to a week. Just remember to bring them back to room temperature before you dive in!
Can I freeze the Peanut Butter Lunch Lady Bars?
Very! To freeze your bars, first, slice them into squares and wrap them individually using plastic wrap or parchment paper. Place them in an airtight freezer-safe container, and they will stay fresh for up to 2 months. When you’re ready to enjoy, simply thaw in the fridge overnight or let them sit at room temperature for about an hour.
What if my bars turn out dry or crumbly?
If your Peanut Butter Lunch Lady Bars come out dry, it could be due to overbaking or incorrect flour measurements. Ensure you’re measuring flour correctly (spooned and leveled, not packed) and keep an eye on the baking time—20–22 minutes is key, and they should still be soft in the center!
Are these bars suitable for people with nut allergies?
I recommend not serving these bars to anyone with nut allergies, as they contain peanut butter and could pose a risk. Instead, consider making a similar treat using sun butter, which offers a nut-free alternative that mimics the deliciousness of peanut butter!
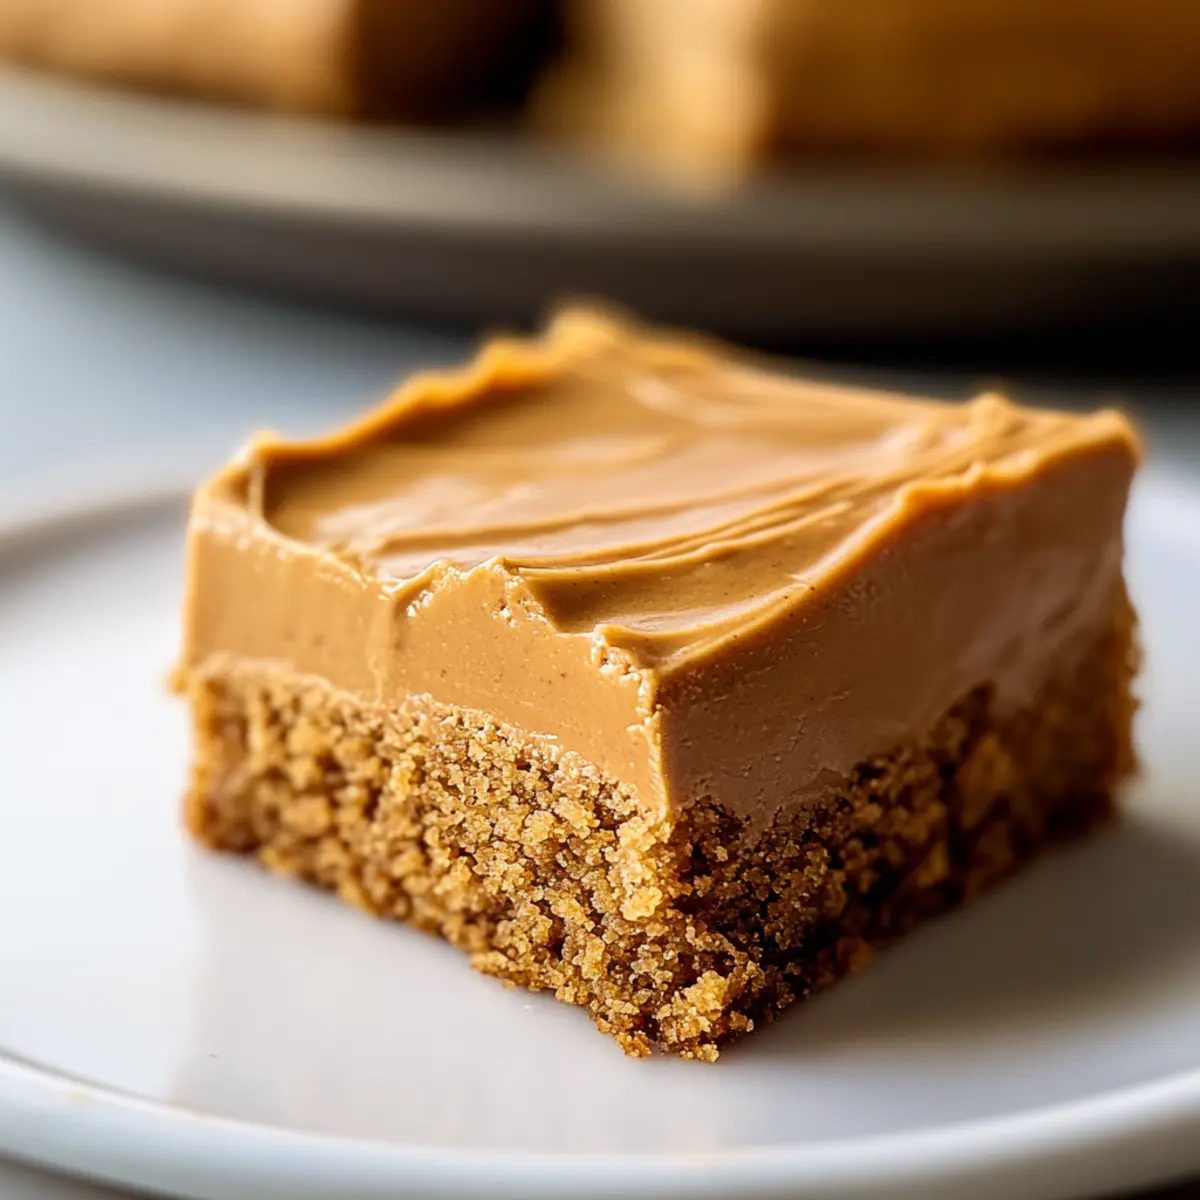
Irresistible Peanut Butter Lunch Lady Bars You'll Love
Ingredients
Equipment
Method
- Preheat your oven to 350°F (175°C) and prepare a 10x15-inch jelly roll pan by lining with parchment paper.
- In a large mixing bowl, cream together the unsalted butter, granulated sugar, and light brown sugar until light and fluffy. Add eggs one at a time, then stir in vanilla extract.
- In a separate bowl, whisk together flour, baking soda, and salt. Gradually add to wet ingredients, being careful not to overmix. Fold in quick oats.
- Spread the batter into the prepared pan and bake for 20-22 minutes until edges are golden.
- Allow the bars to cool for 10 minutes, then spread a layer of creamy peanut butter on top while still warm.
- To prepare frosting, melt chocolate chips and heavy cream in a saucepan over low heat, stirring until smooth, then cool slightly.
- Pour frosting over cooled bars, spread evenly, and allow to set at room temperature for at least 30 minutes.
- Cut the bars into squares and enjoy!
Leave a Reply