
The moment I took a bite of these no-bake chocolate peanut butter bars, I was transported back to my childhood—a blissful time filled with carefree afternoons and sweet treats. These bars perfectly balance sweet and salty flavors, offering a creamy texture complemented by a satisfying crunch. Ideal for anyone looking for a quick dessert fix, this gluten-free recipe is not only simple to whip up but also a breeze to customize. You can swap in different nut butters or chocolate varieties according to your cravings! Whether you’re indulging after a long day or preparing a delightful snack for a gathering, these bars promise to be a hit. Curious about how to transform a few pantry staples into this delightful treat? Let’s dive into the recipe!
Why Choose No-Bake Bars?
Simplicity: Making these bars is incredibly easy, requiring no special equipment or extensive baking skills; just mix, press, and chill!
Decadent Flavor: The combination of rich chocolate and creamy peanut butter creates a flavor explosion that will satisfy any sweet tooth.
Endless Variations: Feel free to swap nut butters or mix in your favorite add-ins like dried fruit or nuts for a personal touch.
Crowd-Pleaser: These bars are perfect for parties, providing a gluten-free dessert that everyone will love, as delicious as Sheet Pan Meatballs or a delightful snack on their own.
Quick to Make: With minimal prep time, you’ll have a delightful treat ready in no time—ideal for busy weekdays.
Storage Friendly: Enjoy them fresh or store in your fridge for a week, so you always have a tasty snack ready when cravings hit!
No-Bake Chocolate Peanut Butter Bars Ingredients
For the Base
- Peanut Butter – A creamy spread that provides rich flavor; almond or cashew butter can be swapped for a unique twist.
- Oats – Adds structure and chewiness; opt for gluten-free oats to keep this recipe gluten-free.
- Honey or Maple Syrup – Acts as a natural sweetener and binds the ingredients; agave syrup works for a vegan alternative.
- Cocoa Powder – Delivers a deep chocolate flavor; carob powder is a caffeine-free alternative if desired.
For the Topping
- Chocolate Chips – Create a luscious topping for sweetness and texture; feel free to use dark chocolate or dairy-free options for variation.
These No-Bake Chocolate Peanut Butter Bars are a delightful treat that can satisfy cravings without the oven’s hassle. Enjoy experimenting with different variations to find your perfect flavor combination!
Step‑by‑Step Instructions for No-Bake Chocolate Peanut Butter Bars
Step 1: Mixing the Base
In a large mixing bowl, combine 1 cup of oats, 1/2 cup of cocoa powder, and 1 cup of peanut butter. Use a spatula to blend these ingredients thoroughly until the mixture becomes a cohesive, thick batter. This should take about 2-3 minutes. Ensure the oats are evenly coated and the cocoa powder is well-distributed, resulting in a rich, chocolatey base for your no-bake chocolate peanut butter bars.
Step 2: Sweetening the Mixture
Gradually drizzle in 1/2 cup of honey or maple syrup while stirring the mixture continuously. This will help bind the ingredients together and add a delightful sweetness to your no-bake bars. Make sure the mixture is well combined—you’ll know it’s ready when it holds together nicely when pressed between your fingers. This process should take around 2 minutes, resulting in a thick, sticky consistency.
Step 3: Pressing into the Dish
Line an 8×8-inch baking dish with parchment paper, allowing some overhang for easy removal later. Transfer the mixture from the bowl into the prepared dish. With clean hands or a spatula, firmly press the mixture evenly into the bottom of the dish, creating a smooth, level surface. This should take about 2-3 minutes. Pressing firmly ensures that the bars will maintain their structure once set.
Step 4: Melting the Chocolate
In a microwave-safe bowl, place 1 cup of chocolate chips. Microwave on medium power for 30 seconds, then stir. Continue heating in 15-second intervals, stirring after each, until the chocolate is completely melted and smooth. This should not take more than 1-2 minutes total. Be careful not to overheat, as this can cause the chocolate to seize. The melted chocolate will form a luscious topping for your no-bake chocolate peanut butter bars.
Step 5: Spreading the Chocolate
Once the chocolate is melted, pour it evenly over the pressed peanut butter mixture in the baking dish. Use a spatula to gently spread the chocolate to cover the entire surface, ensuring every corner is coated. This creates a beautiful, glossy finish on your no-bake chocolate peanut butter bars. Allow the chocolate layer to settle for a moment before moving on to the next step.
Step 6: Setting the Bars
Place the baking dish in the refrigerator for at least 2 hours, or until the chocolate topping has hardened and the mixture is firm to the touch. This chilling time allows the flavors to meld and the bars to set perfectly. Keep an eye on the bars; you’ll know they’re ready when they feel solid and hold their shape when gently pressed.
Step 7: Cutting and Serving
Once set, remove the bars from the baking dish using the parchment paper overhang. Place them on a cutting board and use a sharp knife to cut them into squares or rectangles, depending on your desired size. These no-bake chocolate peanut butter bars are now ready to be enjoyed—a perfect snack or dessert for any occasion!
What to Serve with No-Bake Chocolate Peanut Butter Bars
Enhance your dessert experience with delightful pairings that will make your sweet treat even more memorable.
-
Creamy Vanilla Ice Cream: A scoop of vanilla ice cream provides a smooth, rich contrast to the dense texture of the bars. The cool creaminess perfectly balances the chocolate and peanut flavors.
-
Fresh Berries: Juicy strawberries or raspberries add a refreshing zing, cutting through the richness of the bars while introducing a burst of natural sweetness.
-
Crunchy Granola: Sprinkling some crunchy granola on top gives added texture, along with a nutty flavor that pairs beautifully with the creamy bars.
-
Banana Slices: Slices of ripe banana bring a soft, fruity sweetness, enhancing the indulgent experience with each bite. The creaminess of the banana complements the bars perfectly.
-
Nutty Trail Mix: A handful of trail mix with nuts and dried fruits adds a crunchy element and diverse flavors, making for a satisfying snack option alongside your bars.
-
Iced Coffee: For a refreshing beverage, a chilled iced coffee pairs well, providing a bold contrast to the sweetness while keeping you energized.
-
Coconut Whipped Cream: A dollop of coconut whipped cream brings tropical vibes and a light, airy texture that complements the density of the no-bake bars.
-
Chocolate Dipped Pretzels: These sweet and salty snacks make a playful pairing, their crunch and saltiness contrasting with the soft, sweet bars.
-
Spicy Mayo Dip: For a unique twist, serve some spicy mayo dip on the side; the creamy and spicy flavor adds an unexpected depth that surprises the palate.
No-Bake Chocolate Peanut Butter Bars Variations
Feel free to let your creativity shine with these delightful variations that elevate our no-bake chocolate peanut butter bars to new taste heights!
-
Nut Butter Swap: Use almond or sunflower seed butter instead of peanut butter for unique flavors. Each nut butter brings its own richness, giving you a different experience with every bite.
-
Oats Texture Boost: Add in 1/4 cup of crispy rice cereal for an extra crunch. This little twist creates a delightful layered texture while keeping the bars gluten-free.
-
Sweetener Options: Swap honey or maple syrup for agave syrup to make these bars vegan-friendly. The flavor remains rich and delightful while catering to different dietary needs.
-
Cocoa Alternatives: If you’re looking for a caffeine-free option, substitute cocoa powder with carob powder. Carob adds a unique sweetness and changes the flavor profile beautifully.
-
Chocolate Variety: Drizzle white chocolate over the top for a stunning presentation. This sweet addition contrasts nicely with the rich chocolate, making it a gourmet treat!
-
Fruit Add-ins: Stir in some dried cranberries or chopped dates for a fruity twist. These ingredients not only add natural sweetness but also enhance the texture, making for a delightful surprise in every bite.
-
Spice it Up: For a little heat, sprinkle in some cayenne pepper or chili powder. This unexpected kick will take the flavor to another level, offering an exciting contrast to the sweetness.
-
Nutty Crunch: Add 1/2 cup of chopped peanuts or walnuts for a crunchier bar. The added nuttiness brings another layer of flavor, making these bars truly irresistible.
With these variations, you can turn a simple treat into a masterpiece tailored just for you. Happy experimenting, and if you want more delicious ideas, check out my recipes for Tahini Pasta Lemon or Peach Bruschetta Whipped!
Storage Tips for No-Bake Chocolate Peanut Butter Bars
-
Fridge: Store the bars in an airtight container in the refrigerator for up to 7 days. This keeps them fresh and ready for quick snacks or desserts.
-
Freezer: For longer storage, freeze the bars wrapped tightly in plastic wrap or in an airtight container for up to 3 months. Thaw in the fridge when you’re ready to enjoy.
-
Serving: When ready to serve, you can either enjoy them cold directly from the fridge or let them sit at room temperature for a few minutes for a softer texture.
-
Reheating: If you prefer a warm treat, simply microwave each bar for about 10–15 seconds, making sure to watch closely to avoid melting the chocolate topping too much.
Expert Tips for No-Bake Bars
-
Room Temperature Ingredients: Ensure all ingredients are at room temperature; this facilitates easier mixing and helps create a smooth batter for your no-bake chocolate peanut butter bars.
-
Firm Pressing: Press the mixture firmly into the baking dish to achieve a denser bar. A firm base will hold the bars together beautifully once set.
-
Chocolate Melting: Melt chocolate chips carefully in the microwave using 30-second intervals. Avoid overheating, as this can cause the chocolate to seize, ruining your topping.
-
Storage Solutions: Store the bars in an airtight container in the refrigerator to maintain their freshness for up to a week. Alternatively, freeze for longer storage.
-
Customize Wisely: Feel free to explore variations by swapping ingredients, like different nut butters or chocolate types. Keep in mind that adjustments may affect texture and flavor balance.
Make Ahead Options
These No-Bake Chocolate Peanut Butter Bars are perfect for meal prep enthusiasts! You can mix the base and press it into the baking dish up to 24 hours in advance, simply covering it with plastic wrap to keep it fresh in the refrigerator. Additionally, the chocolate topping can be melted and stored separately for up to 3 days in an airtight container at room temperature. When you’re ready to serve, just reheat the chocolate gently if needed, spread it over the set base, and refrigerate until firm again. This way, you’ll have these delicious bars ready to enjoy with minimal effort, making them an ideal treat for busy weeknights!
No-Bake Chocolate Peanut Butter Bars Recipe FAQs
How do I choose ripe ingredients for my no-bake chocolate peanut butter bars?
For the best flavor, use creamy, natural peanut butter with a smooth texture and no added sugars or preservatives. When selecting oats, look for ones that are whole and unprocessed. If you’re using honey or maple syrup, choose pure, organic options for maximum taste and quality.
What is the best way to store my no-bake chocolate peanut butter bars?
Store the bars in an airtight container in the refrigerator for up to 7 days. This keeps them fresh, chewy, and ready for snacking. If you can’t consume them within that time, wrap them tightly in plastic wrap and freeze for up to 3 months. Thaw in the fridge before serving for the best texture.
Can I freeze no-bake chocolate peanut butter bars?
Absolutely! To freeze, wrap each bar individually in plastic wrap to prevent freezer burn, then place them in an airtight container. When you’re ready to enjoy a bar, simply remove it from the freezer and let it thaw in the fridge for several hours or overnight. They will maintain their delicious chocolatey flavor and creamy texture!
What should I do if my mixture is too crumbly?
If your mixture feels too crumbly, don’t worry! Just add a little more peanut butter (a tablespoon at a time) or sweetener like honey or maple syrup until your mixture holds together better. Press it firmly into the dish as you go. Remember, the mixture should have a thick, sticky consistency for perfect bars.
Are there any dietary considerations for making these bars?
Yes! If you’re accommodating dietary restrictions, use gluten-free oats to keep the recipe safe for gluten-sensitive individuals. For a vegan alternative, switch out honey for agave syrup and use dairy-free chocolate chips. Furthermore, if anyone has nut allergies, try using sunflower seed butter instead of peanut or nut butters.
What can I do if the chocolate topping is too thick or seizes up?
If your chocolate seizes up or becomes too thick when melting, add a teaspoon of coconut oil to the chocolate while melting. This will loosen it up and make it easier to spread over your bars. Remember to melt in short intervals and stir frequently to achieve a smooth consistency!
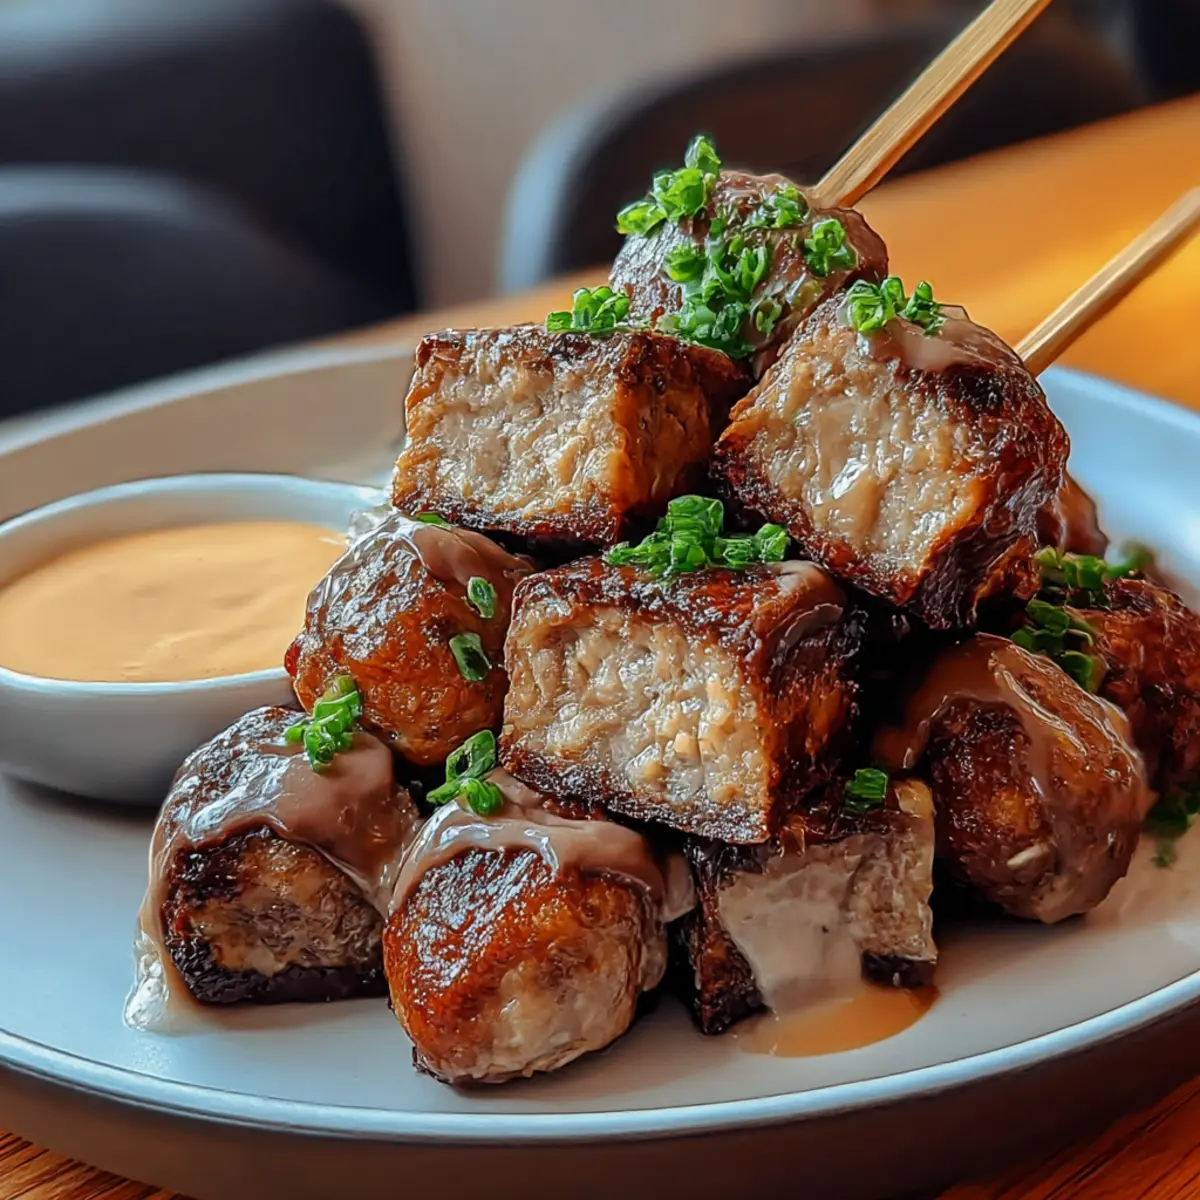
Savory Korean BBQ Meatballs with Spicy Mayo Dip You’ll Love
Ingredients
Equipment
Method
- In a large mixing bowl, combine oats, cocoa powder, and peanut butter, mixing until cohesive.
- Gradually drizzle in honey or maple syrup while stirring until well combined.
- Line an 8x8-inch baking dish with parchment paper and firmly press the mixture evenly into the bottom.
- In a microwave-safe bowl, melt chocolate chips in intervals, stirring until smooth.
- Pour and spread the melted chocolate over the pressed mixture, ensuring even coverage.
- Refrigerate for at least 2 hours until the chocolate has hardened.
- Remove from the dish using the parchment paper, cut into squares or rectangles, and enjoy.
Leave a Reply