
“Have you ever felt the sheer joy of crafting something delicious from scratch?” This experience is exactly what you’ll find with my Homemade California Crunch Roll Sushi. In just a few simple steps, you’ll be enjoying vibrant sushi rolls filled with creamy avocado, fresh cucumber, and savory imitation crab, all topped with a delightful crunch from tempura flakes. Not only is this a fun cooking project that you can customize to suit your tastes—think spicy twists or vegetarian delights—but it’s also a healthier alternative to takeout sushi. Dive into this colorful dish and impress friends and family with your impressive sushi-making skills. So, are you ready to roll up your sleeves and get started on your culinary adventure?
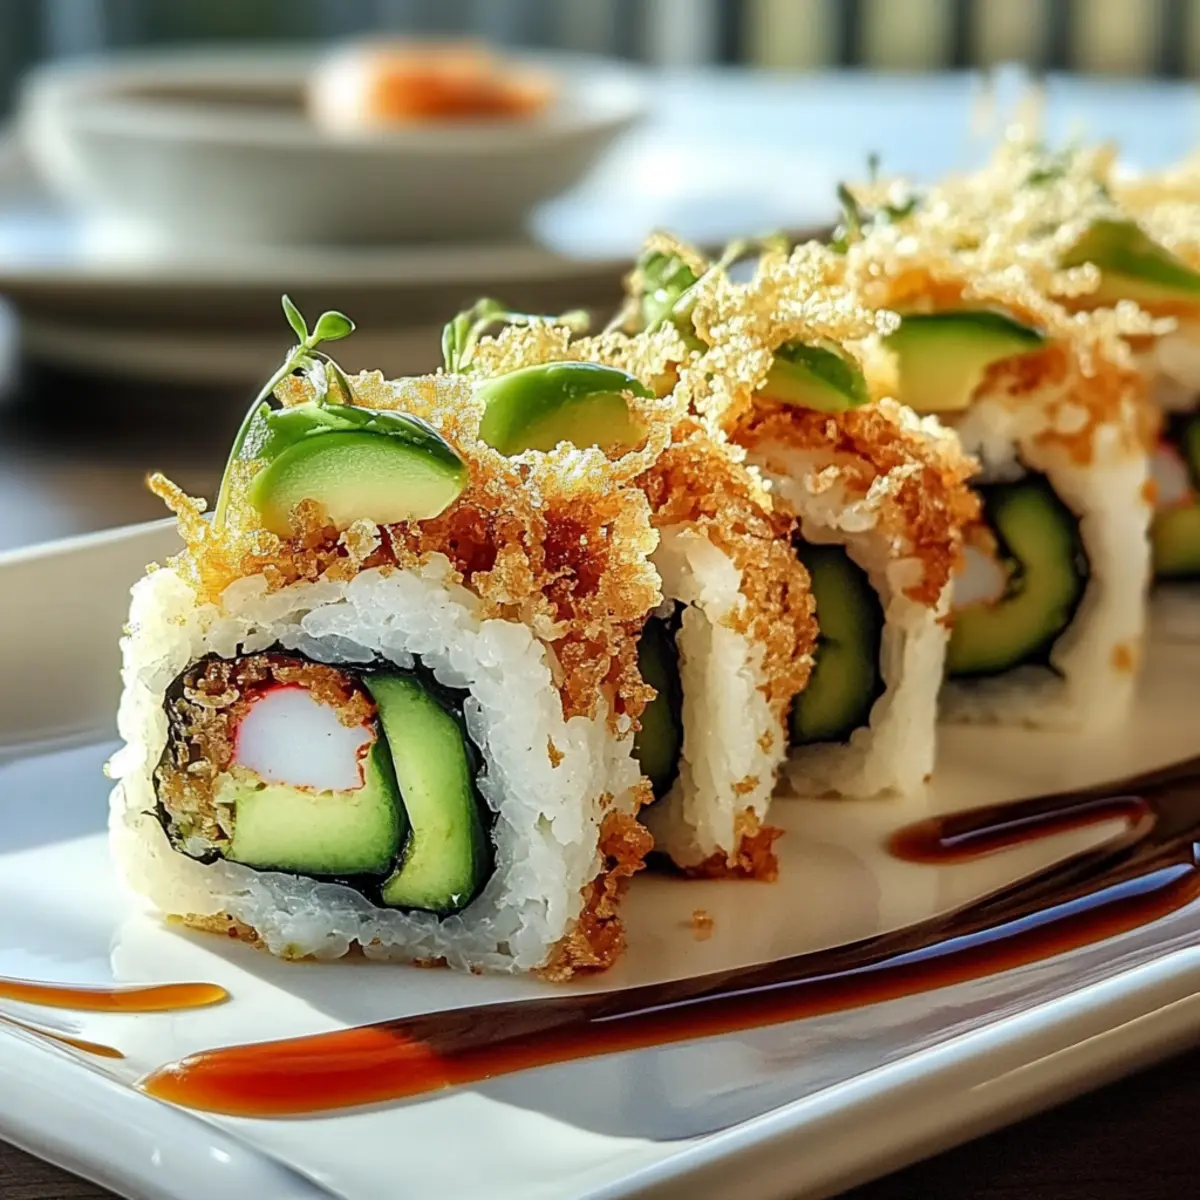
Why Make Homemade California Crunch Roll Sushi?
Endless Customization: Create your ideal sushi experience! Whether you’re craving a spicy kick or a vegetarian delight, this recipe lets you personalize every aspect.
Freshness Guaranteed: Enjoy the satisfaction of using fresh, high-quality ingredients tailored to your taste.
Fun Activity: Sushi rolling is a social experience! Gather your friends or family for a memorable cooking night.
Healthier Option: Ditch fast food and indulge in a wholesome meal that’s made with love and care—perfectly suited to your dietary needs.
Quick and Easy: In just a matter of minutes, you can whip up delicious sushi at home, just like you would with Sushi Stacks Flavorful.
Homemade California Crunch Roll Sushi Ingredients
For the Sushi Rice
• Short-Grain White Rice – This type of rice provides the sticky texture essential for sushi; rinse until the water runs clear to achieve perfect results.
• Rice Vinegar – Adds a tangy flavor; essential for seasoning and balancing the rice’s sweetness.
• Sugar – Enhances the rice’s flavor; helps in creating that delightful sushi taste.
• Salt – Balances flavors and improves overall taste.
For the Fillings
• Imitation Crab – Offers a sweet seafood flavor; substitute it with real crab meat, shrimp, or tofu for your preferred taste in homemade California Crunch Roll Sushi.
• Cucumber – Delivers a refreshing crunch; feel free to swap it out for any firm vegetable you like.
• Avocado – Provides a creamy texture; make sure it’s ripe for easy rolling.
For the Topping
• Tempura Flakes – Add that irresistible crunch on top; you can buy them ready-made or prepare fresh at home for added flavor.
• Spicy Mayo (mayonnaise and sriracha) – Enhances flavor with a spicy kick, customizable for your heat preference; swap sriracha with sweet chili sauce if you prefer something milder.
Optional Variations and Add-Ons
• Soy Paper – A milder alternative to nori for those who want a different taste experience.
• Fruits (like mango or pineapple) – For those adventurous palates, these add a tropical flair that complements the savory elements beautifully.
Cooking up your own Homemade California Crunch Roll Sushi is not only rewarding but also an opportunity to explore different flavors as you create your perfect roll!
Step‑by‑Step Instructions for Homemade California Crunch Roll Sushi
Step 1: Prepare the Sushi Rice
Begin by rinsing 2 cups of short-grain white rice under cold water until the water runs clear, which removes excess starch. Cook the rice in a rice cooker or on the stove following the package instructions—usually about 18-20 minutes until tender. Once cooked, transfer to a large bowl, and gently fold in a mixture of rice vinegar, sugar, and salt. Allow the rice to cool to room temperature.
Step 2: Prep Your Fillings
While the rice cools, prepare your fillings for the Homemade California Crunch Roll Sushi. Carefully slice half a cucumber into thin matchsticks and cut one ripe avocado into slices. If using imitation crab, shred it into manageable pieces. Arrange these colorful ingredients within easy reach to streamline your sushi assembly process.
Step 3: Assemble the Sushi Rolls
Lay a sheet of nori shiny-side down on a bamboo sushi mat. Wet your hands to prevent sticking, and take a handful of sushi rice, spreading it evenly over the nori, leaving about an inch of space at the top. Layer your fillings of cucumber, avocado, and imitation crab in a line across the rice.
Step 4: Roll the Sushi
Using the bamboo mat, carefully lift the edge closest to you and start rolling the sushi away from you. Apply gentle pressure to keep the roll tight, ensuring that the fillings stay secure. Once rolled, use a little water to seal the edge of the nori so it sticks.
Step 5: Cut the Rolls
With a sharp knife, wet the blade before cutting to prevent the rice from sticking. Slice the roll into bite-sized pieces, about an inch thick. Aim for clean cuts to showcase the beautiful fillings inside your Homemade California Crunch Roll Sushi.
Step 6: Garnish with Tempura Flakes
After slicing the rolls, sprinkle tempura flakes on top of each piece for that irresistible crunch. If desired, drizzle some spicy mayo over the top for an extra kick. Present your homemade creations on a serving platter to impress your family or guests with this delightful dish.
Step 7: Serve and Enjoy
Serve your Homemade California Crunch Roll Sushi immediately with soy sauce, extra spicy mayo, or pickled ginger. This sushi is best enjoyed fresh, so gather everyone around the table to relish the vibrant flavors and textures you’ve crafted together.
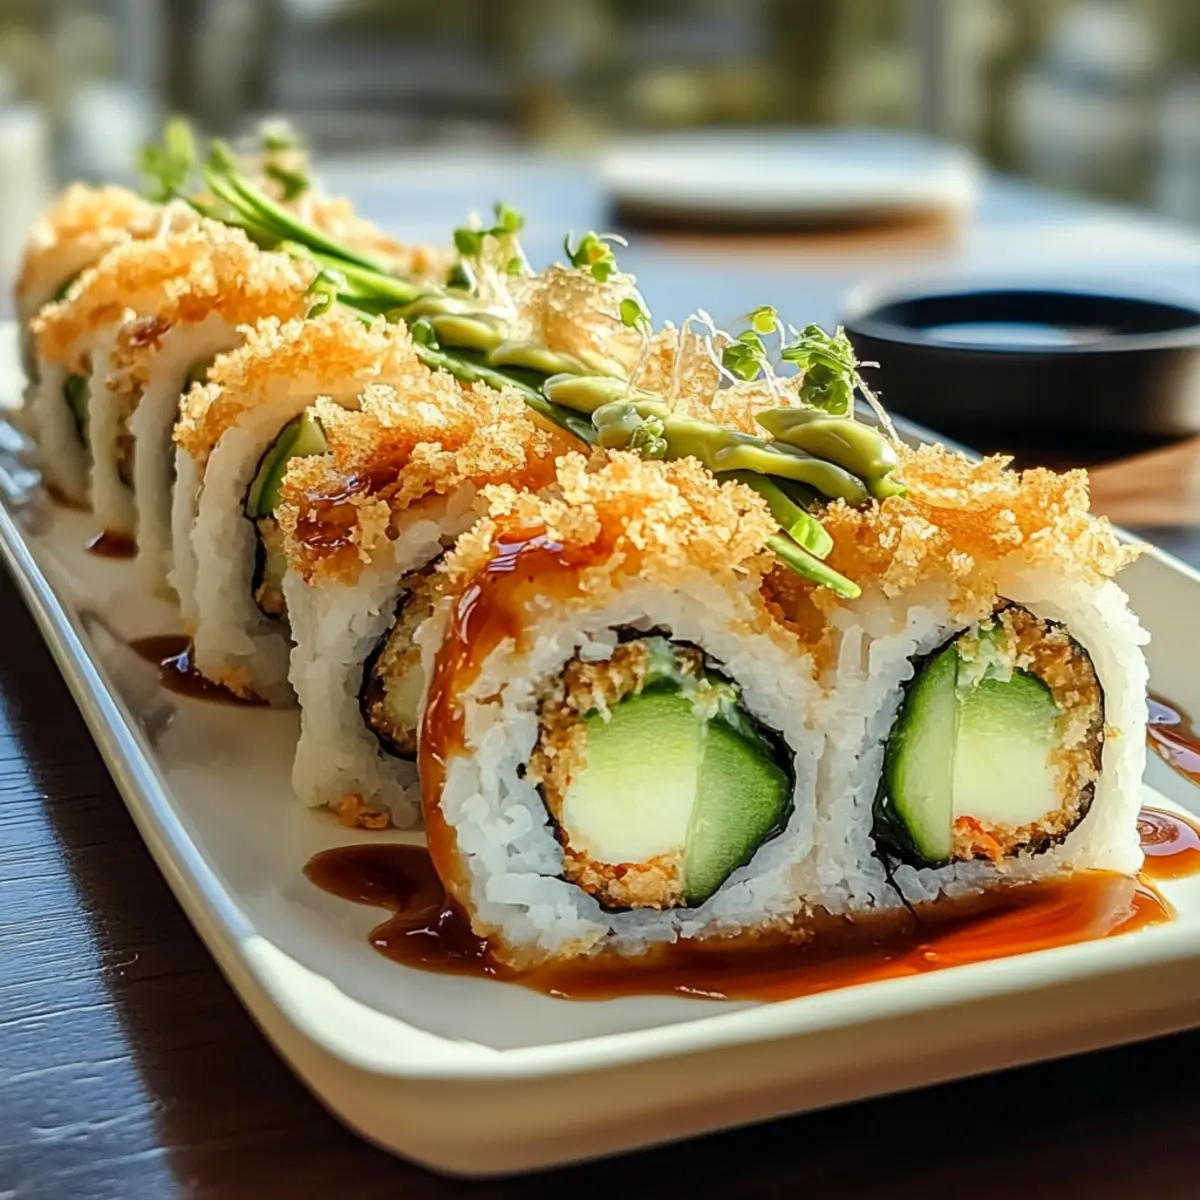
How to Store and Freeze Homemade California Crunch Roll Sushi
Fridge: Keep leftover sushi tightly wrapped in plastic wrap or in an airtight container for up to 24 hours to retain freshness and prevent drying out.
Freezer: While not recommended for freezing homemade California Crunch Roll Sushi, if needed, you can freeze uncut rolls for a short period, but they may lose texture; best used within a week.
Reheating: Sushi is best enjoyed fresh; however, if reheating is necessary, do so in the microwave for just a few seconds, avoiding overcooking the rice.
Serving Fresh: Enjoy your homemade California Crunch Roll Sushi cold or at room temperature, as this enables the full flavor profile of your ingredients.
Expert Tips for Homemade California Crunch Roll Sushi
-
Wet Your Tools: Keep your fingers and bamboo mat damp while handling rice to prevent sticking, ensuring a smooth rolling process.
-
Balance Fillings: Avoid overloading your sushi! Too many fillings can make it difficult to roll tightly and evenly, compromising the integrity of your homemade California Crunch Roll Sushi.
-
Rice Consistency: Aim for perfectly cooked and tender rice—check package instructions for water ratios and cooking time. Too much water can lead to mushy rice.
-
Quality Ingredients: Use sushi-grade imitation crab or shrimp for the best flavor and texture, elevating your homemade California Crunch Roll Sushi experience.
-
Sharp Knife: Always use a wet, sharp knife for cutting rolls. This prevents tearing and helps maintain the beautiful presentation of your sushi.
-
Chill for Flavor: Let your rolls rest in the refrigerator for 10-15 minutes before slicing for more cohesive flavors and easier handling.
Homemade California Crunch Roll Sushi Variations
Feel free to let your creativity shine and customize your sushi experience with these fun and flavorful twists!
-
Spicy Twist: Add more sriracha to the spicy mayo or replace imitation crab with spicy tuna for an exciting kick. This zesty variation is perfect for those who crave a little heat!
-
Vegetarian Delight: Swap imitation crab for marinated tofu or load up on vibrant vegetables like bell peppers or sweet potatoes. It’s a wonderful way to enjoy sushi while embracing plant-based goodness.
-
Tempura Shrimp: Replace imitation crab with tempura shrimp for a delightful crunch. This adds a nice texture element that takes your sushi to the next level!
-
Fruit-Fusion: Incorporate fresh mango or juicy pineapple slices for a tropical twist that complements the savory elements beautifully. The sweetness of fruit is a delicious surprise in every bite.
-
Crunchy Nori: Mix in crushed seaweed snacks or additional tempura flakes in between layers for extra crunchiness. You can’t go wrong with a textural adventure in every roll!
-
Miso Mayo: Elevate your spicy mayo by mixing in a teaspoon of miso paste for a unique umami flavor. This twist brings an exciting depth that sushi lovers will appreciate.
-
Homemade Hot Sauce: For those who love heat, drizzling your rolls with a homemade hot sauce can add a personal touch. It’s an easy way to elevate the flavor profile!
-
Sushi Stacks: Give your California Crunch Roll a twist by stacking ingredients in layers rather than rolling. Not only does it look stunning, but it’s also a fun way to enjoy sushi differently—try it alongside some Sushi Stacks Flavorful for a new sushi experience!
Whichever variation you choose, your sushi adventure is sure to be memorable!
Make Ahead Options
These Homemade California Crunch Roll Sushi are perfect for busy weeknights or meal prepping! You can prepare the sushi rice and fillings—such as sliced cucumber and avocado—up to 24 hours in advance. Simply store the cooked rice in an airtight container at room temperature and refrigerate your prepped fillings to maintain quality. When you’re ready to assemble, lay out the nori, spread the rice, add your fillings, and roll them tightly. For the freshest taste, garnish with tempura flakes and spicy mayo right before serving. By prepping ahead, you’ll enjoy a delicious, customized sushi feast without the last-minute rush!
What to Serve with Homemade California Crunch Roll Sushi
Elevate your sushi night with delightful side dishes and drinks that balance textures and flavors beautifully.
- Edamame: These steamed young soybeans offer a fresh crunch and are a perfect finger snack to complement your sushi experience.
- Miso Soup: Warm and comforting, this traditional soup enhances your meal’s authenticity with earthy flavors and soothing warmth. A simple, nourishing pairing!
- Seaweed Salad: A tangy and refreshing side, seaweed salad brings a burst of umami and is a great way to introduce more ocean flavor to your meal.
- Pickled Ginger: This sweet and spicy condiment cleanses the palate between bites, making each sushi roll taste even better.
- Tempura Vegetables: Crispy and light, these can add another layer of texture and flavor. Pair them with a dipping sauce for an extra treat!
- Sushi Rolls Varieties: Consider mixing additional rolls, like spicy tuna or a vegetarian mix, for a colorful platter that caters to all tastes.
- Sake or Green Tea: Sipping on sake adds a touch of elegance, while tea offers a soothing counterbalance to the meal, enhancing the overall experience.
- Dessert Option: Try serving mochi ice cream for a fun, chewy dessert that contrasts nicely with the sushi and rounds off the meal.
With these delicious accompaniments, you’re guaranteed a vibrant and satisfying dining experience!
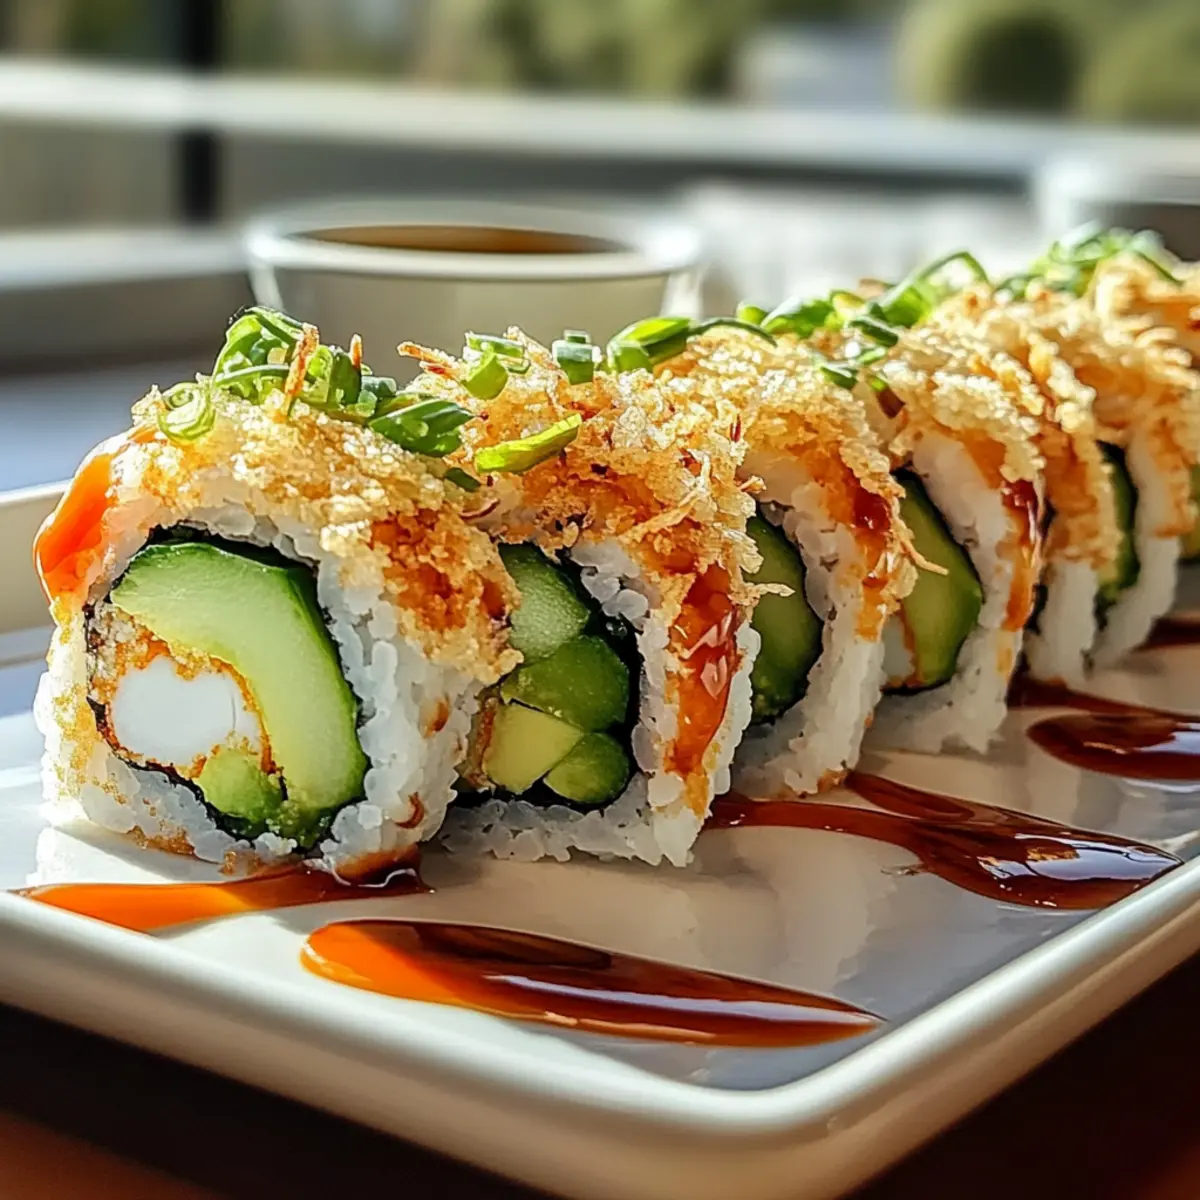
Homemade California Crunch Roll Sushi Recipe FAQs
What type of rice should I use for Homemade California Crunch Roll Sushi?
Absolutely! Short-grain white rice is the best choice for sushi because it provides that essential sticky texture. Rinse the rice until the water runs clear to remove excess starch—this step is key to achieving the perfect sushi rice consistency.
How should I store leftover sushi?
To keep your Homemade California Crunch Roll Sushi fresh, tightly wrap any leftovers in plastic wrap or store in an airtight container. They should be consumed within 24 hours for the best flavor and texture. Avoid refrigerating for longer, as the rice may dry out.
Can I freeze my sushi rolls?
While it’s best to enjoy Homemade California Crunch Roll Sushi fresh, you can freeze uncut rolls for up to one week. To freeze, wrap each roll tightly in plastic wrap and then place them in a freezer-safe bag. When ready to eat, thaw them in the fridge overnight, but be aware that the texture may not be as good as when freshly made.
What do I do if my rolls are falling apart when I cut them?
Very! If your rolls aren’t holding together, it could be that the rice isn’t sticky enough. Make sure you’re using the right type of rice and rinsing it properly. Additionally, wet your knife before cutting to avoid sticking. If you’re loading too many fillings, try reducing them to maintain better integrity while rolling.
Are there any dietary considerations I should keep in mind when making sushi?
Definitely! For those with seafood allergies, consider substituting imitation crab with tofu or a variety of vegetables for a vegetarian roll. Furthermore, always confirm that your ingredients, especially mayo and any sauces used, are free from allergens if preparing for guests with sensitivities.
How can I make my avocado perfectly ripe for sushi?
I often recommend checking an avocado by gently pressing—if it yields slightly, that means it’s ripe and ready for rolling! If it’s hard, leave it at room temperature for a couple more days. You can speed up the ripening process by placing it in a paper bag with an apple or banana, which emits ethylene gas, helping it ripen faster.
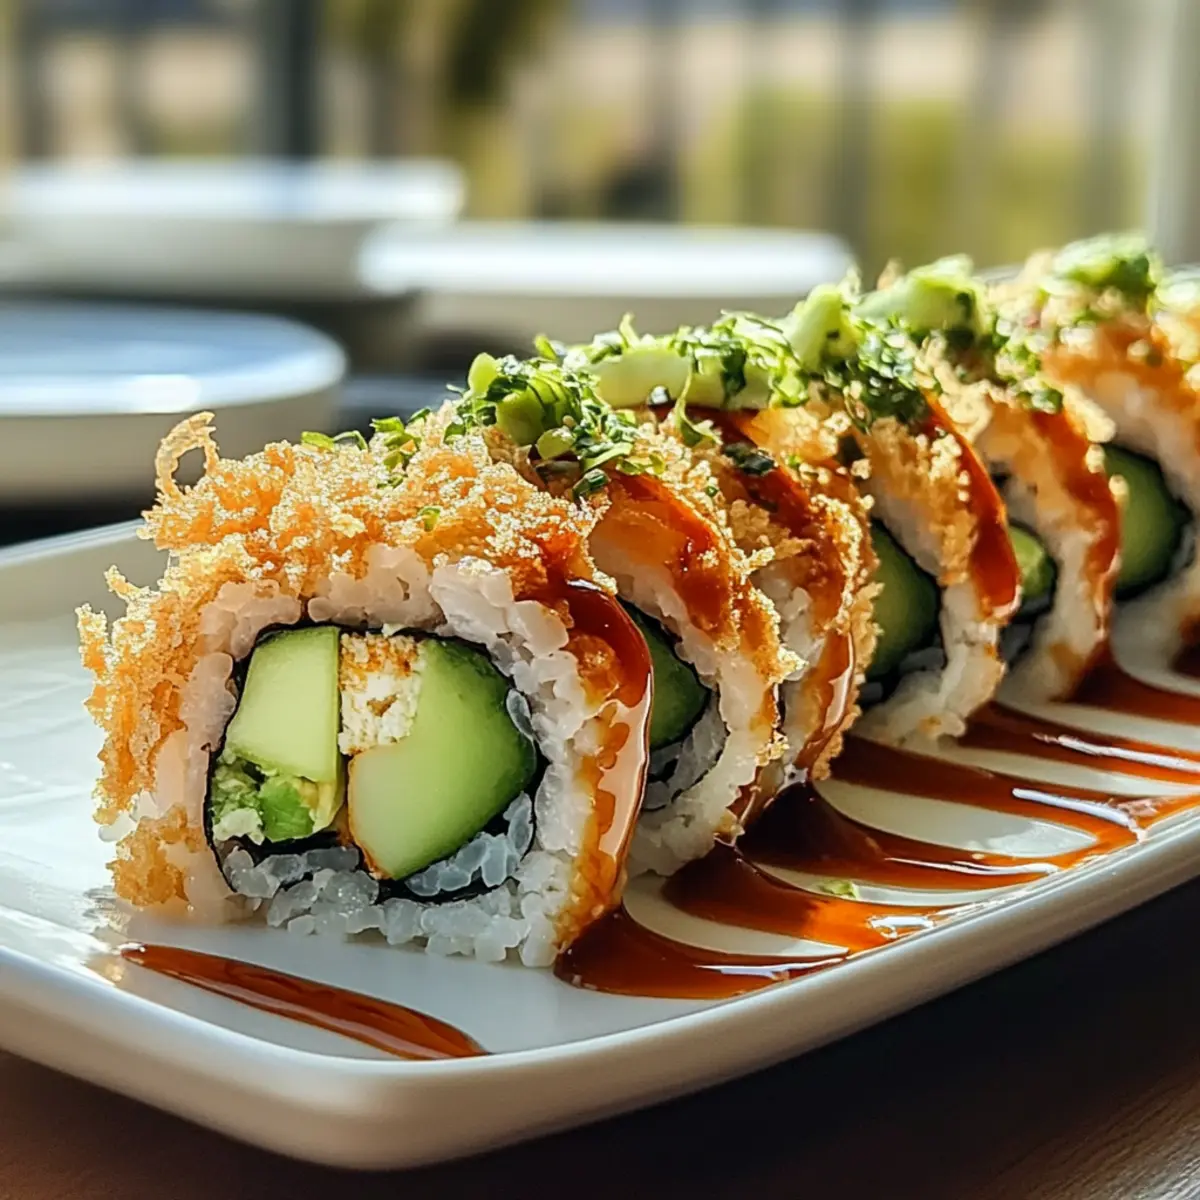
Homemade California Crunch Roll Sushi You Can Customize Today
Ingredients
Equipment
Method
- Rinse the rice until the water runs clear, then cook in a rice cooker or on the stove as per package instructions.
- Mix rice vinegar, sugar, and salt with the cooked rice and let it cool.
- Prep fillings: slice cucumber and avocado, shred imitation crab, and set aside.
- Spread sushi rice over nori, leaving space at the top, and add fillings in a line.
- Roll the sushi tightly with the bamboo mat, sealing the edge with water.
- Cut roll into bite-sized pieces with a wet, sharp knife.
- Garnish with tempura flakes and drizzle spicy mayo before serving.
- Serve immediately with soy sauce or pickled ginger.
Leave a Reply