
Amid the hustle and bustle of Halloween preparations, I stumbled upon a delightful mini-crisis: how to make a showstopping dessert that would capture the attention of kids and adults alike. Enter the whimsical world of Frankenstein Oreo Balls! These no-bake treats combine the comfort of crushed Oreos and creamy cream cheese, all draped in vibrant green melting chocolate. Not only are they easy to whip up in no time, but they’re also a guaranteed hit at any spooky gathering. With room to play around using different Oreo flavors, the opportunities are endless for a fun twist on this Halloween classic. Curious to see how these creepy confections come together? Let’s dive into this ghoulishly good recipe!
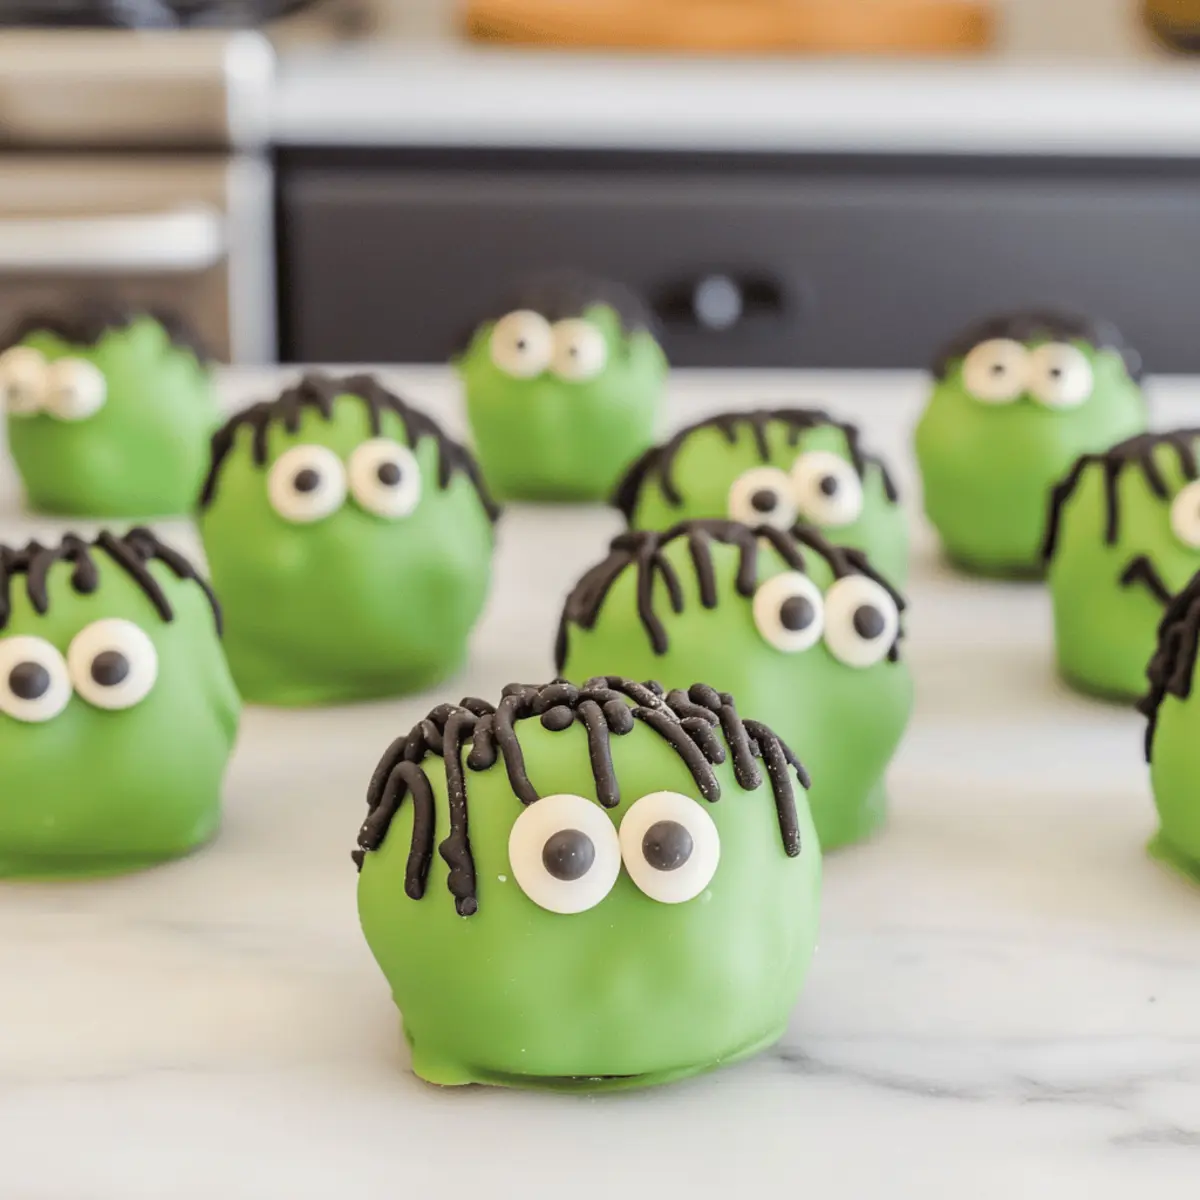
Why Are Frankenstein Oreo Balls So Fun?
Creativity at Play: These treats are a canvas for your imagination! Personalize with various Oreo flavors and themes beyond just Frankenstein.
Easy to Make: No baking required means less prep and cleanup—perfect for busy kitchens during the Halloween rush.
Kid-Friendly Fun: Kids can join in on the decorating, making it a delightful family activity that brings everyone together.
Crowd-Pleasing Appeal: Little ones and adults alike will love these spooky delights, making them an essential part of your Halloween party spread.
Versatile Treats: Pair them with other fun snacks like Cheesy Mashed Potato Balls for a well-rounded dessert table.
Storage Simplified: Keep them fresh in the fridge for up to a week, or freeze for longer-lasting spooky treats!
Frankenstein Oreo Balls Ingredients
• Get ready to create a spooky sensation with these delightful treats!
For the Base
- Oreo – Provides a rich chocolate flavor; experiment with flavored Oreos like mint or peanut butter for a fun twist!
- Cream Cheese – Adds creaminess that binds the crushed Oreos together; make sure it’s softened for easy mixing.
- Vanilla Extract – Enhances sweetness and overall flavor; always opt for pure vanilla for the best results.
For the Coating
- Light Green Melting Wafers – Creates the iconic Frankenstein hue; you can use other colors for a variety of monster-themed treats.
- Black or Dark Chocolate Melting Wafers – Used for facial details; ensure sufficient quantity for precise decorations.
- Crisco Shortening – Adds glossiness to the chocolate coating and helps it set more quickly.
For Decoration
- Black Sprinkles – Fun decorative element for Frankenstein’s hair; long sprinkles work best for this effect.
- Pretzel Sticks – Create amusing “ears” for your Frankenstein design; look for sturdy, straight pieces.
- Candy Eyes – Essential for the finishing touch on the Frankenstein character; readily available in the baking aisle.
Step‑by‑Step Instructions for Frankenstein Oreo Balls
Step 1: Prepare the Oreo Mixture
In a mixing bowl, combine 24 finely crushed Oreo cookies, 8 oz of softened cream cheese, and 1 teaspoon of vanilla extract. Use a spatula to blend the ingredients until you achieve a smooth, dough-like consistency, ensuring no visible chunks remain. This should take about 2-3 minutes, creating a cohesive mixture ready for molding.
Step 2: Shape the Balls
Using a cookie scoop, portion out about 2 tablespoons of the Oreo mixture. Roll the mixture into round balls, then gently flatten the top and bottom to create a small square shape, resembling Frankenstein’s head. Place the shaped balls on a parchment-lined baking sheet, ensuring they have a little space between them, and chill for around 30 minutes in the refrigerator.
Step 3: Chill the Molded Balls
After shaping, transfer the baking sheet with the molded Oreo balls into the refrigerator for at least 1-2 hours. This chilling time allows them to firm up, making the coating process easier. Check for their firmness before proceeding; they should be set enough to hold their shape when dipped.
Step 4: Melt the Green Coating
In a microwave-safe bowl, melt 12 oz of light green melting wafers. Start by heating them in 30-second intervals, stirring after each session until the chocolate is smooth and fully melted. To enhance the gloss, add 1 tablespoon of Crisco shortening, mixing until completely combined and shiny.
Step 5: Dip the Oreo Balls
One at a time, dip each chilled Oreo ball into the melted green chocolate, ensuring even coverage. Use a fork to lift them out, gently scraping off any excess chocolate before placing them back on the parchment-lined baking sheet. Allow the coating to set for a minute before decorating.
Step 6: Decorate with Sprinkles and Eyes
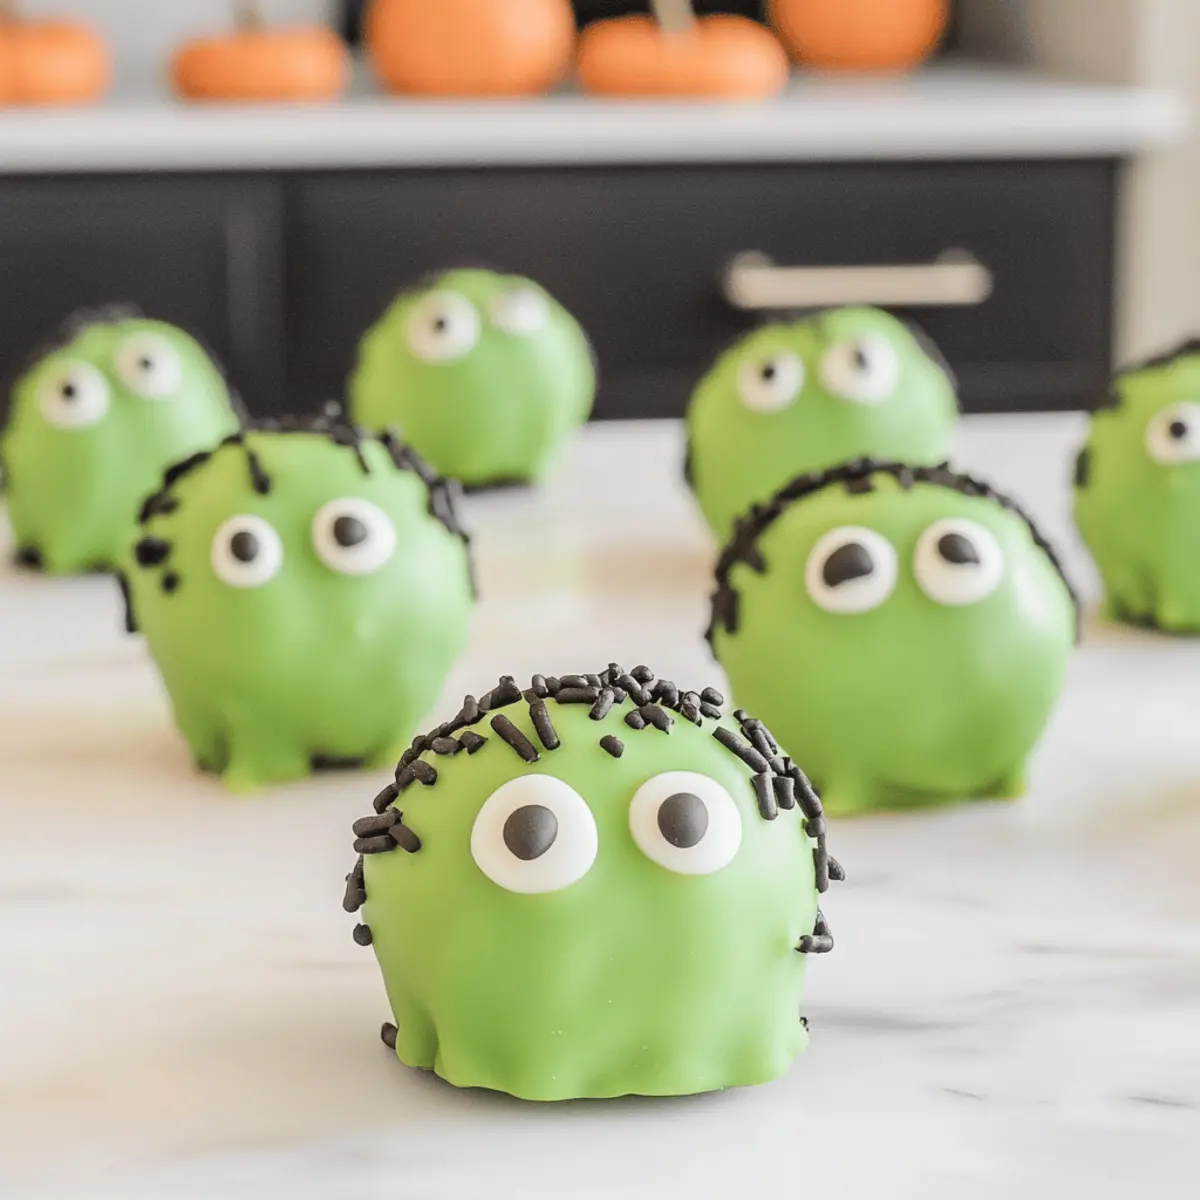
While the green chocolate is still slightly wet, immediately sprinkle one side of each ball with black sprinkles to create Frankenstein’s hair. Place two candy eyes on the other side, pressing them gently into the soft chocolate to ensure they stick. Get creative with placements for a fun look!
Step 7: Add the Ears
Break pretzel sticks to an appropriate length and insert them into the sides of each Oreo ball to create ears for your Frankenstein design. Make sure they’re sturdy but not pushing through the other side. This step gives character to your Frankenstein Oreo Balls, enhancing the whimsical feel.
Step 8: Pipe Facial Features
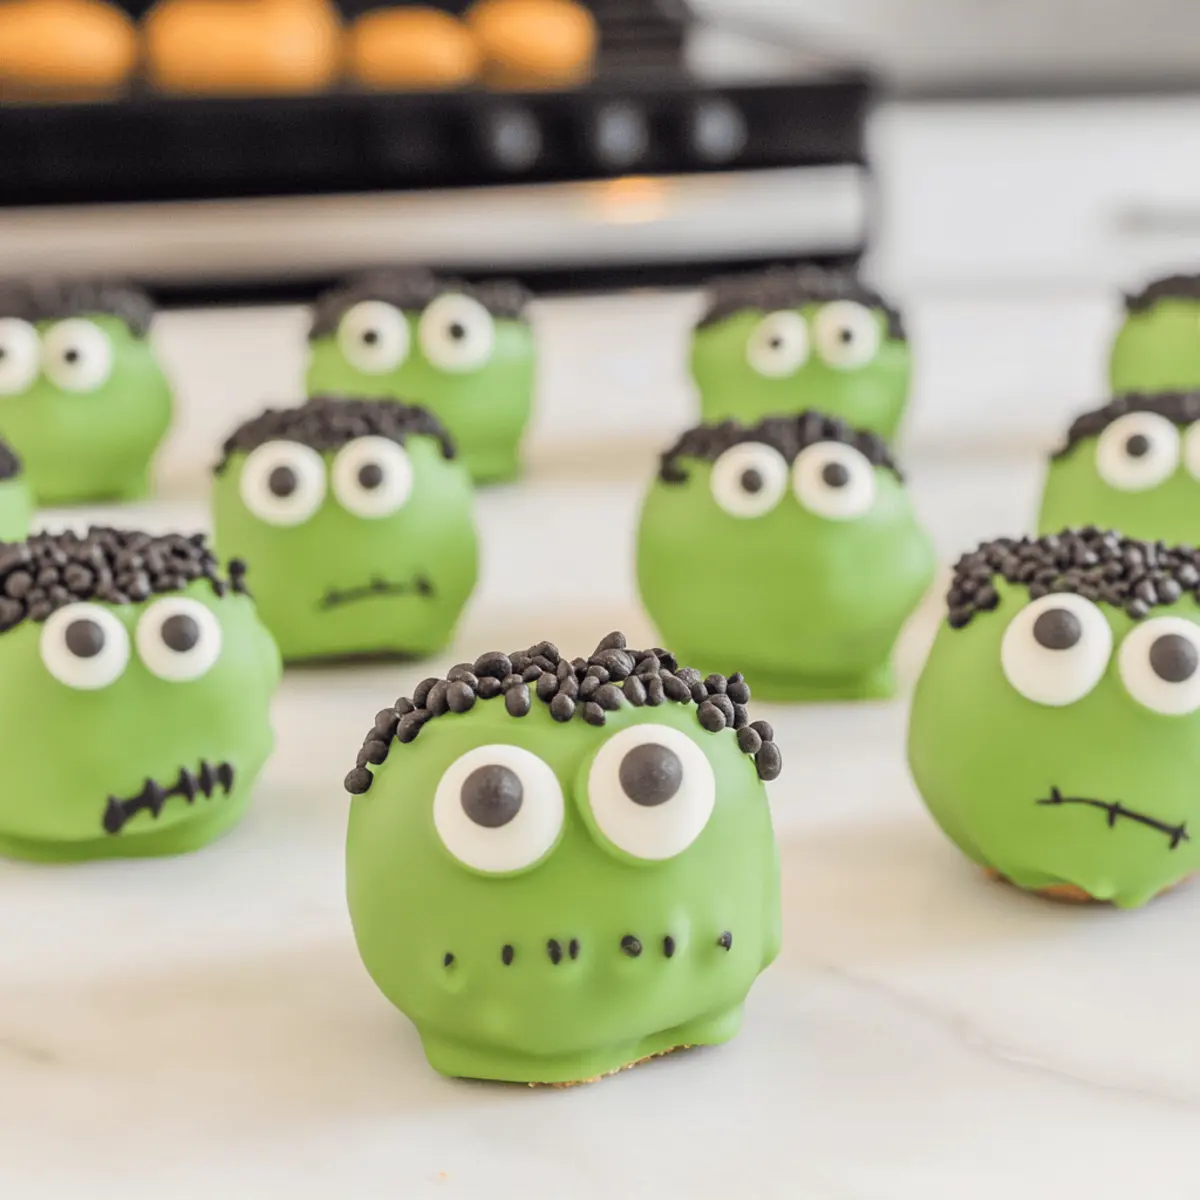
In a small piping bag, melt about 2 oz of dark chocolate. Once melted, carefully pipe tiny facial features like a mouth and eyebrows onto each Oreo ball. You may need to make finer adjustments to achieve the expressions you desire. Work swiftly before the chocolate begins to set!
Step 9: Final Chill and Serve
After decoration, place the Frankenstein Oreo Balls back in the refrigerator for an additional 30 minutes to allow the chocolate to harden fully. Once set, serve them chilled for the best texture and appearance. Enjoy these spooky delights at your Halloween gathering!
Make Ahead Options
These Frankenstein Oreo Balls are perfect for meal prep lovers! You can prepare the Oreo mixture and shape the balls up to 24 hours in advance; simply refrigerate them in an airtight container to maintain their freshness. When you’re ready to serve, just melt the green chocolate coating, dip the chilled balls, and decorate them with sprinkles, candy eyes, and pretzel ears. This way, you save valuable time on Halloween day and ensure that these spooky treats are just as delicious! If you prefer, the decorated Oreo balls can also be made ahead and stored in the fridge for up to 3 days or frozen for 3-5 months for efficient party planning.
How to Store and Freeze Frankenstein Oreo Balls
Fridge: Keep your Frankenstein Oreo Balls in an airtight container in the refrigerator for up to one week. This will ensure they stay fresh and delicious for your Halloween festivities.
Freezer: If you want to save some for later, place them in a freezer-safe container. They can be frozen for 3-5 months. Just remember to thaw in the fridge for a few hours before serving!
Reheating: There’s no need to reheat these no-bake treats, but if they’ve been frozen, allow them to sit at room temperature to re-soften before serving.
Wrapping: For best results, wrap each Oreo ball in plastic wrap before placing them in a container if you’re storing them for longer periods. It helps prevent freezer burn and keeps their texture perfect!
Expert Tips for Frankenstein Oreo Balls
Crushing Oreos: Use a food processor for a fine crumb texture; if using a Ziploc bag, crush gently to avoid big chunks.
Melt Chocolate Carefully: Heat in small increments to prevent burning; stirring frequently ensures an even melt and glossy finish for your Frankenstein Oreo Balls.
Chilling is Key: Allow the Oreo balls to chill adequately; this step helps them maintain their shape when coated and decorated.
Piping Features: Work quickly with the melted chocolate for facial expressions; a steady hand creates charming details on your spooky treats.
Decorating Strategy: Decorate before the coating sets; placing sprinkles and candy eyes on wet chocolate ensures they stick perfectly!
What to Serve with Frankenstein Oreo Balls
These charming treats not only steal the spotlight but can also be complemented perfectly with delightful pairings, ensuring a memorable Halloween spread.
-
Witch’s Brew Hot Chocolate: A rich and creamy drink topped with whipped cream, it adds warmth to your Halloween festivities while delighting the senses.
-
Ghoulish Gummies: These colorful gummy candies provide a fun, chewy contrast to the creamy texture of the Oreo balls, making snacking a playful experience.
-
Crispy Apple Slices: Crunchy apple slices drizzled with caramel or chocolate offer a refreshing and sweet balance to the spooky treats, enhancing flavor variety.
-
Pumpkin Spice Cupcakes: With their moist, spiced flavor and frosted tops, these cupcakes create a seasonal touch that matches the Halloween theme beautifully.
-
Caramel Popcorn: The crunchy, sweet bites of caramel popcorn are an addictive snack that contrasts wonderfully with the creamy, rich Oreo balls, creating texture harmony on your dessert table.
-
Chilling Cider: Serve chilled apple cider with cinnamon sticks for a festive drink that perfectly complements the flavors of Halloween, uniting both kids and adults alike.
-
Spooky Cheese Plate: Include an assortment of cheeses, crackers, and finger foods for a savory touch, balancing out the sweetness of your Frankenstein Oreo Balls.
Frankenstein Oreo Balls Variations
Feel free to unleash your creativity and personalize these spooky treats with delightful twists!
-
Flavorful Oreos: Use any flavor of Oreos, such as peanut butter or mint, for a unique spin on the classic. The flavor combinations can take your Halloween treats to a new level of deliciousness!
-
Minty Freshness: Add a splash of mint extract into the mixture for a refreshing touch that pairs wonderfully with chocolate. Just a little can elevate your Frankenstein Balls without overwhelming them.
-
Colorful Coatings: Switch up the light green melting wafers for other colors to create a rainbow of monster themes. Consider orange for pumpkins or purple for a witchy vibe!
-
Decorative Details: Get fancy and use colorful frosting to draw fun designs or spooky messages on your Frankenstein Balls. This added layer of creativity makes for an even more enjoyable family activity.
-
Cake Pop Style: Transform the Oreo balls into cake pops by placing them on sticks and coating them in chocolate. These fun versions are perfect for gathering around with friends or family at Halloween parties!
-
Spicy Heat: For an unexpected twist, add a pinch of cayenne pepper to the dough mixture for a subtle heat that will surprise and delight your taste buds!
-
Nutty Addition: Consider mixing in crushed nuts, like chopped almonds or walnuts, to the Oreo mixture for added crunch and flavor complexity. It’s an exciting way to change the texture!
-
Chewy Chocolate Layers: Dip in chocolate twice for a thicker coating and extra decadence! This also gives the opportunity to layer different colored chocolates for a festive look.
These variations keep your Frankenstein Oreo Balls exciting and may even spark a new family favorite. Serve them alongside fun treats like Sheet Pan Meatballs to complete your spooky celebration!
Frankenstein Oreo Balls Recipe FAQs
What type of Oreo cookies should I use?
Absolutely! You can use regular Oreos for the classic flavor, or feel free to experiment with flavored varieties like mint or peanut butter for a unique twist. This opens up the opportunity for creative and fun variations at your Halloween gathering!
How should I store Frankenstein Oreo Balls?
To keep your Frankenstein Oreo Balls fresh, store them in an airtight container in the refrigerator for up to one week. This ensures they stay delicious and maintain their shape. If you have leftovers and want to keep them longer, they can also be stored in the freezer for 3-5 months.
Can I freeze Frankenstein Oreo Balls for later?
Very! To freeze your Oreo balls, place them in a single layer on a baking sheet and freeze until solid. Once frozen, transfer them to a freezer-safe container, ensuring to separate layers with parchment paper. Allow them to thaw in the refrigerator before serving—this will help retain their delightful texture.
What should I do if the chocolate coating is too thick?
If your melting chocolate seems too thick to coat the Oreo balls smoothly, melt a little more Crisco shortening into the chocolate to thin it out. This will help achieve that glossy, professional finish without compromising the flavor. Heat in small increments to avoid burning the chocolate!
Are there any allergy concerns with this recipe?
Definitely! This recipe includes dairy (cream cheese), gluten (Oreo cookies), and nuts (in some Oreo flavors). If you’re making these for an event where allergies are a concern, I recommend checking labels for any allergens. You might consider alternative cookies or nut-free chocolate if anyone has specific dietary restrictions.
Can I make these Oreo balls in advance?
Of course! You can prepare your Frankenstein Oreo Balls a day or two ahead of your Halloween event. Just store them properly in the fridge as mentioned earlier, and they’ll be ready to impress your guests without any last-minute stress!
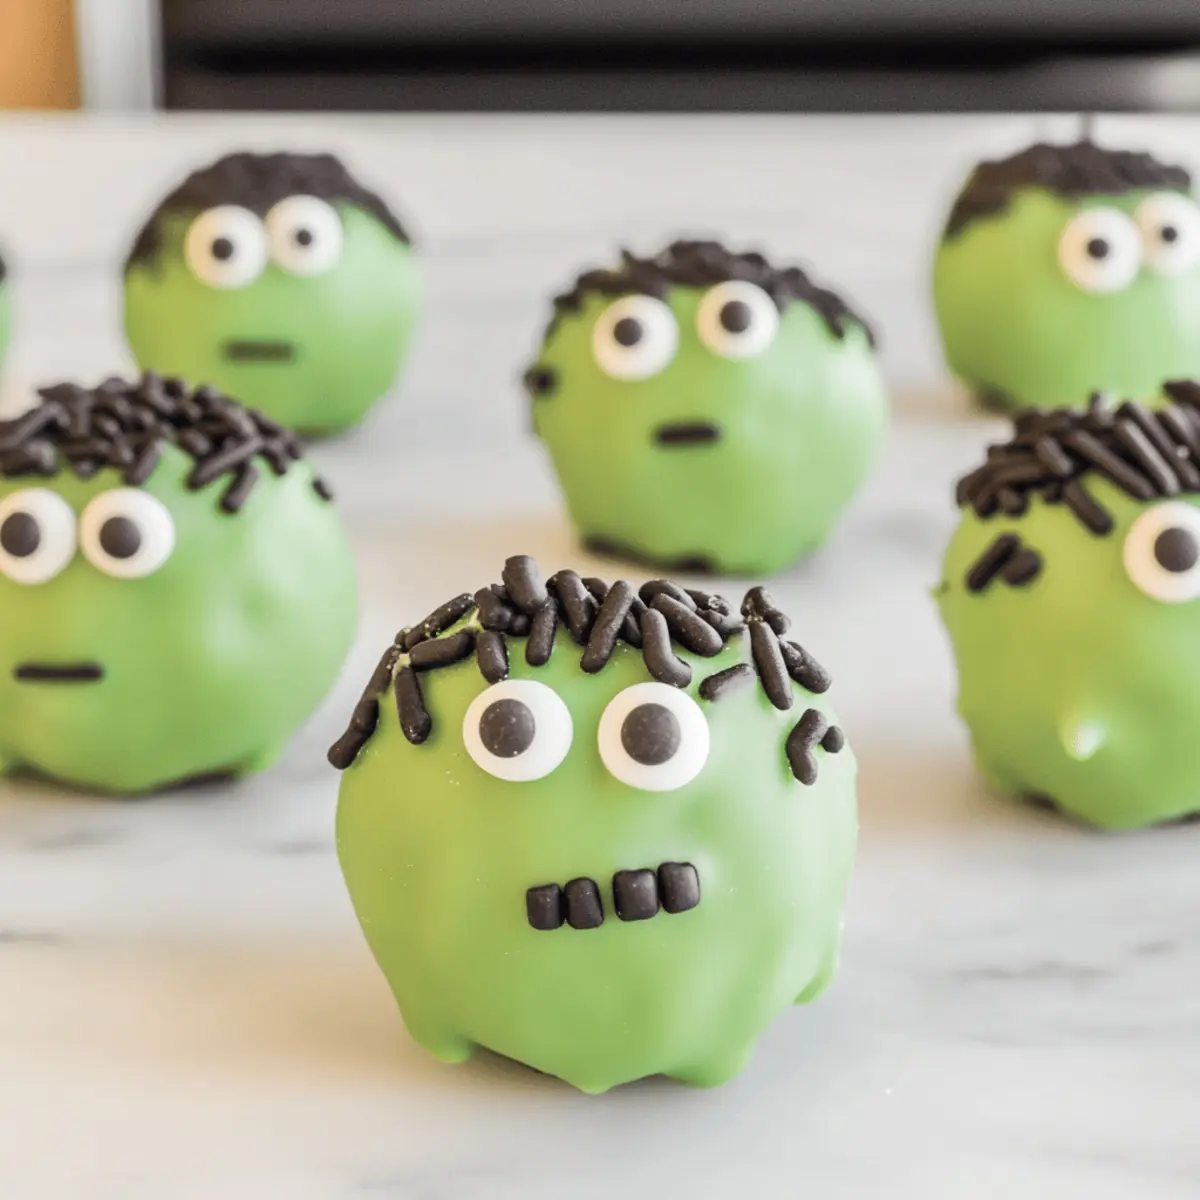
Frankenstein Oreo Balls: Easy No-Bake Treats for Halloween Fun
Ingredients
Equipment
Method
- Combine 24 crushed Oreo cookies, 8 oz cream cheese, and 1 teaspoon vanilla extract until smooth.
- Using a cookie scoop, shape the mixture into 2-tablespoon balls and flatten slightly.
- Chill the Oreo balls for 30 minutes on a parchment-lined baking sheet.
- Melt 12 oz light green melting wafers, adding 2 tablespoons of Crisco shortening until smooth.
- Dip each Oreo ball into the melted green chocolate, scraping off excess before placing back on the sheet.
- While still wet, decorate with black sprinkles and candy eyes on each ball.
- Insert pretzel sticks into the sides of each ball for ears.
- Melt 2 oz dark chocolate and pipe tiny facial features on each ball.
- Chill the decorated balls for an additional 30 minutes before serving.
Leave a Reply