
The aroma of spices and warm cheese filled my kitchen as I pulled these crispy baked chicken tacos from the oven, transforming a simple meal into a delightful experience. If you’re like me, balancing the need for a quick meal with the desire for homemade goodness feels like a never-ending challenge. Thankfully, this recipe for baked chicken tacos not only meets that challenge but also serves up a customizable feast in just 20 minutes! They’re perfect for meal prep, crispy enough to please any taco lover, and can be easily adapted to include your favorite fillings—think shredded rotisserie chicken, ground beef, or even sautéed vegetables. With the right balance of crunch and gooey goodness, these tacos are bound to become a weeknight staple in your hustle. Are you ready to dive into this flavorful adventure with me?
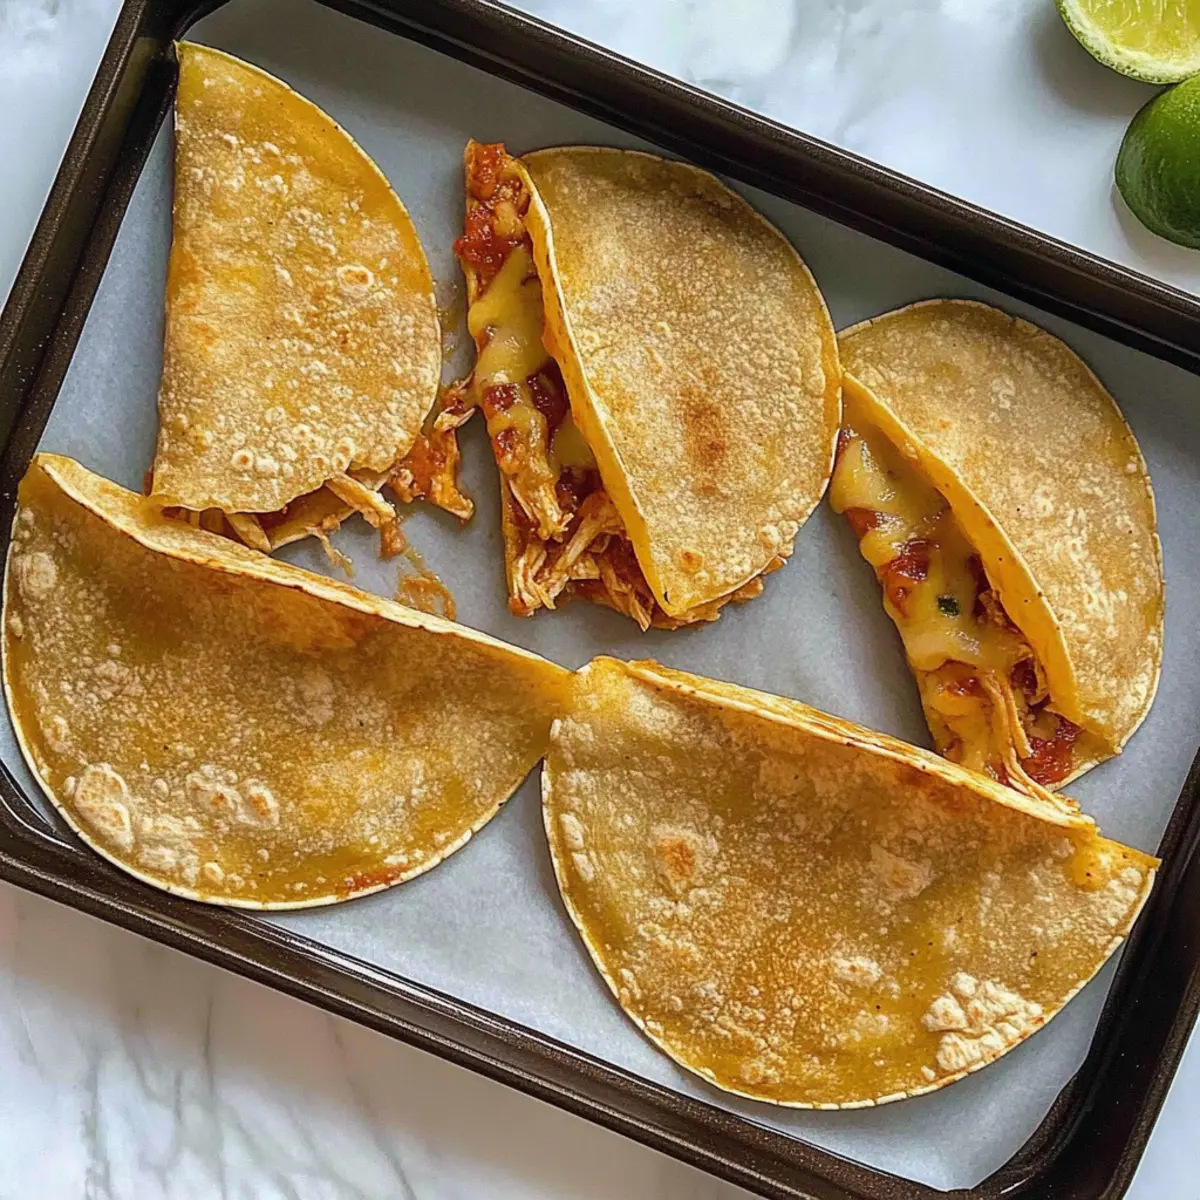
Why are Baked Chicken Tacos a Must-Try?
Quick and Easy: In just 20 minutes, you can whip up these delightful tacos, making them a perfect choice for busy nights.
Customizable Options: Whether you opt for shredded rotisserie chicken, ground beef, or sautéed veggies, these tacos welcome your favorite flavors.
Crispy Perfection: Enjoy a satisfyingly crunchy shell paired with a gooey, cheesy filling that will please taco lovers of all ages!
Meal Prep Hero: Assemble these tacos in advance, and simply pop them in the oven when you’re ready for a delicious meal—no more fast food cravings!
Crowd-Pleasing Delight: Serve with your choice of salsa or guacamole to elevate the experience; these tacos are sure to impress family and friends alike.
Baked Chicken Taco Ingredients
For the Tacos
• Extra Thin Corn Tortillas – These provide the taco structure; brands like Mission work great.
• Cooked Chicken Breast (6 oz) – Acts as the main protein; feel free to substitute with shredded rotisserie chicken for easier prep or ground beef for a different twist.
• Shredded Cheddar (1/2 C or 56g) – Adds that delicious creaminess; other cheese varieties can also spark new flavors.
For Extra Toppings
• Salsa – A vibrant addition that enhances flavor; choose your favorite type for personal flair.
• Guacamole – Creamy and rich; it complements the crunchy tacos wonderfully.
• Sour Cream – Offers a cooling effect for spice lovers; a dollop can make each bite even more delightful.
These Baked Chicken Tacos are not only simple to prepare but also allow for endless customization to suit your taste and preferences!
Step‑by‑Step Instructions for Baked Chicken Tacos
Step 1: Preheat the Oven
Begin by preheating your oven to 400°F (200°C). This step is crucial for achieving a perfectly crispy shell for your baked chicken tacos. Make sure your oven is fully heated before you slide in the tacos, so they can bake evenly and develop that delightful golden-brown color.
Step 2: Soften the Tortillas
Wrap your extra thin corn tortillas in a damp paper towel and microwave them for 45–60 seconds. This softening process will make the tortillas pliable, preventing them from cracking when you fold them. Remove them from the microwave carefully, as they will be hot and steamy—perfectly ready for filling!
Step 3: Fill the Tortillas
Take each softened tortilla and place it on a clean surface. On one half of the tortilla, layer your cooked chicken breast alongside your choice of filling—be it shredded rotisserie chicken, ground beef, or sautéed veggies. Make sure to keep the filling on only one half to facilitate easy folding later on.
Step 4: Add Cheese
Sprinkle a generous amount of shredded cheddar on top of the chicken-filled half of each tortilla. The cheese will melt beautifully while baking, adding a gooey texture to the filling of your baked chicken tacos. Don’t be afraid to experiment with different cheese types to make them even more flavorful!
Step 5: Fold and Secure
Carefully fold each tortilla over to encase the filling. To ensure they stay closed during baking, use a flat weight like a baking sheet to press down gently on top of the folded tacos. This technique helps prevent them from opening and ensures a crispy outer shell.
Step 6: Bake the Tacos
Place the pressed tacos on a baking sheet and pop them into the preheated oven. Bake for 8–12 minutes, or until the tortillas are golden brown and crispy. Keep an eye on them during the last few minutes to avoid burning; the edges should be perfectly crisp for those satisfying bites!
Step 7: Cool and Serve
Once out of the oven, let the baked chicken tacos cool for a minute before serving. This waiting period allows the cheese to set slightly, making each taco easier to handle. Enjoy them warm, paired with your favorite salsa, guacamole, or sour cream to elevate each crunchy bite.
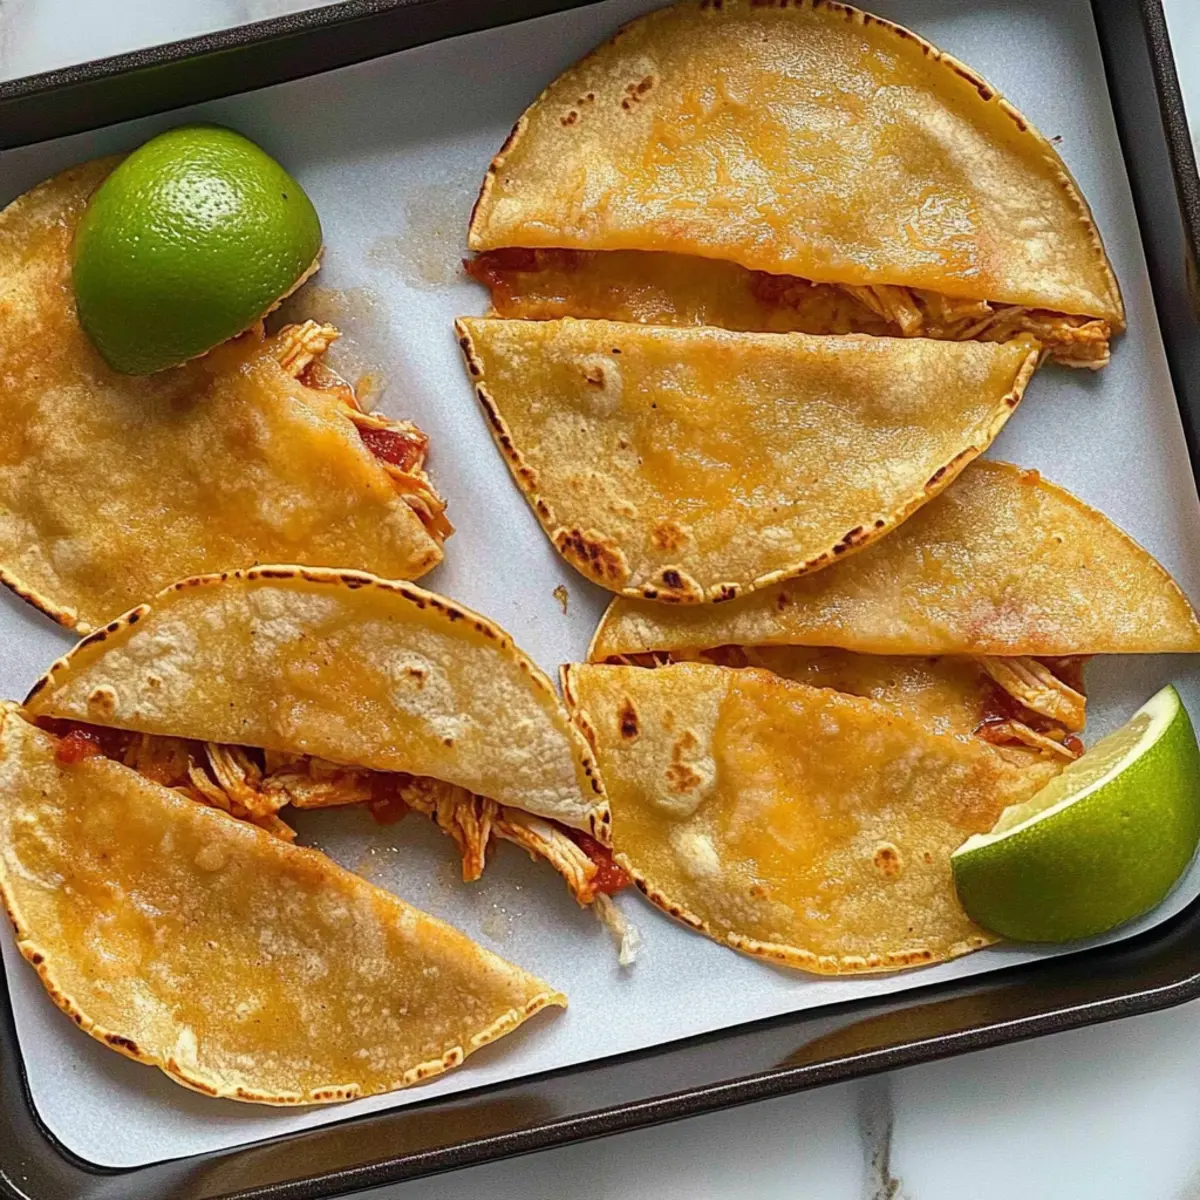
What to Serve with Crispy Baked Chicken Tacos?
Delight in creating a flavorful feast that elevates your baked chicken tacos into an unforgettable meal.
-
Fresh Guacamole: The creamy texture contrasts beautifully with the crispy tacos, adding a rich, flavorful twist.
-
Zesty Salsa: A vibrant salsa brings a burst of freshness that balances the cheesiness of the tacos, enhancing every bite.
-
Cilantro Lime Rice: Fluffy and fragrant, this side adds a refreshing zing that mirrors the taco’s flavors while absorbing any extra toppings.
-
Mexican Street Corn Salad: A delightful blend of sweet corn, lime, and cilantro perfectly complements the savory taste of the tacos.
-
Black Bean Salad: Packed with protein and fiber, this dish adds a nice texture and complements the crispy chicken perfectly.
-
Crisp Lettuce Wedge: A light and crunchy salad with a tangy dressing helps cut through the richness of the tacos while providing a fresh crunch.
-
Chilled Agua Fresca: The fruity sweetness of beverages like hibiscus or watermelon agua fresca pairs nicely, offering a cooling effect with each bite.
-
Cheesy Nachos: For taco lovers, this indulgent, shared plate evokes the spirit of casual dining, perfect for turning dinner into a festive occasion.
Each pairing offers a unique taste experience that will make your baked chicken tacos the star of the meal!
How to Store and Freeze Baked Chicken Tacos
-
Room Temperature: Baked chicken tacos are best enjoyed fresh, but if you have leftovers, they can sit out for up to 2 hours before needing refrigeration.
-
Fridge: Store leftovers in an airtight container in the fridge for up to 3 days. To maintain their crispy texture, reheat in the oven rather than the microwave.
-
Freezer: To freeze, wrap assembled tacos tightly in plastic wrap and place in a freezer-safe bag for up to 2 months. Thaw them overnight in the fridge before baking.
-
Reheating: For the best results, reheat cooked tacos in an oven or air fryer at 400°F (200°C) for 2–4 minutes, restoring their delightful crunch and cheesy goodness.
Make Ahead Options
These Baked Chicken Tacos are a fantastic meal prep option for busy home cooks! You can assemble the tacos up to 24 hours in advance by filling the tortillas and placing them on a baking sheet, then cover them tightly with plastic wrap to keep them fresh. This way, your meal is ready to pop in the oven whenever you need it. To maintain their quality, make sure to refrigerate them right after assembly, which will prevent the tortillas from becoming soggy. When it’s time to serve, simply preheat the oven to 400°F (200°C) and bake for 8-12 minutes until golden and crispy, delivering deliciously vibrant flavors with minimal fuss!
Baked Chicken Tacos: Delicious Twists
Looking to put your own spin on baked chicken tacos? Get ready to explore tantalizing variations that elevate your meal!
-
Vegetarian Delight: Swap the chicken for sautéed bell peppers, black beans, or mushrooms for a hearty, meat-free option. You’ll still enjoy a burst of flavors in every bite.
-
Spicy Kick: Add diced jalapeños or a sprinkle of chili powder to the filling for a heat level that suits your taste buds. Trust me, the extra spice takes it to another level!
-
Mixed Tortilla Texture: Use a combination of corn and flour tortillas for a unique texture. This variation adds a delightful chewiness alongside the crispy crunch.
-
Cheese Medley: Experiment with a blend of cheeses like pepper jack, mozzarella, or Monterey Jack for richer flavor and creaminess. Your taco experience will never be the same!
-
Flavor-Filled Fajita Style: Marinate chicken with fajita spices before baking for an extra layer of taste. Pair with sautéed onions and bell peppers to mimic the classic fajita experience.
-
Crunchy Toppings: Top the baked tacos with a sprinkle of crushed tortilla chips or fresh cilantro for added texture and freshness. It’s all about those gorgeous layers!
-
Mexican Street Corn Twist: Mix some roasted corn and cotija cheese into the filling for a delightful fusion of flavors inspired by elote.
For more inspiration, you might enjoy my Chicken Jalfrezi for a different chicken experience or try these crispy Chicken Empanadas for a comforting twist!
Expert Tips for Baked Chicken Tacos
-
Tortilla Care: Ensure tortillas are pliable by properly microwaving; if they crack, microwave a bit longer to avoid tears during assembly.
-
Avoid Overfilling: Keep your fillings to a manageable amount. Overfilling can lead to bursting tacos and a mess in the oven.
-
Crispy Finish: For the crispiest results, consider removing the weight halfway through baking if the tacos are well-sealed; this lets the tortillas crisp up perfectly.
-
Watch the Time: Be mindful of the baking duration, as thin tortillas can burn quickly. Check around the 8-minute mark to ensure they don’t overcook.
-
Flavor Variations: Feel free to experiment with different fillings and cheese types to create your ideal baked chicken tacos! Enjoy the customization!
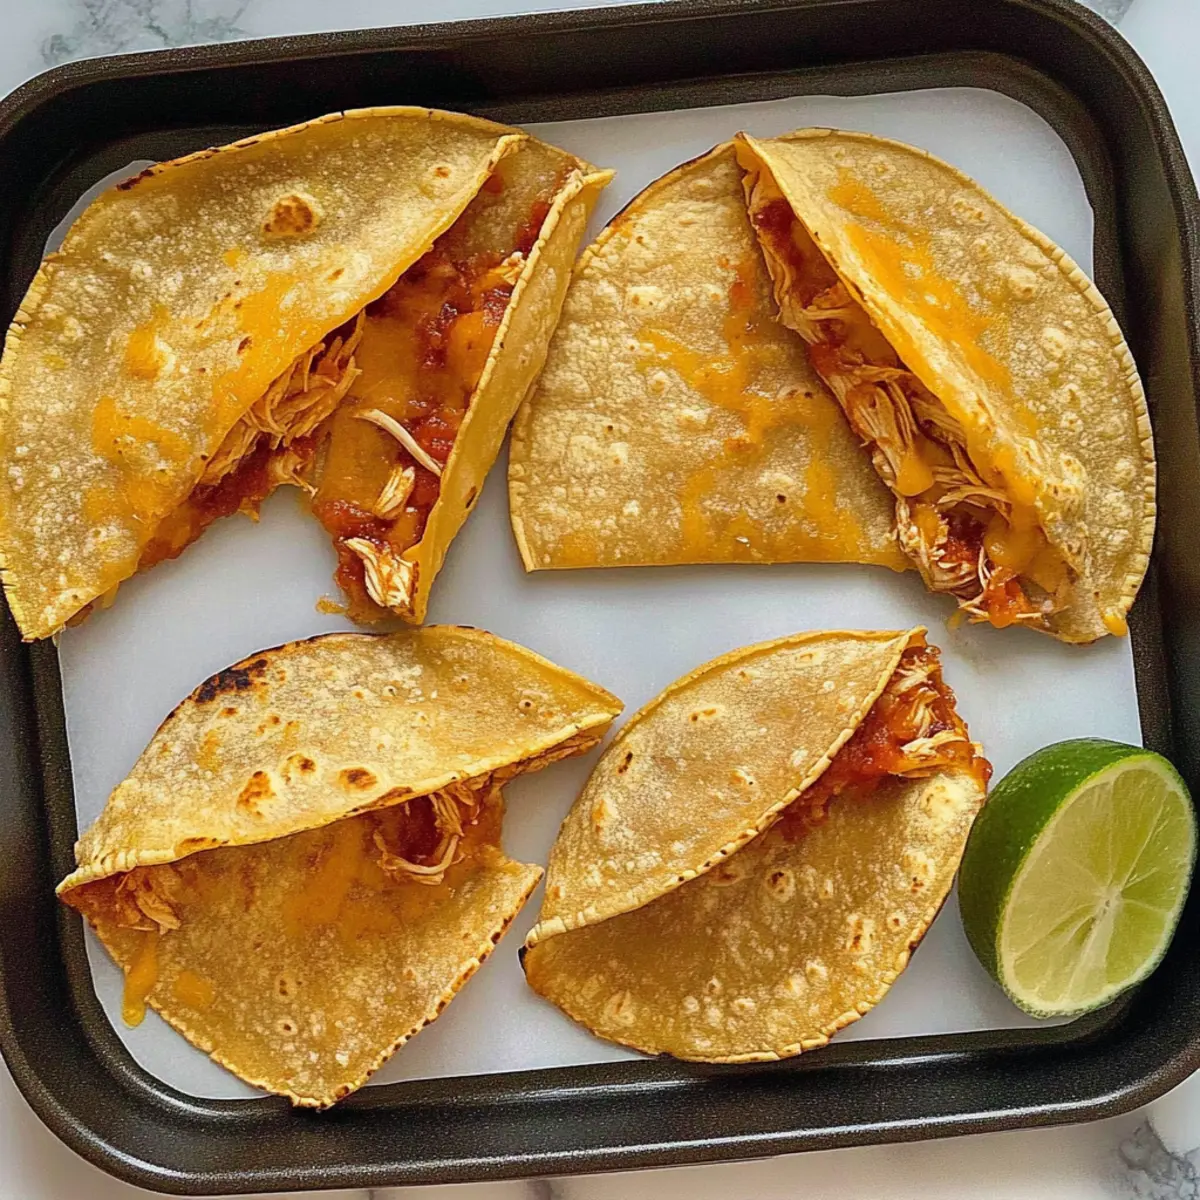
Baked Chicken Tacos Recipe FAQs
What kind of tortillas should I use for baked chicken tacos?
Use extra thin corn tortillas for the best results. Brands like Mission are excellent because they hold up well during baking while maintaining that perfect crispy texture.
How long can I store leftover baked chicken tacos?
Leftover baked chicken tacos can be stored in the fridge for up to 3 days in an airtight container. To keep their crispy texture, I recommend reheating them in the oven rather than the microwave.
Can I freeze baked chicken tacos?
Absolutely! To freeze, wrap assembled tacos tightly in plastic wrap and place them in a freezer-safe bag or container. They can be stored in the freezer for up to 2 months. When you’re ready to enjoy them, just thaw them overnight in the fridge before baking.
What if my tortillas crack while filling them?
If your tortillas crack, it’s likely because they weren’t microwaved long enough. Make sure to wrap them in a damp paper towel and microwave for 45–60 seconds until they are pliable. If they do crack, simply microwave them a little longer to ensure they soften properly for folding.
Are there any dietary considerations for these baked chicken tacos?
Yes! If you’re making these tacos for a group, consider providing a variety of filling options to cater to different dietary needs. You can use shredded rotisserie chicken for a quick protein option, or make them vegetarian with sautéed bell peppers and beans. Just make sure to check for any allergies to specific ingredients, like gluten in flour tortillas.
Can I assemble the tacos ahead of time?
You bet! You can assemble the baked chicken tacos ahead of time and keep them in the fridge for a few hours before baking. This is a great way to save time on busy nights. Just remember to cover them tightly to avoid drying out.
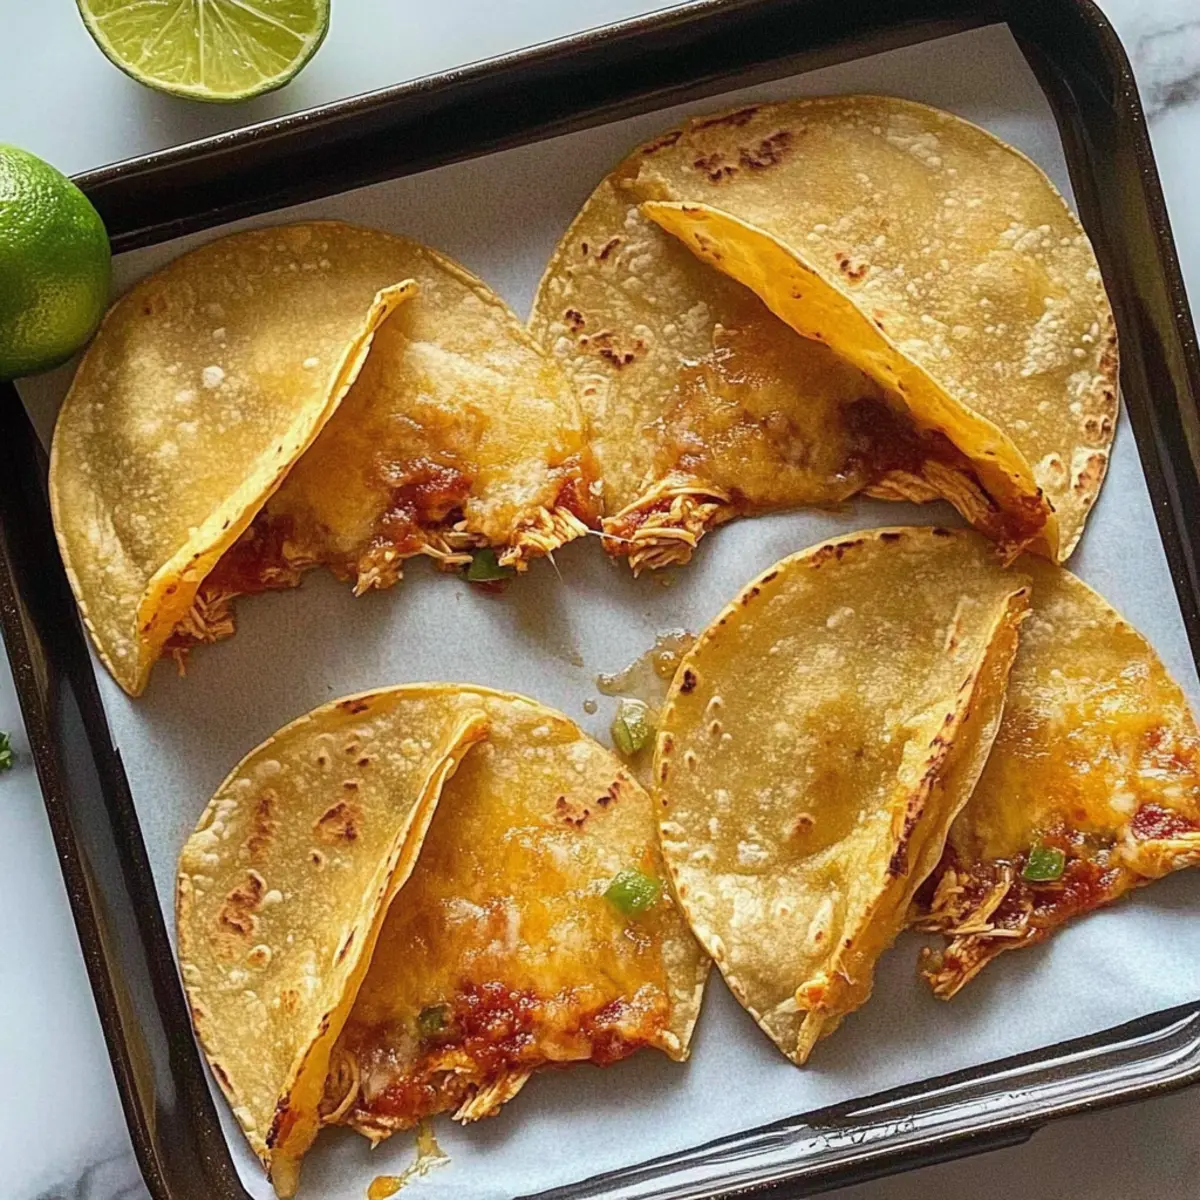
Crispy Baked Chicken Tacos for the Ultimate Dinner Win
Ingredients
Equipment
Method
- Preheat your oven to 400°F (200°C) for a crispy shell.
- Wrap tortillas in a damp paper towel and microwave for 45–60 seconds to soften.
- Fill each softened tortilla with cooked chicken and your choice of filling, keeping filling to one half.
- Sprinkle shredded cheddar over the chicken-filled half.
- Fold each tortilla over the filling and press down gently to secure.
- Bake on a baking sheet for 8–12 minutes until golden brown and crispy.
- Let cool for a minute before serving with your favorite toppings.
Leave a Reply