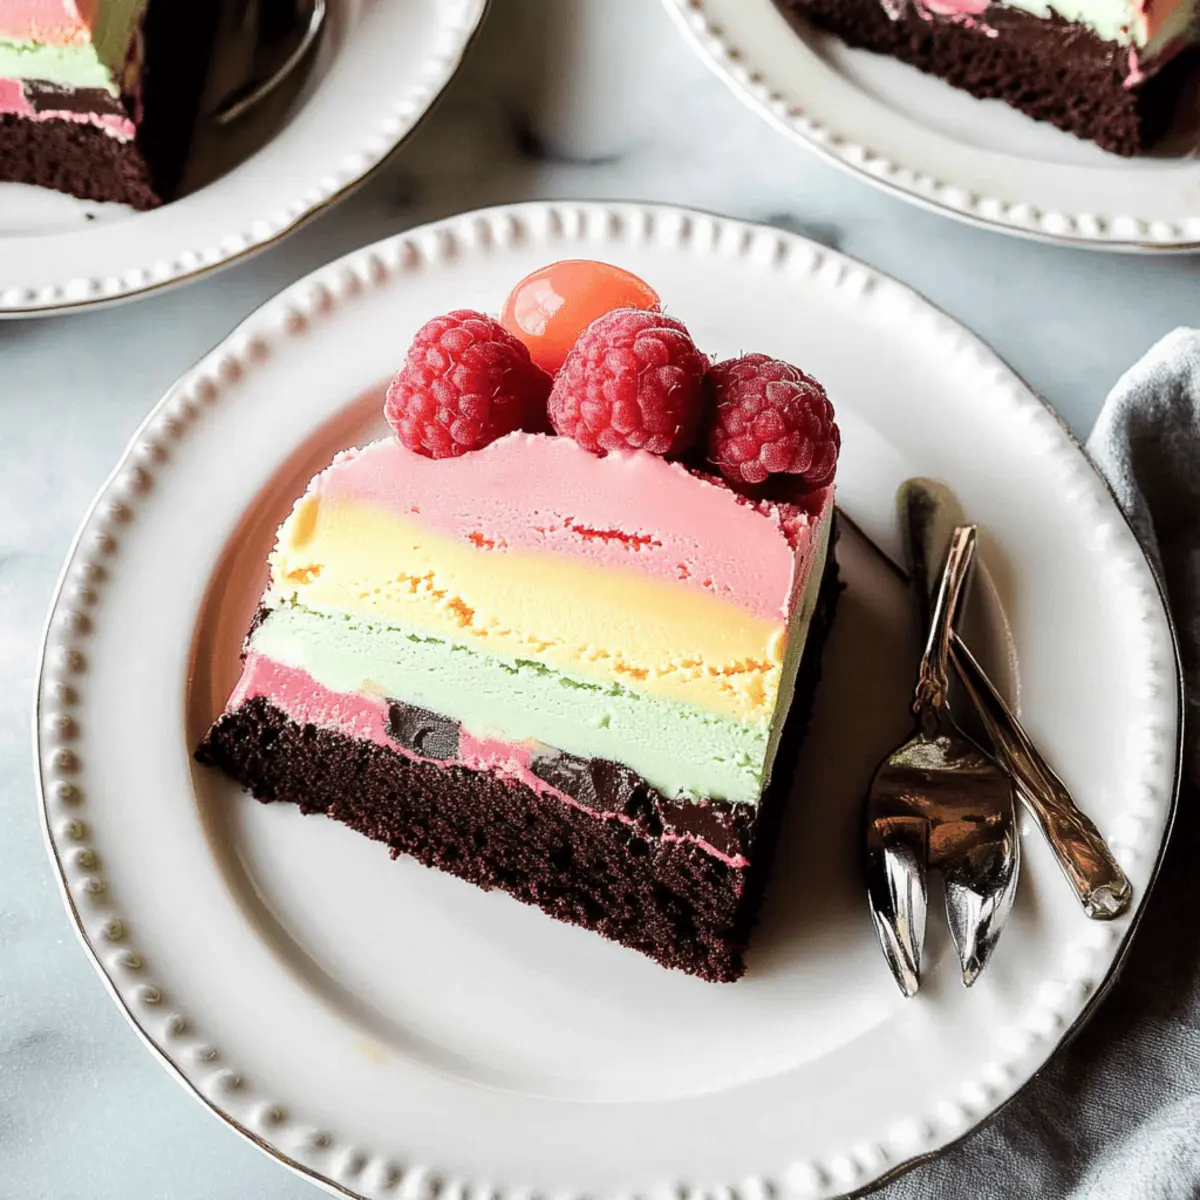
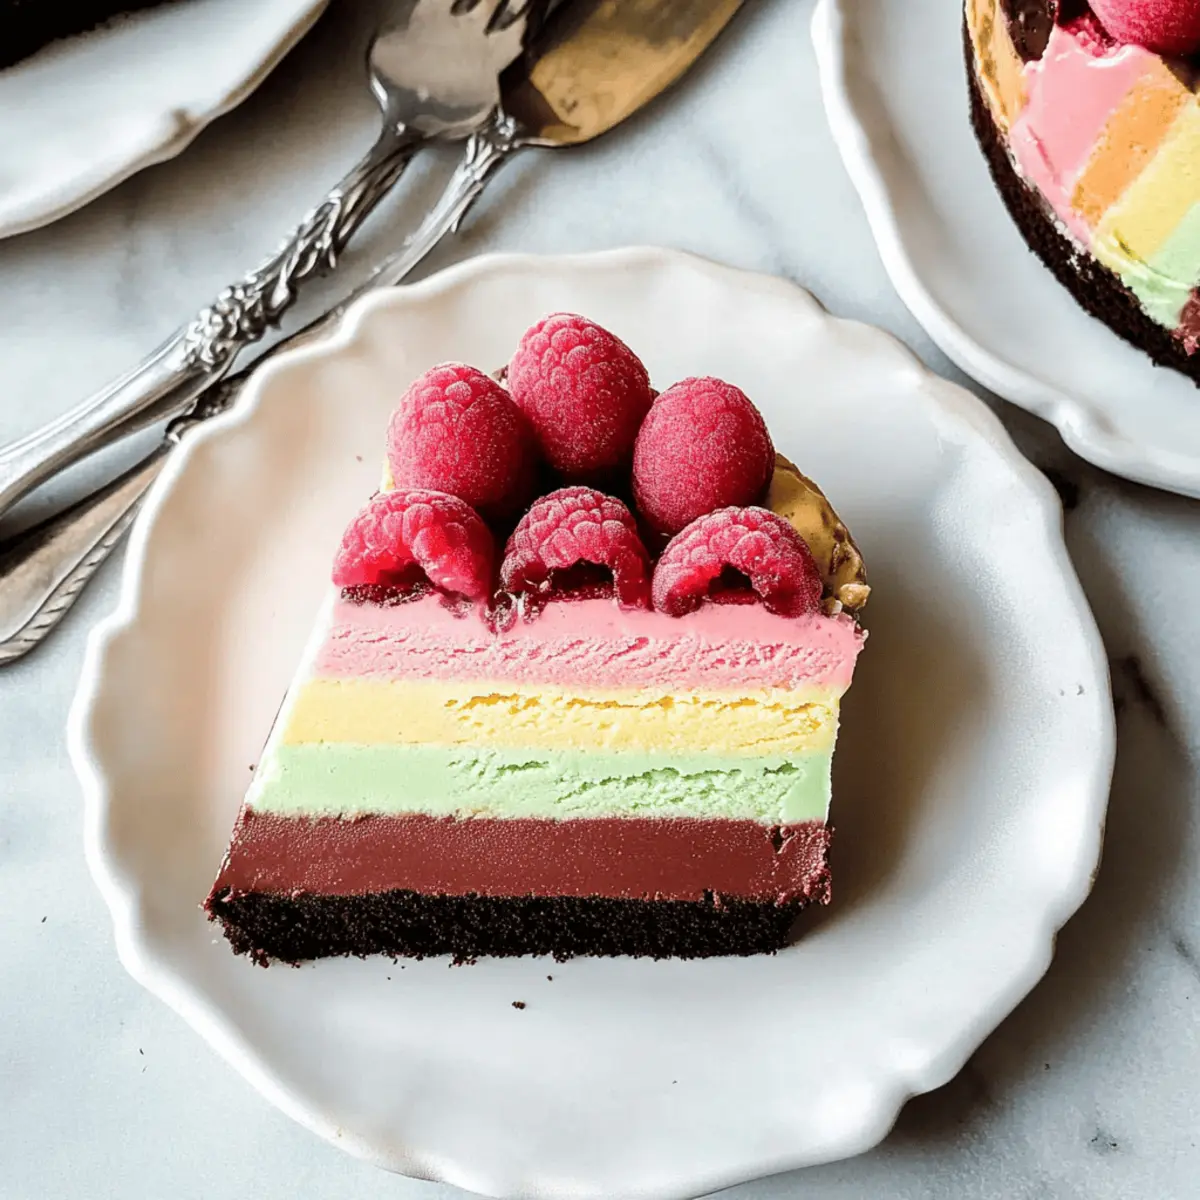
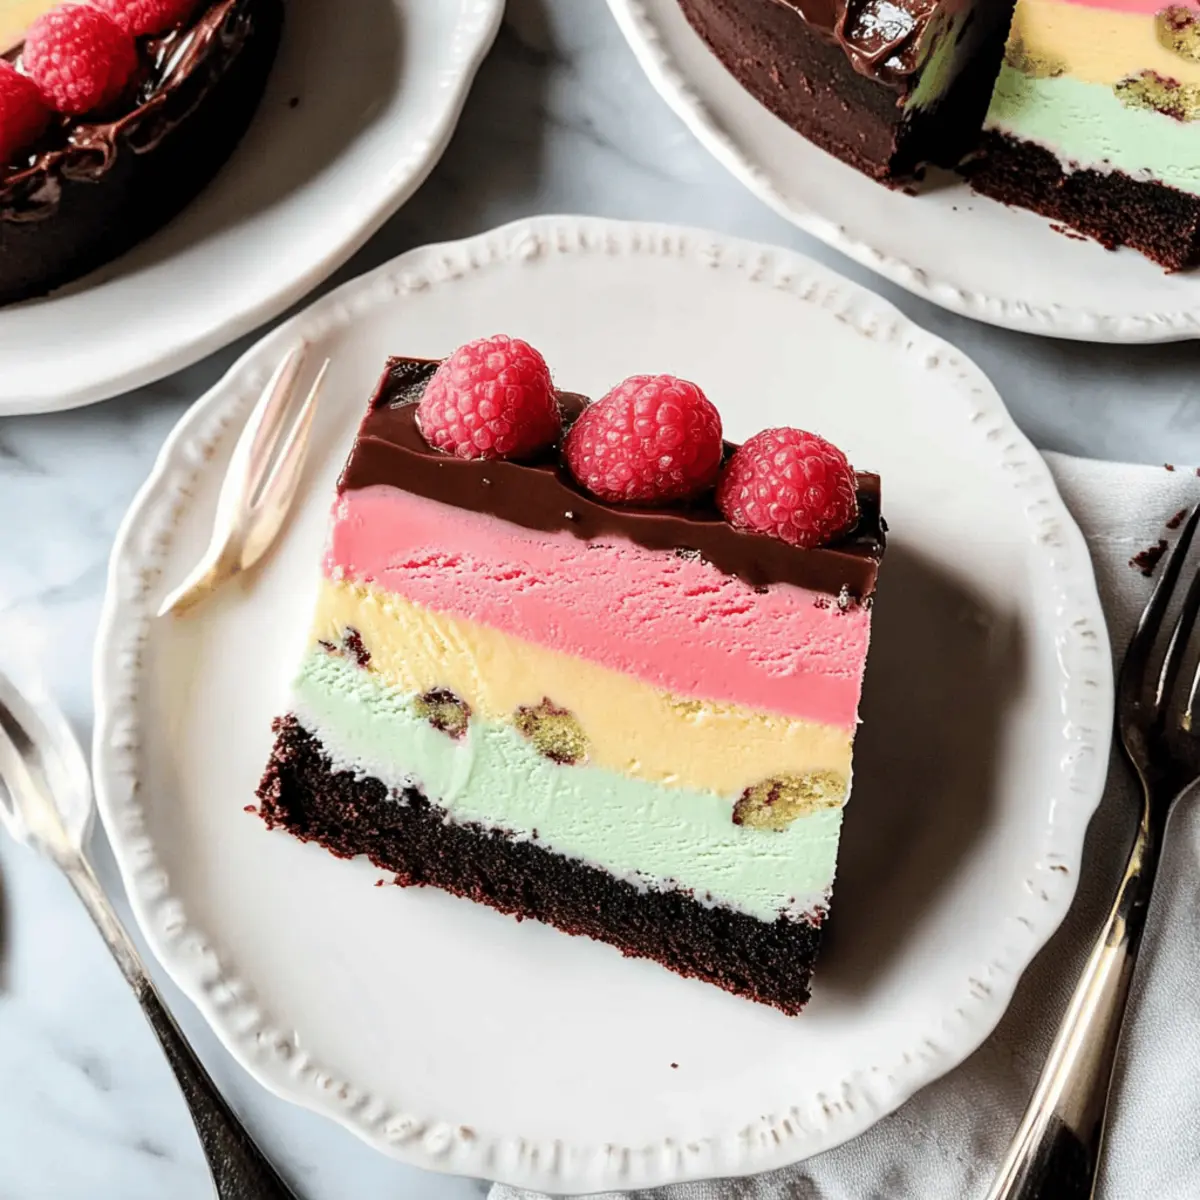
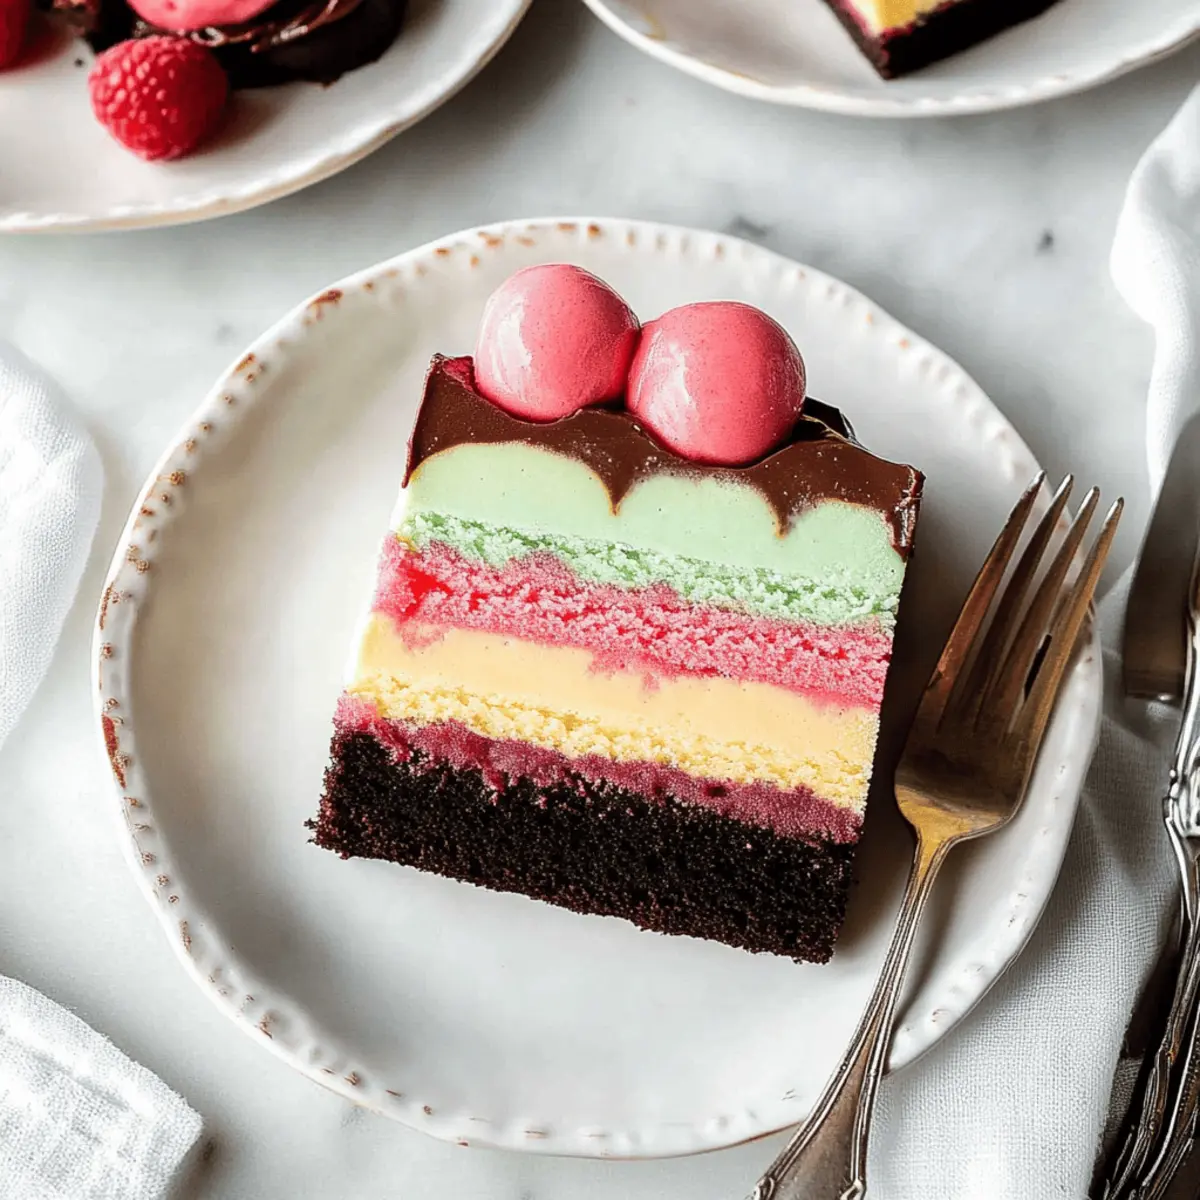
As I stood in my kitchen, the summer sun streaming through the window, I suddenly craved a dessert that mirrored the season’s vibrancy. That’s when the idea of a Colorful Layered Ice Cream Cake came to life! With a rich vegan chocolate cake base and whimsical layers of luscious ice creams, this crowd-pleasing no-bake treat is perfect for those sweltering afternoons. Not only is it incredibly simple to whip up, but it also dazzles with a colorful array of flavors—from tart raspberry sorbet to nutty pistachio gelato and creamy salted caramel. Whether it’s a backyard barbecue or a cozy family gathering, this dessert is sure to impress without the fuss. What colorful creations will you layer into your ice cream cake?

Why Choose This Ice Cream Cake?
Endless Creativity: The beauty of this recipe lies in its versatility. Use any flavor you love, from Pumpkin Cream Cheese gelato to colorful sorbets!
No-Bake Convenience: Save time and heat in the kitchen with this no-bake treat. Assemble layers in minutes for a hassle-free dessert everyone will adore.
Impressive Presentation: The vibrant layers make this cake a showstopper at gatherings. Your friends and family won’t believe it’s homemade!
Summer Refreshment: Perfect for hot days, indulge in a cake that’s cool and creamy, offering a refreshing escape from classic desserts.
Get ready to create delightful memories with this layered delight!
Ice Cream Cake Ingredients
Dive into this delightful creation with the perfect components for your layered masterpiece!
For the Cake Base
- Vegan Chocolate Cake – This serves as the essential structure, offering a moist and rich foundation for the cake.
For the Ice Cream Layers
- Pistachio Gelato – The first layer adds a lovely nuttiness; almond gelato works great as a substitute!
- Salted Caramel Ice Cream – This second layer introduces a delightful sweet and salty contrast; vanilla or chocolate ice cream can also be an alternative.
- Raspberry Sorbet – The vibrant top layer lends a refreshing tartness, which can be replaced with strawberry or mango sorbet for a twist!
For Garnish
- Fresh Raspberries – Used for decoration and extra flavor; feel free to swap with blueberries or strawberries for a colorful touch!
Step‑by‑Step Instructions for Colorful Layered Ice Cream Cake
Step 1: Prepare Cake
Preheat your oven to 350°F (175°C) and grease a 9×5” loaf pan. In a large mixing bowl, combine your vegan chocolate cake ingredients and pour the batter into the prepared pan. Bake for 18–22 minutes, or until a toothpick inserted into the center comes out clean. Once baked, let the cake cool in the pan, then remove and freeze for at least 3 hours to set firmly.
Step 2: Pistachio Layer
After the cake has frozen solid, take out the pistachio gelato and allow it to soften for about 10 minutes, stirring occasionally. Once creamy and spreadable, gently spread the gelato over the frozen chocolate cake layer, ensuring an even coating. Return the cake to the freezer and allow it to freeze for 4 hours, making sure the gelato is firm before adding the next layer.
Step 3: Caramel Layer
Next, soften the salted caramel ice cream for about 5–10 minutes until it reaches a spreadable consistency. Once softened, spread the caramel ice cream evenly over the pistachio layer, avoiding any mixing of the layers. Freeze the cake again for another 4 hours, ensuring it’s completely solid to support the final layer.
Step 4: Raspberry Layer
Take the raspberry sorbet out of the freezer to soften for about 5 minutes before spreading. Once the sorbet is soft, layer it generously on top of the frozen cake, smoothing it out to create a beautiful finish. Decorate the top with fresh raspberries for added color and flavor. Freeze the entire cake overnight to allow all layers to fully integrate.
Step 5: Serve
When ready to serve your vibrant Ice Cream Cake, allow it to sit at room temperature for about 5 minutes for easier slicing. Carefully flip the cake onto a baking sheet and cut it into perfect slices. Each colorful layer should peek through, showcasing the delightful combination of flavors you’ve expertly created!

How to Store and Freeze Ice Cream Cake
Room Temperature: Allow the cake to sit at room temperature for up to 10 minutes before serving to make slicing easier without compromising its layers.
Fridge: Store any leftover ice cream cake in the refrigerator for up to 3 days. Cover it tightly with plastic wrap or foil to prevent freezer burn.
Freezer: If you want to preserve the ice cream cake for a longer time, freeze it for up to 2 months. Make sure it’s wrapped securely in plastic wrap and placed in an airtight container to maintain quality.
Reheating: For the best texture, let the cake thaw in the refrigerator for a few hours before serving, as this will soften the ice cream layers perfectly while keeping the cake structure intact.
Make Ahead Options
These Colorful Layered Ice Cream Cakes are a fantastic option for busy home cooks! You can prepare the vegan chocolate cake base up to 3 days in advance. Just bake the cake, let it cool, then wrap it tightly and store it in the freezer. Each ice cream layer can also be spread over the frozen cake up to 24 hours before serving; simply soften the gelato or ice cream, layer it, and return it to the freezer. To maintain quality, make sure each layer is frozen completely before adding the next to avoid any mixing of flavors. When you’re ready to serve, let the cake sit at room temperature for about 5 minutes before slicing, and enjoy a delicious dessert that was a breeze to prepare!
Ice Cream Cake Variations & Substitutions
Let your creativity run wild as you explore these exciting takes on the classic ice cream cake!
-
Nutty Flavor: Swap out the pistachio gelato for a rich almond or pecan flavor to introduce a new layer of nuttiness. Almond pairs particularly well with the chocolate base!
-
Rich Chocolate: Use chocolate chip ice cream instead of salted caramel for an indulgent twist. Each bite will be a chocolate lover’s dream, creating a decadent symphony of flavors.
-
Fruity Options: For a refreshing change, substitute raspberry sorbet with strawberry, mango, or even peach sorbet. Colorful layers become even more vibrant, and the fruity flavor will brighten your dessert!
-
Creamy Vanilla: Try vanilla ice cream as a smooth replacement for salted caramel. Its simplicity will let the chocolate cake sing, beautifully balancing out the richness without overpowering it.
-
Minty Freshness: Add mint chocolate chip ice cream as one of your layers for a refreshing boost. Impress your guests with a surprise twist that marries wonderfully with the chocolate base!
-
Spicy Kick: Feeling adventurous? Infuse some heat by adding a layer of spicy chocolate ice cream or chipotle-flavored sorbet. It creates a daring contrast that excites your palate!
-
Seasonal Berries: Instead of just fresh raspberries for garnish, consider incorporating blueberries, blackberries, or strawberries too! They not only enhance the visual appeal but also add delightful flavor combos.
-
Gluten-Free Base: For those avoiding gluten, simply choose a gluten-free vegan chocolate cake recipe for your base. The same delicious layers will still shine, keeping the dessert friendly for a broader audience.
Get inspired to create your own unique ice cream layers, just like I did when crafting this delightful dessert. Whether it’s a summer gathering or just a fun day at home, you’ll find endless joy in making this cake your own!
What to Serve with Colorful Layered Ice Cream Cake?
Imagine the delighted smiles and refreshing flavors that accompany every slice of this delicious summer centerpiece!
-
Fresh Fruit Salad: A light and vibrant mix of seasonal fruits enhances the cake’s sweetness, offering a refreshing balance. Use ingredients like juicy watermelon, tart blueberries, and sweet strawberries for a symphony of flavors.
-
Chocolate Dipped Waffles: These crispy treats serve as a delightful complement, adding a crunchy contrast to the creamy layers. Drizzle with a bit more chocolate for an extra touch of indulgence!
-
Mint Infused Iced Tea: A sip of cool, minty iced tea acts as a refreshing palate cleanser, harmonizing beautifully with the dessert’s richness. Brew fresh mint leaves for an invigorating flavor lift!
-
Pistachio Macarons: These delicate, chewy French treats mirror the pistachio layer in your cake, offering a sophisticated pairing that’s perfect for any gathering.
-
Caramel Popcorn: A fun and sweet crunch that echoes the salted caramel ice cream, making for a playful side snack. Its buttery goodness will keep everyone reaching for more!
-
Espresso Shots: For coffee lovers, a shot of rich, aromatic espresso contrasts the cake’s sweetness and elevates the dessert experience. Perfect for winding down after a delightful meal.
-
Creamy Vanilla Pudding: A simple and dreamy side dish, the smooth texture and classic flavor balance the cake’s vibrant layers while adding an extra creamy dimension.
-
Chocolate Spritz Cookies: These crisp cookies, with a buttery melt-in-your-mouth texture, create a delightful contrast to the ice cream cake. They also add a nostalgic touch that everyone will love!
-
Fresh Mint Leaves: A garnish of bright green mint not only beautifies the plate but also offers a refreshing note that encapsulates the essence of summer.
Expert Tips
-
Layering Technique: Ensure each ice cream layer is completely frozen before adding the next. This prevents them from mixing and maintains the beautiful layers of your ice cream cake.
-
Parchment Paper: Use parchment paper in the loaf pan for easy removal. It helps avoid any sticky situations and ensures your cake comes out smoothly.
-
Room Temperature Trick: Before slicing the ice cream cake, let it sit at room temperature for about 5 minutes. This will soften the layers slightly, making it easier to cut without losing the vibrant structure.
-
Choose Quality Ingredients: For the best flavor, opt for high-quality ice creams and gelatos. Using premium brands can elevate your homemade ice cream cake experience tremendously.
-
Keep It Cool: If you’re serving at an outdoor gathering, keep the cake in a cooler until it’s time to slice. This will help maintain its form and keep it deliciously cold on a hot summer day.

Colorful Layered Ice Cream Cake Recipe FAQs
How do I select the best ice cream for my cake?
Absolutely! When choosing ice cream for your Colorful Layered Ice Cream Cake, select high-quality brands known for their rich flavors. Look for creamy varieties without artificial additives. If substituting flavors, ensure they complement each other and have a similar texture. For example, nutty flavors like pistachio gelato pair beautifully with sweet options like salted caramel.
How should I store any leftover ice cream cake?
Very! To keep your delicious ice cream cake fresh, store any leftovers in the refrigerator for up to 3 days. Make sure to cover it tightly with plastic wrap or aluminum foil to prevent freezer burn and keep that delightful flavor intact. For longer storage, wrap it in plastic wrap followed by aluminum foil and place in an airtight container, then it will last in the freezer for up to 2 months.
Can I freeze my ice cream cake for a longer time?
Of course! If you decide to freeze your colorful ice cream cake, you can keep it for up to 2 months. Just be sure to wrap it securely in plastic wrap and place it in an airtight container to maintain its texture and flavor. When you’re ready to enjoy, let it thaw in the refrigerator a few hours before slicing for easy serving.
What should I do if my ice cream layers start to mix together?
Oh no, that can happen! To avoid ice cream layer mixing in your cake, make sure each layer is thoroughly frozen for the recommended time before adding the next. If you do mistakenly add a layer too soon, don’t fret! You can gently freeze your cake for additional time to firm it up before serving. Using parchment paper in your loaf pan can also help with layer separation.
Is this ice cream cake suitable for dietary restrictions?
Definitely! This Colorful Layered Ice Cream Cake can easily accommodate dietary considerations. By using vegan chocolate cake and plant-based ice creams, it’s suitable for those who follow vegan lifestyles. Always double-check the labels on your ice cream for allergens if you’re serving guests with specific dietary needs, such as nut allergies. Enjoy worry-free!

Layered Ice Cream Cake: A Colorful, No-Bake Summer Delight
Ingredients
Equipment
Method
- Preheat your oven to 350°F (175°C) and grease a 9x5” loaf pan. Combine vegan chocolate cake ingredients and pour the batter into the prepared pan. Bake for 18–22 minutes. Let cool in the pan and freeze for at least 3 hours.
- After the cake has frozen solid, soften the pistachio gelato for about 10 minutes. Spread it over the frozen chocolate cake layer. Return to the freezer for 4 hours.
- Soften salted caramel ice cream for 5–10 minutes, then spread it evenly over the pistachio layer. Freeze for another 4 hours.
- Soften raspberry sorbet for about 5 minutes, then layer it on top of the cake. Decorate with fresh raspberries. Freeze overnight.
- Allow the cake to sit at room temperature for about 5 minutes before slicing. Carefully turn it onto a baking sheet and cut into slices.

Leave a Reply