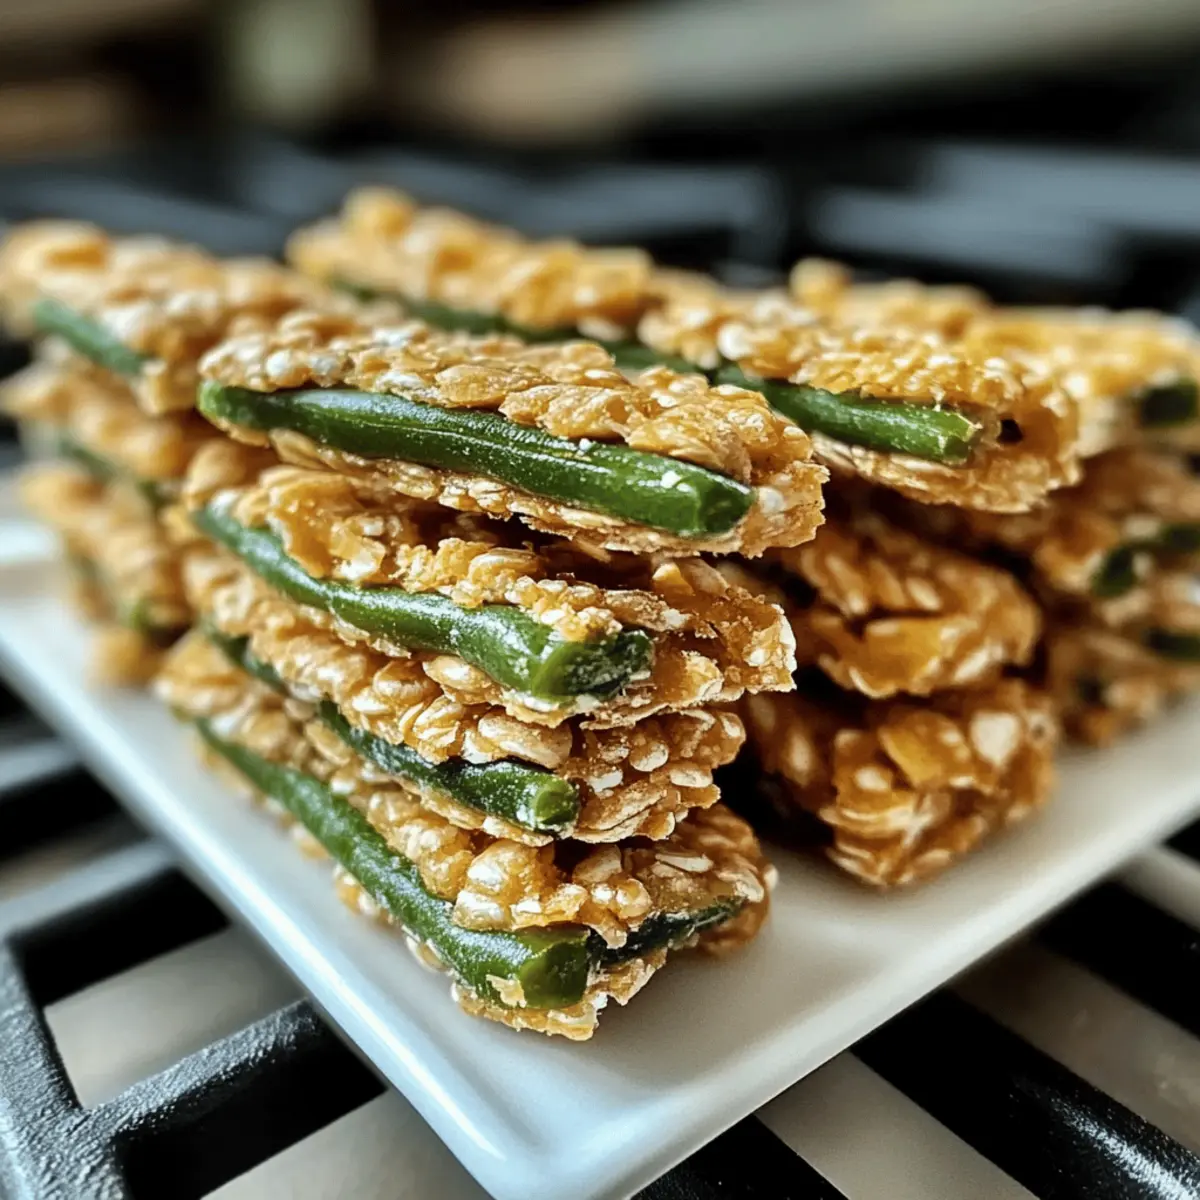
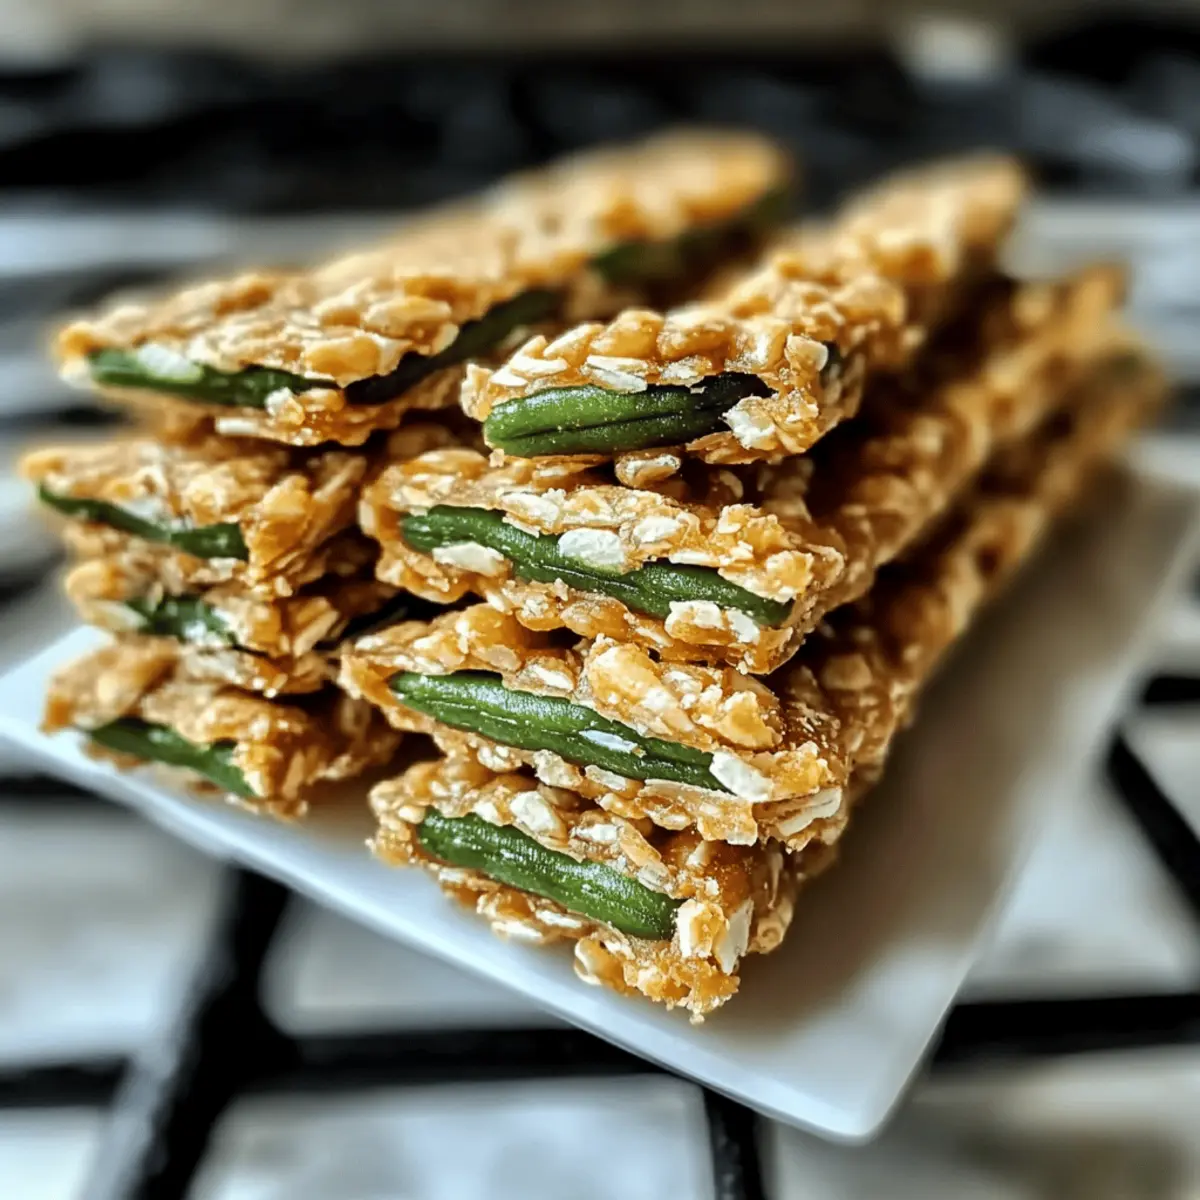
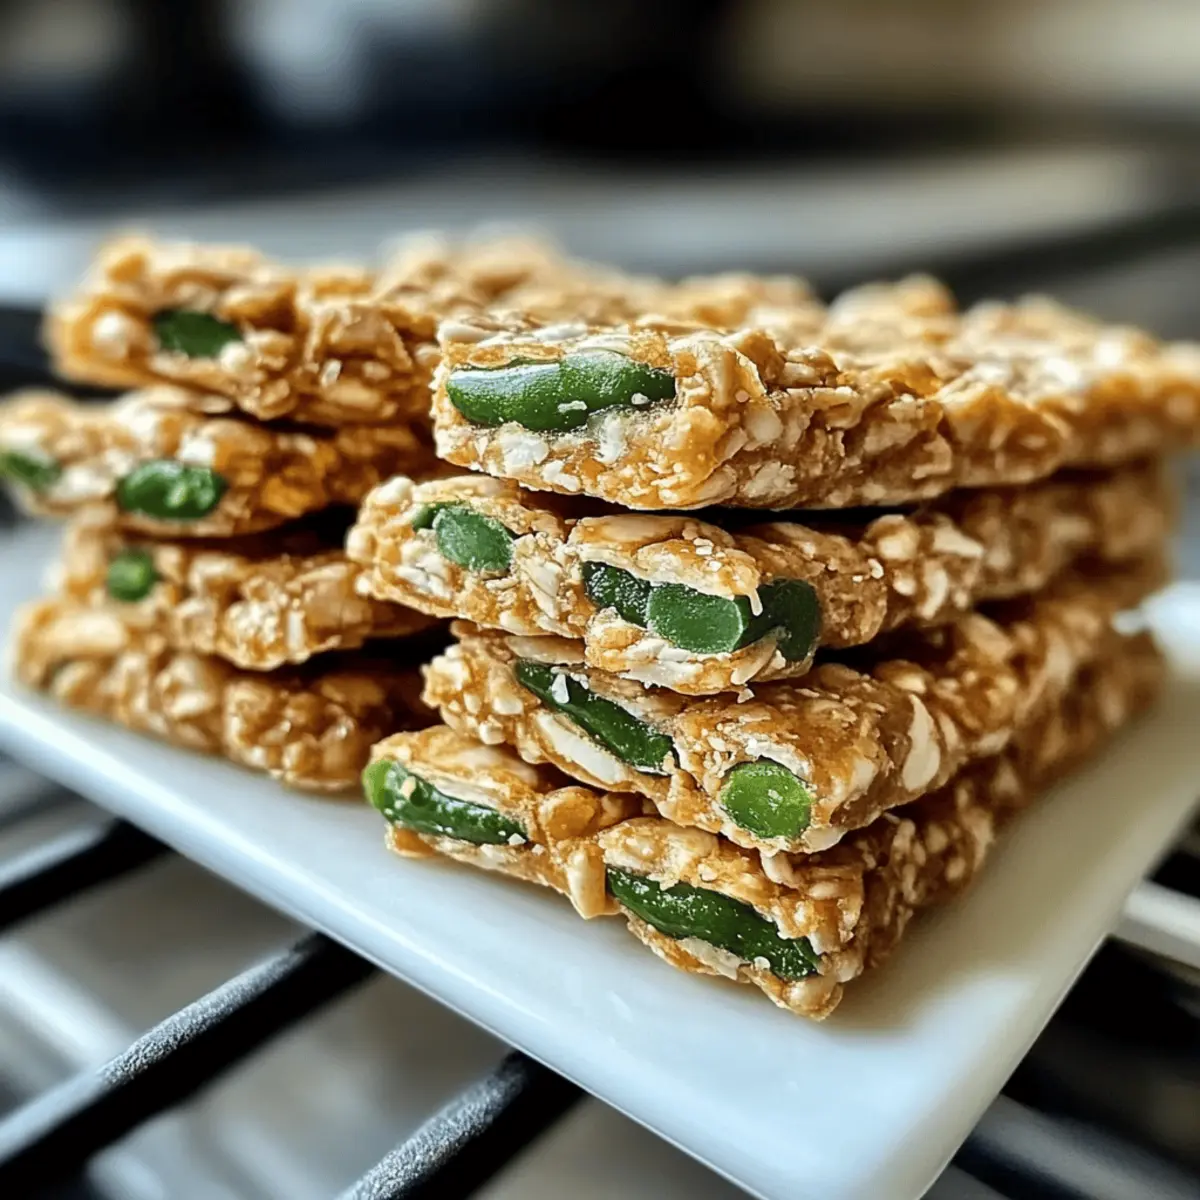
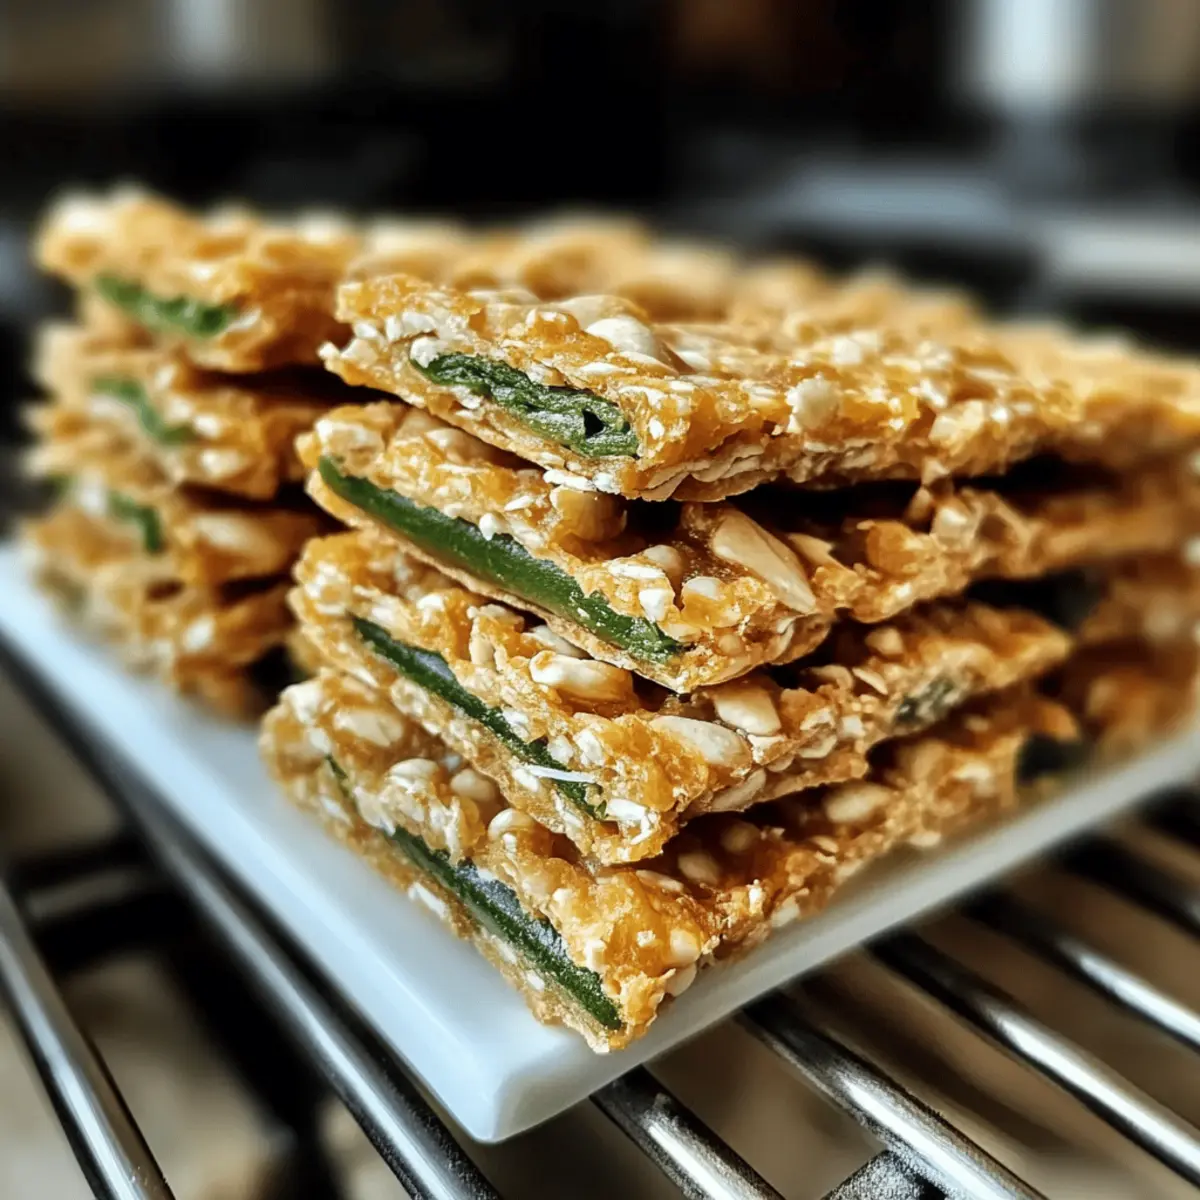
As I was blending the flavors of chicken and green beans in my kitchen, a delightful aroma wafted through the air, piquing my dog’s curiosity. This inspired me to whip up a batch of Homemade Green Bean and Chicken Crunchies for Dogs. Not only do these crunchy treats satisfy picky eaters, but they also allow you to cater to any dietary restrictions your pup might have. With the flexibility to switch up the meats and flours, this recipe is a breeze to customize, making it a perfect way to show just how much you care. Plus, crafting these crunchy bites together gives you quality bonding time with your furry friend, all while keeping their snack options healthier than anything store-bought. Are you ready to find out how easy it is to create your dog’s new favorite treat?

Why Will Your Dog Love These Crunchies?
Delightful aroma wafts through your home while baking these tasty treats, making your pup’s tail wag in anticipation. Customizable with various meats and flours, you can tailor the Crunchies to suit any picky eater or dietary needs. Nutritious ingredients like shredded chicken and green beans ensure a healthy snack option—unlike typical store-bought varieties. Easy to make, these Crunchies require just a few simple steps, offering a fun bonding moment between you and your dog. Consider pairing them with dishes like Avocado Mojo Chicken for a complete meal experience that caters to both human and canine cravings!
Green Bean and Chicken Crunchies Ingredients
For the Base
• 2 cups cooked, shredded chicken – The main protein source, ensuring a delicious flavor that pups love; swap for turkey or lean beef if desired.
• 1 cup finely chopped fresh green beans – Adds essential fiber and a delightful crunch; lightly steam or blanch for the best texture.
• 1 ½ cups oat flour – Provides the necessary structure for the treats; feel free to grind rolled oats or substitute with coconut or almond flour for a gluten-free option.
For Binding
• 2 eggs – Acts as a binding agent to keep everything together while adding moisture; no substitutes needed.
• ½ cup chicken broth – Enhances the flavor and moisture of the dough; use low sodium broth for a healthier treat.
For Texture
• 2 tablespoons coconut oil or olive oil – Contributes to moisture and improves the texture; use whichever oil you prefer without any issues.
Optional Boosts
• Turmeric – Offers added nutritional benefits; sprinkle some in for extra health perks.
• Ground flaxseed – Provides omega-3 fatty acids for a nutritious touch; no substitutions required for nutritional benefits.
Enjoy whipping up a batch of these Green Bean and Chicken Crunchies that are sure to become your dog’s favorite!
Step‑by‑Step Instructions for Green Bean and Chicken Crunchies
Step 1: Preheat the Oven
Begin by preheating your oven to 350°F (175°C) to ensure it’s ready for baking. While the oven heats up, line a baking sheet with parchment paper to prevent the crunchies from sticking. This step sets the stage for perfectly baked Green Bean and Chicken Crunchies that will retain their delightful crunch.
Step 2: Prepare the Chicken
Cook and shred 2 cups of boneless, skinless chicken into fine pieces. If using leftover chicken, ensure it’s fully cooked for your dog’s safety. Once shredded, set the chicken aside, letting the savory aroma make your dog’s tail wag in anticipation. This chicken is the heart of our crunchy dog treats!
Step 3: Prepare the Green Beans
Take 1 cup of fresh green beans and lightly steam or blanch them until they’re bright green and tender, about 3-4 minutes. Once cooled, chop the beans into small, bite-sized pieces. This step adds fiber and flavor to the Green Bean and Chicken Crunchies, ensuring a nutritious treat that your pup will love.
Step 4: Mix the Ingredients
In a large mixing bowl, combine the shredded chicken, finely chopped green beans, and 1 ½ cups of oat flour. Use a wooden spoon to mix the ingredients thoroughly. The goal is to achieve a consistent mixture where each element is evenly distributed, creating a foundation for your delicious dog treats.
Step 5: Form the Dough
Add 2 eggs, ½ cup of chicken broth, and 2 tablespoons of coconut oil to the chicken mixture. Stir everything together until a sticky dough forms, which should take about 2-3 minutes. The dough should hold its shape and have a moist consistency, perfect for rolling out into your Green Bean and Chicken Crunchies.
Step 6: Roll Out the Dough
On a floured surface, roll out the dough to about ¼ inch thick, ensuring an even thickness for uniform baking. Use a rolling pin for an easy flow, and don’t worry—this dough will not stick too much if your surface is lightly floured. The shape and crunchiness of the Green Bean and Chicken Crunchies depend on this step!
Step 7: Cut the Shapes
Using your favorite cookie cutters, cut the rolled-out dough into fun shapes. This step can be exciting, so feel free to get creative with your designs! Arrange the cut treats on the prepared baking sheet, leaving space between each one for proper baking and ventilation.
Step 8: Bake the Treats
Place the baking sheet in the preheated oven and bake the treats for 25-30 minutes. Keep an eye on them, aiming for a golden brown color and a crispy texture. The aroma will fill your kitchen, signaling that your Green Bean and Chicken Crunchies are almost ready for your furry friend!
Step 9: Cool the Treats
After baking, remove the crunchies from the oven and allow them to cool completely on a wire rack. This cooling step enhances their crunchy texture, making them even more enjoyable for your dog. Once cooled, they’ll be ready to serve as a delightful reward or treat for your canine companion.

Expert Tips for Green Bean and Chicken Crunchies
Cook Thoroughly: Ensure your chicken is fully cooked and shredded to prevent any health issues for your dog.
Adjust Consistency: If the dough feels too dry, add a splash more chicken broth. If it’s too wet, sprinkle in additional oat flour to achieve the right texture.
Baking Time Matters: Keep an eye on your treats while they bake. A little extra time can enhance the crunchiness, but watch closely to avoid burning.
Creative Shapes: Use fun cookie cutters to cut out shapes, making treat time special for your dog. They might enjoy their snacks even more when they’re in unique forms!
Storage Tips: Store your Green Bean and Chicken Crunchies in an airtight container in the fridge for up to two weeks, or freeze them for longer freshness.
What to Serve with Healthy Green Bean and Chicken Crunchies for Dogs
Delight your furry friend with a well-rounded snack time experience that tantalizes their taste buds and keeps them wagging!
- Fresh Veggie Treats: Carrot sticks or cucumber slices offer a crunchy contrast, providing hydration and fiber that complements the hearty crunchies perfectly.
- Chicken Broth Delight: Serve a small bowl of warm, low-sodium chicken broth alongside the crunchies for a satisfying liquid treat. This combination will keep your pup refreshed and happy.
- Peanut Butter Spoonful: A dollop of dog-safe peanut butter can be a tasty topping that enhances the flavors and encourages your pup to indulge.
- Fruit Snacks: Chopped apples or blueberries make for a sweet and nutritious side, introducing delightful flavors and textures that most dogs adore.
- Paw-some Training Rewards: Use these crunchies as training tidbits to reinforce good behavior, showcasing how special homemade treats can be during training sessions.
- Seasonal Special Treats: Add a festive twist by introducing flavors like pumpkin or sweet potato into a dog-friendly muffin recipe for a seasonal pairing, satisfying your dog’s cravings.
Storage Tips for Green Bean and Chicken Crunchies
Fridge: Store your Green Bean and Chicken Crunchies in an airtight container in the refrigerator for up to 2 weeks to maintain their freshness and crunch.
Freezer: For longer storage, freeze the treats in a single layer on a baking sheet, then transfer to a zip-top bag for up to 3 months.
Reheating: If the treats lose their crunch after thawing, simply place them in a preheated oven at 350°F (175°C) for about 5-10 minutes to crisp them back up.
Green Bean and Chicken Crunchies Variations
Feel free to get creative with your Crunchies and tailor them to your pup’s preferences!
-
Turkey Twist: Substitute chicken with cooked, shredded turkey for a leaner protein alternative that many dogs adore.
By making this simple swap, you provide variety while keeping the flavors delightful. -
Beef Booster: Use lean ground beef instead of chicken to give a rich taste that your dog will find irresistible.
Not only will they enjoy the new flavor, but this option also packs in extra nutrients. -
Fish Flavor: Swap for shredded cooked fish like salmon or tuna for an omega-3 boost that is great for their coat.
This delicious switch adds a new dimension to their treat experience, making it more exciting and healthy! -
Veggie Variety: Mix in other dog-safe veggies like sweet potatoes or carrots to enhance the nutritional value.
These additions not only add color but also provide essential vitamins and fiber, making your treats even better. -
Nutty Addition: Include a tablespoon of homemade peanut butter or almond butter for a nutty flavor twist.
This gives your Crunchies extra richness and is sure to make your canine companion wag their tail with joy. -
Coconut Flour Swap: For a gluten-free option, replace oat flour with coconut flour for a unique texture and taste.
Coconut flour absorbs moisture differently, so adjust the liquids in your recipe accordingly for the perfect dough.
Experimenting with these variations will keep your pups excited about treat time! For an extra special meal, consider serving them alongside a delicious dish like Avocado Mojo Chicken for your dinner while they enjoy their Crunchies!
Make Ahead Options
Preparing these Green Bean and Chicken Crunchies in advance is a fantastic way to save time for busy home cooks! You can mix the dough up to 24 hours ahead and store it tightly wrapped in the refrigerator to maintain freshness. Alternatively, shape the treats and freeze them for up to 3 months; just be sure to space them apart on a baking sheet to prevent sticking before transferring them to a freezer-safe bag. When you’re ready to bake, simply preheat your oven and add an extra 5 minutes to the baking time for frozen treats. This way, your furry friend can enjoy freshly baked goodies with minimal effort!

Green Bean and Chicken Crunchies Recipe FAQs
How do I choose the right green beans for my dog?
Absolutely! Look for fresh green beans that are vibrant green and firm. Avoid those that are limp or have dark spots all over them. Lightly steaming or blanching them before chopping enhances their flavor and texture, making them perfect for the Crunchies.
How should I store Green Bean and Chicken Crunchies?
To keep your Crunchies fresh, store them in an airtight container in the refrigerator for up to 2 weeks. If you’d like to keep them longer, freeze the treats. Place them on a baking sheet in a single layer, freeze until solid, then transfer to a zip-top bag. They can last up to 3 months in the freezer, ensuring your pup always has a tasty treat on hand!
Can I freeze these homemade dog treats?
Yes, absolutely! Freezing is a great way to extend the life of your Green Bean and Chicken Crunchies. After baking and cooling the treats, lay them in a single layer on a baking sheet and chill until firm. Then, pack them in a freezer-safe bag, removing as much air as possible. When you’re ready to use them, simply thaw them in the fridge or reheat them in the oven for 5-10 minutes at 350°F (175°C) to restore their crunchiness.
What if my dough is too dry or too wet?
No worries! If your dough seems too dry, add a tablespoon of chicken broth at a time until it reaches the right consistency. Conversely, if it’s too wet, sprinkle in a bit more oat flour. The goal is to have a sticky dough that holds its shape when formed, making it easy to roll out and cut into fun shapes.
Are there any ingredients I should avoid for my dog’s treats?
Yes, be cautious with ingredients that are toxic to dogs, such as onions, garlic, chocolate, and certain nuts. Always ensure that any fruits or vegetables added are safe for dogs. If your furry friend has allergies or specific dietary restrictions, it’s best to consult your vet before introducing new ingredients. Your pup deserves the best, and it’s always good to be informed!

Green Bean and Chicken Crunchies Your Dog Will Love
Ingredients
Equipment
Method
- Preheat your oven to 350°F (175°C) and line a baking sheet with parchment paper.
- Cook and shred 2 cups of boneless, skinless chicken into fine pieces.
- Lightly steam or blanch 1 cup of fresh green beans until bright green and tender, then chop them.
- In a large mixing bowl, combine the shredded chicken, chopped green beans, and 1 ½ cups of oat flour.
- Add 2 eggs, ½ cup of chicken broth, and 2 tablespoons of coconut oil to the mixture and stir until a sticky dough forms.
- On a floured surface, roll out the dough to about ¼ inch thick.
- Cut the rolled-out dough into fun shapes using your favorite cookie cutters and arrange on the baking sheet.
- Bake the treats for 25-30 minutes until golden brown and crispy.
- Allow the crunchies to cool completely on a wire rack before serving.

Leave a Reply