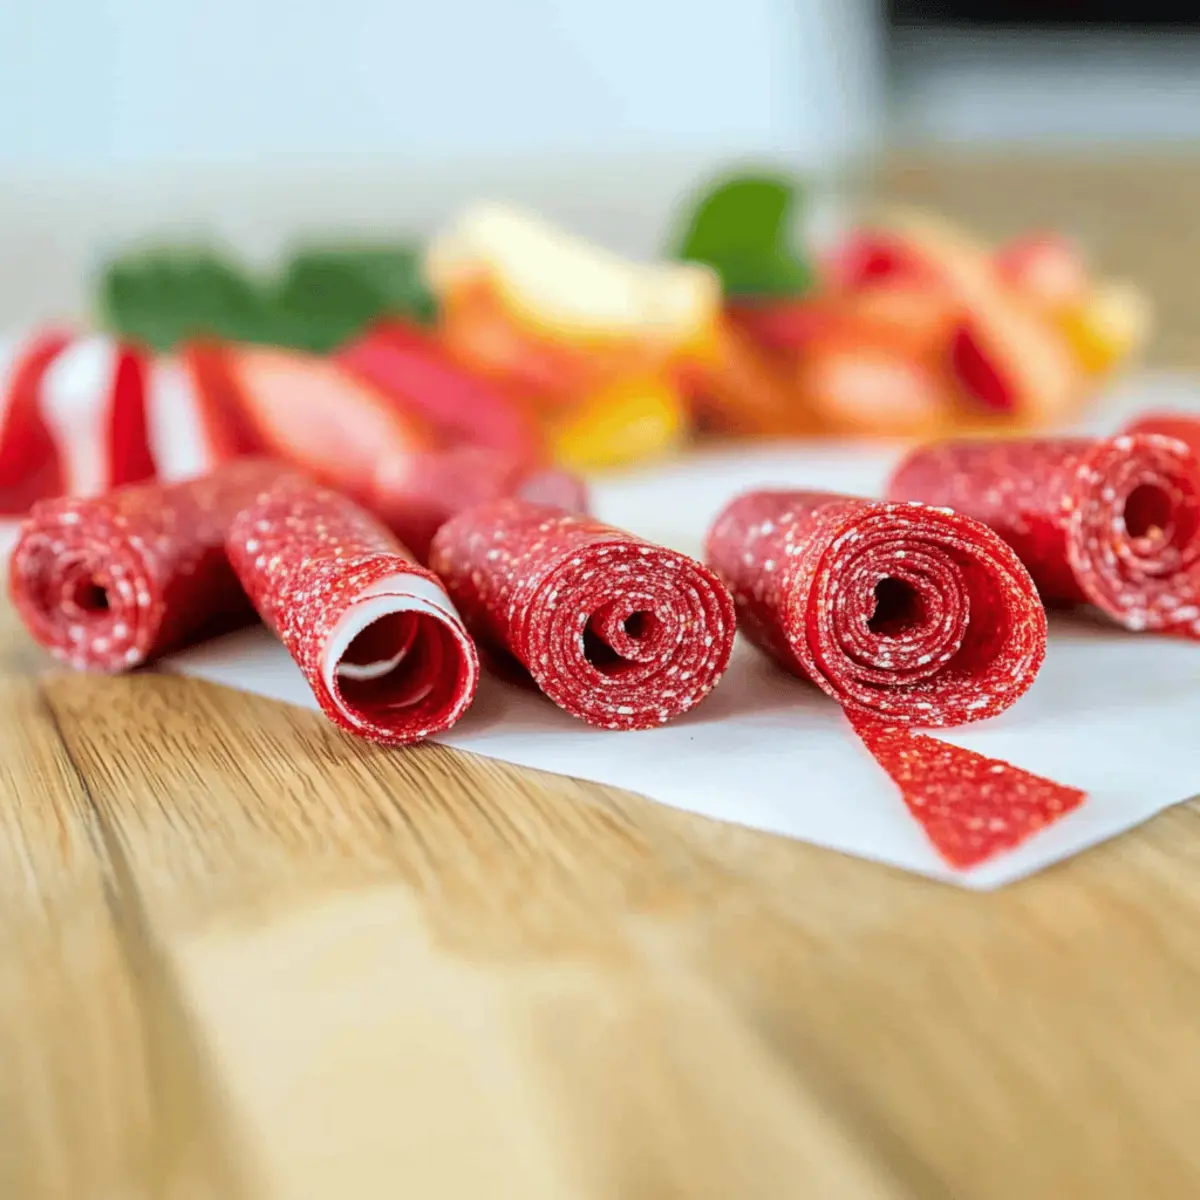
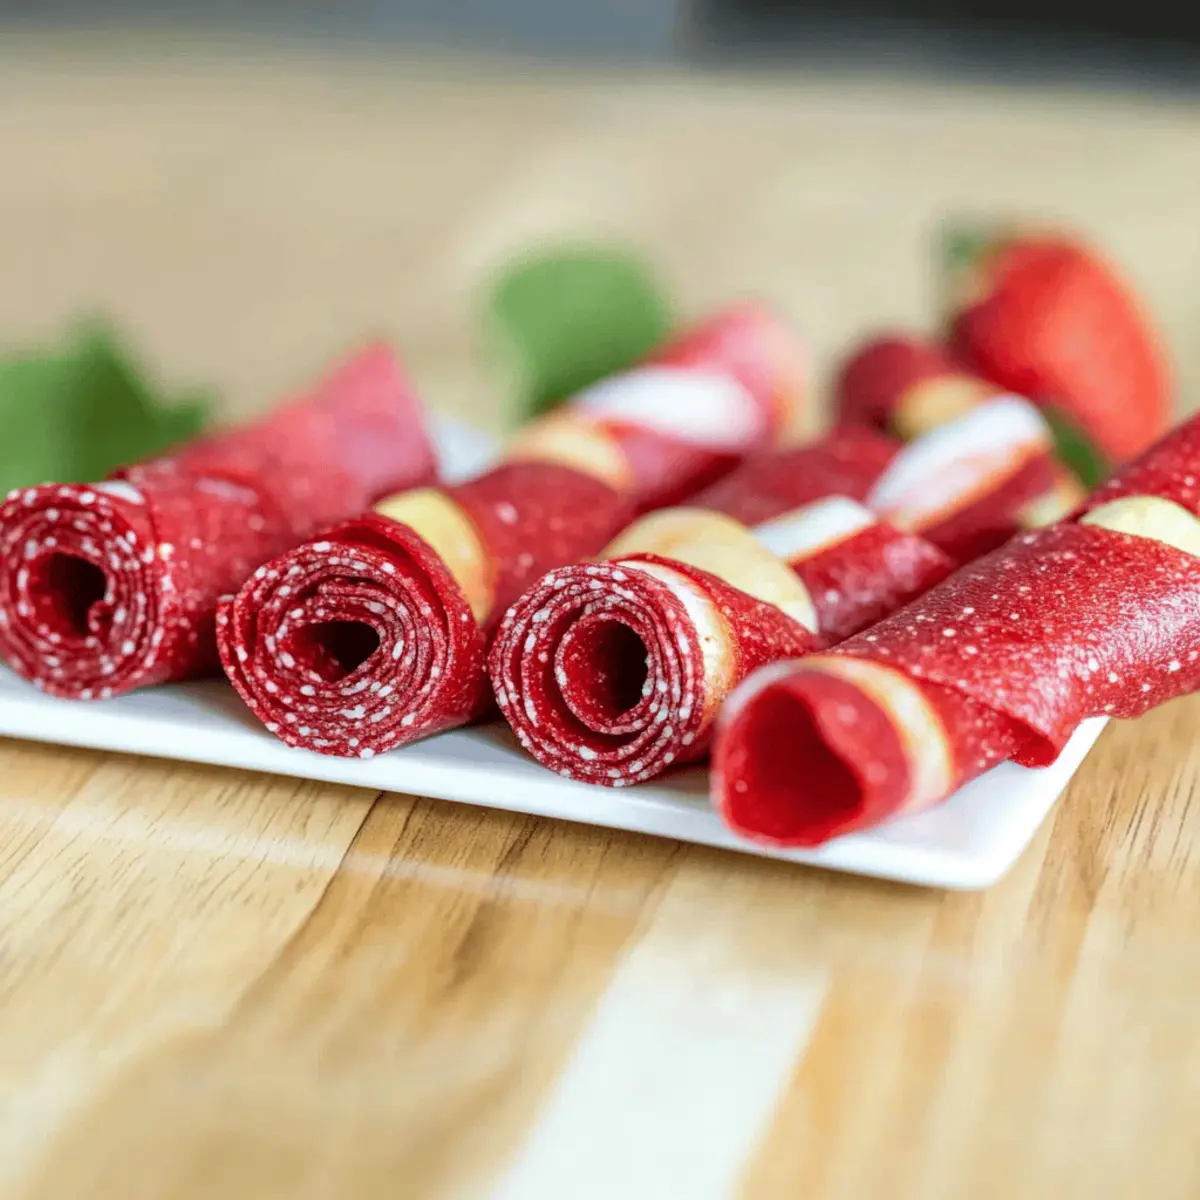
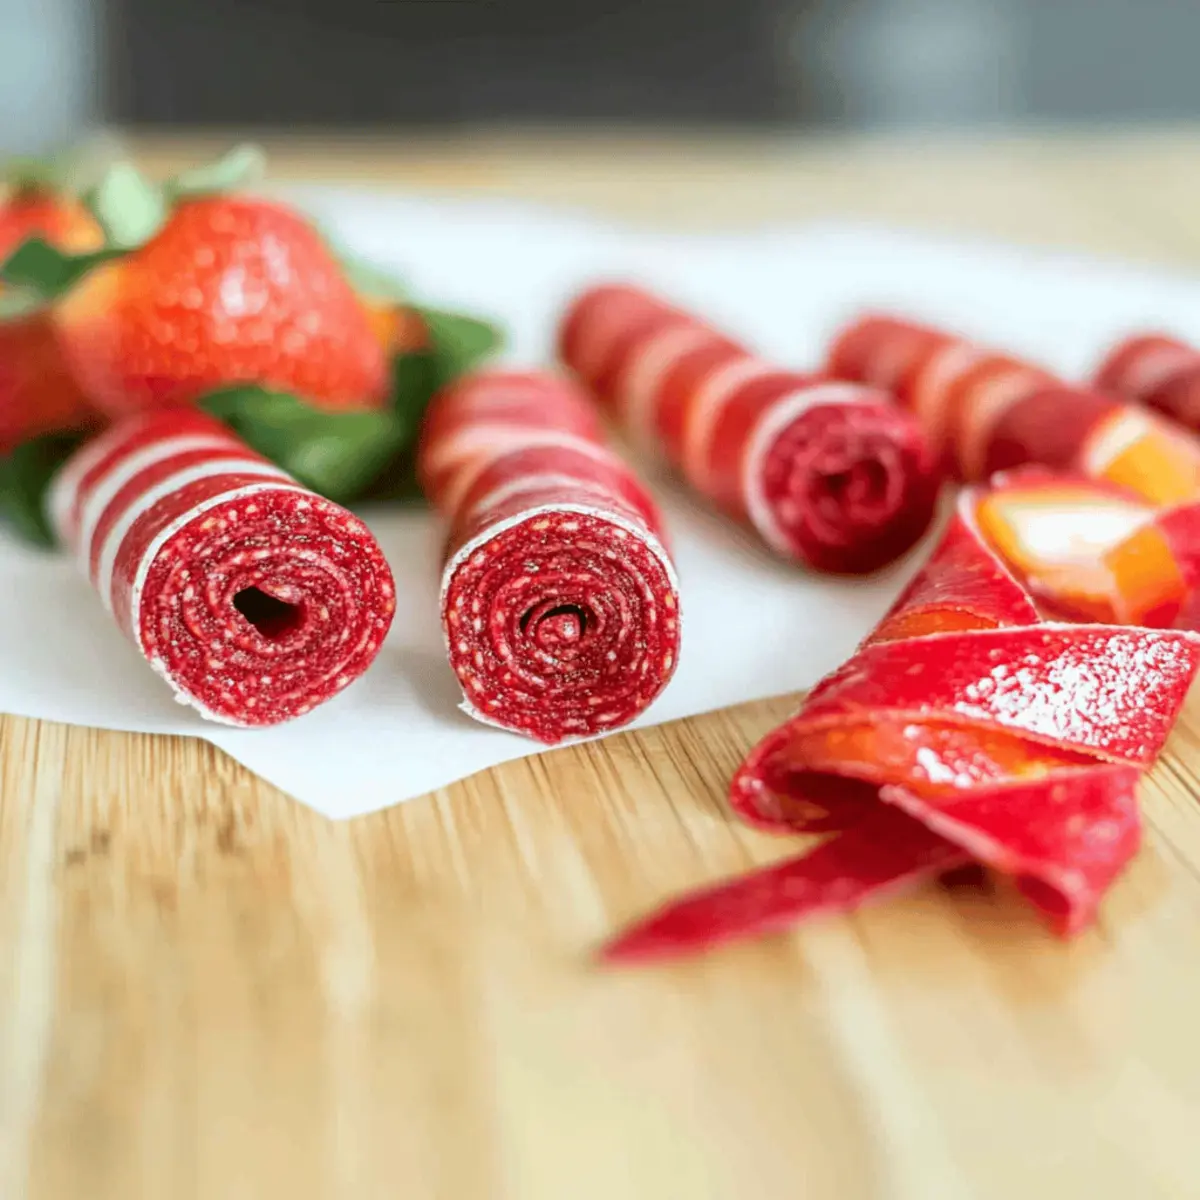
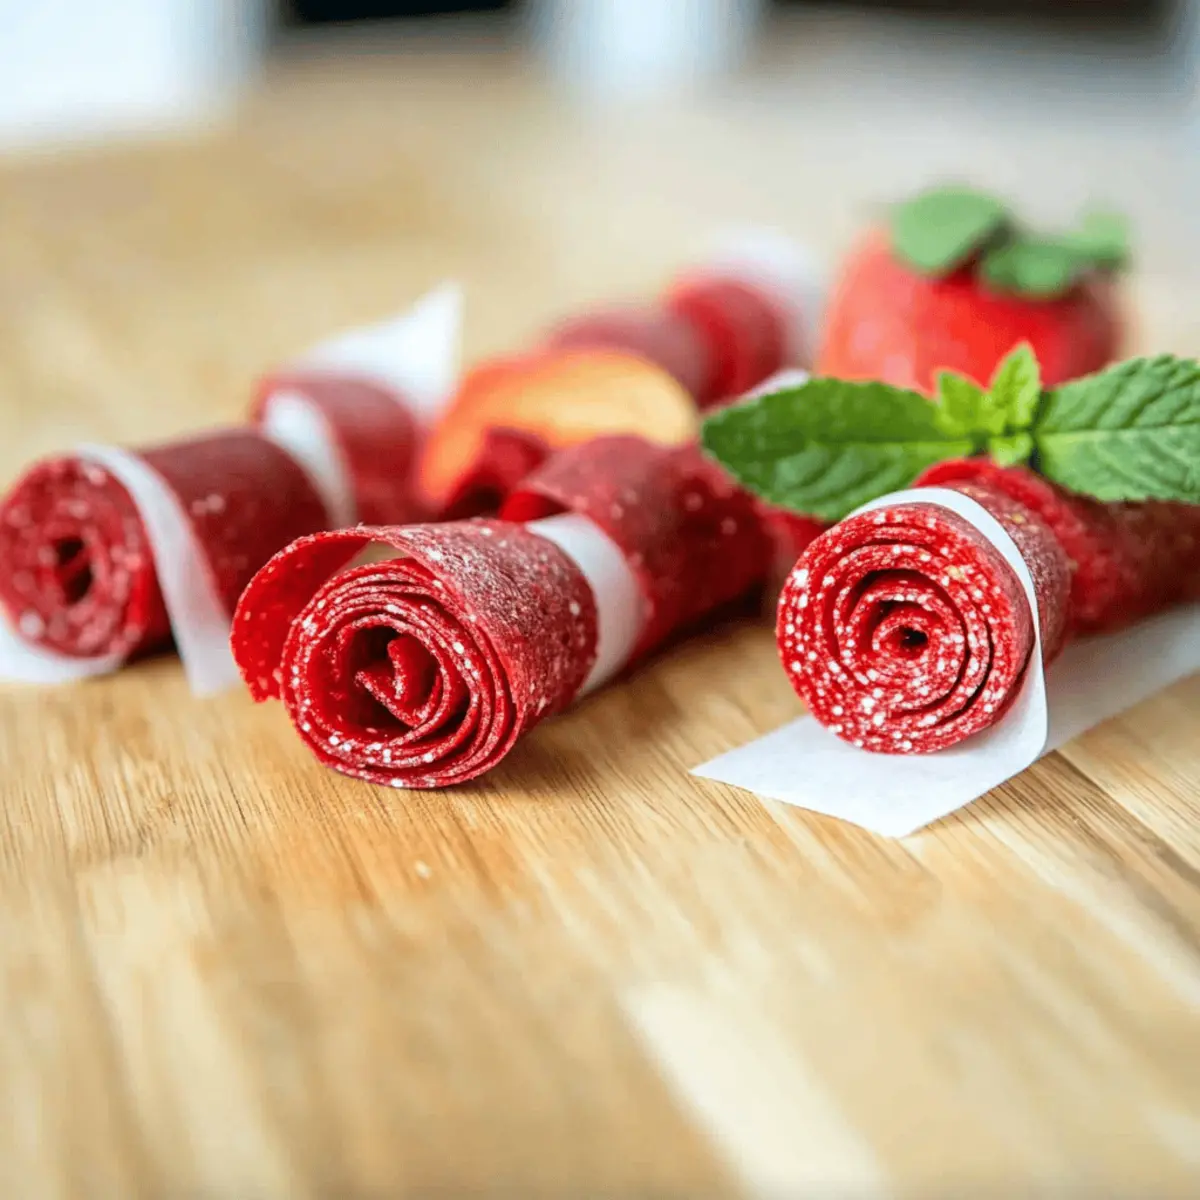
“Grab these from the pantry,” I overheard my friend tell her kids as they headed towards the couch for snack time. It made me realize how much I missed making Healthy Homemade Fruit Roll-Ups, a simple treat filled with the real flavors of fruit. With just three ingredients, this easy recipe is not only quick to prepare but also a fantastic alternative to those sugar-laden snacks found in stores. You can customize them with your family’s favorite fruits and enjoy a nutritious snack without guilt. Plus, they’re kid-approved! Whether for lunchboxes, after-school bites, or a quick dessert, these Fruit Roll-Ups will be a hit. Curious to learn how you can whip these up in no time? Let’s dive in!

Why Are These Fruit Roll-Ups a Must-Try?
Healthy snacking has never been this fun! With just three simple ingredients, these Fruit Roll-Ups are an easy, guilt-free treat. Customizable to fit any taste, you can mix and match fruits for unique flavors that your family will love. Kid-friendly, they make a delightful addition to lunchboxes or dessert—a perfect way to sneak in some nutrition! Time-saving and straightforward, you’ll have these roll-ups ready in just a few hours. For more quick snack ideas, don’t forget to check out my delicious Pepperoni Pizza Roll or Keto Philly Cheesesteak Rolls.
Fruit Roll Ups Ingredients
For the Fruit Base
• Mixed Fruit – 2-3 cups (300 to 350 g); choose fresh berries, apples, or tropical fruits like pineapple and mango for a fruity flavor explosion.
For Sweetness
• Honey – 2-3 Tbsp; a natural sweetener that enhances the fruit’s sugars, but you can substitute with sugar or a sugar-free alternative if needed.
For Brightness
• Lemon Juice – 2 Tbsp (30 mL); this adds a zesty acidity that beautifully balances out the natural sweetness of the fruit roll-ups, though you can omit it if citrus is a concern.
Step‑by‑Step Instructions for Healthy 3-Ingredient Fruit Roll-Ups
Step 1: Blend the Fruits
Start by gathering your fresh or thawed fruits, honey, and lemon juice, then place them in a food processor or blender. Blend on high until the mixture is completely smooth, about 1-2 minutes. Taste the puree and adjust the sweetness by adding more honey if desired. The result should be a vibrant fruit blend, ready for the next step!
Step 2: Spread the Mixture
Line a baking sheet with parchment paper to prevent sticking. Pour the smooth fruit mixture onto the parchment and use a spatula to spread it evenly, aiming for a thickness of about ⅛ to ¼ inch. Ensure the layer is uniform so it dehydrates evenly, and then you’re ready for the oven.
Step 3: Preheat and Dehydrate
Now, preheat your oven to the lowest setting, ideally between 140-170°F (60-75°C). Place the baking sheet in the center of the oven and let the fruit mixture dehydrate for about 4-6 hours. Check periodically; the fruit roll-ups are ready once the center is no longer tacky and feels firm to the touch.
Step 4: Cool and Cut
Once dehydrated, carefully remove the baking sheet from the oven and let it cool completely. After cooling, trim the edges using scissors for a neat appearance, then cut the rolled leather into 1-inch wide strips. Tightly roll each strip into fruit roll-ups and prepare to enjoy this delicious, homemade fruit snack!

Make Ahead Options
These Healthy Homemade Fruit Roll-Ups are a fantastic option for meal prep! You can blend the fruit mixture and refrigerate it in an airtight container for up to 24 hours before spreading it onto the baking sheet. This allows you to enjoy the fresh flavors without the last-minute rush. Alternatively, once your roll-ups are fully dehydrated, store them in an airtight container, and they’ll stay fresh in the fridge for up to 2 weeks. To maintain their chewy texture, add a paper towel inside the container to absorb moisture. When you’re ready to enjoy, simply cut and roll them into snack-sized portions, making your healthy snacking routine easier than ever!
Expert Tips for the Best Fruit Roll-Ups
-
Consistent Thickness: Spread the fruit mixture evenly for uniform drying; thick spots can remain tacky while thin edges may dry out too much.
-
Frozen Fruit Precaution: If using frozen fruits, be sure to thaw and drain excess liquid before blending to prevent a watery puree.
-
Time-Saving Technique: Boil the fruit mixture for 5-10 minutes to thicken, which significantly shortens the dehydration time and enhances flavors.
-
Storage Savvy: Keep fruit roll-ups fresh by storing them in an airtight container with a paper towel to absorb any moisture, extending their shelf life.
-
Flavor Experiments: Don’t hesitate to combine fruits for unique flavors; mixing berries with tropical fruits creates an exciting burst in every bite of your fruit roll-ups!
Fruit Roll-Ups Variations & Substitutions
Let your creativity soar and customize these Fruit Roll-Ups to match your family’s taste preferences!
-
Tropical Twist: Blend pineapple and mango for a deliciously exotic roll-up that transports you to a sunny day. It’s a refreshing treat that both kids and adults will cherish!
-
Berry Medley: Use a mix of strawberries, blueberries, and raspberries for a sweet and tangy flavor burst. This vibrant combo not only looks appealing but packs a nutritious punch too.
-
Canned Fruit Ease: Swap fresh fruit for canned fruit—just be sure to drain and dry thoroughly before blending. It’s a great time-saver for those busy days!
-
Add Spices: Sprinkle in a bit of cinnamon or ginger for some warm spice notes. The subtle heat can enhance the fruit flavors, making each bite feel special.
-
Nut Butter Infusion: Fold in a tablespoon of almond or peanut butter before blending for a creamy texture and nutty flavor. This twist adds healthy fats, and a bit of protein your family will appreciate.
-
Veggie Boost: Sneak in some spinach or kale for extra nutrition without sacrificing flavor. The fruit’s sweetness will mask the greens, making it a clever choice for picky eaters!
-
Sugar-Free Option: Use a sugar substitute instead of honey for a sugar-free version of these roll-ups. Perfect for those watching their sugar intake!
-
Adjust for Heat: Add a pinch of cayenne for an unexpected, fun kick! The heat balances the sweetness and adds a delightful surprise in every bite.
As you dive into these variations, don’t forget to try your hand at other great snacks like my delicious Chocolate Peanut Cups, or get inspired by the bold flavors of my Philly Cheesesteak Rolls. Happy cooking!
How to Store and Freeze Fruit Roll-Ups
Fridge: Store your Healthy Homemade Fruit Roll-Ups in an airtight container for up to 2 weeks, ensuring they stay chewy and fresh.
Freezer: For longer storage, freeze the fruit roll-ups for up to 3 months. Make sure to place parchment paper between each roll-up to prevent sticking.
Thawing: When ready to enjoy, thaw them in the fridge overnight for a convenient snack that’s just like fresh.
Check for Freshness: Always inspect the fruit roll-ups before consuming—if they feel overly sticky or show signs of moisture, it’s best to discard them.
What to Serve with Healthy 3-Ingredient Fruit Roll-Ups
Elevate your snacking experience with delightful pairings that complement the fruity goodness of your roll-ups.
-
Yogurt Parfait: Creamy yogurt topped with granola and seasonal fruits enhances breakfast bliss and adds a satisfying crunch.
-
Nut Butter Dip: Almond or peanut butter provides a protein-packed dip, balancing sweetness with nuttiness for a delightful treat.
-
Cheese Slices: Soft cheese like brie or sharp cheddar adds a savory contrast, making for an exciting sweet-and-salty flavor combination.
-
Trail Mix: A handful of nuts and dried fruits offers a textured contrast, perfect for snacking anytime and keeps the energy up during busy days.
-
Fresh Fruit Salad: A colorful mix of fresh fruits brightens up your plate, bringing out the natural flavors of the roll-ups while adding a juicy freshness.
-
Herbal Iced Tea: A refreshing, lightly brewed herbal tea offers a soothing drink option that enhances the fruity flavors without overpowering them.
-
Chocolate Dipping Sauce: For a sweet twist, a light chocolate drizzle elevates the roll-ups into a decadent dessert, making snack time even more special.
-
Banana Slices: The creamy texture of banana complements the chewiness of roll-ups and adds a dose of fiber and potassium.
-
Coconut Chips: Crunchy coconut chips add a tropical flair, tying in with any exotic flavors you might choose for your fruit roll-ups.

Healthy 3-Ingredient Fruit Roll-Ups Recipe FAQs
How do I select the best fruits for my roll-ups?
Absolutely! Opt for fruits that are ripe and fresh. Look for berries without dark spots, firm apples, and vibrant tropical fruits like mango or pineapple. If you’re using frozen fruits, ensure they’ve been thoroughly thawed and drained of excess liquid before blending. Mixing and matching different fruits allows for personalized flavors—so have fun experimenting!
What is the best way to store my fruit roll-ups?
I recommend storing your Healthy Homemade Fruit Roll-Ups in an airtight container. They will stay tasty and chewy for up to 2 weeks in the fridge. For longer storage, freeze them for up to 3 months. Simply place parchment paper between each roll-up to prevent them from sticking together. This way, your snack is always ready when cravings hit!
Can I freeze fruit roll-ups, and how do I do it?
Yes, you can! To freeze your fruit roll-ups, first cut them into strips and allow them to cool completely. Then, place parchment paper between each roll-up to avoid sticking and pack them in an airtight container or freezer bag. They can last for up to 3 months in the freezer. When you’re ready to enjoy them, simply thaw them in the fridge overnight for a delightful, ready-to-eat snack!
What should I do if my fruit roll-ups are sticky or gummy?
Very good question! If your fruit roll-ups turn out sticky, it might be due to uneven thickness when spreading the mixture. For future batches, ensure an even spread and consistent thickness of about ⅛ to ¼ inch. Additionally, if the middle still feels tacky after dehydrating, you can return them to the oven for a little while longer at low heat to dry them out completely.
Are these fruit roll-ups suitable for everyone, including kids and pets?
Yes, these fruit roll-ups are a great snack for kids since they contain only natural ingredients. However, if you have pets, avoid sharing these with them, especially if you use honey, as it isn’t safe for some animals. Always double-check ingredients if allergies are a concern; while the recipe is vegan, make sure you steer clear of any allergenic fruits based on your family’s needs.

Delicious 3-Ingredient Fruit Roll Ups for Guilt-Free Snacking
Ingredients
Equipment
Method
- Blend the fruits, honey, and lemon juice in a food processor until smooth.
- Spread the mixture evenly on a lined baking sheet to a thickness of ⅛ to ¼ inch.
- Preheat the oven to 140-170°F and dehydrate for 4-6 hours until firm.
- Let cool, trim edges, and cut into 1-inch strips before rolling up.

Leave a Reply