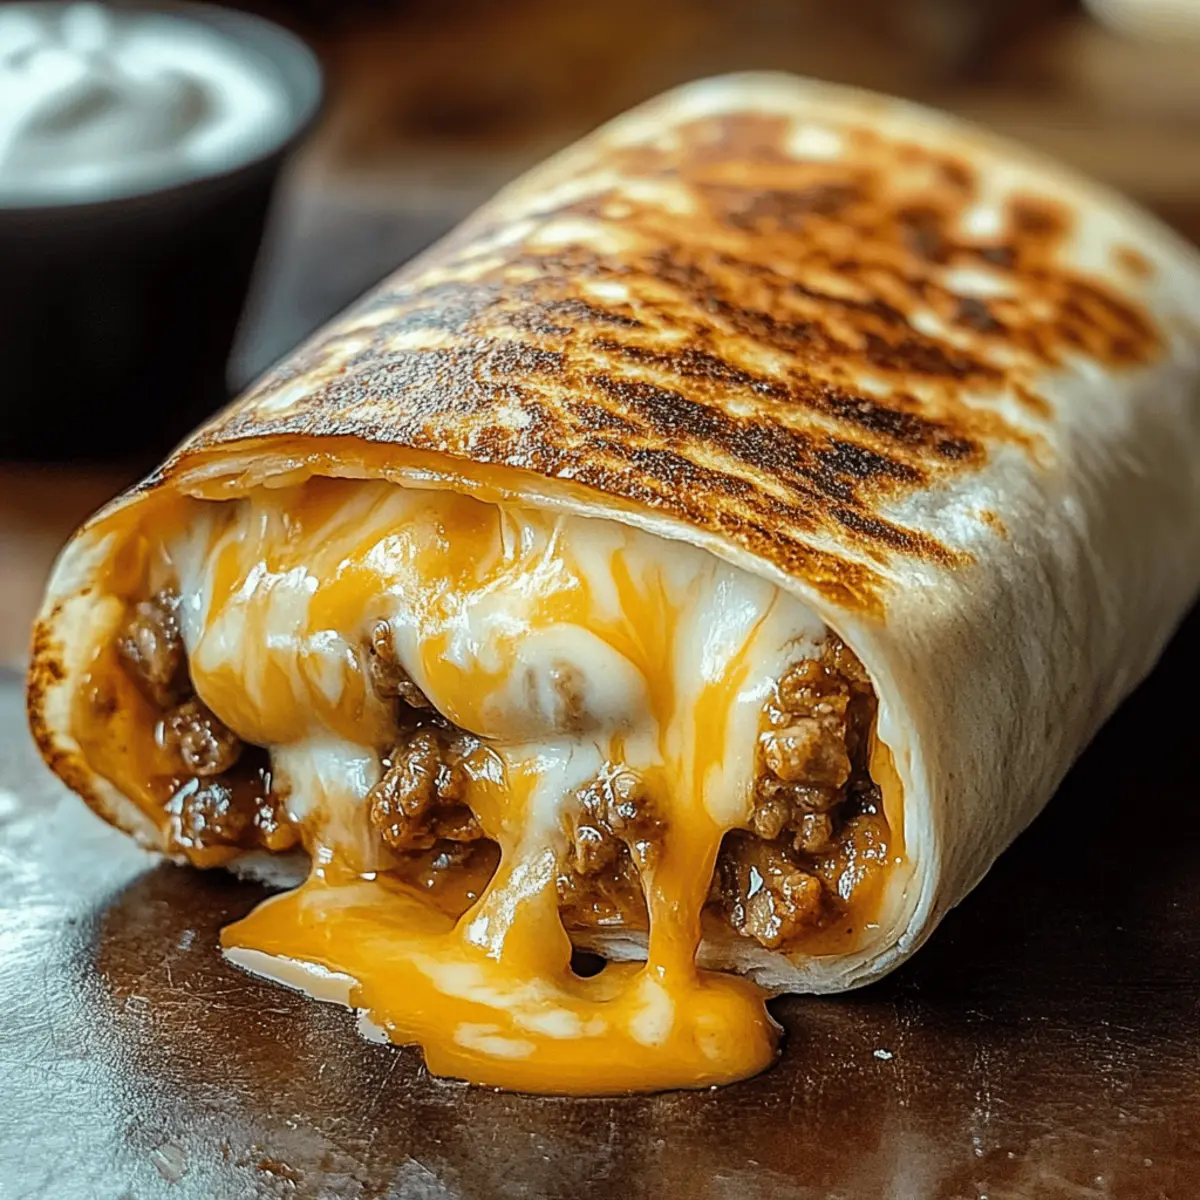
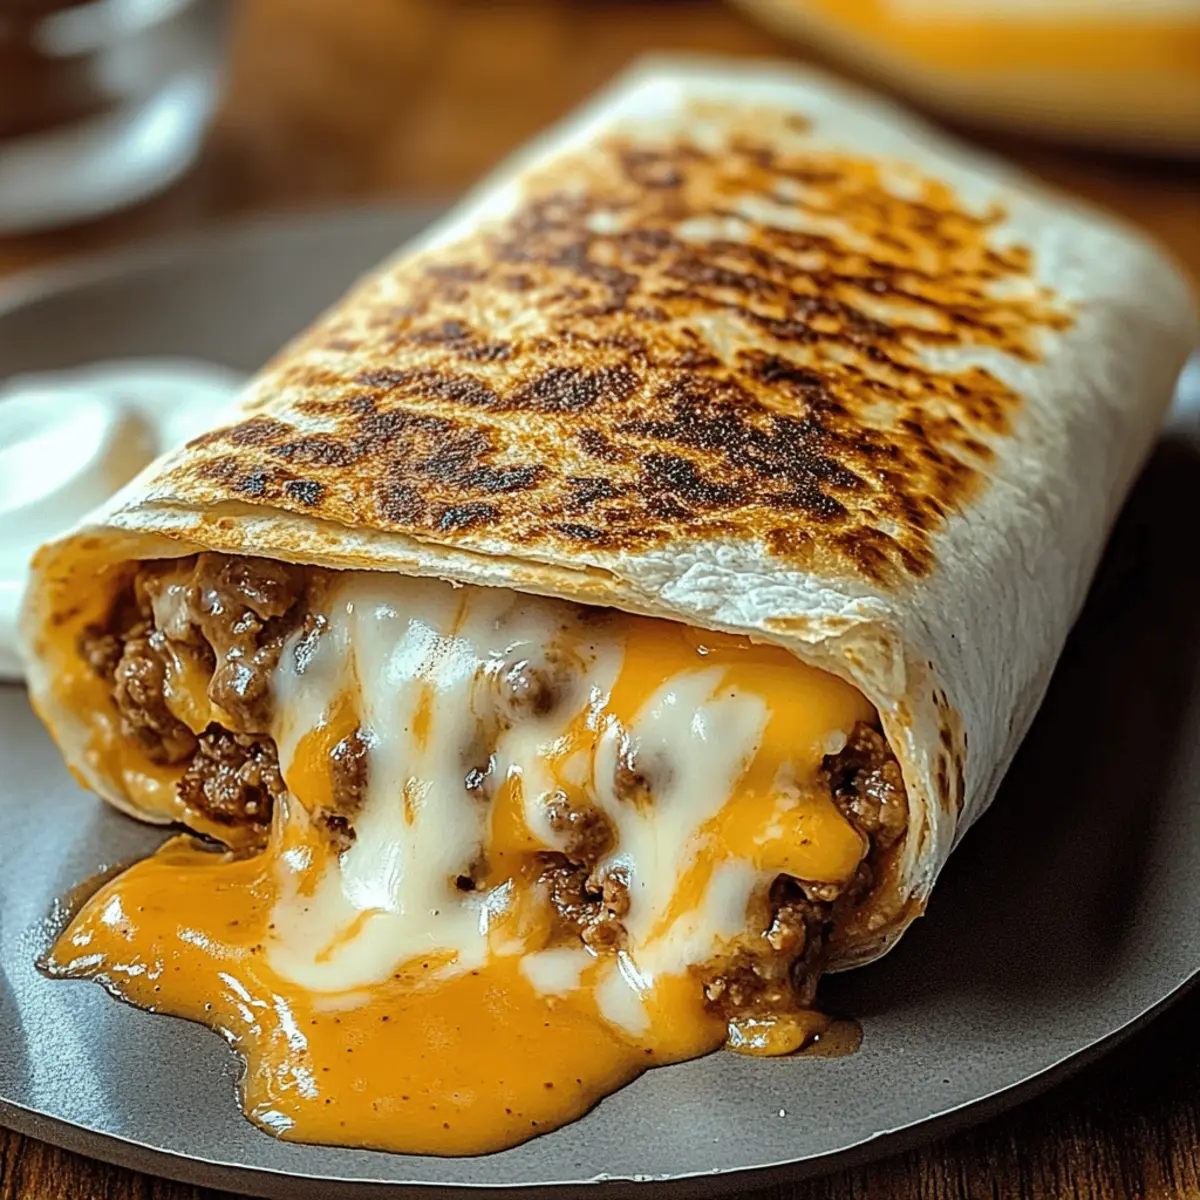
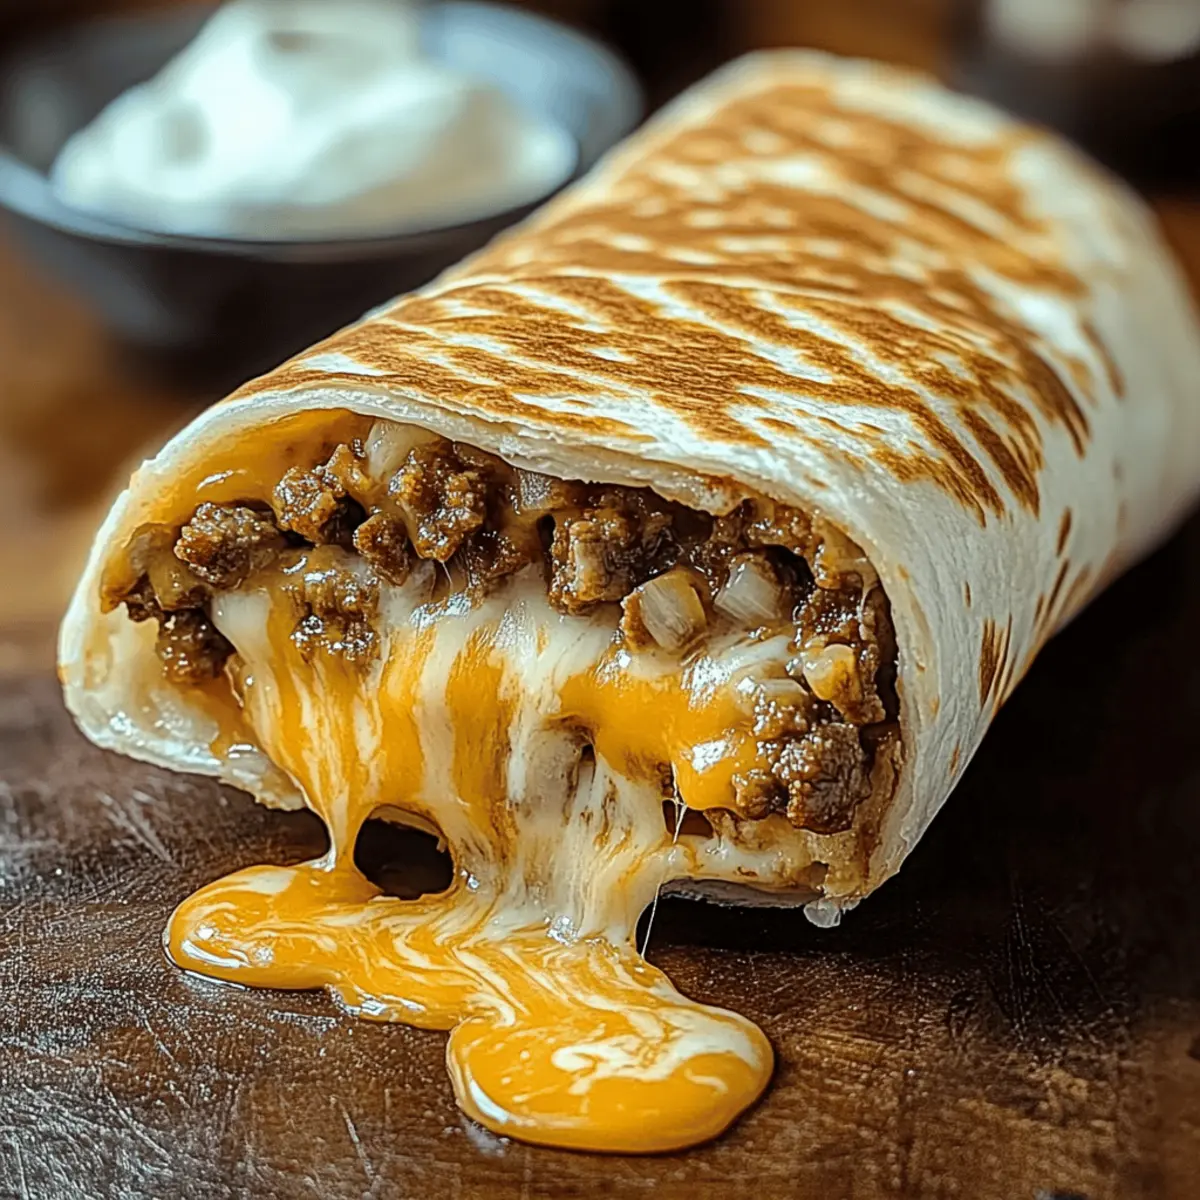
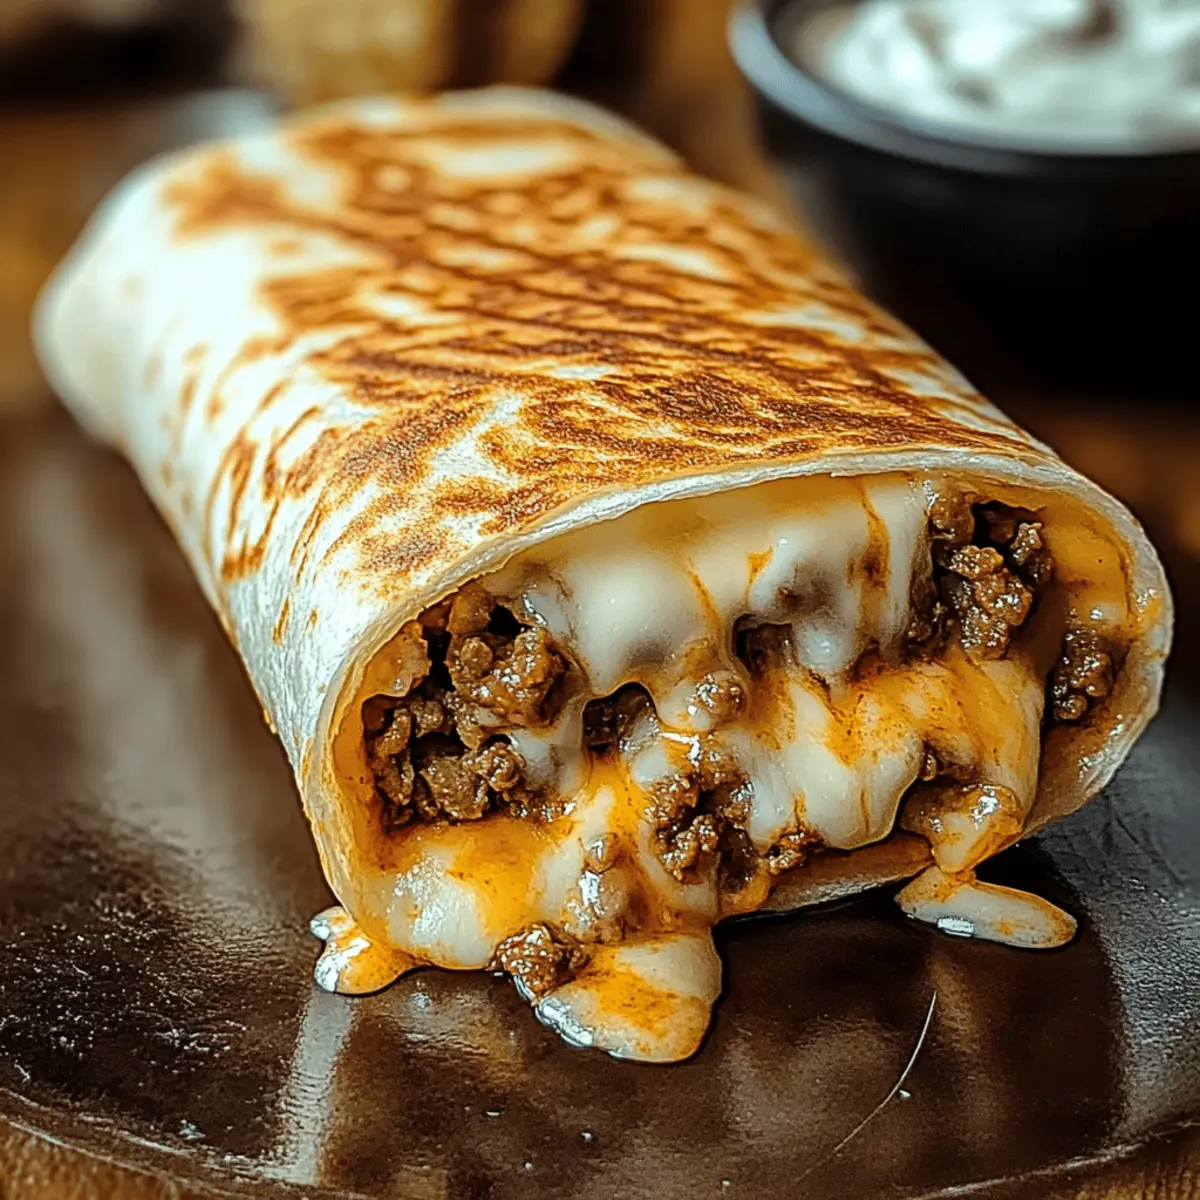
Every time I sink my teeth into a Grilled Cheese Burrito, I’m transported back to late-night cravings and the delight of takeout indulgence. But what if I told you that you can whip up this Taco Bell copycat right in your own kitchen? This Easy Grilled Cheese Burrito is not just quick to make but also customizable to fit your taste buds or dietary needs. With delightful layers of spicy seasoned beef, creamy nacho cheese, and zesty chipotle sauce, all wrapped in a warm tortilla and grilled to a cheesy crisp, it’s the ultimate comfort food for busy weeknights. Whether you’re a meat lover or a veggie fan, this recipe is designed to please everyone—including the kids! So, what unique twist will you add to make this burrito your own?

Why Make This Grilled Cheese Burrito?
Quick and Easy: This recipe comes together in just 20 minutes, making it a perfect solution for busy weeknights cravings.
Customizable for Everyone: Whether you prefer beef, beans, or veggies, you can make it your own with simple swaps and add-ins.
Kid-Approved Comfort: With a cheesy exterior and a flavorful filling, it appeals to both kids and adults alike—no more fast food regret!
Dairy-Free Options Available: Simply substitute ingredients like cheese and sour cream, ensuring everyone can enjoy a tasty meal!
Satisfying and Hearty: Each bite delivers layers of melty cheese and savory goodness, reminiscent of your favorite takeout but crafted in your kitchen.
For extra flavor, consider adding a drizzle of cream on the side, or serve alongside some Grilled Mushrooms Burst for an added twist!
Easy Grilled Cheese Burrito Ingredients
For the Filling
• Ground Beef – The primary protein source; swap with chicken, beans, or tofu for variations.
• Taco Seasoning – Adds spice and flavor; you can use a store-bought packet or make your own for a personal touch.
• Cooked White Rice – Provides bulk; replace with brown rice or quinoa for a healthier twist.
• Sour Cream – Brings creaminess and tang; try Greek yogurt for a nutritious option or dairy-free sour cream for a vegan meal.
• Nacho Cheese Sauce – Delivers rich, cheesy flavor; Velveeta or homemade cheese sauce works splendidly.
• Chipotle Sauce – Introduces smokiness and heat; substitute with salsa or hot sauce for a milder taste.
For the Melty Cheese
• Shredded Cheddar Cheese – Melts beautifully for a crispy crust; it can be swapped with Monterey Jack or a Mexican blend.
• Shredded Mozzarella – Adds stretchiness; any melty cheese of your choice can be used.
For Assembly & Grilling
• Large Flour Tortillas – The perfect wrap; corn tortillas can be used for a gluten-free version.
• Butter or Oil – Needed for grilling, ensuring a golden, crispy finish.
This Easy Grilled Cheese Burrito is versatile, inviting you to personalize it to your liking while satisfying your cheesy cravings!
Step‑by‑Step Instructions for Easy Grilled Cheese Burrito
Step 1: Cook the Beef
In a large skillet, heat over medium-high heat and add the ground beef. Cook for 8–10 minutes, breaking it apart with a spatula until browned, with no pink remaining. Drain excess grease and then add taco seasoning along with ¼ cup of water. Let it simmer for 5 minutes until heated through and fragrant.
Step 2: Warm the Tortillas
While the beef is simmering, heat a dry skillet over medium heat. Place each large flour tortilla in the skillet for about 30 seconds on each side until they are warm and pliable. This step is essential for easier folding; you want them soft but not crispy, as the Easy Grilled Cheese Burrito will be filled shortly.
Step 3: Assemble the Burrito
On each warm tortilla, layer ¼ cup of cooked white rice, followed by the seasoned beef, a generous drizzle of nacho cheese sauce, and a spoonful of chipotle sauce. Add a dollop of sour cream, and finally sprinkle shredded cheddar and mozzarella cheese on top. Fold in the sides and roll the burrito tightly from the bottom; it should feel secure to hold.
Step 4: Grill the Burrito
Heat a clean skillet over medium heat and add a pat of butter or a splash of oil to coat it. Place the burrito seam-side down in the skillet and sprinkle a generous handful of shredded cheese on the grill side. Cook for 3–4 minutes until the bottom is golden brown and the cheese has melted, then carefully flip and repeat on the other side until crisp and cheesy.
Step 5: Serve and Store
Remove the grilled burrito from the skillet and let it rest for a minute before slicing it in half, revealing the gooey, delicious filling. Serve hot with extra chipotle sauce and sour cream on the side. For leftovers, store in an airtight container in the refrigerator for up to 3 days, ensuring that you’ll have this Easy Grilled Cheese Burrito ready to enjoy again soon!

Make Ahead Options
These Easy Grilled Cheese Burritos are perfect for busy meal prep enthusiasts! You can assemble the burritos up to 24 hours in advance; just fill each tortilla, roll them tightly, and refrigerate them in an airtight container to maintain their quality. This not only saves you time on hectic weeknights but also ensures the flavors meld beautifully as they sit. For longer storage, you can wrap individual burritos in foil or plastic wrap and freeze them for up to one month. When you’re ready to enjoy, simply grill them straight from the fridge or freezer (adding a couple of extra minutes to cooking time), and you’ll have a warm, cheesy delight that’s just as delicious as when freshly made!
Easy Grilled Cheese Burrito Variations
Feel free to customize your burrito with these mouth-watering ideas to suit your cravings!
-
Black Beans: Swap the beef for black beans for a hearty, protein-packed vegetarian option. The creamy texture pairs perfectly with existing flavors.
-
Spicy Kick: Add jalapeño slices or a sprinkle of crushed red pepper flakes for an extra layer of heat. Your taste buds will thank you for this bold twist!
-
Quinoa Boost: Substitute white rice with cooked quinoa for an added nutritional boost. This swap not only enhances the texture but also enriches the health factor.
-
Avocado Creaminess: Include sliced or mashed avocado for a creamy touch. It brings a fresh, cooling element that balances the spicy filling beautifully.
-
Dairy-Free Delight: Use vegan cheese and dairy-free sour cream to create an entirely dairy-free burrito. The flavors will still shine through while accommodating various diets!
-
Herby Flavor: Add fresh cilantro or lime zest to the filling for a citrusy and aromatic enhancement. These fresh notes will brighten up each bite.
-
Homemade Sauces: Consider drizzling spicy ranch or homemade salsa on top before enjoying. A personalized sauce can take your burrito experience to the next level!
For some more recipe inspiration, you might enjoy my delicious Pumpkin Cream Cheese or try pairing this with some tasty Baked Zucchini Cheese for a delightful meal!
What to Serve with Easy Grilled Cheese Burrito
Elevate your dinner experience with delightful sides and drinks that complement the rich cheesy goodness of your burrito.
-
Creamy Guacamole: A buttery avocado dip that adds a fresh, zesty element, perfect for scooping up with chipotle-laced burrito bites.
-
Crispy Corn Tortilla Chips: Serve these crunchy chips on the side, ideal for sopping up any leftover nacho cheese sauce and chipotle goodness.
-
Zesty Black Bean Salad: A vibrant mix of black beans, corn, diced tomatoes, and cilantro brings a refreshing contrast to the savory burrito. This can be a perfect palate cleanser with every bite.
-
Spicy Mexican Street Corn: Grilled sweet corn, topped with cheese, lime, and chili powder, adds a smoky and sweet twist that pairs beautifully with the flavors of the burrito.
-
Tangy Lime Rice: Fluffy white rice with a squeeze of lime complements the burrito’s heartiness while providing a citrus kick that brightens the dish.
-
Chilled Cucumber Mint Salad: Light and hydrating, this salad offers a cool crunch that balances the burrito’s richness, leaving you feeling refreshed.
-
Classic Margarita: An icy blend of tequila, lime juice, and orange liqueur makes for the perfect celebratory drink here, enhancing the festive flavors of your meal surely enjoyed on Taco night!
Let the flavors mingle—each addition brings its unique twist to your table!
How to Store and Freeze Easy Grilled Cheese Burrito
Fridge: Store leftovers in an airtight container for up to 3 days. This helps maintain the burrito’s flavor and prevents it from drying out.
Freezer: Wrap each burrito tightly in foil or plastic wrap and freeze for up to one month. When you’re ready to enjoy, reheat in the oven for a crispy finish.
Reheating: For the best results, reheat frozen burritos in an oven at 350°F (175°C) for about 20 minutes or until heated through, ensuring that the melty cheese is preserved.
Make-Ahead: Assemble and wrap burritos in advance, keeping them in the fridge for quick meals. Perfect for busy nights when you crave your Easy Grilled Cheese Burrito!
Expert Tips for the Best Easy Grilled Cheese Burrito
-
Perfectly Crispy Cheese: Use enough heat while grilling to ensure the cheese adheres nicely to the burrito. Too low heat may lead to sogginess instead of crispiness.
-
Fill with Balance: Be careful not to overfill the burrito! Aim for moderation with the ingredients to ensure it rolls up tightly and doesn’t burst while grilling.
-
Meal Prep Friendly: Assemble your Easy Grilled Cheese Burrito in advance and store them in the fridge. Just grill them fresh when you’re ready to eat for the best results.
-
Experiment with Flavors: Don’t shy away from customizing your burrito! Try adding unique ingredients like jalapeños for extra heat or avocado for creaminess that perfectly complements the flavors.
-
Freezing Tips: If you want to freeze your burritos, wrap each one in foil tightly. You can reheat them in the oven or skillet for a quick meal without losing that melted cheese goodness.

Easy Grilled Cheese Burrito Recipe FAQs
How do I choose the best ingredients for my burrito?
Absolutely! Fresh ingredients are key for the best flavor. Look for ground beef that’s bright red without any gray spots. For the tortillas, choose large ones that are soft to prevent cracking. If you’re opting for veggies, colorful peppers and firm avocados make delightful additions. For cheese, go for high-quality brands that melt smoothly and have great flavor.
What’s the best way to store leftovers?
To keep your Easy Grilled Cheese Burrito fresh, store them in an airtight container in the refrigerator for up to 3 days. This ensures the flavors stay vibrant, and they won’t dry out. Just reheat in a skillet for a crispy finish when you’re ready to enjoy!
Can I freeze the burritos, and how?
Very! Wrap each burrito tightly in foil or plastic wrap and freeze for up to one month. When you’re ready to eat, reheat them in the oven at 350°F (175°C) for about 20 minutes, or until heated through. This method keeps the melted cheese delicious and the tortilla crisp.
What if the burrito falls apart when I grill it?
No worries! If your burrito bursts while grilling, it often means it was overfilled or the tortillas weren’t pliable enough. To avoid this, keep fillings balanced and not too generous, and make sure to warm the tortillas until soft. If you press down gently while grilling, it can help seal everything together.
Are there dietary options for allergies and preferences?
Absolutely! For dairy-free options, simply swap the nacho cheese and sour cream for dairy-free alternatives. If you’re catering to meat allergies, you can use beans, tofu, or even jackfruit for a satisfying, plant-based burrito. Just make sure to double-check labels for hidden allergens.
What are some good mix-ins or variations?
The more the merrier! You can customize your Easy Grilled Cheese Burrito by adding ingredients like fresh jalapeños for spice or avocado slices for creaminess. Consider also tossing in black beans, corn, or spinach for added texture and nutrition—endless possibilities await!

Deliciously Easy Grilled Cheese Burrito for Cheesy Cravings
Ingredients
Equipment
Method
- In a large skillet, heat over medium-high heat and add the ground beef. Cook for 8–10 minutes, breaking it apart with a spatula until browned, with no pink remaining. Drain excess grease and then add taco seasoning along with ¼ cup of water. Let it simmer for 5 minutes until heated through and fragrant.
- While the beef is simmering, heat a dry skillet over medium heat. Place each large flour tortilla in the skillet for about 30 seconds on each side until they are warm and pliable.
- On each warm tortilla, layer ¼ cup of cooked white rice, followed by the seasoned beef, a generous drizzle of nacho cheese sauce, and a spoonful of chipotle sauce. Add a dollop of sour cream, and finally sprinkle shredded cheddar and mozzarella cheese on top. Fold in the sides and roll the burrito tightly from the bottom.
- Heat a clean skillet over medium heat and add a pat of butter or a splash of oil. Place the burrito seam-side down in the skillet and sprinkle a generous handful of shredded cheese on the grill side. Cook for 3–4 minutes until golden brown and the cheese has melted, then carefully flip and repeat on the other side.
- Remove the grilled burrito from the skillet and let it rest for a minute before slicing it in half. Serve hot with extra chipotle sauce and sour cream on the side.

Leave a Reply