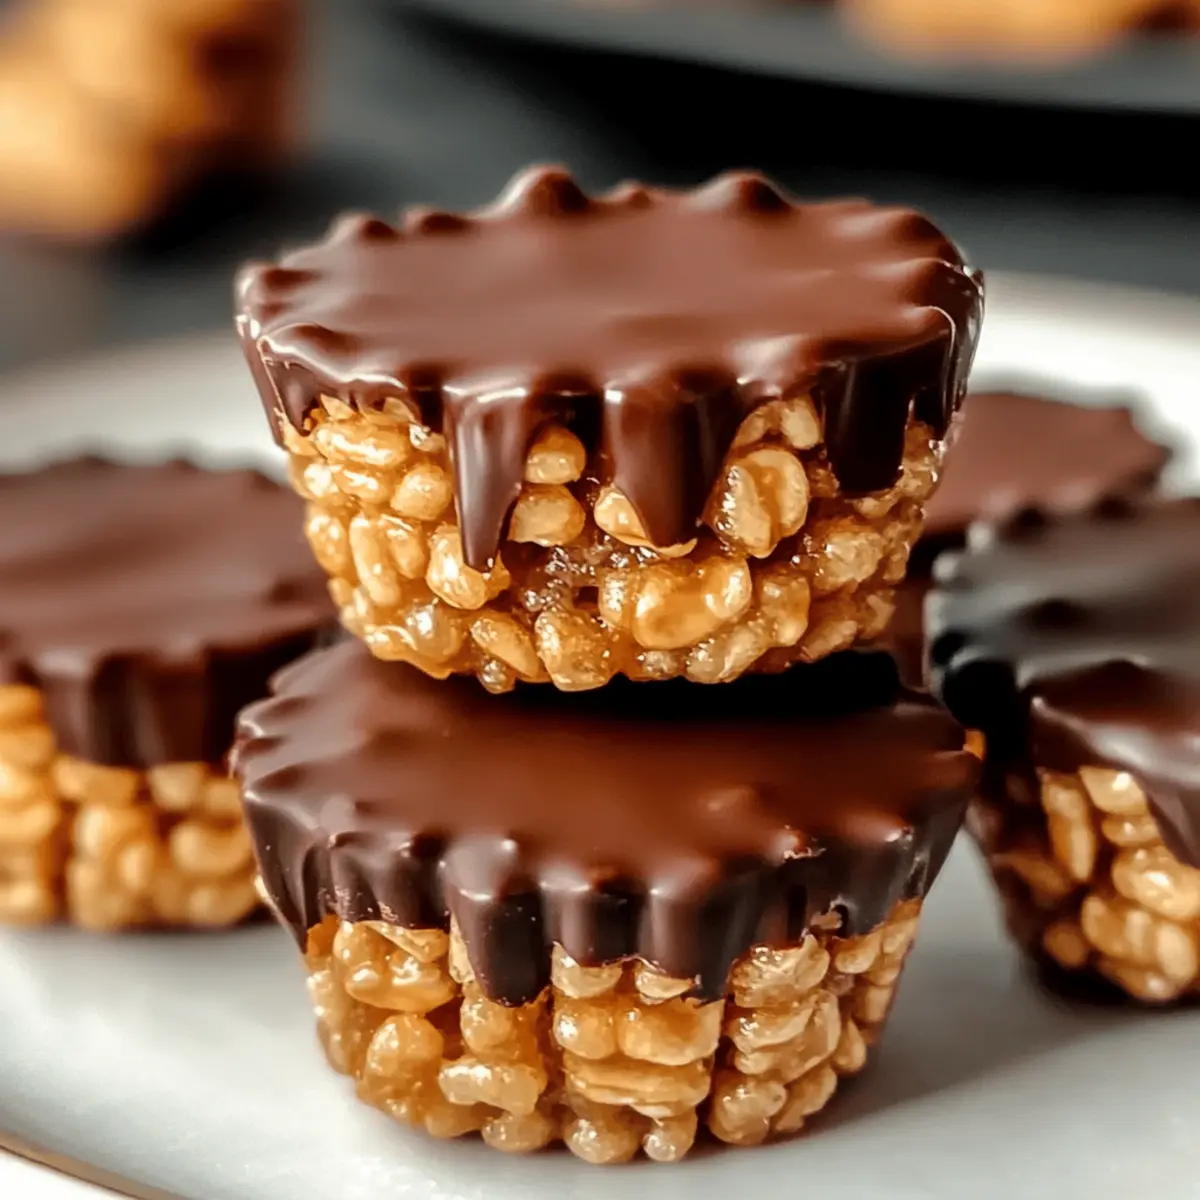
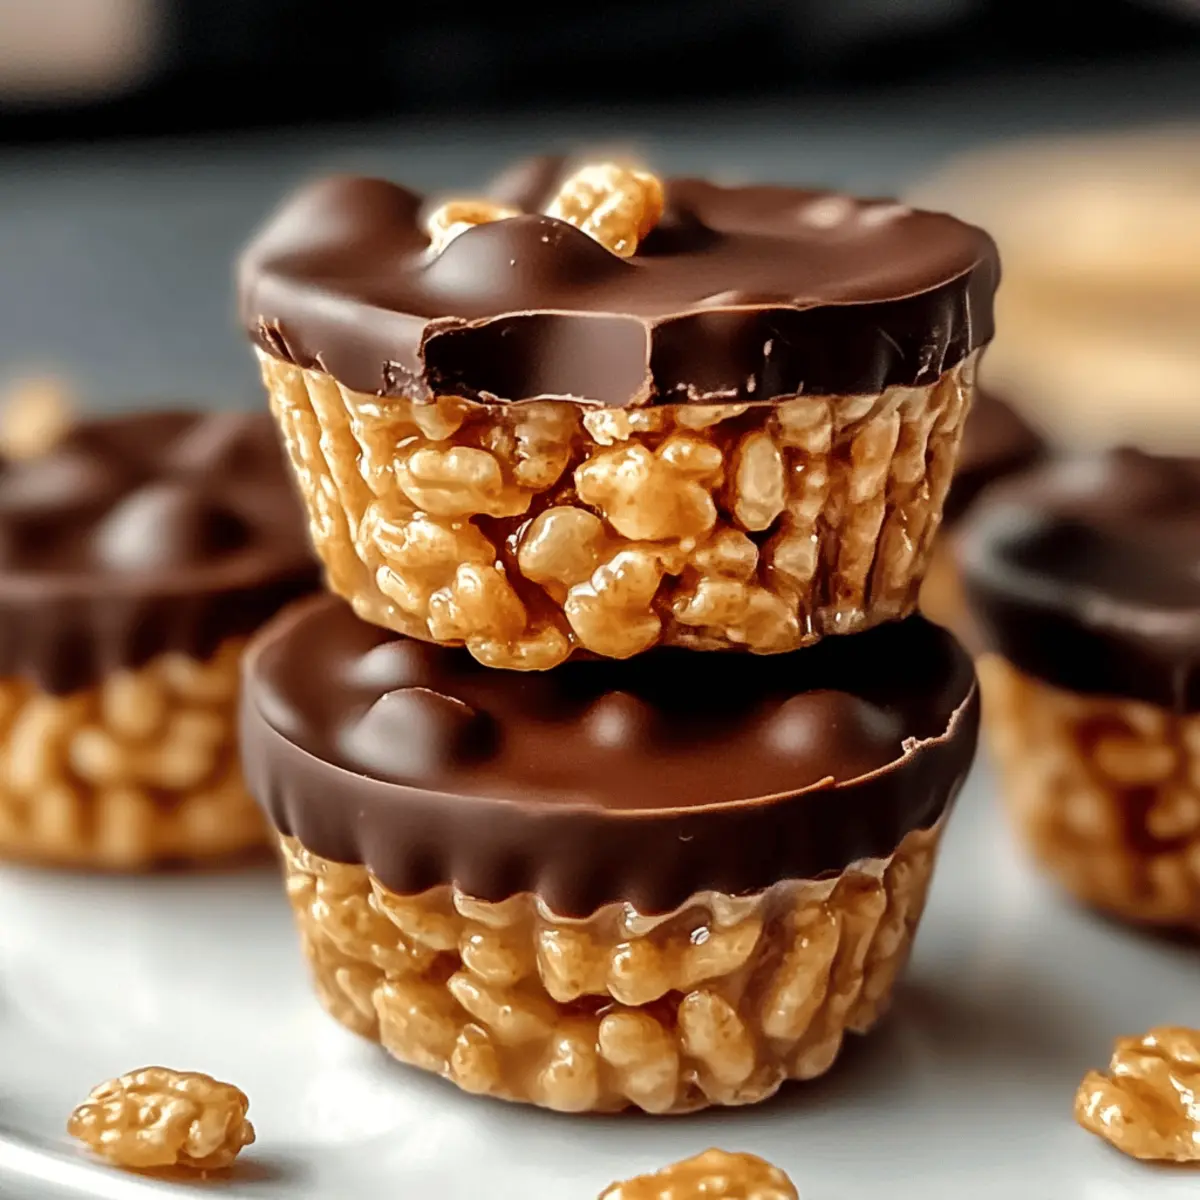
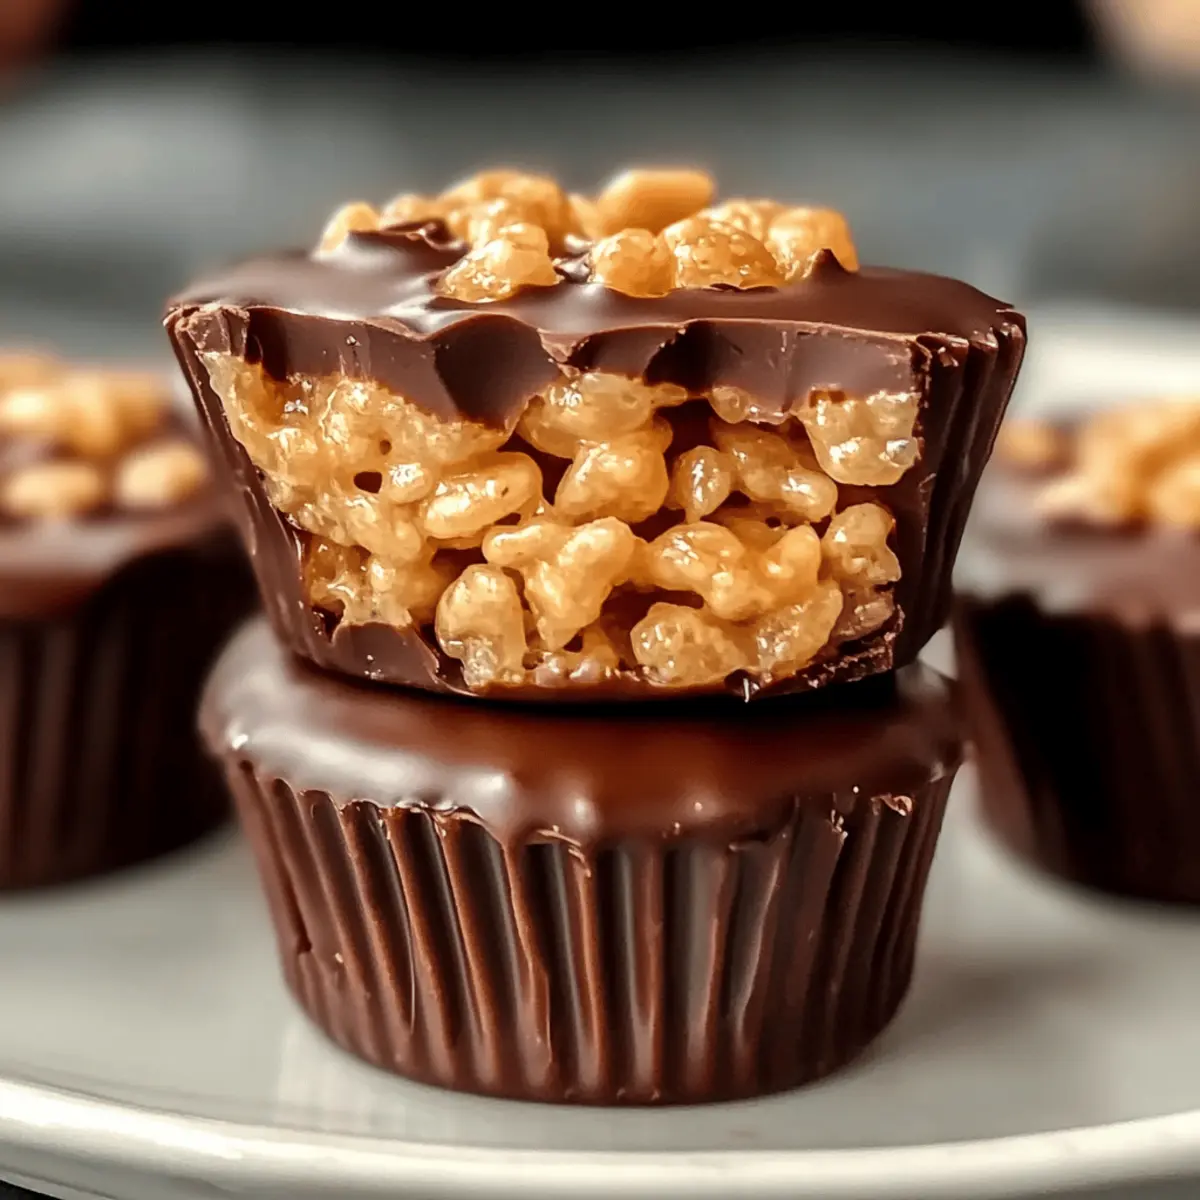
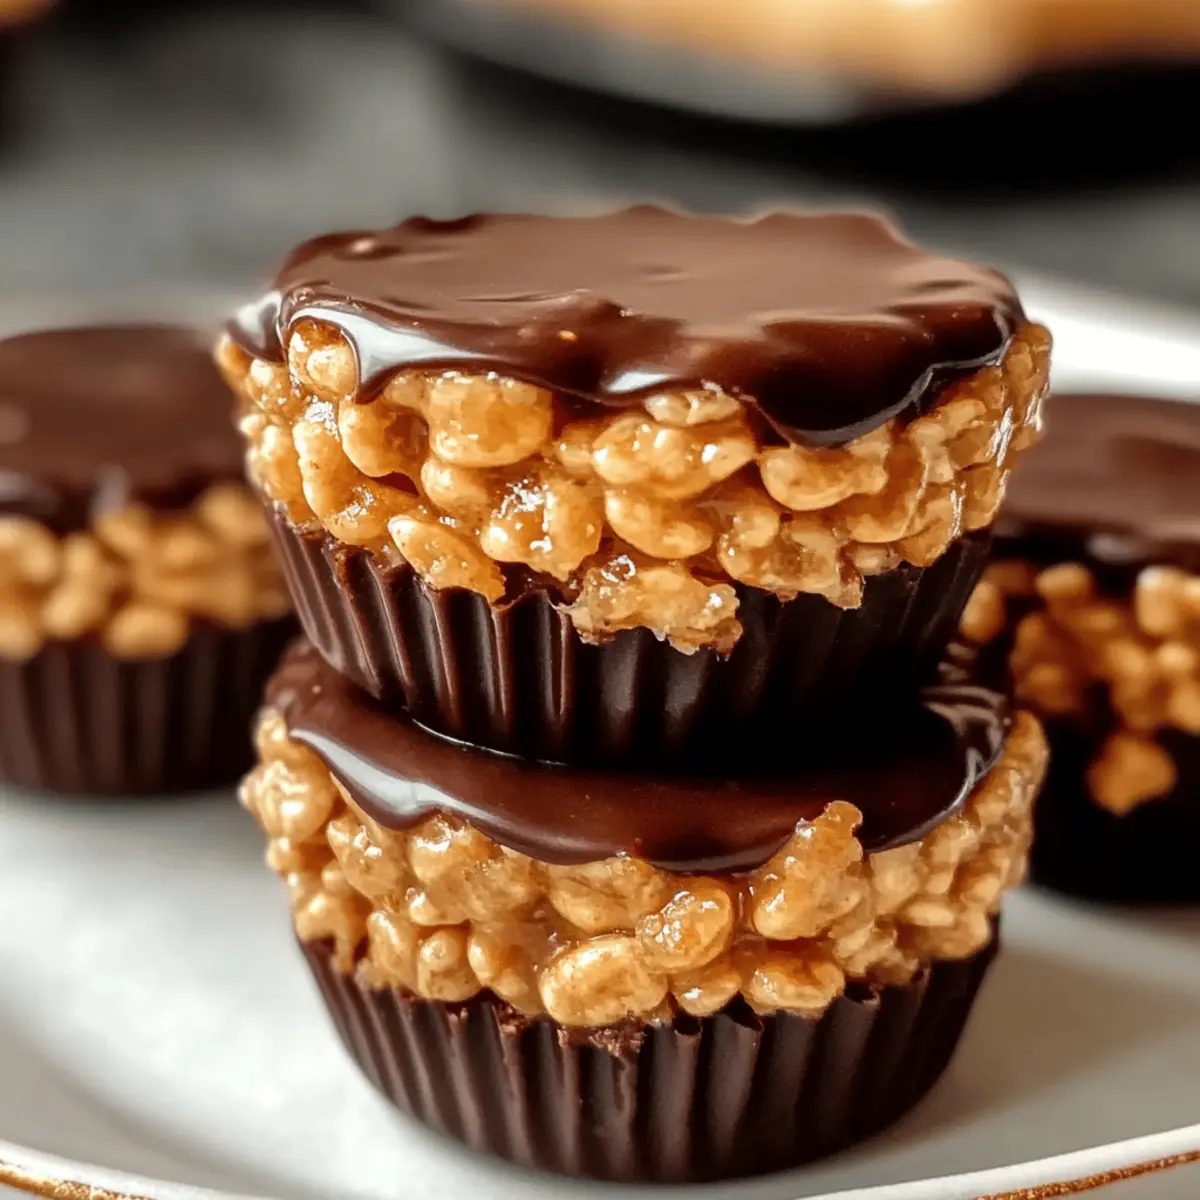
Picture a cozy afternoon, your kitchen filled with the mouthwatering aroma of melting chocolate and peanut butter. It’s the perfect setting to whip up a batch of no-bake Chocolate Peanut Butter Rice Krispie Cups that are bound to become your new favorite indulgence. Not only are these delightful treats incredibly quick to make, but they also offer a customizable twist—you can tweak the ingredients to fit your taste. Imagine the satisfaction of creating a sweet, crunchy snack that’s perfect for parties or a casual evening in; they’re sure to impress friends and family alike. Curious about how to transform your kitchen into a haven of deliciousness? Let’s dive into this easy recipe!

Why are these Rice Krispie Cups a must-try?
Simplicity: These no-bake Chocolate Peanut Butter Rice Krispie Cups come together in mere minutes, making them perfect for anyone who loves to whip up treats without the fuss.
Customizable: The recipe allows you to easily swap ingredients—try crunchy peanut butter or even add butterscotch chips for a fun twist!
Crowd-Pleaser: Whether for a party or a cozy night in, these treats are bound to win over hearts—and taste buds—making them a go-to for gatherings.
Mouthwatering Texture: Experience the perfect interplay of crunchy Rice Krispies and creamy peanut butter, all topped with luscious melted chocolate.
Quick Indulgence: No long baking times needed! Just mix, mold, and chill, and you’ll have a tempting snack that can satisfy any sweet tooth.
For more easy and delectable recipes, don’t miss out on our Gooey Butter Pecan and Chocolate Peanut Butter treats!
Chocolate Peanut Butter Rice Krispie Cups Ingredients
• Get ready to create your own treats!
For the Base
- Rice Krispies Cereal – Provides the essential crunch that makes each bite satisfying; feel free to swap with another puffed cereal for a fun twist.
- Creamy Peanut Butter – Adds a rich, nutty flavor to the cups; try crunchy peanut butter for an extra bit of texture!
- Unsalted Butter – Acts as a binding agent to hold everything together; coconut oil can be a great dairy-free alternative.
- Mini Marshmallows – Introduces a touch of sweetness and a chewy texture; vegan marshmallows offer a perfect plant-based substitute.
For the Topping
- Chocolate Chips – Brings indulgent sweetness to the top; dark chocolate chips work wonderfully if you prefer a richer taste!
- Vanilla Extract (Optional) – Elevates the overall flavor profile; it can be omitted if you prefer a simpler taste.
- Sea Salt (Optional) – Enhances sweetness while adding depth; a sprinkle can elevate the chocolate layer to gourmet status.
Experience the joy of making Chocolate Peanut Butter Rice Krispie Cups that everyone will love!
Step‑by‑Step Instructions for Chocolate Peanut Butter Rice Krispie Cups
Step 1: Melt the Base
In a medium saucepan over low heat, combine 3 tablespoons of unsalted butter and 2 cups of mini marshmallows. Stir continuously for about 5 minutes, or until the mixture is smooth and completely melted. Ensure you maintain a low simmer to avoid burning. Once melted, remove from heat and set aside to cool slightly.
Step 2: Add Peanut Butter
Add 1 cup of creamy peanut butter to the melted mixture and stir until fully combined. If you’re using vanilla extract, blend in 1 teaspoon now to enhance the flavor. The mixture should be creamy and cohesive, enveloping the peanut butter’s richness. This step forms the delicious base of your Chocolate Peanut Butter Rice Krispie Cups.
Step 3: Combine with Cereal
In a large mixing bowl, pour in 4 cups of Rice Krispies cereal. Carefully add the melted peanut butter and marshmallow mixture. Gently fold the ingredients together using a spatula, ensuring every cereal piece is evenly coated without crushing them. This might take 2-3 minutes—and the delightful aroma will signal it’s almost time for the fun part!
Step 4: Shape the Cups
Line a standard muffin tin with 12 paper liners. Spoon the mixture equally into each liner, filling them about two-thirds full. Press down gently with your fingers or the back of a measuring cup to form a compact cup. This step will ensure the cups retain their shape once set. Set the muffin tin aside while you prepare the chocolate topping.
Step 5: Add Chocolate Layer
In a microwave-safe bowl, place 1 cup of chocolate chips. Heat in the microwave at 30-second intervals, stirring in between, until melted and smooth—this should take about 1-1.5 minutes. Once melted, spoon a dollop of warm chocolate over each Rice Krispie cup, allowing it to settle beautifully in the center.
Step 6: Cool & Serve
Allow the filled muffin tin to cool at room temperature for about 20 minutes. For quicker results, you can pop it in the refrigerator for 10 minutes until the chocolate layer solidifies. Once set, gently peel away the paper liners, and your Chocolate Peanut Butter Rice Krispie Cups are ready to delight!

Chocolate Peanut Butter Rice Krispie Cups Variations
Feel free to get creative and make these delightful treats your own with a few fun tweaks!
-
Crunchy Peanut Butter: Swap creamy peanut butter for crunchy for extra texture and nutty goodness. The contrast amplified in every bite makes for a satisfying treat.
-
Butterscotch Surprise: Add butterscotch chips to the mixture for a rich, caramel-like flavor that pairs beautifully with chocolate. The combination will surely surprise and delight your taste buds!
-
Vegan Delight: Use coconut oil instead of butter and vegan marshmallows to make these cups completely dairy-free. Enjoy a guilt-free indulgence while sharing with friends who follow a plant-based diet.
-
Dark Chocolate Lovers: Replace regular chocolate chips with dark chocolate chips for a more intense flavor. This option not only satisfies chocolate cravings but may also satisfy those looking to reduce sugar.
-
Nutty Boost: Mix in chopped nuts like almonds or pecans for added crunch and health benefits. These wholesome additions will make each cup even more satisfying and delicious!
-
Spicy Kick: For those who love a little heat, add a pinch of cayenne pepper or chili powder to the chocolate layer. It creates a surprisingly delightful contrast with the sweet and creamy layers.
-
Fruity Twist: Throw in dried fruits like cranberries or raisins for a chewy bite. It’s a playful addition that adds a hint of natural sweetness and a touch of color to each cup.
-
Coconut Flakes: Sprinkle shredded coconut on top of the melted chocolate for a tropical flair. This twist will transport your taste buds to a sunny getaway with every bite!
For more inspiration, don’t forget to check out my easy-to-make Gooey Butter Pecan recipe or indulge in these Chocolate Peanut Butter treats!
Make Ahead Options
These no-bake Chocolate Peanut Butter Rice Krispie Cups are perfect for meal prep enthusiasts! You can prepare the base mixture (steps 1-4) and press it into the muffin tin up to 24 hours in advance. Simply cover the muffin tin with plastic wrap and refrigerate to maintain freshness and prevent the mixture from becoming too sticky. When you’re ready to serve, melt the chocolate and spoon it over the cups (step 5), allowing it to set for about 10 minutes. By taking these simple steps ahead of time, you’ll have delicious treats ready to impress your family or guests, saving precious time on busy weeknights!
Expert Tips for Chocolate Peanut Butter Rice Krispie Cups
-
Low Heat Essential: Always melt butter and marshmallows over low heat to prevent burning, ensuring a smooth, creamy texture for your cups.
-
Gentle Folding: When combining with the Rice Krispies, fold gently to keep the cereal crisp. Over-mixing can lead to mushy cups.
-
Chill for Firmness: Refrigerate your cups for optimal firmness. This way, the chocolate topping sets perfectly and is easier to remove from liners.
-
Custom Toppings: Feel free to get creative! Add nuts, coconut flakes, or even M&Ms on top of the chocolate layer for added flavor and texture.
-
Storage Tips: Keep these Chocolate Peanut Butter Rice Krispie Cups in an airtight container at room temperature for up to a week—if they last that long!
-
Moisture Control: Avoid adding too many ingredients that can produce moisture, like fruit, which could affect the cups’ texture over time.
What to Serve with Chocolate Peanut Butter Rice Krispie Cups
Indulging in a sweet treat is lovely, but pairing it with the right accompaniments elevates the experience to pure bliss.
-
Smooth Vanilla Ice Cream: The creaminess of vanilla ice cream complements the crunchy cups, offering a delightful contrast in temperature and texture. A perfect duo for any sweet tooth!
-
Rich Hot Chocolate: Pair with a warm cup of rich hot chocolate, accentuating the delicious chocolate flavor in the Rice Krispie cups. This comforting combination is perfect for chilly days or cozy movie nights.
-
Fresh Berries: The bright tanginess of fresh berries cuts through the sweetness beautifully, adding a refreshing balance to your dessert spread. Their vibrant colors will also make your plate pop!
-
Nutty Cookies: Consider serving with nutty cookies, like pecan sandies or almond biscotti. Their satisfying crunch adds variety and works harmoniously with the creamy, sweet flavors of the cups.
-
Chilled Milk or Nut Milk: A classic glass of milk—dairy or non-dairy—complements the sweetness and adds a satisfying hydration after each bite. It’s a nostalgic pairing many will love!
-
Coffee or Espresso: For those who enjoy a little caffeine, coffee or espresso will contrast wonderfully with the sweet cups. The bitterness of coffee enhances the flavor profile, creating a delightful indulgence.
-
Chocolate-Covered Pretzels: The salty crunch of chocolate-covered pretzels adds a textural element while enhancing the rich chocolate flavor of the Rice Krispie cups. The sweet-and-salty combination is sure to impress!
-
Caramel Sauce Drizzle: Drizzling caramel sauce over the cups adds a luxurious touch and an irresistible sweetness. The gooey texture takes this treat to the next level, making it extra indulgent!
-
Coconut Whipped Cream: Fluffy coconut whipped cream is a light and airy topping that perfectly balances the richness of the chocolate and peanut butter. It’s a delightful way to add a tropical twist!
How to Store and Freeze Chocolate Peanut Butter Rice Krispie Cups
Room Temperature: Store your Chocolate Peanut Butter Rice Krispie Cups in an airtight container for up to 1 week, keeping them fresh and delicious.
Fridge: For extended freshness, you can refrigerate the cups, where they’ll stay good for up to 2 weeks. Just be sure to keep them covered!
Freezer: To freeze, individually wrap each cup in plastic wrap or place them in a freezer-safe container. They’ll last for up to 3 months, perfect for making ahead.
Reheating: When ready to enjoy, simply thaw in the fridge overnight. No need to reheat, as they are delightful straight from the fridge!

Chocolate Peanut Butter Rice Krispie Cups Recipe FAQs
How do I select the right ripeness for ingredients?
For the best flavor and texture in your Chocolate Peanut Butter Rice Krispie Cups, ensure your peanut butter is at room temperature for easy mixing. If using fresh marshmallows, they should be soft and not stale. Check for any signs of aging like hardening or a crust; fresh is best!
How should I store the Rice Krispie Cups, and for how long?
Absolutely! Store your Chocolate Peanut Butter Rice Krispie Cups in an airtight container at room temperature for up to 1 week. If you want to enjoy them even longer, refrigerate them for up to 2 weeks. Just ensure they’re covered to maintain freshness—no one wants stale treats!
Can I freeze the Rice Krispie Cups? If so, how?
Very! You can freeze your Chocolate Peanut Butter Rice Krispie Cups for up to 3 months. Simply wrap each cup tightly in plastic wrap or place them in a freezer-safe container. When you’re ready to indulge, thaw them in the refrigerator overnight. They’re delicious even right from the fridge!
What should I do if my cups don’t hold their shape?
If your cups aren’t holding their shape, it might be due to overmixing or insufficient binding from the melted mixture. Make sure to follow the folding technique gently when mixing the Rice Krispies, and press the mixture firmly into the muffin tin to help maintain shape as they set.
Are there any dietary considerations to keep in mind?
Absolutely! For those with allergies or dietary restrictions, you can easily customize the recipe: use crunchy peanut butter for added texture, and opt for vegan marshmallows and dairy-free chocolate chips to make this treat plant-based. Just check each ingredient’s label to ensure it suits your needs!

Irresistible Chocolate Peanut Butter Rice Krispie Cups Made Easy
Ingredients
Equipment
Method
- In a medium saucepan over low heat, melt the unsalted butter and mini marshmallows until smooth. Remove from heat to cool slightly.
- Stir in creamy peanut butter and optional vanilla extract until fully combined.
- In a large bowl, combine Rice Krispies with the melted mixture and fold gently to coat evenly.
- Line a muffin tin with paper liners and fill each about two-thirds full, pressing down to shape.
- Melt chocolate chips in a microwave, stirring until smooth. Spoon chocolate over each cup.
- Cool at room temperature for 20 minutes or refrigerate for 10 until chocolate sets before serving.

Leave a Reply