There’s nothing quite like the aroma of fresh cookies wafting through your home, inviting even the busiest of family members to take a moment and savor a treat. That’s where my 4-Ingredient Crispy Chocolate Oat Cookies come in—deliciously simple yet oh-so-satisfying! With just a few wholesome ingredients, these gluten-free gems deliver a delightful crunch and chewy center, making them the perfect answer for anyone tired of fast food snacks. Plus, they’re ready in a flash, so you can spend less time prepping and more time enjoying quality moments with loved ones. These cookies aren’t just a fantastic indulgence; they’re also a healthy treat to keep you feeling great. Ready to discover the joy of baking with minimal effort? Let’s dive in!

Why Are These Cookies So Irresistible?
Simplicity makes them a breeze to whip up, needing only four ingredients that you likely have at home. Nutritious yet indulgent, they’re gluten-free and packed with fiber, ensuring you enjoy a guilt-free treat. Versatile enough to customize, you can easily add chocolate chips or dried fruit for a personal twist. Quick baking time means you’ll be savoring a warm cookie in just 12 minutes! Perfect for busy days when you crave something homemade and wholesome, these cookies are sure to become a go-to delight for your family and friends.
Chocolate Oat Cookie Ingredients
For the Cookies
• Oats – Provides structure and fiber; opt for certified gluten-free oats to maintain gluten-free integrity.
• Cocoa Powder – Adds rich chocolate flavor; use unsweetened cocoa for a balanced, sweet treat.
• Nut Butter – Acts as a binder and sources healthy fats; almond or peanut butter works beautifully based on your taste preferences.
• Maple Syrup – Serves as a natural sweetener; agave nectar is a lovely substitute if you prefer!
Optional Add-Ins
• Chocolate Chips – Introduce extra richness; bittersweet chocolate chips complement the cocoa for a delightful bite.
• Dried Fruit – Adding dried cranberries or raisins offers a chewy texture and a pop of sweetness to contrast the rich chocolate.
• Nuts – Chopped walnuts or pecans can enhance crunch and healthy fats for an even heartier cookie.
Step‑by‑Step Instructions for 4-Ingredient Crispy Chocolate Oat Cookies
Step 1: Preheat Your Oven
Begin by preheating your oven to 350°F (175°C). As the oven warms up, line a baking sheet with parchment paper to prevent sticking and facilitate easy cleanup. This setup will create an ideal baking environment for your flavor-packed chocolate oat cookies, ensuring they have the perfect crispy exterior.
Step 2: Mix Dry Ingredients
In a spacious mixing bowl, combine the oats and cocoa powder. Stir these dry ingredients together with a whisk until they are evenly blended, creating a rich chocolatey mix. The vibrant cocoa should be fully incorporated, giving you a delightful aroma to inspire your baking journey.
Step 3: Combine Wet Ingredients
In a separate bowl, mix the nut butter and maple syrup together until smooth and creamy. Use a spatula or fork to thoroughly blend the two until there are no visible chunks; you want a cohesive mixture that will bind beautifully with the dry ingredients in the following steps.
Step 4: Merge The Mixtures
Gradually add the dry mixture to the wet mixture, stirring continuously to ensure everything is well combined. Use your spatula to fold the ingredients together gently, taking care not to overmix. You’ll know it’s ready when the dough is thick and sticky—perfect for scoopable cookies!
Step 5: Scoop and Shape Cookies
Use a tablespoon to scoop generous amounts of dough and carefully place them onto the lined baking sheet. Flatten each cookie slightly with the back of the spoon to promote even baking. Make sure to leave space between each, as they will spread a little while baking, creating the ideal texture for your chocolate oat cookies.
Step 6: Bake the Cookies
Transfer the baking sheet into your preheated oven and bake the cookies for 10-12 minutes. Keep an eye on your cookies; they should be firm around the edges but slightly soft in the center. This consistency is key for achieving that perfect chewy center that makes these cookies irresistible!
Step 7: Cool and Enjoy
Once baked, remove the cookies from the oven and let them sit on the baking sheet for about 5 minutes. This resting time allows them to firm up before transferring them to a wire rack. After cooling completely, you can savor the delightful crunch of your homemade, flavor-packed chocolate oat cookies!

Expert Tips for Perfect Chocolate Oat Cookies
• Nut Butter Consistency: Ensure the nut butter is at room temperature for easier mixing, preventing any clumps in your cookie dough.
• Watch the Bake Time: Avoid overbaking; aim for slightly soft centers for that perfect chewy texture in your chocolate oat cookies.
• Mixing Method: Stir gently when combining wet and dry ingredients to retain air in the dough, enhancing the cookie’s final texture.
• Customize Wisely: Experiment with add-ins like chocolate chips or nuts, but keep in mind that too many can alter the cookie’s structure.
• Storage Tips: For the best flavor and texture, store cookies in an airtight container for up to a week, or freeze for up to three months.
What to Serve with 4-Ingredient Crispy Chocolate Oat Cookies
There’s nothing quite like enjoying a warm, decadent cookie alongside complementary flavors and textures that elevate the experience.
-
Almond Milk: This creamy beverage pairs perfectly, enhancing the chocolate flavors while offering a nutty freshness that makes every bite unforgettable.
-
Fresh Berries: Juicy, tart berries like raspberries or strawberries add a bright contrast to the rich cookies, making for an enticing mix of flavors. Each bite should inspire a burst of freshness.
-
Yogurt Parfait: Spoon some yogurt over these cookies for an indulgent twist. Add layers of granola and fresh fruits, creating a satisfying treat that balances richness with lightness.
-
Coffee or Espresso: A robust cup of coffee complements the cookies beautifully, enhancing their chocolatey essence. The warmth of the drink creates a comforting and inviting atmosphere.
-
Dark Chocolate Drizzle: Elevate your cookies by drizzling melted dark chocolate over the top. The added richness highlights the cocoa flavor and presents an eye-catching touch.
-
Vanilla Ice Cream: A scoop of creamy vanilla ice cream alongside your cookie is pure bliss, contrasting the chewy texture with its chill, making for a delightful dessert experience.
Storage Tips for Chocolate Oat Cookies
Room Temperature: Store cookies in an airtight container at room temperature for up to 1 week to maintain their crispy texture and delicious flavor.
Fridge: If you prefer a slightly softer texture, you can refrigerate them for up to 2 weeks; just ensure they’re in a well-sealed container.
Freezer: For long-term storage, freeze chocolate oat cookies in a single layer on a baking sheet, then transfer to a freezer-safe bag, where they can last for up to 3 months.
Reheating: To enjoy a warm cookie, reheat from frozen in the oven at 350°F (175°C) for about 5-7 minutes.
Make Ahead Options
These 4-Ingredient Crispy Chocolate Oat Cookies are a fantastic choice for meal prep enthusiasts! You can mix the dry ingredients (oats and cocoa powder) and store them in an airtight container for up to 3 days in advance, ensuring maximum freshness. The wet ingredients (nut butter and maple syrup) can be prepped a day ahead and kept refrigerated, maintaining their quality. When it’s time to bake, simply combine the prepped mixtures and proceed with scooping and baking the cookies as instructed. This preparation allows you to enjoy a delightful treat with minimal effort, saving you precious time during your busy week!
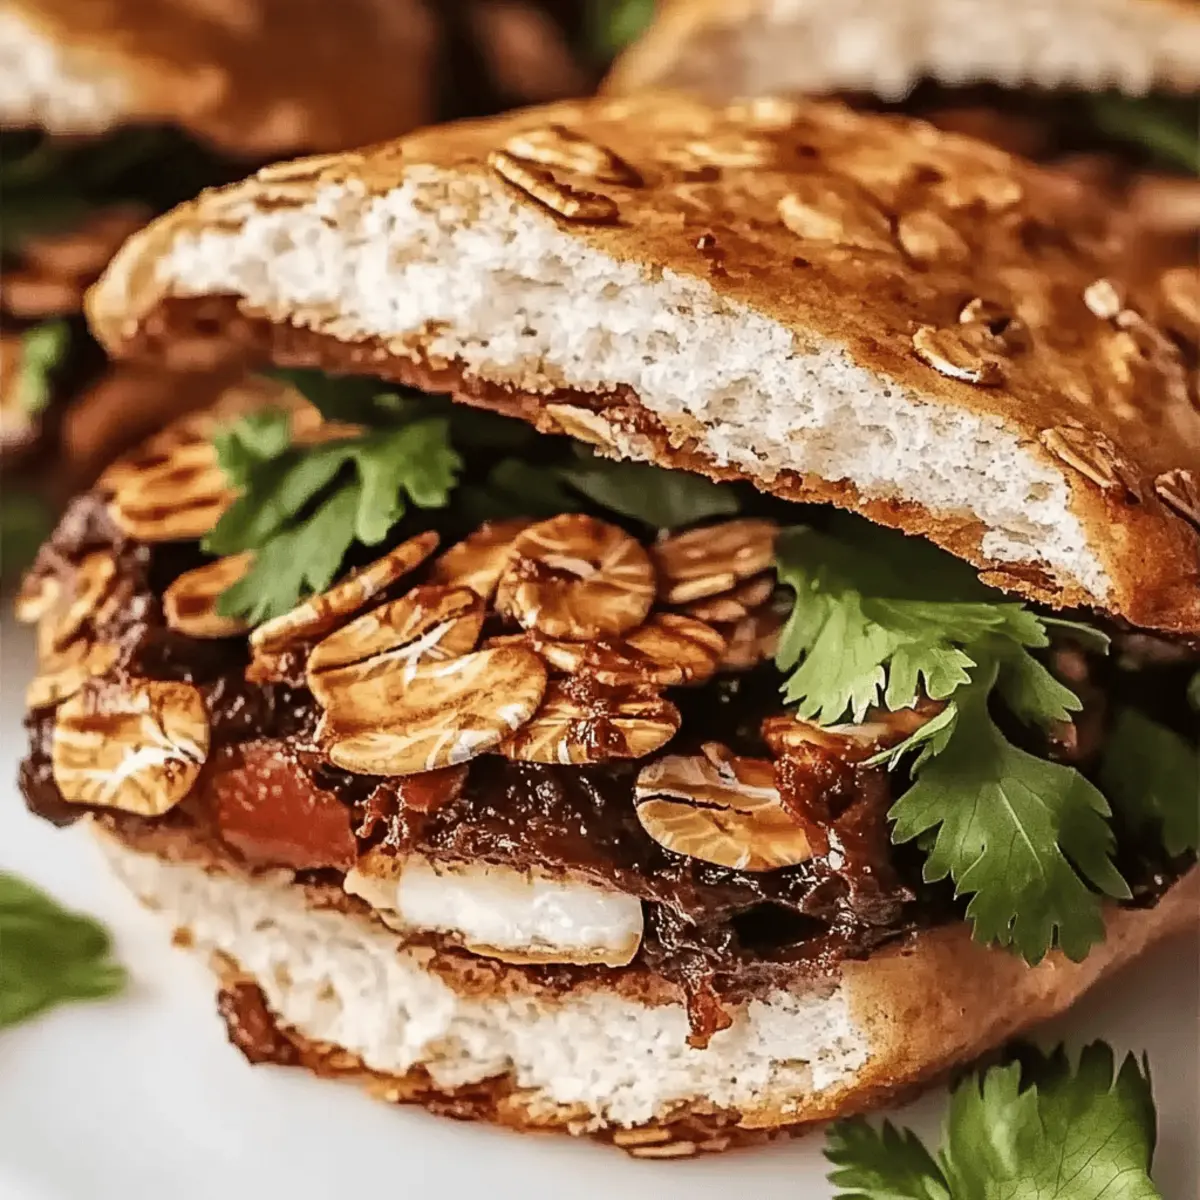
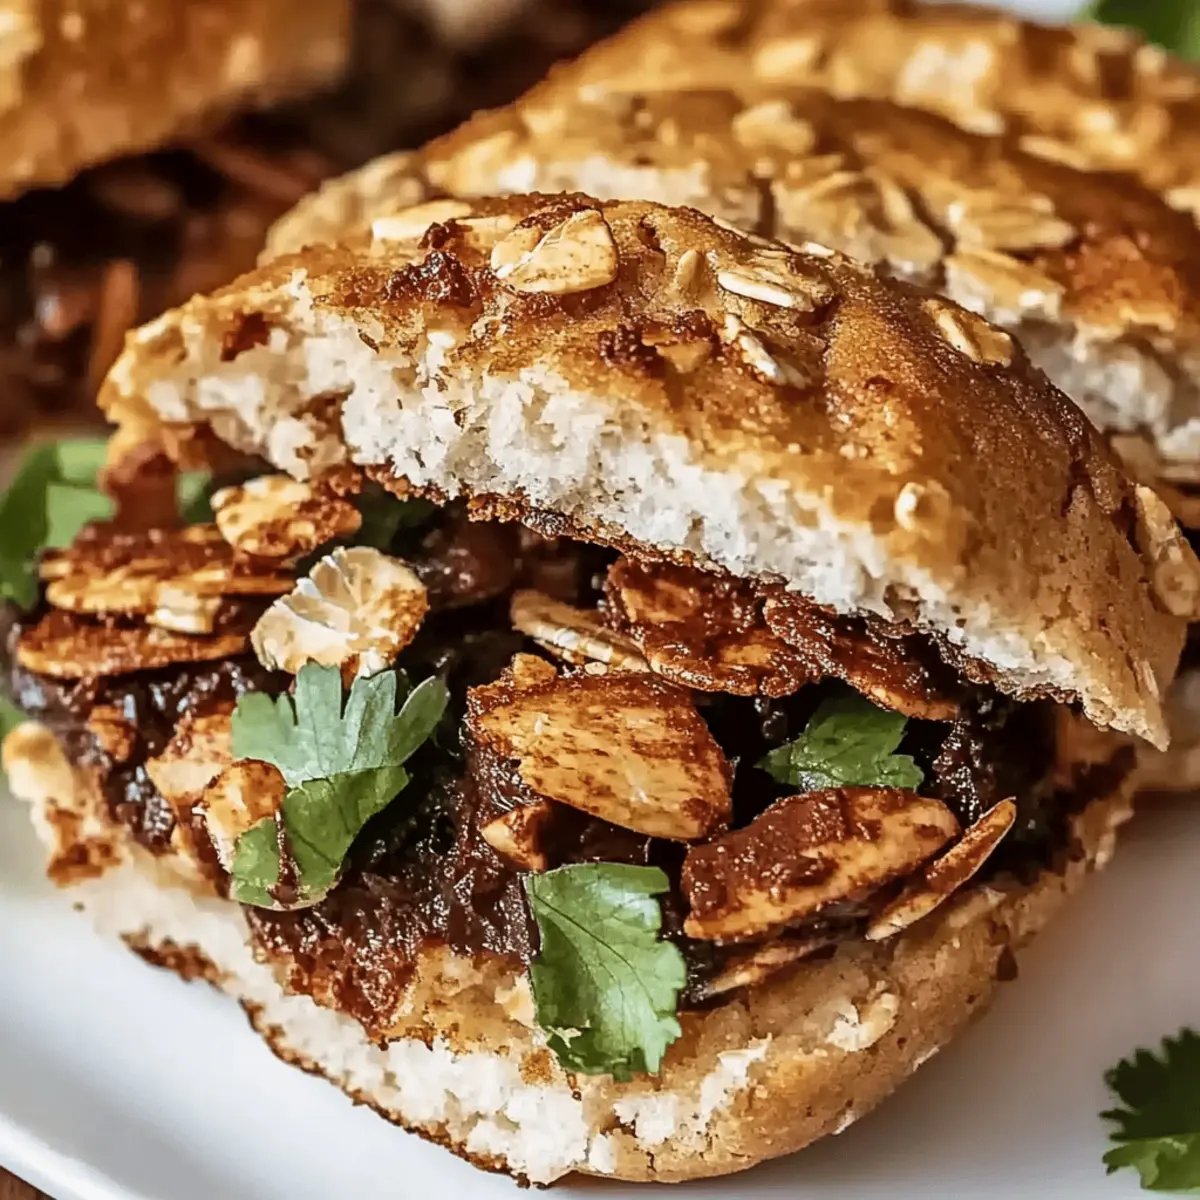
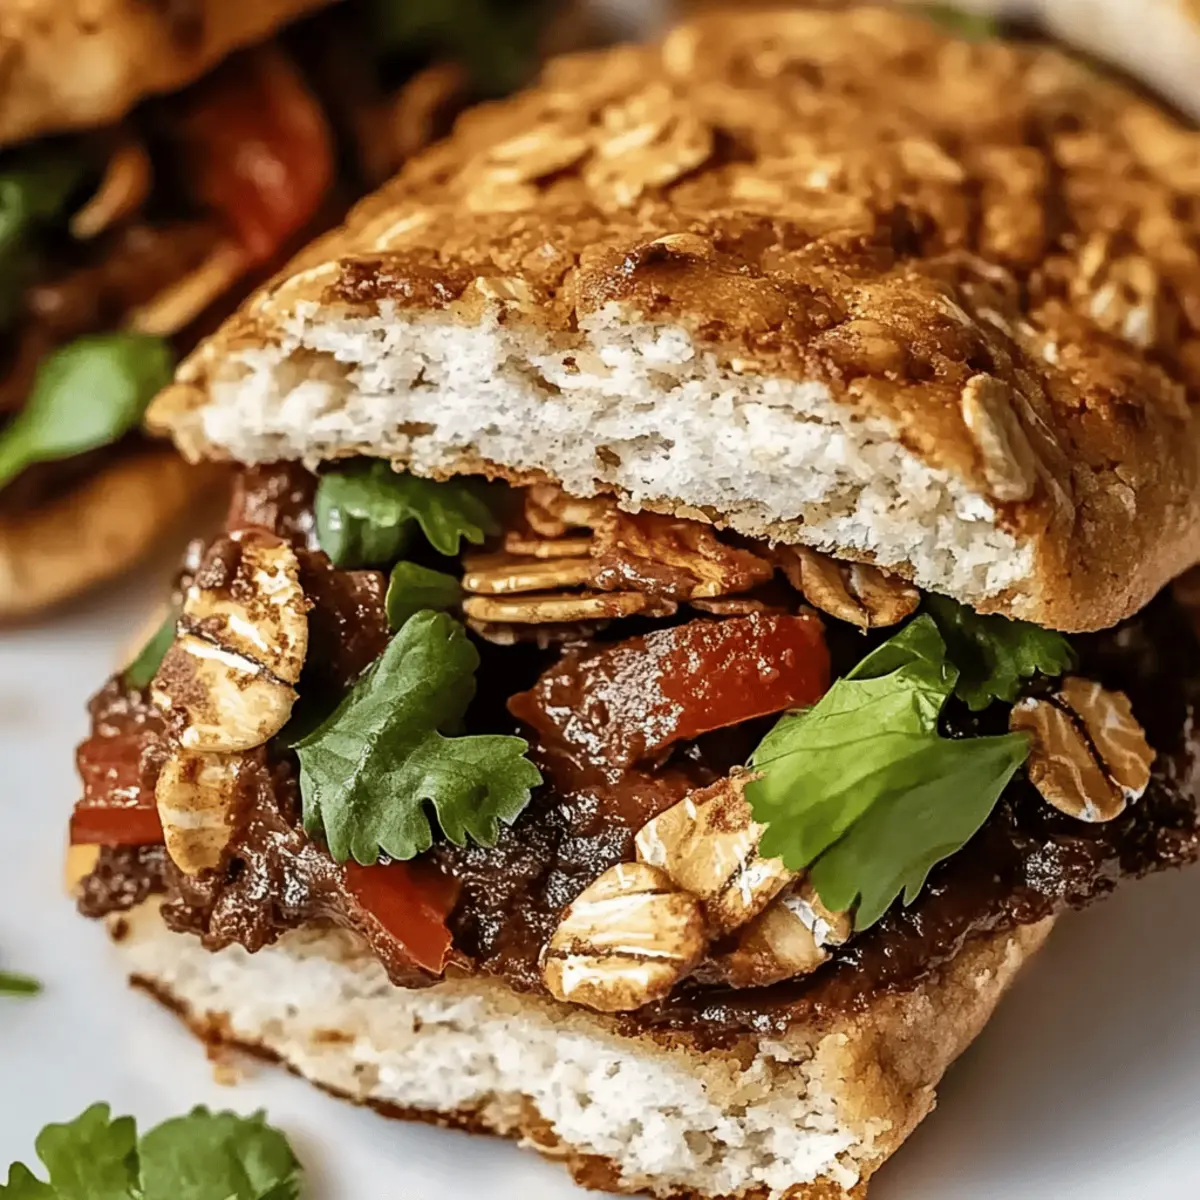
Flavor-Packed Chicken Torta Sandwich Variations
Feel free to get creative and tailor this delicious chicken torta sandwich to your tastes.
-
Gluten-Free: Use gluten-free bread or thinned-out lettuce leaves for a delectable low-carb version that still holds all the flavors.
-
Spicy Kick: Add sliced jalapeños or a drizzle of hot sauce to bring some heat into your meal. It pairs wonderfully with the creamy avocado!
-
Vegetarian Twist: Substitute grilled portobello mushrooms or tempeh for the chicken, keeping the same savory flavors for a satisfying vegetarian option.
-
Crispy Texture: Toast the sandwich in a pan or grill until the bread is crispy and golden brown for an added crunch that elevates the sandwich experience.
Imagine biting into a warm, crispy sandwich that’s packed with flavor. The extra crunch adds a delightful contrast to the creamy fillings!
-
Extra Veggies: Load up with fresh arugula, spinach, or roasted peppers for a burst of color and nutrients. It enhances the freshness of the sandwich beautifully.
-
Gourmet Cheese: Experiment with different cheeses like pepper jack for a little spice or fresh mozzarella for a creamier, milder taste that complements the other ingredients.
-
Avocado Alternative: If you want a different creaminess, try using hummus or a chickpea spread instead of avocado for a completely new flavor profile.
Switch things up and find your perfect bite! A smooth spread can seamlessly blend with the sandwich ingredients.
For more delicious sandwich ideas, check out these options: Napa Chicken Salad, or if you’re in the mood for something unique, try the Korean Chicken Bao. Enjoy crafting your perfect torta!

4-Ingredient Crispy Chocolate Oat Cookies Recipe FAQs
What kind of oats should I use for these cookies?
Absolutely, you’ll want to use certified gluten-free oats if you’re making these cookies gluten-free. Regular oats can also be used if gluten isn’t a concern, but for the best texture and structure, the large flake or old-fashioned oats are ideal.
How should I store the cookies to keep them fresh?
To maintain that delightful crunch and rich flavor, store the cookies in an airtight container at room temperature for up to 1 week. If you prefer a softer cookie, pop them in the fridge for up to 2 weeks in a well-sealed container.
Can I freeze these cookies, and how?
Definitely! For freezing, start by laying cookies in a single layer on a baking sheet until they are solid. Then, transfer them into a freezer-safe bag. They can last for up to 3 months in the freezer. When you’re ready to enjoy one, reheat directly from frozen at 350°F (175°C) for about 5-7 minutes to restore that warm, freshly-baked goodness.
What if my dough is too dry?
If you find that your cookie dough is a bit dry and crumbly, don’t worry! Just add a little more nut butter or a splash of maple syrup to bring it back together. Stir gently until the mixture is thick yet cohesive. This will help ensure that your cookies bake up with a chewy center.
Are there any alternatives for the nut butter if I’m allergic?
Very much! If you have nut allergies, consider using sunflower seed butter or tahini as excellent substitutes. Both provide similar binding properties and healthy fats, and they can still deliver delicious flavor to your chocolate oat cookies!
Can pets enjoy these cookies?
While the ingredients in these cookies are wholesome for humans, they are not particularly suited for pets, especially chocolate, which can be harmful to dogs and cats. Always keep these tasty treats out of your furry friends’ reach!

Savor the Flavor-Packed Chicken Torta Sandwich Delight
Ingredients
Equipment
Method
- Preheat your oven to 350°F (175°C) and line a baking sheet with parchment paper.
- In a mixing bowl, combine oats and cocoa powder and whisk until blended.
- In another bowl, mix the nut butter and maple syrup until smooth and creamy.
- Gradually add the dry mixture to the wet mixture, stirring continuously.
- Scoop dough onto the lined baking sheet, flatten slightly and space them out.
- Bake for 10-12 minutes until edges are firm but centers are slightly soft.
- Let cookies cool on the baking sheet for 5 minutes before transferring to a wire rack.

Leave a Reply