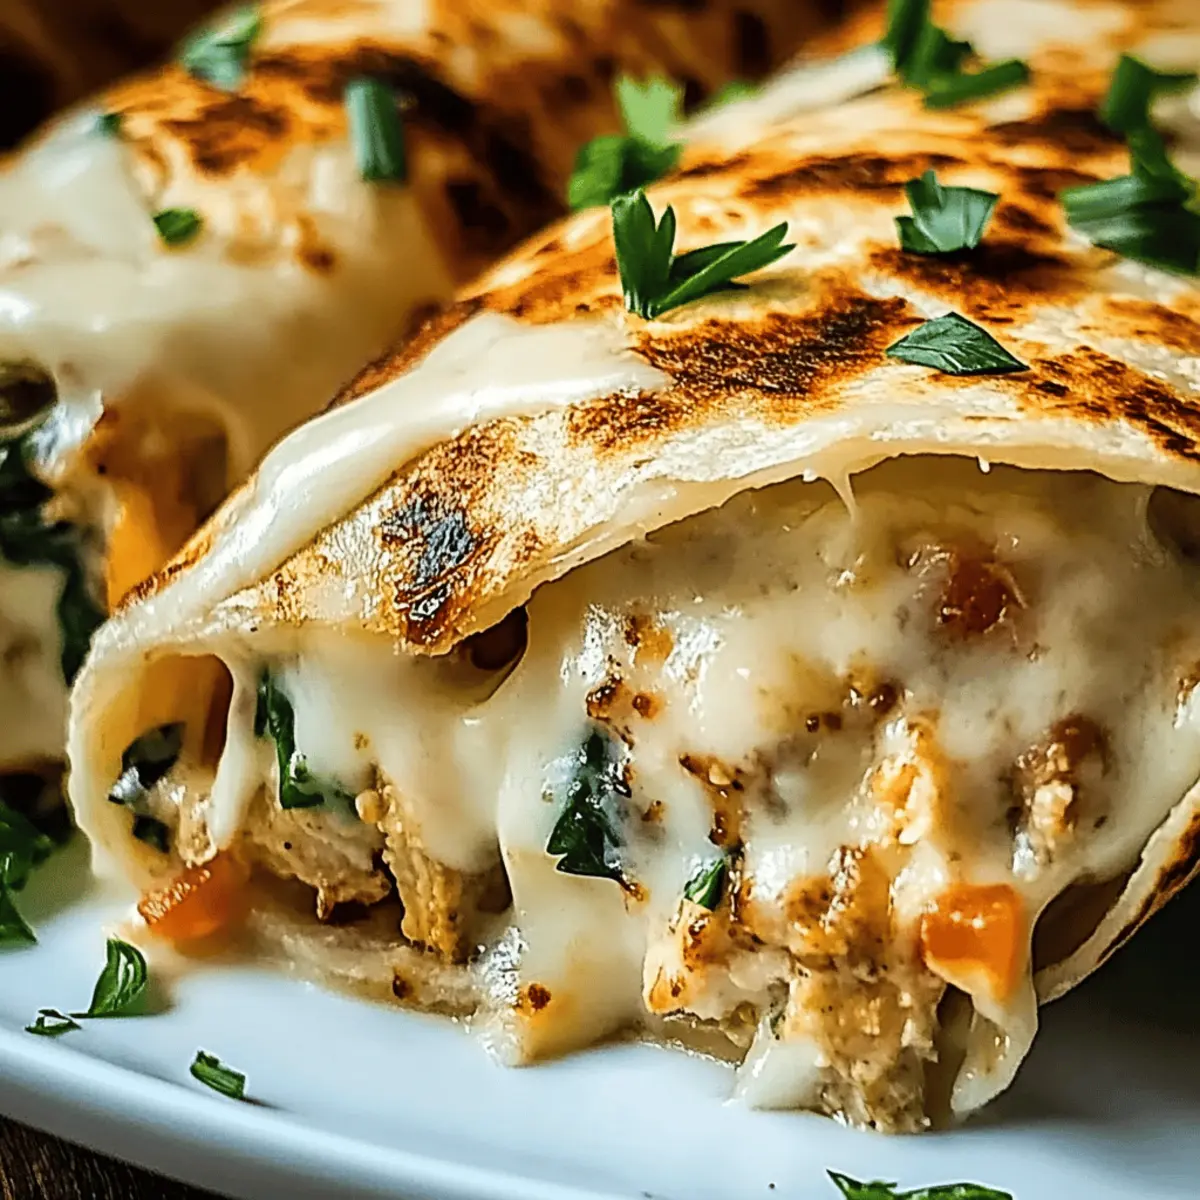
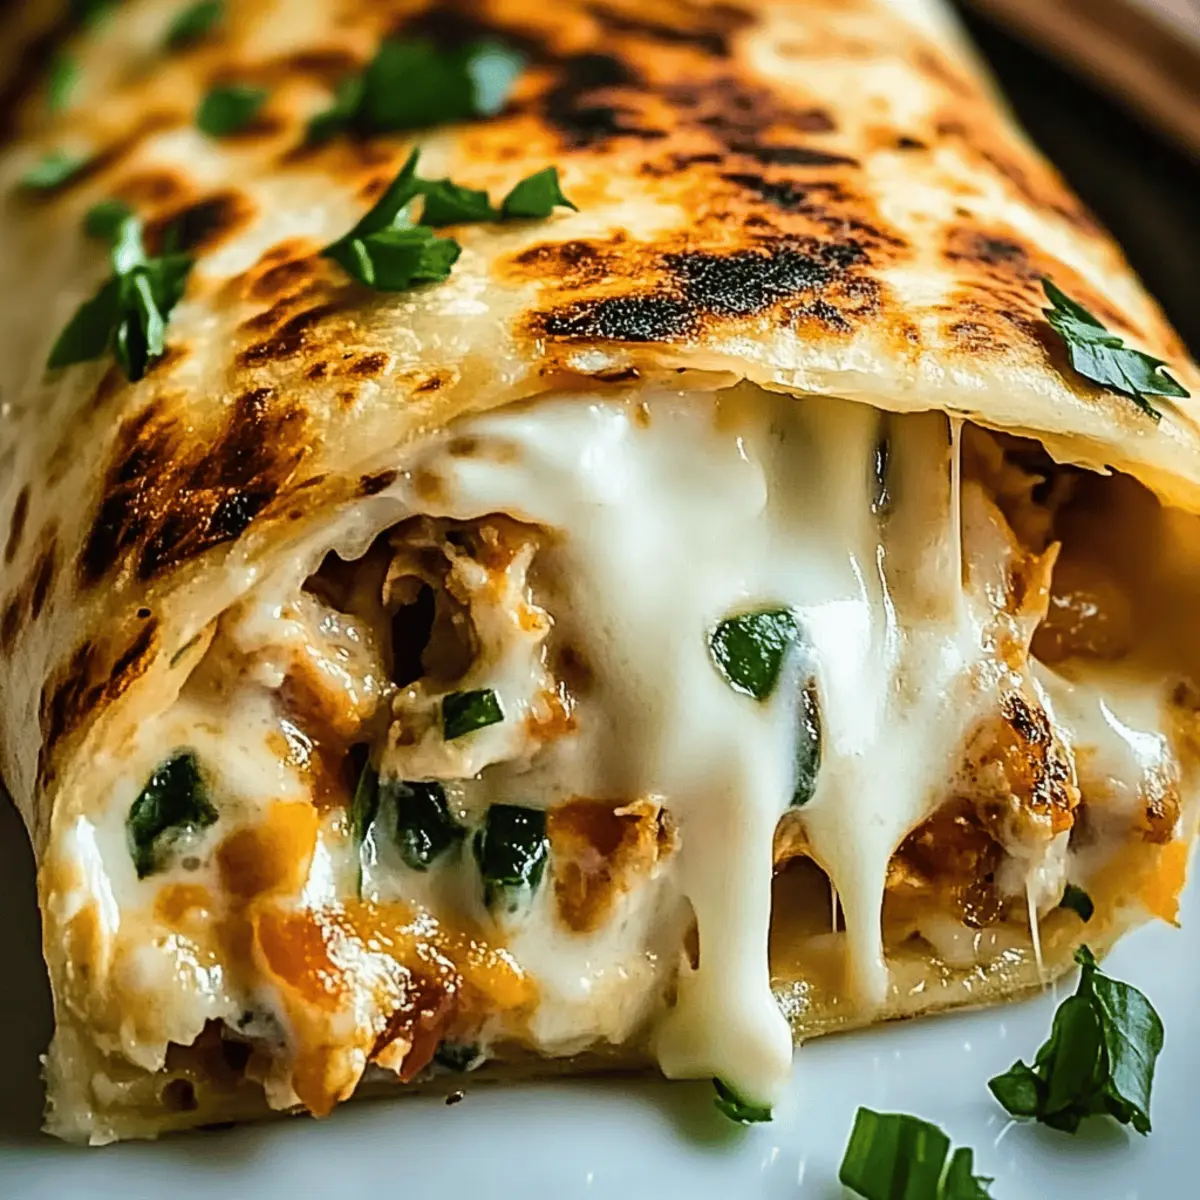
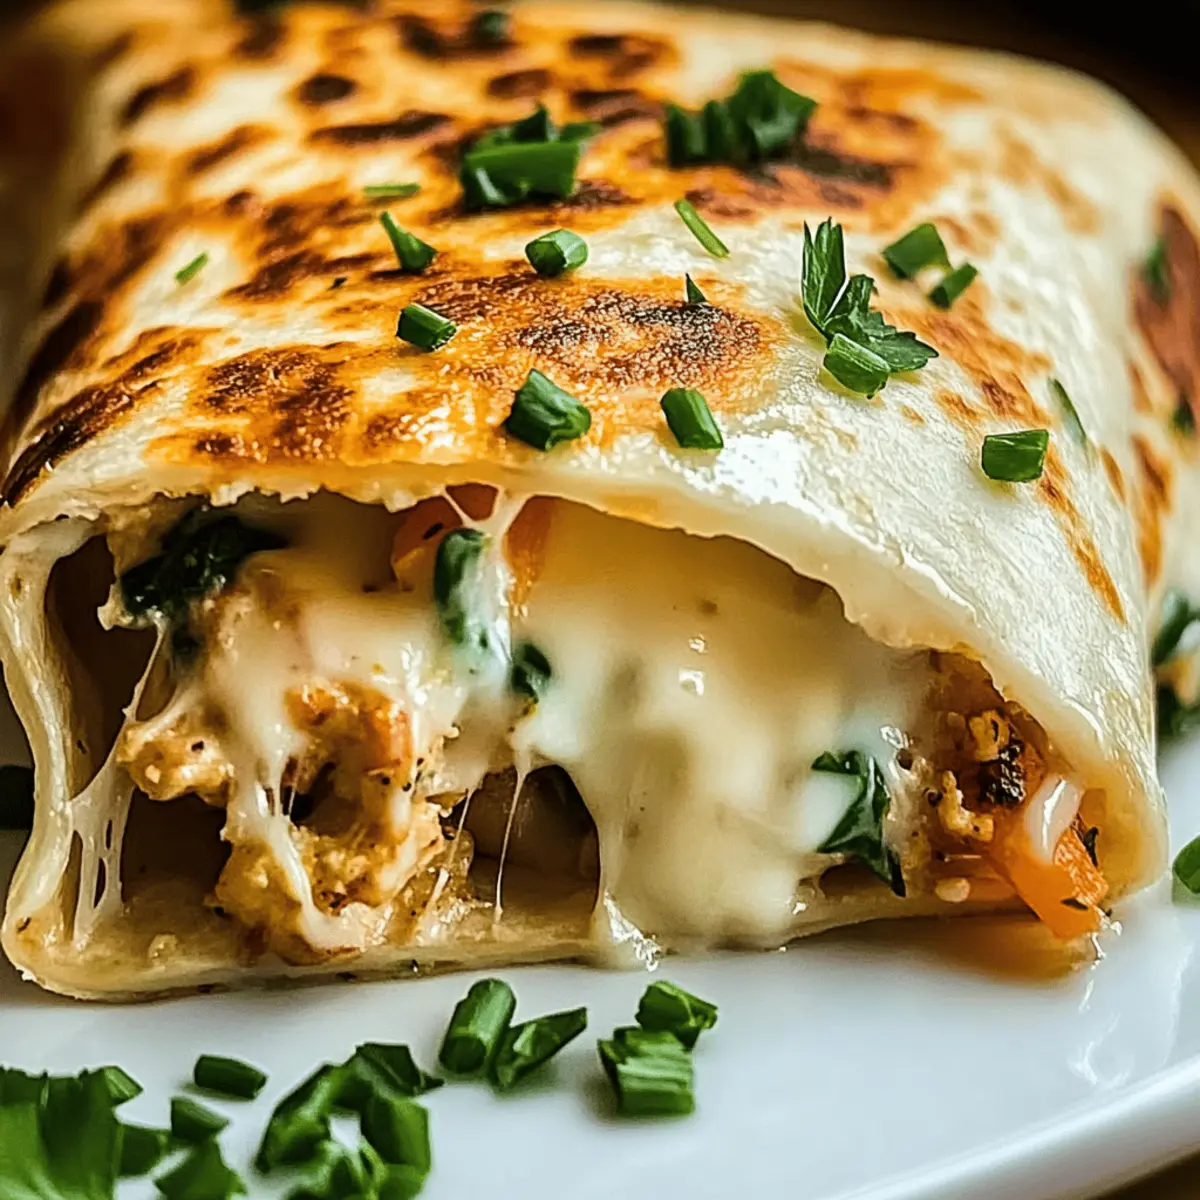
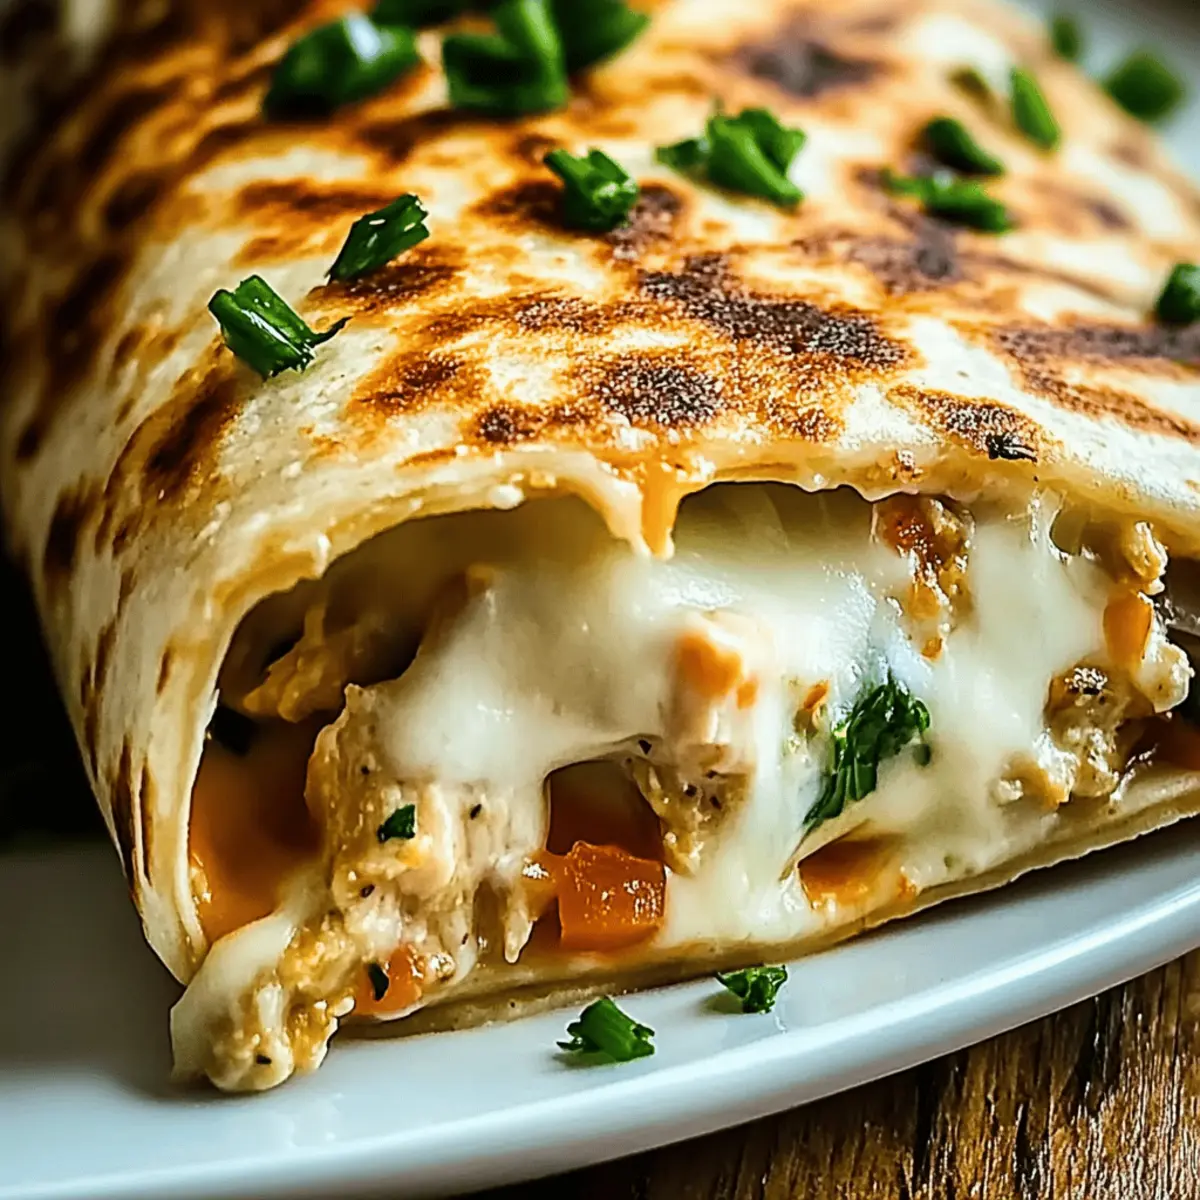
“Crunch! That satisfying sound fills the kitchen as I bite into a heavenly Cheesy Garlic Chicken Wrap, instantly transporting me to a cozy café. Picture this: juicy, seasoned chicken mingling with gooey melted cheese, all wrapped harmoniously in a crisp tortilla, and a whiff of garlic that beckons you for more. These wraps are not just an easy weeknight dinner solution; they’re customizable comfort food, ready to suit any taste and dietary need. From Mediterranean flavors to a zesty Buffalo twist, flexibility is at your fingertips. Plus, they’re perfect for meal prep—just assemble and freeze for a future craving! Curious how a few simple steps can create a delicious wrap that will impress your family and friends?”

Why Are Cheesy Garlic Chicken Wraps So Amazing?
Comfort Food at Its Finest: These wraps bring together juicy chicken and gooey cheese in every bite, making them a delightful treat for any night of the week.
Endless Customization: With variations like Mediterranean or Buffalo Chicken, you can satisfy any craving. Feel free to experiment with ingredients!
Meal Prep Friendly: Prepare the fillings in advance and enjoy ready-to-cook wraps whenever hunger strikes.
Crowd-Pleasing Appeal: Whether it’s family dinner or a casual get-together, these wraps are sure to impress your guests. Pair them with a side of ranch for extra flavor!
Healthier Options Available: You can easily adapt the recipe using gluten-free tortillas or lighter dairy alternatives. Check out our Chicken Lettuce Wraps for a fresh twist!
Cheesy Garlic Chicken Wraps Ingredients
For the Wrap Filling
• Extra Virgin Olive Oil – Cooking fat that enhances flavor; use any neutral oil if unavailable.
• Chicken Breast – Provides protein and substance; can substitute with turkey or sautéed portobello mushrooms for a vegetarian option.
• Garlic Cloves – Adds robust flavor; fresh garlic is recommended, but granulated can be used in a pinch.
• Sweet Onion – Provides sweetness and depth; any onion variety can be substituted.
• Red Bell Pepper – Adds sweetness and color; can swap with yellow or green bell peppers.
• Fresh Spinach Leaves – Nutrient-rich addition; can be replaced with kale or omitted.
• Shredded Mozzarella – Creates a stretchy cheese filling; mix with any favorite melty cheese like provolone.
• Sharp Cheddar – Enhances flavor; Gruyere can be a suitable alternative.
• Cream Cheese – Adds creaminess to the filling; any soft cheese can work.
• Sour Cream – Brings tanginess; Greek yogurt can be a healthier choice.
• Fresh Chives – For garnish and flavor; substitute with green onions if necessary.
Spice and Seasoning
• Mediterranean Herb Blend – For flavor depth; substitute with Italian seasoning if preferred.
• Smoky Paprika – Adds warmth and color; regular paprika can suffice if smoky is not available.
• Chili Flakes – For heat; adjust to taste; omit for a milder version.
• Sea Salt & Cracked Black Pepper – Essential seasoning for the chicken.
• Roasted Garlic Powder – For added flavor on toasted tortillas.
For the Wraps
• Flour Tortillas – Wrap carrier; can be replaced with gluten-free tortillas or lettuce leaves for low-carb options.
• Melted Butter – Used for brushing tortillas; olive oil is a lighter substitute.
These Cheesy Garlic Chicken Wraps will surely become your go-to meal!
Step‑by‑Step Instructions for Cheesy Garlic Chicken Wraps
Step 1: Cook Chicken
Heat 2 tablespoons of extra virgin olive oil in a skillet over medium-high heat. Season the chicken breast strips with sea salt, cracked black pepper, and smoky paprika. Once the oil is shimmering, add the chicken to the skillet, cooking for about 5-6 minutes until golden brown and cooked through, stirring occasionally for even browning. Once done, transfer the chicken to a plate and cover to keep warm.
Step 2: Sauté Vegetables
In the same skillet, add another drizzle of olive oil if needed, then toss in the sweet onion and red bell pepper. Sauté over medium heat for 4-5 minutes, until the vegetables are soft and fragrant. Stir in the fresh spinach leaves and cook for an additional 1-2 minutes until wilted. Once ready, combine with the cooked chicken on the plate, allowing the flavors to meld.
Step 3: Mix Cheese Filling
In a mixing bowl, combine 1 cup of shredded mozzarella, ½ cup of sharp cheddar, 4 ounces of cream cheese, and ¼ cup of sour cream. Use a fork or spatula to blend the ingredients until creamy and well combined. This cheese mixture will provide a luscious, gooey filling for your Cheesy Garlic Chicken Wraps, enhancing the overall flavor profile of your dish.
Step 4: Prepare Tortillas
While the cheese mixture is chilling, take your flour tortillas and brush each one lightly with melted butter. Sprinkle a dash of roasted garlic powder on top for an extra burst of flavor. Warming the tortillas slightly in the microwave for 10-15 seconds can make them more pliable, perfect for wrapping the filling securely.
Step 5: Assemble Wraps
On each tortilla, generously layer some of the cooked chicken and sautéed vegetable mixture, followed by a scoop of the creamy cheese filling. Roll the tortilla tightly, folding in the edges as you go to secure the filling inside. Place the wraps seam-side down on a clean surface, ready to be toasted.
Step 6: Toast
Return the skillet to medium heat and add a touch of olive oil if necessary. Once hot, place the assembled wraps seam-side down into the skillet. Cook for about 2-3 minutes per side, until golden brown and crispy. You want to see a beautiful brown crust form, giving your Cheesy Garlic Chicken Wraps that delicious crunch that everyone will love.

How to Store and Freeze Cheesy Garlic Chicken Wraps
Room Temperature: Allow cooked wraps to cool completely before storing. They can sit out for up to 2 hours but should be eaten right away to maintain quality.
Fridge: Store assembled Cheesy Garlic Chicken Wraps in an airtight container for up to 3 days. Reheat in a skillet over medium heat for best results.
Freezer: These wraps can be frozen for up to 3 months. Place them in a freezer-safe airtight container with parchment paper between layers to prevent sticking.
Reheating: For optimal texture, reheat frozen wraps in the oven at 350°F (175°C) for about 15-20 minutes or until heated through, ensuring a crispy exterior.
Cheesy Garlic Chicken Wraps Variations & Substitutions
Customize your Cheesy Garlic Chicken Wraps to match your cravings and dietary needs with these delightful ideas!
-
Mediterranean Twist: Add chopped olives and feta, swapping Italian seasoning for dried oregano for a fresh flavor boost.
-
Southwest Style: Incorporate black beans and corn, and use pepper jack cheese for a spicy kick that transports you to the Southwest.
-
Buffalo Chicken Version: Toss cooked chicken strips in tangy buffalo sauce and mix in crumbled blue cheese for a fiery, bold option that will satisfy any heat lover.
-
Breakfast Adaptation: Replace chicken with scrambled eggs and crispy bacon, then top with diced tomatoes for a savory morning treat that’s perfect any time of day.
-
Vegetarian Delight: Substitute the chicken with sautéed portobello mushrooms and add grilled zucchini, creating a hearty wrap that even non-vegetarians will adore.
-
Healthier Swap: Switch to gluten-free tortillas or lettuce leaves for a low-carb option. You can also opt for reduced-fat cheese for a lighter bite without sacrificing flavor.
-
Zesty Flavors: Add a squeeze of lime juice or some chopped fresh cilantro to brighten your wraps—this touch can really elevate the flavor profile!
Embrace your creativity with these variations! If you’re in the mood for more delicious chicken options, consider trying our Cheesy Garlic Chicken or the delightful Garlic Parmesan Chicken.
Expert Tips for Cheesy Garlic Chicken Wraps
-
Chicken Temperature: Allow the cooked chicken and vegetables to cool slightly before assembling to prevent soggy tortillas that can ruin your Cheesy Garlic Chicken Wraps.
-
Cheese Selection: For the best meltability, always opt for freshly shredded cheese instead of pre-shredded options, which often contain anti-caking agents.
-
Tortilla Warm-Up: Keep tortillas warm in the microwave for about 10-15 seconds before filling; this makes them more pliable and ensures easier wrapping without tearing.
-
Secure Your Wraps: If your wraps tend to unravel, secure them with toothpicks once rolled, ensuring a clean presentation and no spills during toasting.
-
Customize Wisely: When experimenting with variations, remember to balance flavors and avoid overwhelming your wrap with too many strong ingredients, maintaining that delightful comfort food vibe.
Make Ahead Options
These Cheesy Garlic Chicken Wraps are perfect for busy weeknights as they can be effortlessly prepared in advance! You can prepare the filling—chicken, sautéed vegetables, and cheese mixture—up to 3 days ahead of time. Simply store each component in airtight containers in the refrigerator to maintain freshness. To keep the tortillas from getting soggy, assemble the wraps just before cooking. When you’re ready to enjoy, take the prepped filling and tortillas out, roll them up, and toast them in a skillet for that irresistible crispy exterior. This way, your family can indulge in delicious homemade wraps with minimal effort on busy nights!
What to Serve with Cheesy Garlic Chicken Wraps
These wraps create a symphony of comfort on your table, inviting a delightful range of pairings to enhance your meal experience.
- Crispy Sweet Potato Fries: The sweet and savory profile of these fries provides a fantastic contrast to the wrap’s cheesy goodness. Dip them in a tangy dipping sauce for an extra kick!
- Garden Salad: A fresh salad with mixed greens adds a burst of crunch and a light, refreshing balance to the hearty wraps, making every bite more enjoyable.
- Creamy Ranch Dip: Enhance the flavor of your wraps with a side of ranch dip, combining coolness with the comforting warmth of the chicken wraps. Perfect for dipping!
- Herb Roasted Vegetables: Roasted seasonal veggies like zucchini and bell peppers bring a touch of caramelization, creating a vibrant and nutritious side that complements the wrap perfectly.
- Garlic Breadsticks: For an extra indulgence, serve warm garlic breadsticks that echo the garlic flavor in the wraps. Their crunchy exterior and soft interior are irresistible!
- Zesty Coleslaw: A crunchy and slightly tangy coleslaw can brighten the meal, adding freshness that cuts through the richness of the cheesy filling.
- Iced Tea or Lemonade: Sip on a cool, refreshing drink like iced tea or lemonade. Their sweetness and acidity balance the savory richness, making each bite a total delight.
- Chocolate Chip Cookies: Finish the meal on a sweet note with warm chocolate chip cookies. Their gooey texture offers the perfect comforting conclusion to your wrap-filled feast!

Cheesy Garlic Chicken Wraps Recipe FAQs
How do I choose the right chicken for the wraps?
Absolutely! When selecting chicken, look for breasts that are plump and firm. Check for a pinkish color with no dark spots or unpleasant odors. You can also use turkey or sautéed portobello mushrooms for a delicious vegetarian option!
How long can I store assembled Cheesy Garlic Chicken Wraps in the fridge?
You can store your assembled wraps in an airtight container in the fridge for up to 3 days. Just reheat them in a skillet over medium heat for the best results, ensuring the tortillas stay crispy while warming up the filling.
Can I freeze the Cheesy Garlic Chicken Wraps? How do I do it?
Very! To freeze, let the wraps cool completely, then stack them in a freezer-safe airtight container with parchment paper between each layer to prevent sticking. They can be frozen for up to 3 months. When ready to enjoy, thaw them in the fridge overnight, and reheat in the oven at 350°F (175°C) for about 15-20 minutes for optimal crispiness.
What should I do if my wraps turn out soggy?
If your wraps became soggy, it likely means the filling was too hot or there was too much moisture. To prevent this, allow the chicken and vegetables to cool slightly before assembly. You might also consider swapping out ingredients like sour cream for a lighter option, or using less moist vegetables.
Are there any dietary considerations for Cheesy Garlic Chicken Wraps?
Absolutely! For gluten-free options, replace flour tortillas with gluten-free wraps or even lettuce leaves. You can also make these wraps dairy-free by using non-dairy cream cheese and cheese alternatives. Always check labels to ensure no hidden allergens are present based on personal dietary needs.
What can I do if I don’t have some ingredients on hand?
Very resourceful! Substitutions like Italian seasoning for the Mediterranean herb blend, or yellow and green bell peppers instead of red can easily be made. Don’t hesitate to let your creativity shine; wraps are great for using what you have on hand!

Cheesy Garlic Chicken Wraps That Will Brighten Your Weeknights
Ingredients
Equipment
Method
- Heat 2 tablespoons of extra virgin olive oil in a skillet over medium-high heat. Season the chicken breast strips with sea salt, cracked black pepper, and smoky paprika. Once the oil is shimmering, add the chicken to the skillet, cooking for about 5-6 minutes until golden brown and cooked through, stirring occasionally for even browning. Once done, transfer the chicken to a plate and cover to keep warm.
- In the same skillet, add another drizzle of olive oil if needed, then toss in the sweet onion and red bell pepper. Sauté over medium heat for 4-5 minutes, until the vegetables are soft and fragrant. Stir in the fresh spinach leaves and cook for an additional 1-2 minutes until wilted. Once ready, combine with the cooked chicken on the plate, allowing the flavors to meld.
- In a mixing bowl, combine 1 cup of shredded mozzarella, ½ cup of sharp cheddar, 4 ounces of cream cheese, and ¼ cup of sour cream. Use a fork or spatula to blend the ingredients until creamy and well combined.
- While the cheese mixture is chilling, take your flour tortillas and brush each one lightly with melted butter. Sprinkle a dash of roasted garlic powder on top for an extra burst of flavor.
- On each tortilla, generously layer some of the cooked chicken and sautéed vegetable mixture, followed by a scoop of the creamy cheese filling. Roll the tortilla tightly, folding in the edges as you go to secure the filling inside.
- Return the skillet to medium heat and add a touch of olive oil if necessary. Once hot, place the assembled wraps seam-side down into the skillet. Cook for about 2-3 minutes per side, until golden brown and crispy.

Leave a Reply