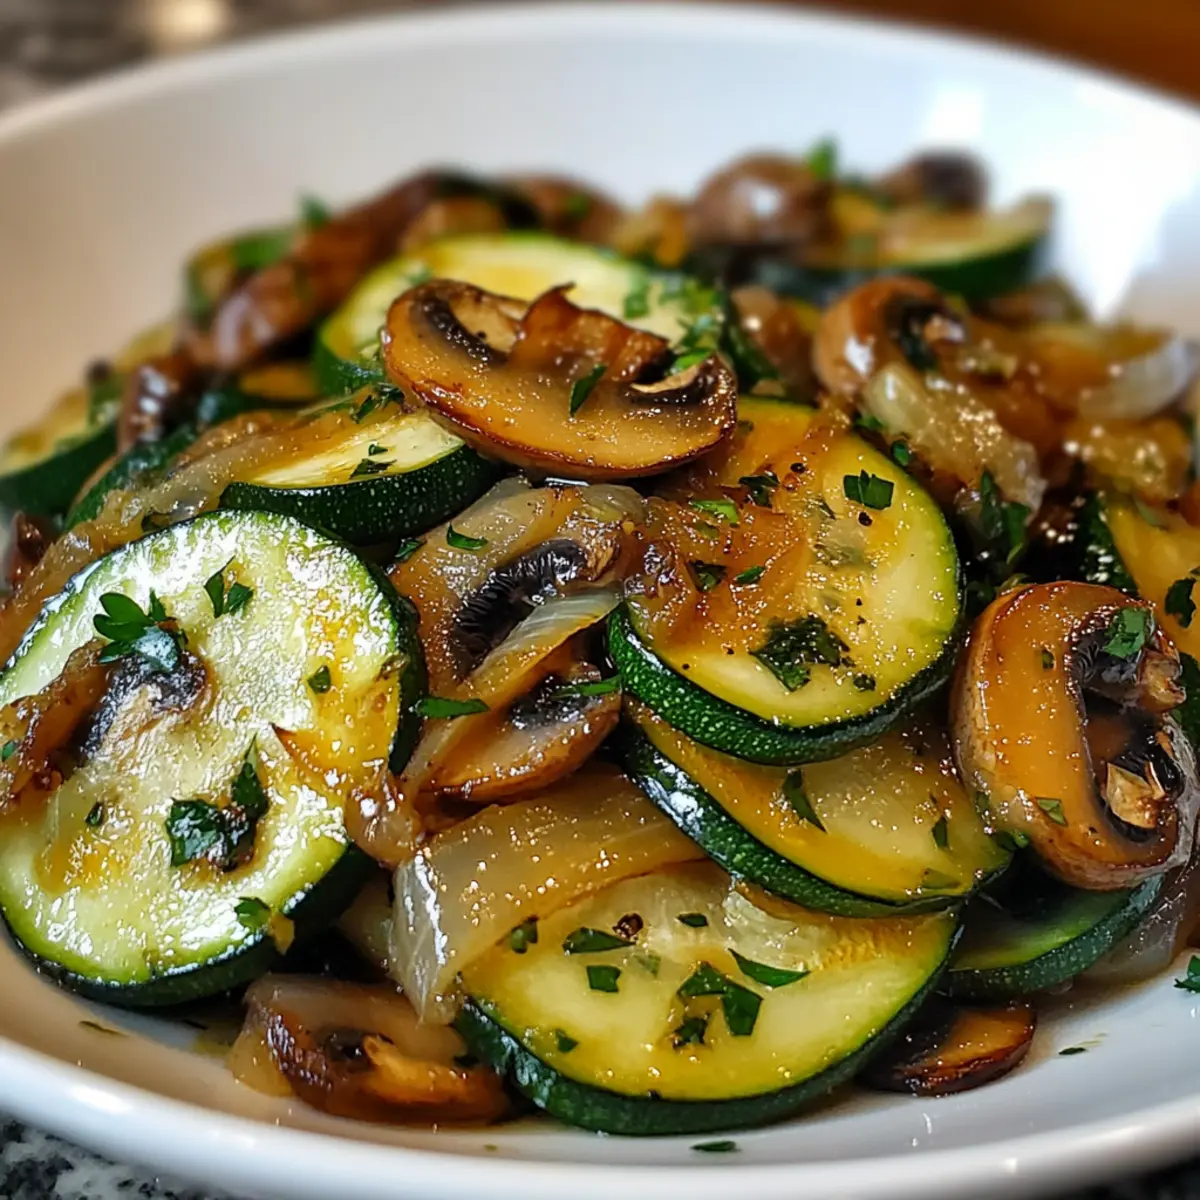
As I stood by the stove, the inviting aroma of sautéed vegetables filled my kitchen, instantly transforming my home into a cozy haven. Among my favorite quick side dishes, mastering sautéed zucchini, mushrooms, and onions stands out for its vibrant flavors and simple preparation. The rich umami of mushrooms paired with the sweetness of caramelized onions and the tender crunch of zucchini creates a satisfying medley that can easily elevate any meal. Plus, this dish is not only healthy and vegetarian, but it’s also gluten-free, making it a versatile option for all dietary preferences. Ready to jazz up your next dinner? Let’s dive into this delightful recipe and explore some fun variations along the way!
Why Master Sautéed Zucchini?
Quick and Easy: This dish takes just 15 minutes from prep to plate, making it a perfect last-minute side.
Bursting with Flavor: The combination of earthy mushrooms, sweet onions, and fresh zucchini creates a dish that’s incredibly satisfying.
Healthy Choice: At around 120 calories per serving, it’s a guilt-free addition to any meal.
Endless Variations: Feel free to add bell peppers or spinach, or try different herbs to make it your own—like our delicious Baked Zucchini Cheese for a heartier twist!
Crowd-Pleaser: Whether it’s a family dinner or a gathering with friends, this sautéed medley is bound to impress.
Mastering Sautéed Zucchini Ingredients
• Elevate your cooking with these fresh ingredients!
For the Sauté
- Zucchini – Use medium zucchinis, sliced into half-moons for the perfect texture.
- Mushrooms – Fresh button or cremini mushrooms add rich umami flavor, making your dish hearty.
- Onion – One medium onion, thinly sliced, builds a sweet base to enhance the overall flavor.
- Olive Oil – Great for sautéing; you can substitute with butter or ghee for creaminess.
- Garlic – Two cloves, minced, infuse the dish with an aromatic kick that pairs beautifully with vegetables.
- Salt and Black Pepper – Essential for seasoning; adjust these to your personal taste.
Optional Enhancements
- Dried Thyme – Adds an earthy note; if you don’t have it on hand, oregano works well too.
- Fresh Parsley – A sprinkle of fresh parsley not only adds a pop of color but also freshness to the finished dish.
With these simple ingredients in your arsenal, you’re on your way to mastering sautéed zucchini—the perfect quick side that’s bursting with flavor!
Step‑by‑Step Instructions for Mastering Sautéed Zucchini
Step 1: Prepare the Vegetables
Start by washing and slicing your ingredients—cut the medium zucchinis into half-moons, slice the mushrooms, and thinly slice the onion. Don’t forget to mince the two garlic cloves. This prep work ensures everything is ready for quick cooking, making your Mastering Sautéed Zucchini experience smooth and enjoyable.
Step 2: Heat the Oil
In a large skillet, heat 2 tablespoons of olive oil over medium heat for about 1 minute. You’ll know it’s ready when the oil shimmers slightly. This hot oil is essential for sautéing vegetables evenly, giving them a nice golden color and enhancing their flavors in your sautéed zucchini dish.
Step 3: Sauté the Onions
Add the sliced onions to the skillet and sauté them for approximately 3 minutes. Stir frequently until they become softened and translucent. This step is key for building a sweet base that will elevate the overall flavor profile of your sautéed zucchini, mushrooms, and onions.
Step 4: Add Garlic and Mushrooms
Stir in the minced garlic and sliced mushrooms into the skillet, cooking for an additional 3–4 minutes. Continue stirring until the mushrooms become tender and release their rich, umami flavor. This mixture will fill your kitchen with a delightful aroma, making it hard to resist diving right in!
Step 5: Incorporate the Zucchini
Now, add the prepared zucchini to the skillet, seasoning the mixture with salt, black pepper, and dried thyme (if using). Sauté everything together for about 3–5 minutes until the zucchini is tender yet still slightly firm. This time is crucial for achieving that perfect balance of textures in your Mastering Sautéed Zucchini dish.
Step 6: Final Touches
Taste your sautéed vegetables and adjust the seasoning as needed before removing them from heat. Transfer the beautifully sautéed zucchini, mushrooms, and onions to a serving dish. If desired, garnish with fresh parsley for an added burst of freshness and color. Your masterpiece is ready to shine as a healthy and vibrant side dish!
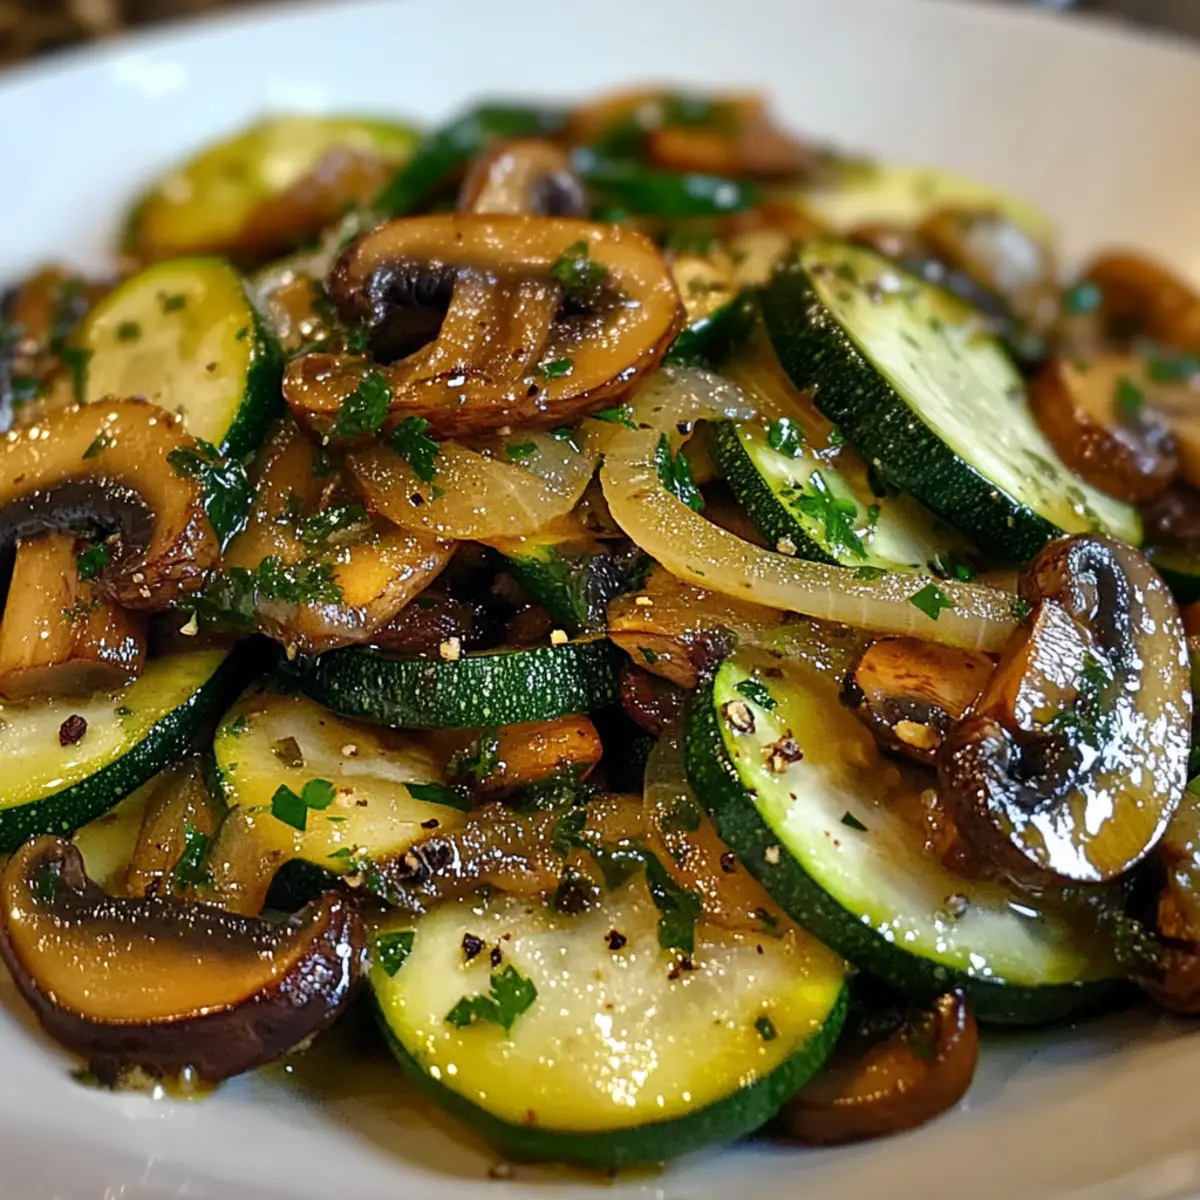
Mastering Sautéed Zucchini Variations
Customize your sautéed zucchini experience with these delightful twists that invite your taste buds to dance!
-
Add More Veggies: Toss in bell peppers or spinach for an extra burst of color and nutrients to your dish. This combination brings a rainbow of flavors and textures, making it even more delightful.
-
Creamy Option: Swap olive oil for butter or ghee for a richer, more luxurious flavor. The creamy element adds a comforting touch that elevates the entire dish.
-
Broth or Wine Boost: Mix in a splash of vegetable broth or white wine after sautéing for a light, flavorful pan sauce. This twist introduces a wonderful depth, taking your dish to gourmet heights.
-
Herbal Enhancement: Experiment with fresh herbs like basil or cilantro for a refreshing punch. The herbs will awaken the dish, making it taste fresh and vibrant—perfect for those summer meals!
-
Heat Things Up: Incorporate red pepper flakes or a dash of hot sauce for an added kick. The heat will create an exciting contrast with the sweetness of the veggies.
-
Nutty Crunch: Sprinkle with toasted pine nuts or chopped walnuts right before serving for an extra crunch and nuttiness. This not only adds texture but also enhances the flavor profile beautifully.
-
Savory Cheese Delight: Top with shredded Parmesan cheese or feta for a salty, creamy addition. Imagine each bite bursting with cheesy goodness—absolutely irresistible!
-
Zucchini Pasta: For a fun twist, spiralize your zucchini into noodles before sautéing. This makes a light and airy alternative to traditional pasta that’s perfect for any meal!
Looking for more zucchini inspiration? Try our delightful Baked Parmesan Zucchini or the cheesy goodness of Baked Zucchini Cheese for other delicious takes on this versatile vegetable!
Storage Tips for Mastering Sautéed Zucchini
-
Room Temperature: Allow the sautéed zucchini to cool completely before storing. It should not sit out for more than 2 hours to avoid bacterial growth.
-
Fridge: Store leftovers in an airtight container in the refrigerator for up to 3 days. This helps retain flavor while keeping the dish fresh.
-
Freezer: For longer storage, freeze the sautéed mixture in a freezer-safe container for up to 2 months. Thaw in the fridge before reheating.
-
Reheating: Gently reheat in a skillet over medium heat to maintain the textures of the zucchini and mushrooms. Add a dash of olive oil for moisture if needed.
What to Serve with Healthy Sautéed Zucchini, Mushrooms, and Onions
Imagine a warm, inviting table surrounded by loved ones, where vibrant dishes dance in delicious harmony.
-
Creamy Mashed Potatoes: The buttery, smooth texture pairs beautifully with the sautéed vegetables, adding richness that makes every bite delightful.
-
Quinoa Salad: A light, nutty quinoa salad offers a refreshing crunch. The protein-packed grains balance the dish nicely while providing a satisfying chew.
-
Garlic Bread: The warm, toasty flavor of garlic bread is perfect for mopping up every last bit of the sautéed goodness.
-
Grilled Chicken: Juicy, herb-marinated grilled chicken enhances this sauté with its savory notes, creating a complete protein-packed meal.
-
Roasted Bell Peppers: Their sweet and tender flesh brings a burst of color and added flavor, complementing the earthiness of the mushrooms wonderfully.
-
Lemon Herb Rice: The zesty brightness of lemon-infused rice will elevate the layered flavors of the sauté, making each component shine on the plate.
-
Crisp Side Salad: A simple side salad of mixed greens dressed with vinaigrette offers a refreshing counterpart that contrasts textures perfectly.
-
Red Wine: A glass of light-bodied red wine like Pinot Noir beautifully enhances the umami flavors of the dish, making your dining experience ever more enjoyable.
-
Chocolate Mousse: End your meal on a sweet note with a rich chocolate mousse. Its creamy decadence will delight your senses after the vibrant sautéed vegetables.
Make Ahead Options
These sautéed zucchini, mushrooms, and onions are fantastic for meal prep! You can wash and slice the vegetables, and mince the garlic up to 24 hours in advance to save precious time on busy weeknights. Store the prepared ingredients in an airtight container in the refrigerator to maintain freshness and prevent browning. When you’re ready to cook, simply heat your olive oil in a skillet, add the onions, mushrooms, and garlic as per the recipe instructions, and finish by incorporating the zucchini. This ensures you’ll have a delicious and vibrant side dish ready in no time! Perfect for those who want to enjoy homemade meals without the fuss!
Expert Tips for Mastering Sautéed Zucchini
-
Caramelization Trick: Ensure your vegetables aren’t too wet. Pat dry before sautéing to achieve deliciously caramelized edges for your sautéed zucchini.
-
Heat Control: Keep a consistent medium-low heat after the initial sear. This prevents your mushrooms from becoming rubbery while ensuring even cooking throughout.
-
Using the Right Utensil: A metal spatula is ideal for scraping fond from the pan. This enhances the flavor depth of your sautéed zucchini, bringing everything together beautifully.
-
Tasting Along the Way: Don’t skip tasting! Adjust the seasoning with salt and pepper as you cook to get just the right flavor that suits your palate.
-
Experiment with Herbs: Dried thyme is fantastic, but don’t hesitate to play with fresh herbs or even a hint of spice. This adds a personal touch to your Mastering Sautéed Zucchini!
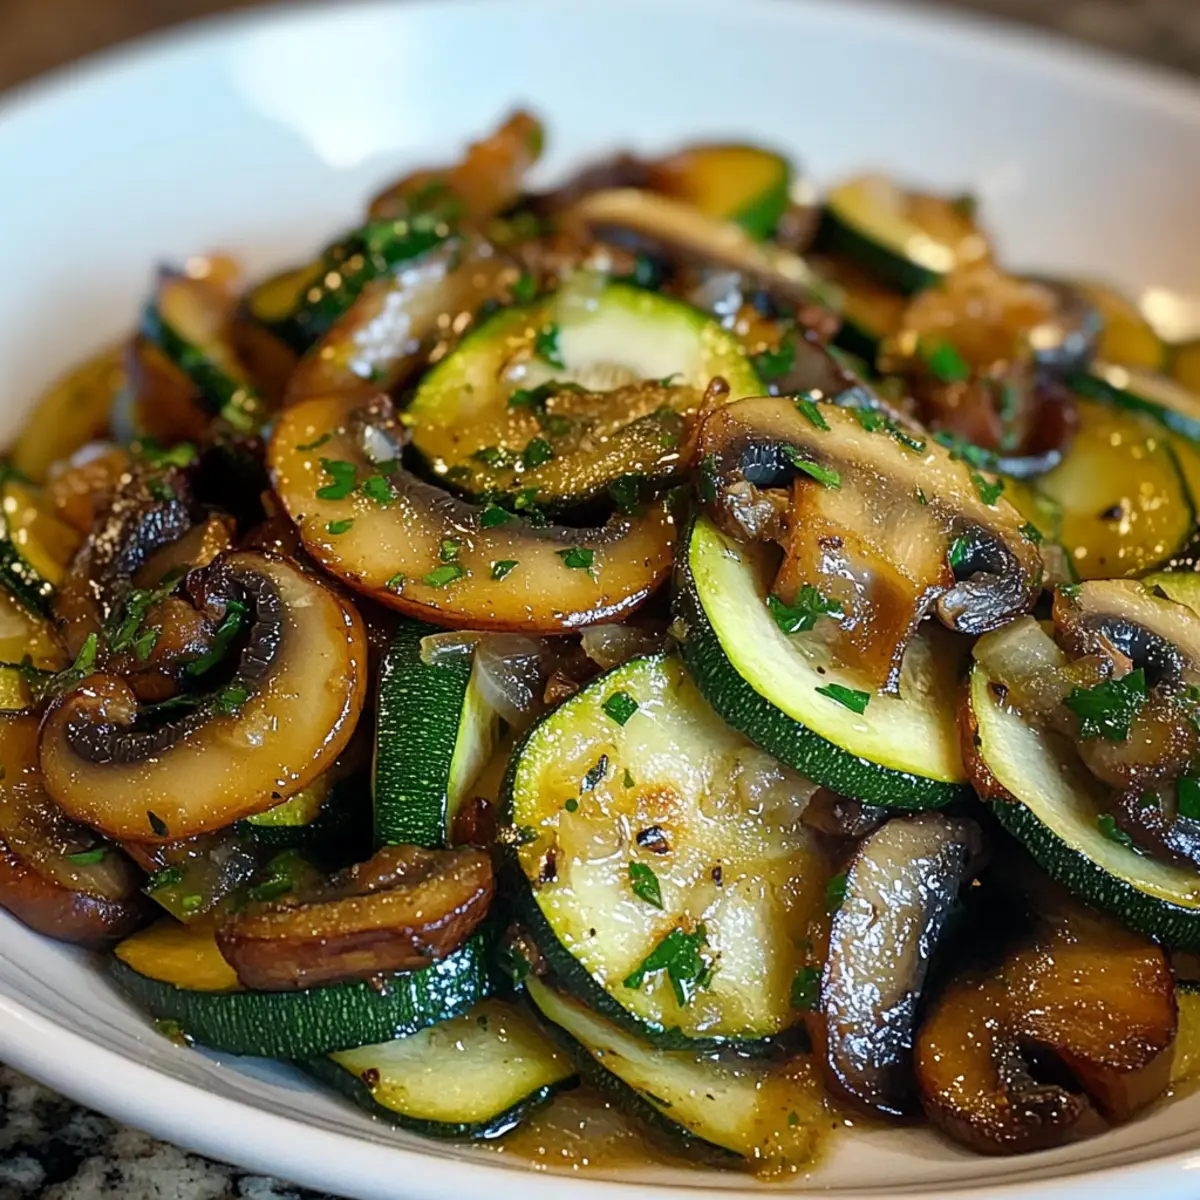
Mastering Sautéed Zucchini, Mushrooms, and Onions Recipe FAQs
How do I choose ripe zucchini?
When selecting zucchini, look for firm, smooth skin without dark spots or wrinkles. Medium-sized zucchinis are ideal, as they are tender and flavorful. Give them a gentle squeeze; if they feel soft, they’re past their prime!
What’s the best way to store sautéed zucchini leftovers?
Once completely cooled, store the sautéed mixture in an airtight container in the refrigerator for up to 3 days. This helps retain the flavors and ensures it stays fresh for your next meal!
Can I freeze sautéed zucchini?
Absolutely! To freeze, allow the sautéed vegetables to cool completely, then transfer them to a freezer-safe container. They can be kept in the freezer for up to 2 months. For reheating, thaw overnight in the fridge and gently reheat in a skillet over medium heat.
What can I do if my mushrooms are rubbery?
To avoid rubbery mushrooms, ensure you maintain a consistent medium-low heat after the initial sear. If they do turn out rubbery, try adding a splash of broth while reheating, which can help soften them up a bit.
Is this sautéed dish suitable for different dietary needs?
Yes! This sautéed zucchini, mushrooms, and onions dish is vegetarian, healthy, and gluten-free, making it a wonderful side for various dietary preferences. Just be sure to double-check any additional ingredients or sauces you might add!
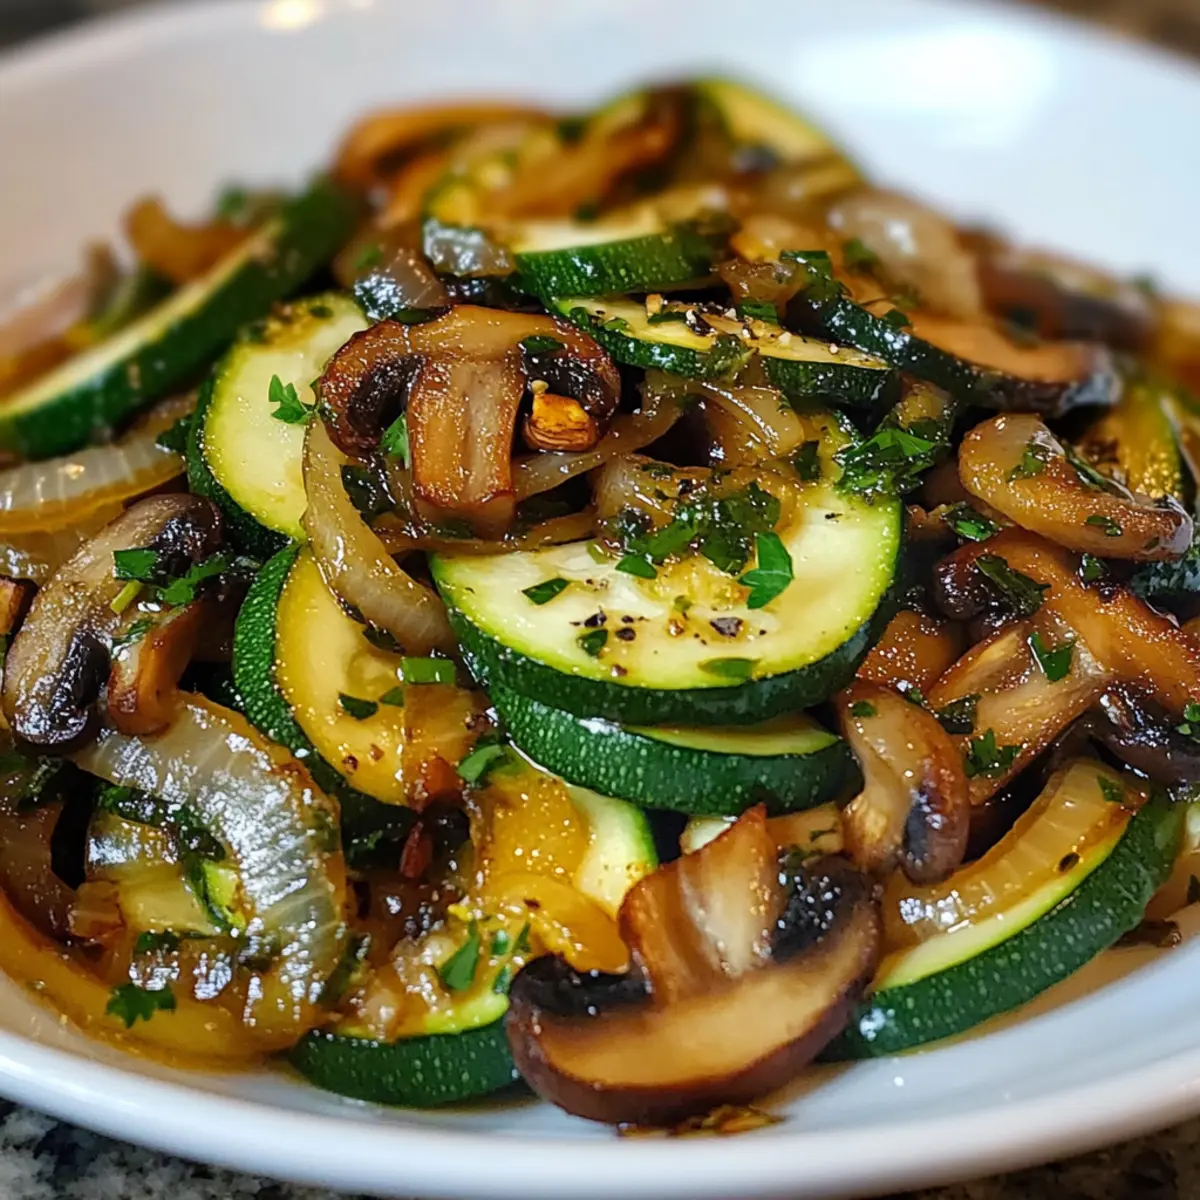
Mastering Sautéed Zucchini for a Flavor-Packed Side Dish
Ingredients
Equipment
Method
- Prepare the vegetables: wash and slice the zucchini, mushrooms, and onion, and mince the garlic.
- Heat the olive oil in a large skillet over medium heat for about 1 minute.
- Sauté the onions for approximately 3 minutes until softened and translucent.
- Add garlic and mushrooms, cooking for 3–4 minutes until mushrooms are tender.
- Incorporate the zucchini, seasoning with salt, black pepper, and thyme, and sauté for 3–5 minutes.
- Taste and adjust seasoning; garnish with fresh parsley before serving.

