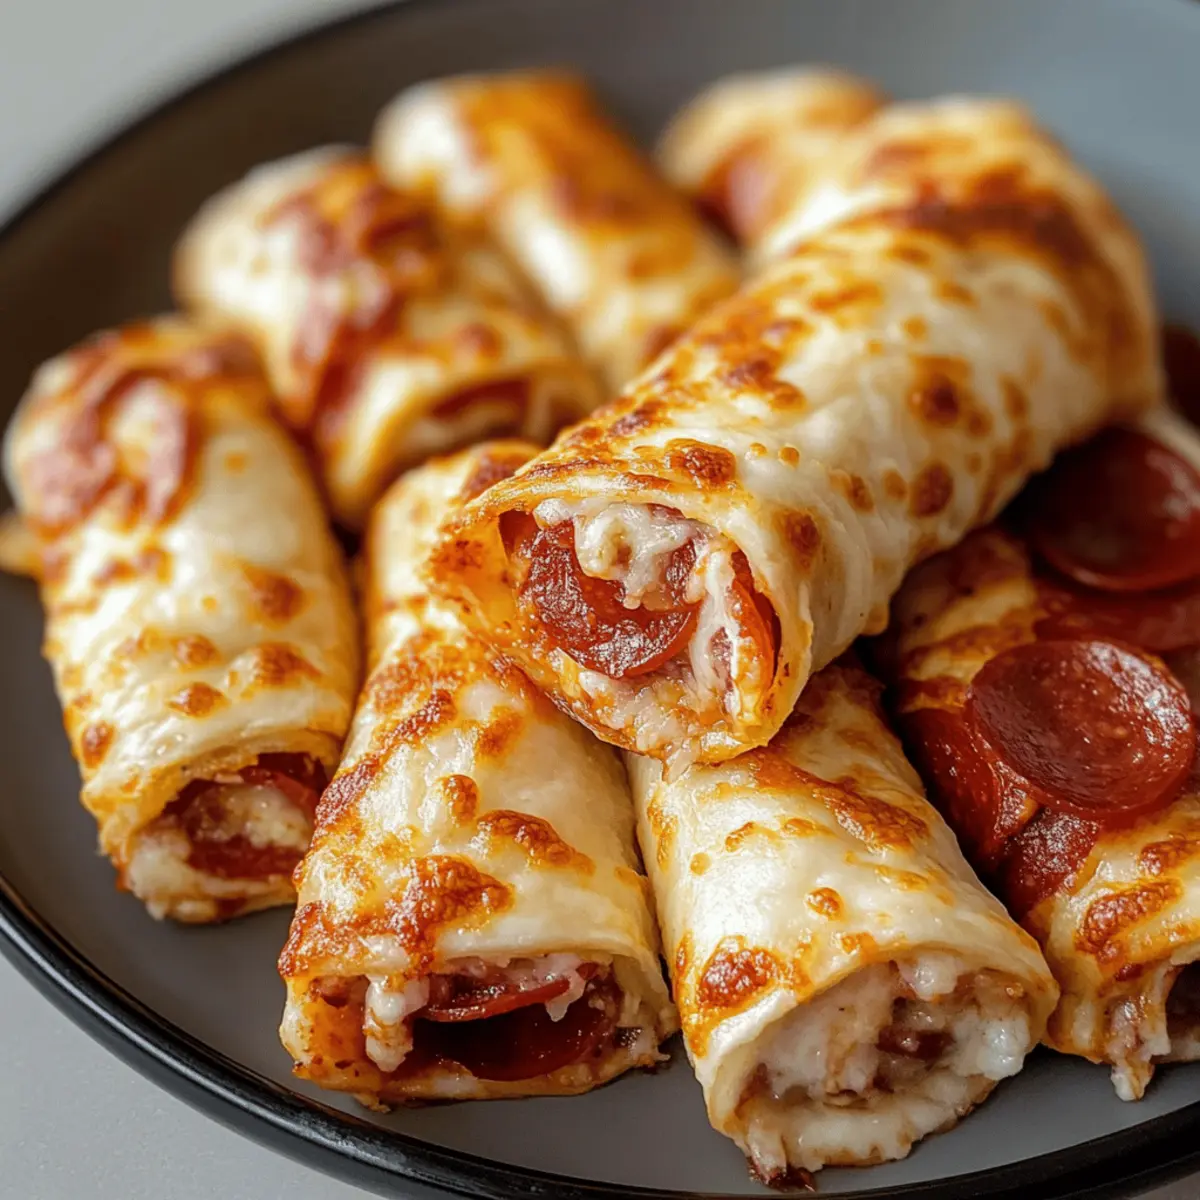
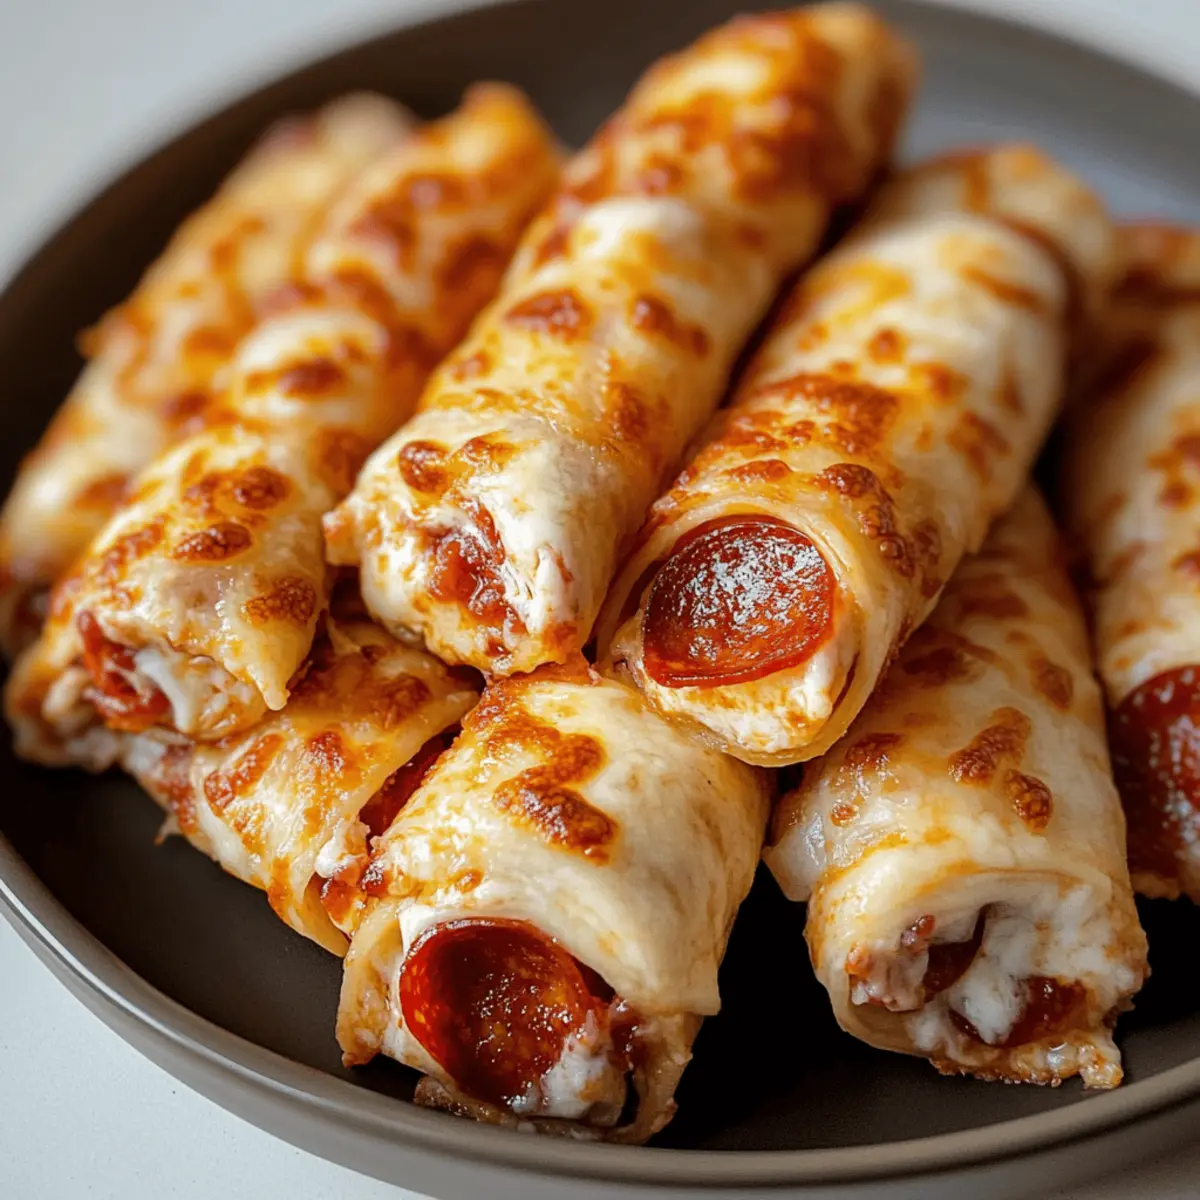
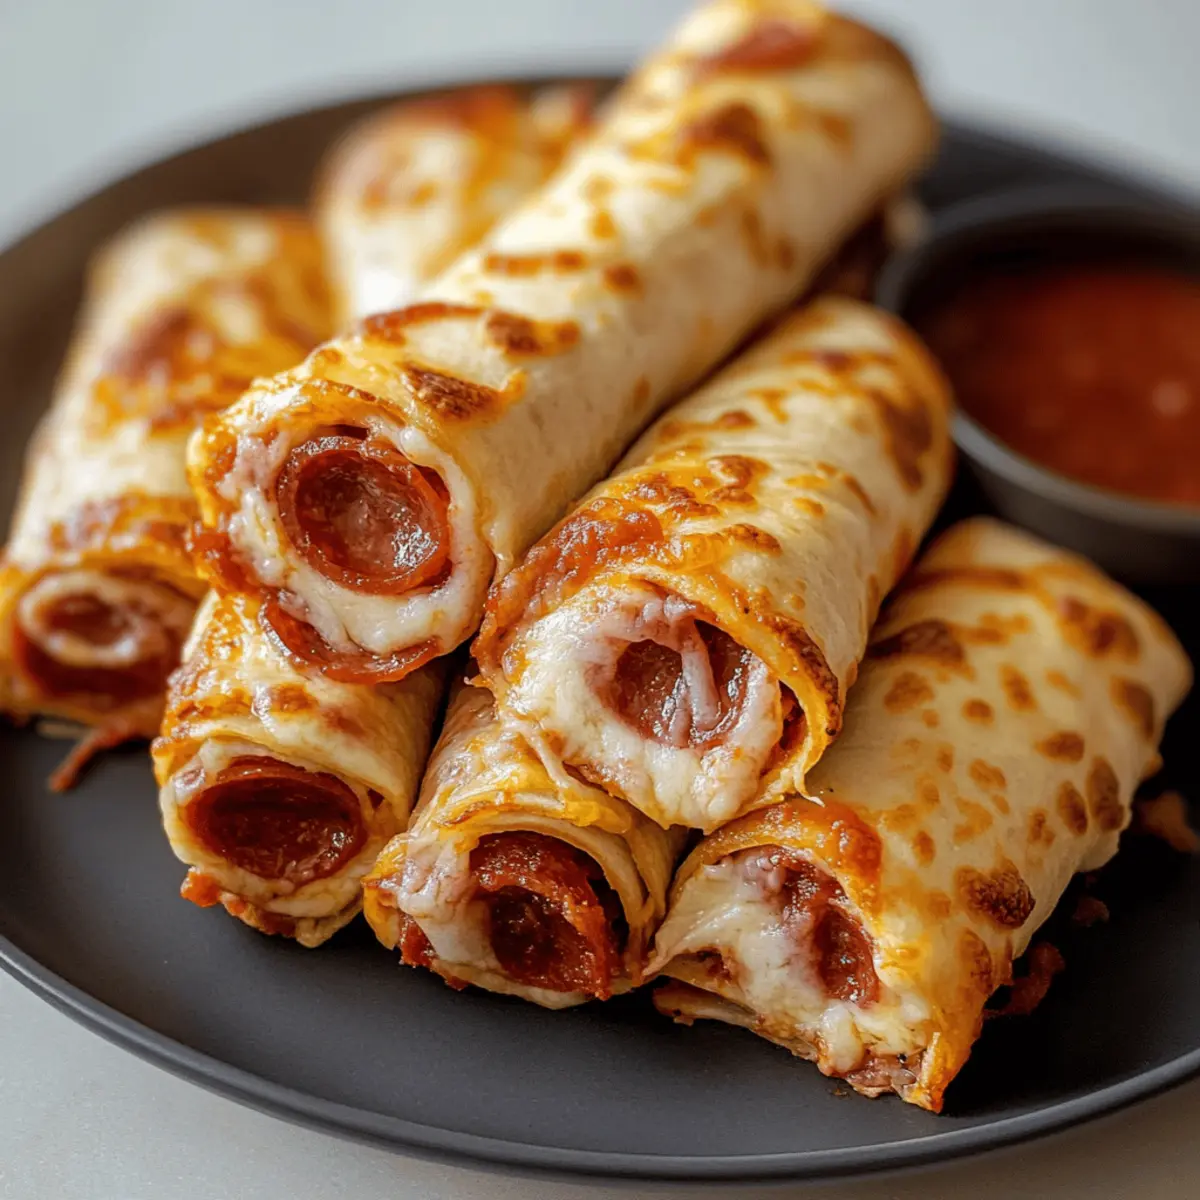
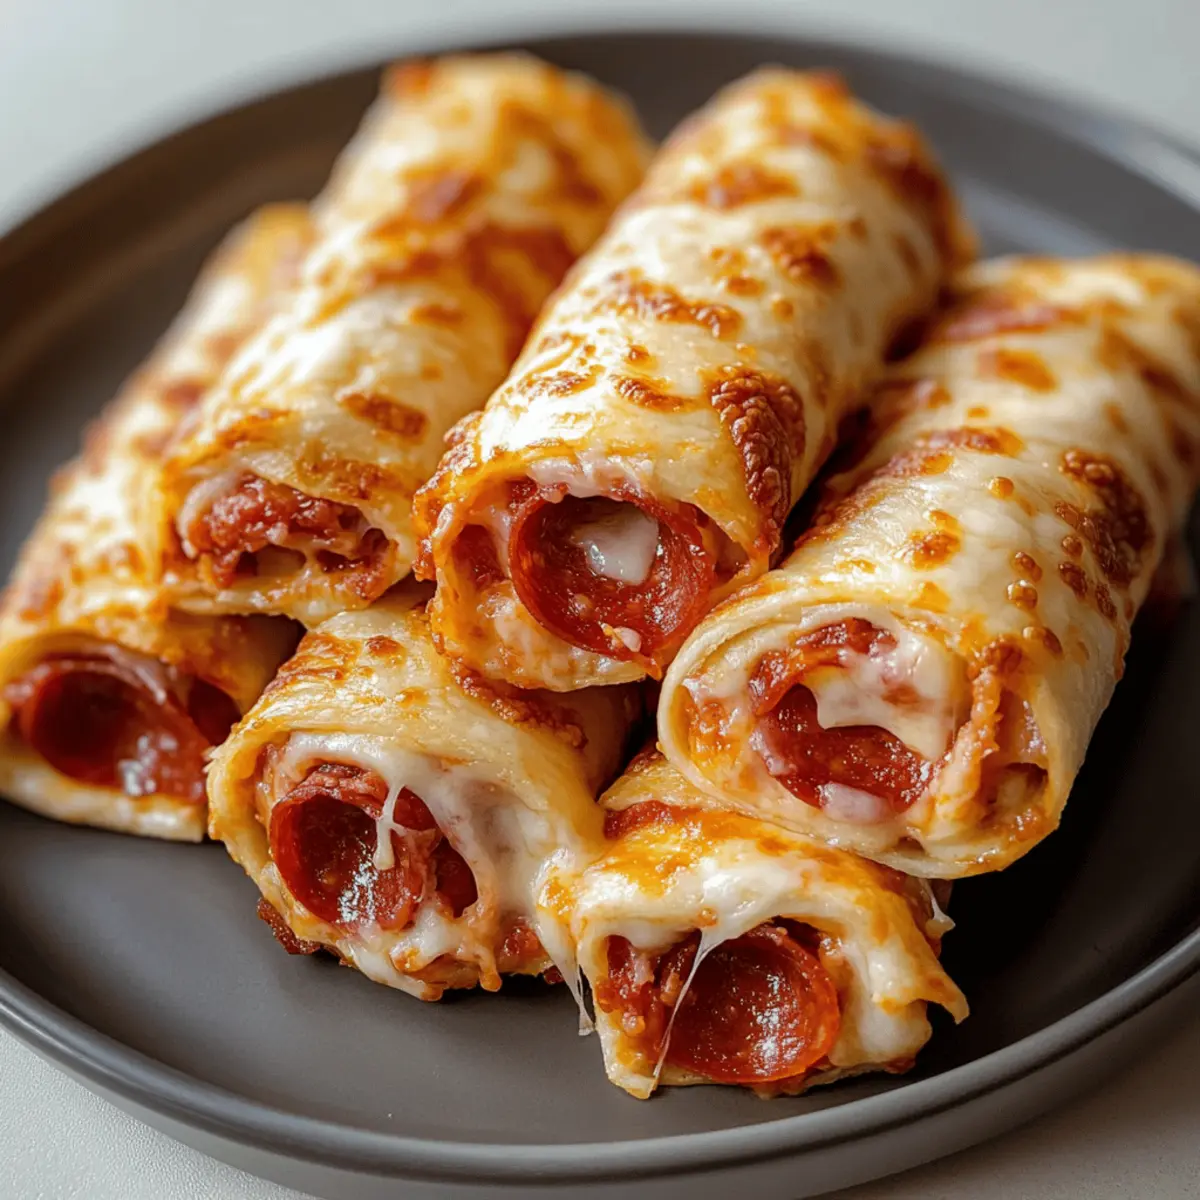
As the oven warms up and fills the kitchen with a savory aroma, I can’t help but feel a spark of excitement. This is the moment when I transform simple ingredients into a delightful treat: Cheesy Pepperoni Pizza Roll-Ups. They’re not just quick to make—these low-carb, keto-friendly snacks come together in under 20 minutes, making them perfect for impromptu gatherings or a cozy movie night. Imagine biting into a crispy exterior that yields to gooey mozzarella, spicy pepperoni, and tangy marinara. They’re versatile, too! You can easily jazz them up with your favorite add-ins or substitutions. Ready to discover how to create these mouthwatering roll-ups? Let’s roll!

Why Are These Roll-Ups So Irresistible?
Simplicity Makes Cooking Fun: These Cheesy Pepperoni Pizza Roll-Ups are not only easy to prepare but also incredibly fast, coming together in under 20 minutes—perfect for busy weeknights.
Flavor Explosion: Just picture that combination of gooey melted mozzarella, spicy pepperoni, and zesty marinara, all wrapped up in a crunchy tortilla. It’s a taste sensation that will leave everyone wanting more!
Ultimate Snack Versatility: Feel free to customize with your favorite toppings like bell peppers or olives, making every batch a little different.
Low-Carb Delight: Ideal for those on a keto diet, these roll-ups are a guilt-free indulgence that doesn’t sacrifice flavor.
Crowd-Pleasing Appeal: These roll-ups are a hit for any gathering—game nights, parties, or even a simple family dinner. Pair them with a side salad for a complete meal! For more cheesy goodness, check out my Cheesy Mashed Potato or Million Dollar Baked recipes.
Cheesy Pepperoni Pizza Roll-Ups Ingredients
For the Roll-Ups
- Low-Carb Tortillas – Ideal for maintaining a low-carb lifestyle, these serve as the crunchy outer layer.
- Marinara Sauce – Adds delicious moisture; use about 2 tablespoons per tortilla to keep things balanced.
- Shredded Mozzarella Cheese – Ensures a gooey, melty center; always opt for freshly shredded for best results.
- Pepperoni Slices – Provides that classic pizza flavor; feel free to choose spicy or regular based on your taste.
- Olive Oil – Brush on the outside for an irresistible golden crunch as they bake.
Optional Add-Ins
- Sliced Bell Peppers – Add a fresh, crunchy bite; remember to dry them first to avoid sogginess.
- Black Olives – Perfect for a savory twist; slice them thin for even distribution.
- Crushed Red Pepper Flakes – Sprinkle in for an extra kick if you love heat; it enhances the flavor beautifully.
- Fresh Basil Leaves – Incorporate these for a burst of freshness—perfect for summertime!
Step‑by‑Step Instructions for Cheesy Pepperoni Pizza Roll-Ups
Step 1: Preheat the Oven
Begin by preheating your oven to 375°F (190°C). This ensures your Cheesy Pepperoni Pizza Roll-Ups will bake evenly and develop that golden, crispy exterior you desire. While the oven warms up, gather your ingredients and lay out your tortillas on a clean surface, preparing for the delicious assembly ahead.
Step 2: Prepare the Tortillas
Place the low-carb tortillas flat on your work surface and generously spread about 2 tablespoons of marinara sauce over each one. Be sure to leave a half-inch border around the edges to avoid any messy spillovers. The sauce is crucial for flavor and moisture, so distribute it evenly for the best results.
Step 3: Add Cheese
Sprinkle a good amount of freshly shredded mozzarella cheese over the marinara, ensuring an even layer that covers the sauce completely. The shredded mozzarella is key to achieving that delightful gooey texture inside your roll-ups. Imagine the wonderful melty cheesy goodness you’ll enjoy with each bite!
Step 4: Layer the Pepperoni
Now, arrange your pepperoni slices on top of the cheese, overlapping them slightly to ensure each bite is bursting with flavor. Use as many or as few slices as you prefer, but make sure you cover the surface well for that true pizza experience. If you’re feeling adventurous, add some crushed red pepper flakes for an extra kick!
Step 5: Roll It Up
Start at one edge of the tortilla and tightly roll it away from you, securing the filling inside. Tuck the sides in as you go to prevent any melty cheese from oozing out. Once you’ve rolled up your tortilla, it should look like a neat cylinder, ready for its golden transformation in the oven.
Step 6: Brush with Olive Oil
Using a pastry brush or spoon, lightly coat the outside of each roll-up with olive oil. This step is vital for achieving a golden, crunchy texture once baked. The oil not only enhances flavor but also promotes that crispy, mouthwatering effect that will have everyone coming back for more.
Step 7: Bake the Roll-Ups
Carefully place the roll-ups seam-side down on a baking sheet lined with parchment paper or a silicone baking mat. Bake them in the preheated oven for 10-12 minutes, or until they are golden brown and the cheese is bubbling enticingly. Keep an eye on them to ensure they reach that perfect level of crispiness.
Step 8: Cool and Serve
Once baked, remove the Cheesy Pepperoni Pizza Roll-Ups from the oven and let them cool for a few minutes. This cooling time allows the cheese to set just a bit, making them easier to slice. When ready, slice them into manageable pieces and serve warm with additional marinara sauce for dipping.

Cheesy Pepperoni Pizza Roll-Ups Variations
Feel free to tailor these roll-ups to your taste and dietary needs for an even more delightful experience!
-
Veggie Boost: Add thinly sliced bell peppers or black olives for a fresh crunch that complements the flavors perfectly.
This simple add-in not only enhances nutrition but also elevates the overall taste profile. -
Spicy Kick: Switch regular pepperoni for spicy pepperoni or sprinkle crushed red pepper flakes for an extra layer of heat.
This twist is perfect for those who love a bit of fire in their bite! -
Herb Infusion: Incorporate fresh basil or oregano leaves before rolling for a burst of freshness.
Imagine the aroma and flavor elevating your roll-ups, making them feel restaurant-worthy. -
Cheesy Delight: Mix in a different cheese like provolone or cheddar along with mozzarella for a flavor explosion.
This creative combo adds depth and richness, making each bite even more memorable. -
Meat Lover’s Dream: Add cooked Italian sausage or diced ham for a heartier filling.
This variation will surely please any meat lover in your family! -
Sweet Treat: For a unique twist, try a dessert version by using Nutella and strawberries instead of marinara and pepperoni.
These sweet roll-ups can be a delicious way to end a meal or an indulgent snack. -
Baked Option: Instead of baking, air fry the roll-ups for a quicker cooking method that yields a similar crunch.
This way, you can enjoy your cheesy goodness without losing out on the texture!
For more inspiration, don’t forget to check out my Chocolate Peanut Cups for a sweet finish to your meal or my Million Dollar Baked ziti that pairs well with these roll-ups for a delightful feast!
How to Store and Freeze Cheesy Pepperoni Pizza Roll-Ups
Fridge: Allow the roll-ups to cool completely before placing them in an airtight container. They will stay fresh for up to 3 days, ready to be enjoyed anytime!
Freezer: For longer storage, wrap the cooled roll-ups tightly in plastic wrap, then place them in a freezer-safe bag. They can be frozen for up to 2 months; simply thaw overnight in the fridge before reheating.
Reheating: To enjoy your Cheesy Pepperoni Pizza Roll-Ups, reheat in a preheated 350°F oven for about 5 minutes or until heated through and crispy. This will revive their delicious crunch!
Serving Cold: If you have leftover roll-ups, they can also be eaten cold, making them a convenient snack for busy days!
What to Serve with Cheesy Pepperoni Pizza Roll-Ups
Elevate your snack game by pairing these cheesy delights with tasty accompaniments that enhance flavor and texture.
- Crispy Side Salad: A refreshing mix of greens with a tangy vinaigrette cuts through the richness of the roll-ups, making it a balanced meal.
- Garlic Breadsticks: Serve these warm, buttery sticks alongside for the ultimate pizza experience—they’re perfect for dipping in marinara.
- Spicy Marinara Sauce: Elevate your dipping experience with a zesty, garlicky marinara to complement the flavors of the pizza roll-ups beautifully.
- Coleslaw: The crunch of a tangy coleslaw adds a delightful texture contrast, enhancing each bite without overpowering the roll-ups.
- Vegetable Platter: Fresh veggies with a creamy ranch dip add a crisp freshness, balancing out the indulgence of the cheesy roll-ups.
- Buffalo Wing Sauce: For those who like it hot, serve with this fiery sauce for an exciting twist, bringing that classic pizza flavor to new heights.
- Chilled Sparkling Water: A refreshing drink that cleanses the palate between bites, making each tasty roll-up feel new and exciting.
- Ice Cream Sundae: For dessert, a rich sundae with chocolate or caramel drizzle will be a sweet finish to a delectable snack session!
Expert Tips for Cheesy Pepperoni Pizza Roll-Ups
Even Sauce Spread: Avoid soggy roll-ups by spreading 2 tablespoons of marinara sauce evenly, leaving a half-inch border to keep excess moisture at bay.
Grease-Free Pepperoni: To prevent greasy roll-ups, pat down pepperoni slices with a paper towel before adding them, ensuring they don’t leak excess oil while baking.
Crispier Texture: For an extra crunchy exterior, place the roll-ups on a wire rack while baking instead of directly on the pan. This allows for better air circulation.
Freshly Shredded Cheese: Always use freshly shredded mozzarella for optimal melting and flavor; pre-shredded cheese often contains anti-caking agents that can affect texture.
Customize to Taste: Feel free to explore different add-ins like sliced olives or fresh basil—this versatility makes each batch of Cheesy Pepperoni Pizza Roll-Ups unique and exciting!
Make Ahead Options
These Cheesy Pepperoni Pizza Roll-Ups are a fantastic option for meal prep enthusiasts! You can prepare the filling (marinara, mozzarella, and pepperoni) up to 24 hours in advance, storing it in an airtight container in the refrigerator to keep it fresh. When you’re ready to serve, simply spread the filling onto the tortillas, roll them up, and brush with olive oil—then bake as directed. This way, you’ll save valuable time on busy weeknights while still enjoying that delightful, gooey goodness. Just remember to avoid overstuffing and follow the baking instructions for crispy results that are just as delicious as fresh!

Cheesy Pepperoni Pizza Roll-Ups Recipe FAQs
How do I choose the best low-carb tortillas?
Absolutely! When picking low-carb tortillas, look for ones labeled “carb-smart” or “low-carb” to ensure they fit your dietary needs. Brands like Mission or La Banderita are great options because they provide a good texture without sacrificing flavor. Check for any dark spots or a rubbery texture, which might indicate less freshness. If you’re feeling adventurous, consider trying coconut or almond flour tortillas for a unique twist!
What’s the best way to store leftover roll-ups?
Very! Let your Cheesy Pepperoni Pizza Roll-Ups cool completely before storing them in an airtight container. They can be kept in the fridge for up to 3 days. If you’re planning to enjoy them later, just reheat them in a 350°F oven for about 5 minutes to make them crispy again!
Can I freeze Cheesy Pepperoni Pizza Roll-Ups?
Certainly! For freezing, wrap the cooled roll-ups tightly in plastic wrap and place them in a freezer-safe bag. They can be frozen for up to 2 months. When you’re ready to indulge, thaw them overnight in the fridge and then reheat in a preheated oven at 350°F for approximately 5 minutes or until warm throughout.
What if my roll-ups come out soggy?
No worries! If your roll-ups turn out soggy, it’s often due to too much sauce or using greasy pepperoni. To avoid this, spread only about 2 tablespoons of marinara sauce, ensuring it’s even and leaving a border. Also, dab your pepperoni slices with a paper towel to absorb excess grease before adding them to the filling. If you want extra crispiness, try baking on a wire rack!
Are there any allergens to consider in this recipe?
Absolutely! If you’re serving these roll-ups to friends or family, keep in mind that they contain dairy (mozzarella cheese) and gluten (tortillas), which could be problematic for those with lactose intolerance or gluten sensitivities. Always double-check ingredient labels and consider using dairy-free cheese or gluten-free tortillas to accommodate various dietary preferences.
Can pets enjoy these roll-ups too?
No, it’s best to keep these roll-ups away from your pets. The cheese and pepperoni are rich and may upset their stomachs. If you want to share a treat with your furry friend, offer them some plain, cooked chicken or veggies like carrots instead!

Cheesy Pepperoni Pizza Roll-Ups That Will Wow Your Taste Buds
Ingredients
Equipment
Method
- Preheat your oven to 375°F (190°C).
- Spread about 2 tablespoons of marinara sauce over each tortilla, leaving a half-inch border.
- Sprinkle shredded mozzarella cheese evenly over the marinara.
- Layer pepperoni slices on top of the cheese, overlapping them slightly.
- Tightly roll each tortilla away from you, tucking the sides in as you go.
- Brush each roll-up with olive oil to ensure a golden, crunchy texture.
- Place the roll-ups seam-side down on a baking sheet and bake for 10-12 minutes.
- Let cool for a few minutes, slice, and serve warm with marinara sauce.

Leave a Reply