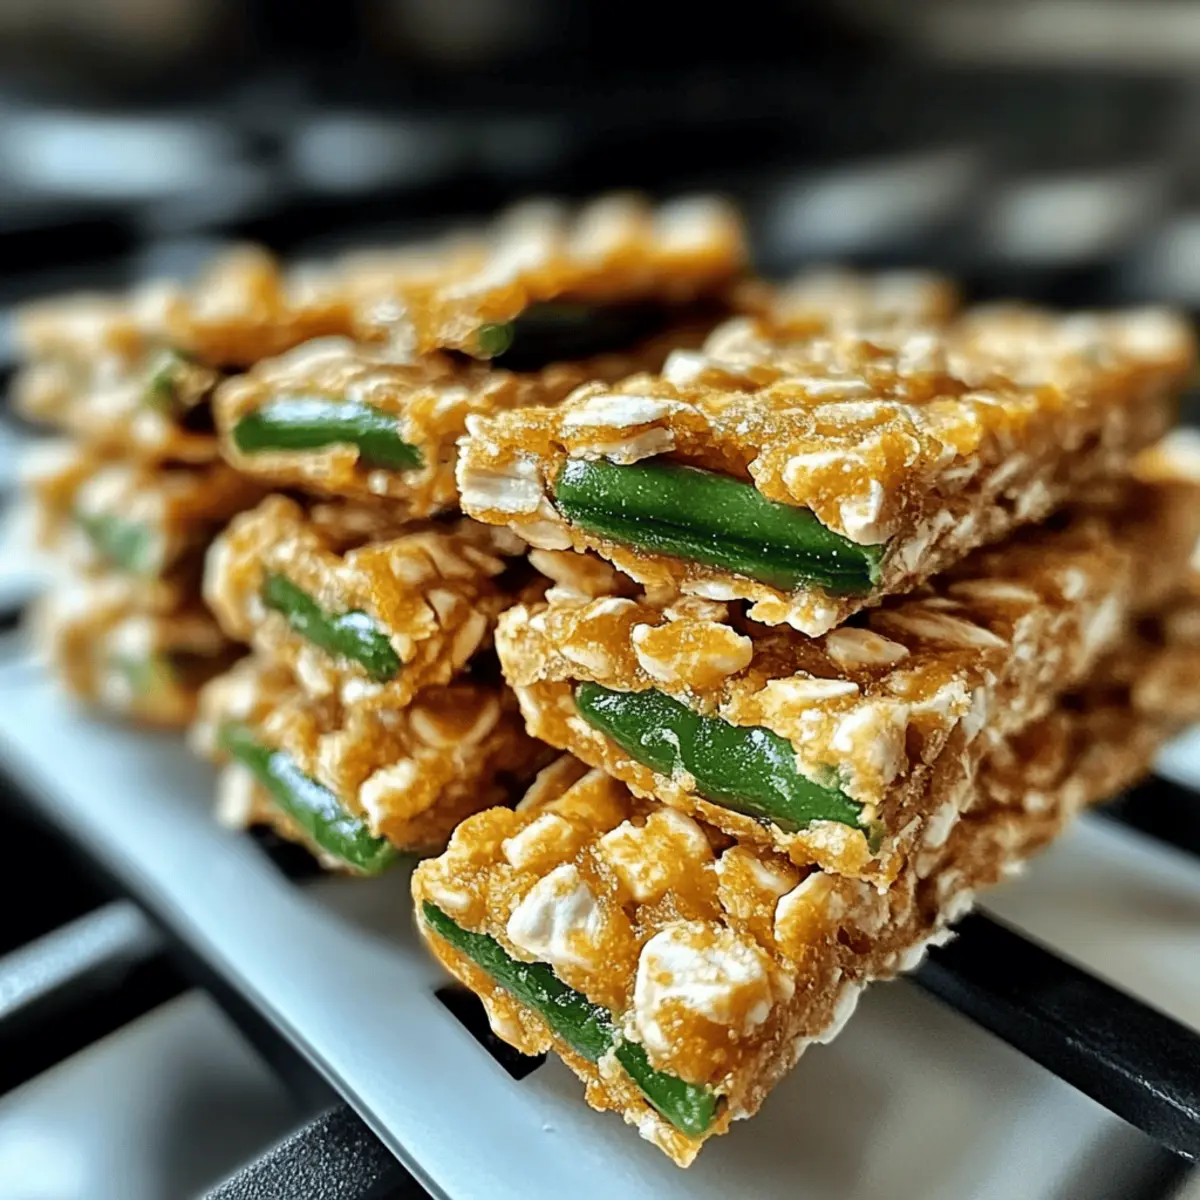
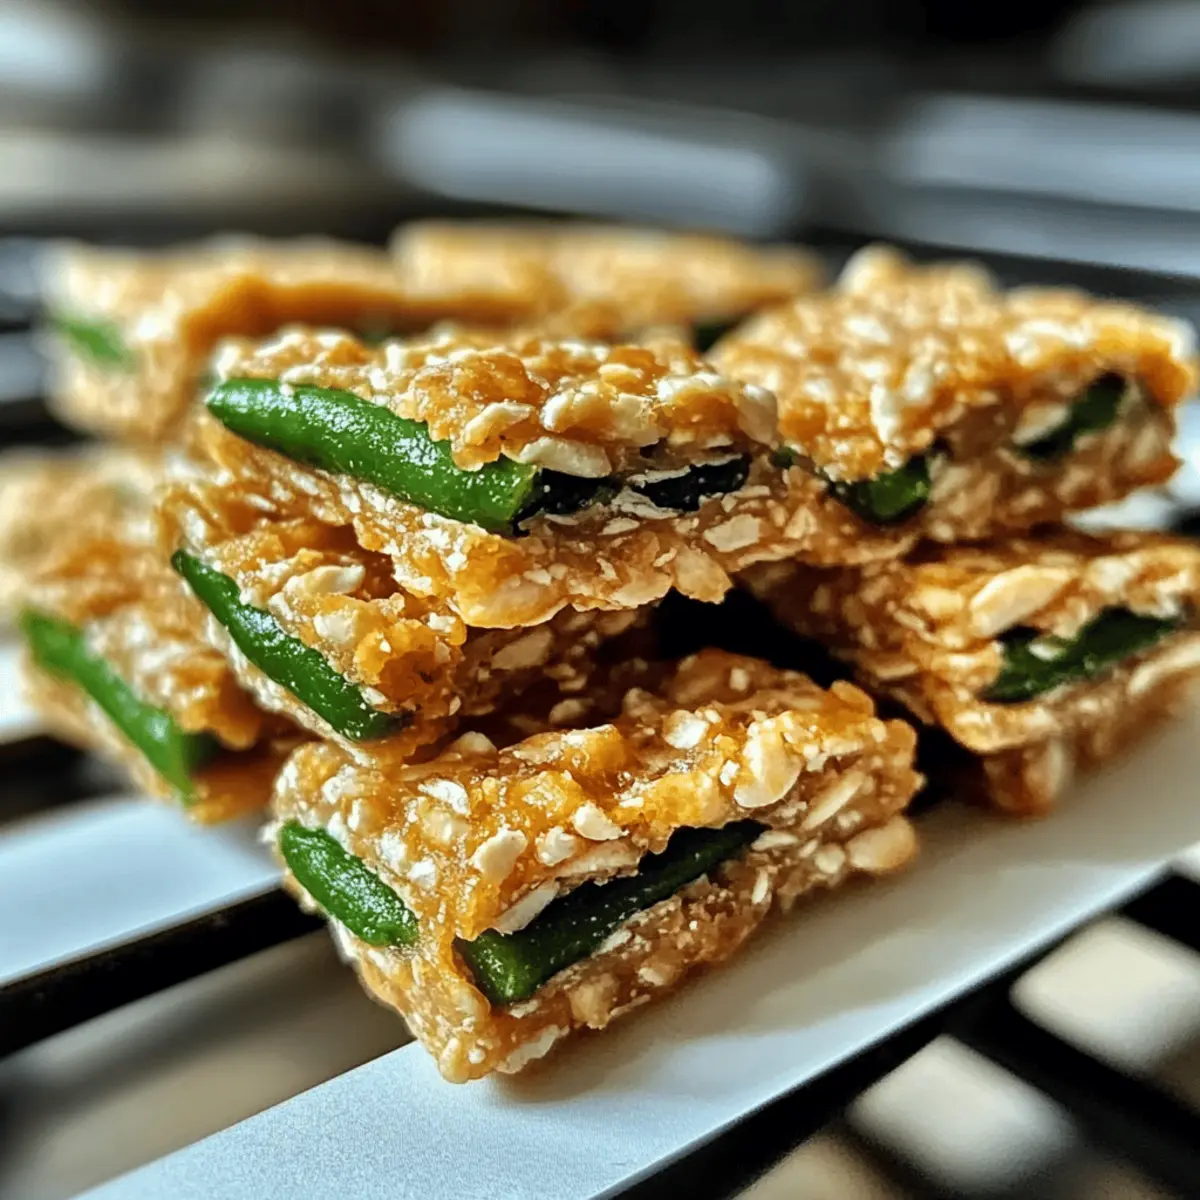
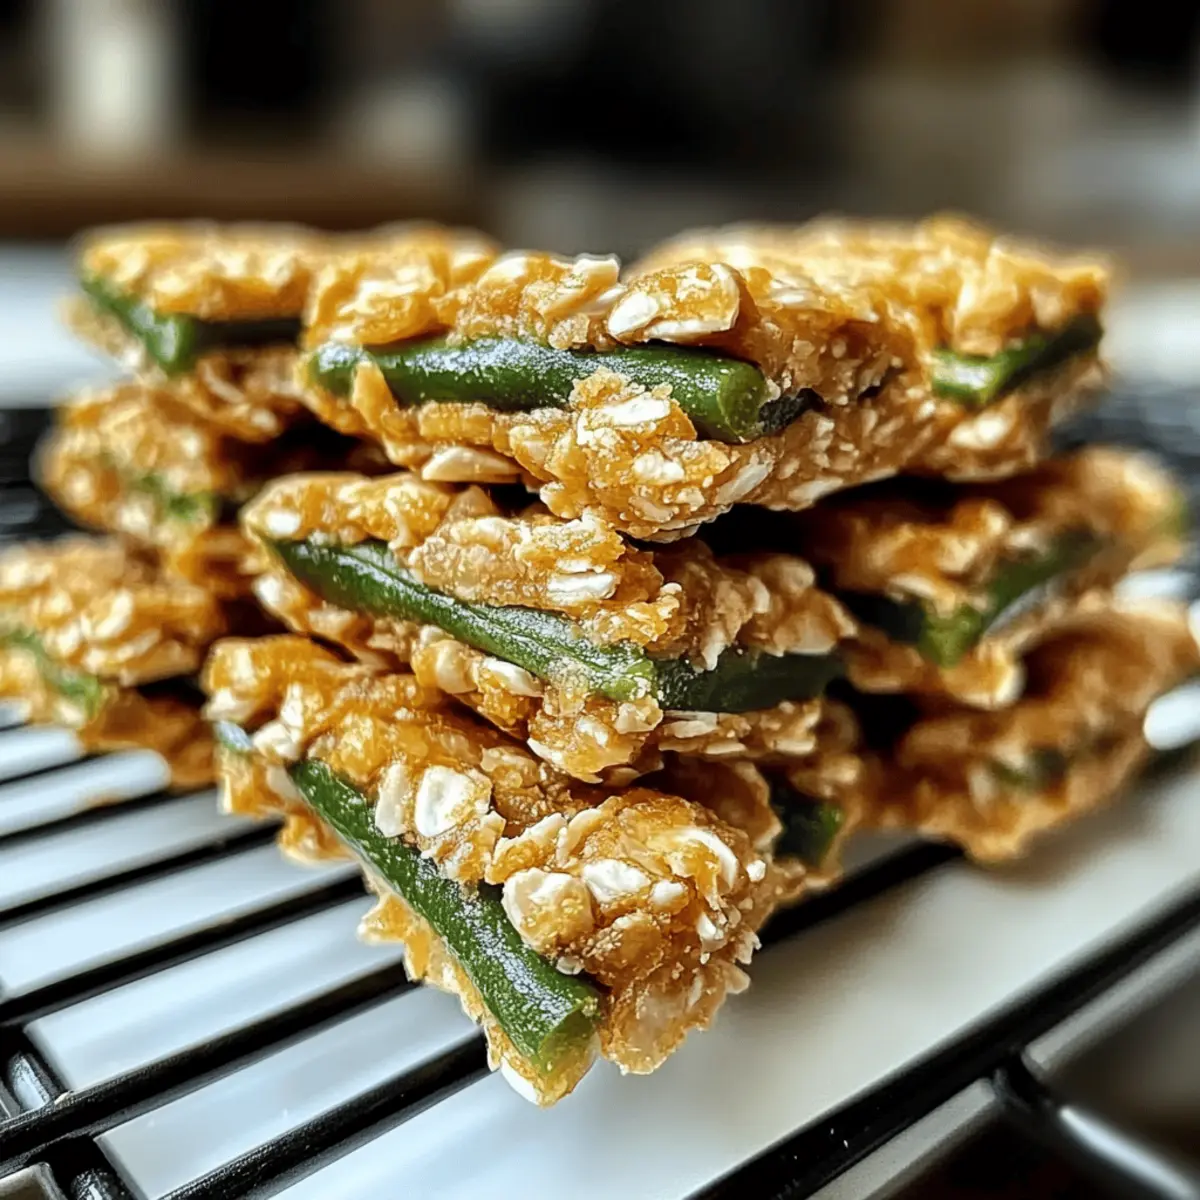
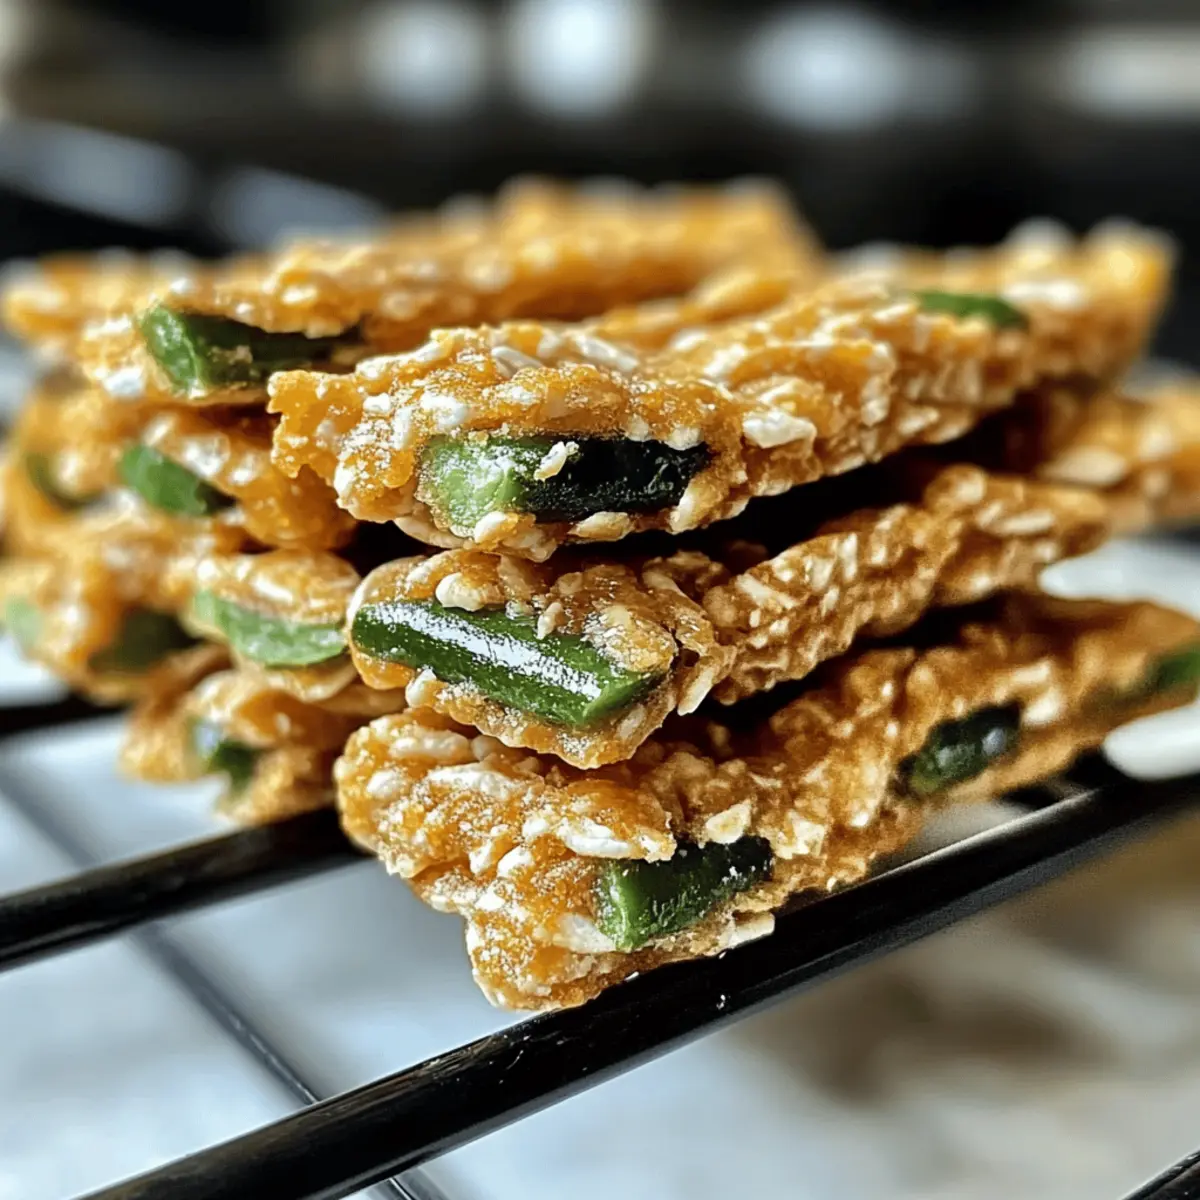
As I tossed the last batch of these delightful Green Bean and Chicken Crunchies into the oven, I couldn’t help but feel a wave of satisfaction washing over me. It’s amazing how something so simple can bring immense joy to our furry friends while being a wholesome alternative to store-bought treats. These homemade dog snacks not only offer the perfect crunch but are also rich in protein and fiber, making them both nutritious and fun! Plus, they’re completely customizable to suit your dog’s dietary needs—who knew spoiling your pup could be so straightforward? Whether you’re training them or just wanting to see their tail wag a little faster, these treats are sure to win their hearts. Curious about how these crunchy bite-sized gems come together? Let’s dive in!

Why Are These Crunchies So Special?
Homemade Goodness: Every batch of these Green Bean and Chicken Crunchies is made from wholesome ingredients, ensuring your pup enjoys a treat you can feel good about.
Tail-Wagging Flavor: Packed with protein from chicken and fiber from green beans, these snacks keep your dog healthy while delivering an irresistible taste.
Customizable Fun: Feel free to swap ingredients based on your dog’s preferences! Try different meats or add in tasty veggies like carrots for extra variety.
Quick and Simple: This recipe comes together in no time, making it a breeze for busy pet parents to whip up a batch for their furry friends.
Perfect for Training: Cut them into tiny training treats, and watch your pup shine during sessions! They’ll be eager to learn with these tasty rewards.
Make your four-legged friend smile with these delightful homemade treats! If you’re also looking for savory meals, check out my Avocado Mojo Chicken for more wholesome creations.
Green Bean and Chicken Crunchies Ingredients
Create the ultimate homemade dog treats with these wholesome ingredients!
For the Base
- 2 cups cooked, shredded chicken – A fantastic source of protein; opt for lean, boneless pieces for the healthiest option.
- 1 cup finely chopped fresh green beans – Adds vital fiber and nutrients; can be swapped with safe veggies like carrots or sweet potatoes.
- 1 ½ cups oat flour – Serves as the primary binding agent; use almond or coconut flour for a gluten-free version.
For Binding and Flavor
- 2 eggs – Essential for binding the ingredients together; make sure to use large eggs and beat them lightly.
- ½ cup chicken broth – Enhances moisture and flavor; choose low sodium broth for a healthier treat.
- 2 tablespoons coconut oil or olive oil – Provides healthy fats; olive oil can add a delightful flavor twist.
Optional Boosters
- Turmeric or ground flaxseed – Brings added nutrition with anti-inflammatory benefits; adjust quantities based on your preference.
Whip up these Green Bean and Chicken Crunchies with love, and watch your pup enjoy every bite!
Step‑by‑Step Instructions for Green Bean and Chicken Crunchies
Step 1: Preheat and Prepare
Begin by preheating your oven to 350°F (175°C). While it’s warming up, line a baking sheet with parchment paper to ensure your treats don’t stick. This simple preparation will make the baking process much smoother. You’ll know the oven is ready when the indicator beeps or when it’s warm to the touch.
Step 2: Cook the Chicken
Cook the chicken thoroughly by boiling or baking it until it’s no longer pink in the center, then allow it to cool slightly. Shred the chicken using two forks or your hands until you have about 2 cups of fluffy, bite-sized pieces. This shredded chicken will provide the protein-packed base for your Green Bean and Chicken Crunchies.
Step 3: Prepare the Green Beans
Next, take the fresh green beans and lightly steam or blanch them for about 2 minutes until they just soften. Then, chop the beans into small, manageable pieces, ensuring they are easy to mix and chew. This step ensures your pup gets all the nutritious benefits without the hassle of large chunks.
Step 4: Combine Ingredients
In a large mixing bowl, combine the shredded chicken, chopped green beans, and 1 ½ cups of oat flour. Use a spatula or wooden spoon to stir the ingredients together until evenly distributed. This mixture will form the base of your crunchy treats, so make sure everything is well incorporated for the best texture.
Step 5: Mix in Bindings
Add the two lightly beaten eggs, ½ cup of chicken broth, and 2 tablespoons of your chosen oil to the bowl. Mix until a sticky dough forms, ensuring that all ingredients bind well together. The dough should be slightly tacky but not overly wet, which is perfect for shaping your Green Bean and Chicken Crunchies.
Step 6: Roll Out the Dough
Flour your work surface generously, then turn the dough out onto it. Use a rolling pin to roll the dough to about ¼ inch thickness. Ensure an even thickness to promote uniform baking, allowing for each crunchie to bake perfectly and be as crispy as possible.
Step 7: Cut Your Shapes
With your favorite cookie cutter or a sharp knife, cut the rolled dough into desired shapes, whether they be bones, circles, or fun characters. Aim for pieces that are around 1-2 inches wide, as smaller sizes work best for training treats. Place these shapes onto your prepared baking sheet, leaving a little space between each one for even cooking.
Step 8: Bake to Crunchiness
Slide your baking sheet into the preheated oven and bake for 25-30 minutes until the treats are golden brown and crispy. Keep an eye on them towards the end of the baking time to achieve the perfect crunchy texture. This is when the delightful aroma of the Green Bean and Chicken Crunchies will fill your kitchen!
Step 9: Cool and Store
Once baked, remove the treats from the oven and let them cool on a wire rack for about 10 minutes. This allows them to crisp up further as they cool. Once completely cooled, store them in an airtight container in the refrigerator for up to 2 weeks, or freeze them for long-lasting enjoyment!

Expert Tips for Green Bean and Chicken Crunchies
Cook Thoroughly: Always ensure the chicken is fully cooked to avoid any risks associated with raw meat. This keeps your treats safe and healthy for your beloved pup.
Adjust Consistency: If your dough feels too dry, add a bit more chicken broth, or if it’s too wet, sprinkle in extra oat flour. This helps achieve the right texture for your Green Bean and Chicken Crunchies.
Bake for Crunchiness: For extra crunchy treats, consider reducing the baking temperature to 300°F (150°C) and extending the bake time by 10-15 minutes. This method allows moisture to evaporate while ensuring a delightful crunch.
Fresh Ingredients: Always opt for fresh or frozen green beans instead of canned ones. The texture and nutritional value are much higher, making your treats even healthier!
Cool Completely: Let the treats cool completely on a wire rack before storing them. This not only ensures they reach the perfect texture but also helps reduce moisture that can lead to spoilage.
What to Serve with Green Bean and Chicken Crunchies
Create a delightful feast for your dog by pairing these crunchy treats with appetizing additions that enhance their enjoyment and health!
-
Fresh Carrot Sticks: Crunchy and naturally sweet, fresh carrots make a satisfying snack that complements the flavors of the crunchies.
-
Peanut Butter Treats: Homemade peanut butter treats provide a creamy contrast to the crunchiness, delighting your dog’s taste buds with every bite.
-
Chicken Broth Drizzle: A light drizzle of warm, low-sodium chicken broth over the crunchies adds moisture and intensifies the flavor, making them irresistible.
-
Pumpkin Puree: Mix in a spoonful of pumpkin puree for a flavorful boost, adding both nutrition and a hint of sweetness to the treats.
-
Sweet Potato Chews: Chewy sweet potato slices are a hearty alternative that balances out the crunchy texture while being packed with vitamins.
-
Frozen Yogurt Scoops: A dollop of dog-safe frozen yogurt serves as a cool, creamy finishing touch that your pup will love.
With these pairings, your furry friend will experience a gourmet treat time, showcasing their Green Bean and Chicken Crunchies like never before!
How to Store and Freeze Green Bean and Chicken Crunchies
Room Temperature: Store any uneaten treats in an airtight container at room temperature for up to 3 days. Keep them in a cool, dry place to maintain their crunchiness.
Fridge: For longer freshness, place the treats in an airtight container in the refrigerator, where they will stay good for up to 2 weeks. This is ideal for keeping your Green Bean and Chicken Crunchies tasty and safe.
Freezer: Freeze the treats in a sealed freezer-safe bag or container for up to 3 months. Thaw overnight in the refrigerator before serving for a delicious snack!
Reheating: If they lose some crispiness, reheat the treats in the oven at 300°F (150°C) for about 10 minutes to restore that perfect crunch.
Green Bean and Chicken Crunchies Variations
Feel free to unleash your creativity and tailor these crunchy treats to fit your dog’s taste buds and dietary needs!
-
Protein Swap: Substitute chicken with turkey or lean beef for a deliciously different flavor. Your pup will enjoy a variety in their diet while still getting that protein kick!
-
Veggie Delight: Replace green beans with finely chopped carrots or sweet potatoes for a colorful twist. Dogs often love the sweetness of these alternatives!
-
Gluten-Free Version: Use almond flour or coconut flour instead of oat flour to make a gluten-free treat. Your furry friend won’t even notice the difference in taste!
-
Flavor Boost: Incorporate dog-safe spices like parsley for fresh breath and added nutrients. Just a pinch goes a long way in enhancing the overall flavor.
-
Fruity Touch: Mix in pureed pumpkin or applesauce for added moisture and natural sweetness. This not only keeps the treats soft but also makes them irresistible!
-
Berry Goodness: Add dog-friendly berries like blueberries or strawberries for a burst of flavor and antioxidants. These little gems are a great health booster in addition to being tasty.
-
Crunchy Texture: For extra crunchiness, bake at a lower temperature (300°F) for longer. This will give the treats an even heartier texture that your dog will love!
For more dog-friendly meals, check out my ideas like Green Chile Chicken for a savory treat your pup will adore!
Make Ahead Options
These Green Bean and Chicken Crunchies are perfect for meal prep, allowing you to pamper your pup even on your busiest days! You can prepare the dough up to 24 hours in advance; simply mix all the ingredients together, then wrap it tightly in plastic wrap and refrigerate. This helps the flavors meld beautifully while maintaining the dough’s freshness. When you’re ready to bake, roll out the chilled dough, cut out your desired shapes, and bake as directed. For longer storage, you can freeze shaped but unbaked crunchies for up to 3 months; just place them on a baking sheet and freeze until solid before transferring to an airtight container. Your furry friend will enjoy deliciously fresh treats just as crunchy as if they were made that day!

Green Bean and Chicken Crunchies Recipe FAQs
What type of chicken is best for these treats?
Absolutely! For the healthiest option, I recommend using boneless, skinless chicken breast. Cooking it thoroughly by boiling or baking until no longer pink is key. This boosts protein content while keeping the treats light and safe for your pup.
How long can I store the Green Bean and Chicken Crunchies?
You can store these crunchy delights in an airtight container at room temperature for 3 days if your pup is quick to snack them down! For up to 2 weeks, keep them in the fridge. If you’re batch cooking, freeze them in a sealed container or bag for up to 3 months, and simply thaw them in the fridge before serving!
Can I customize the ingredients in these treats?
Very! You can absolutely swap chicken for turkey or even lean beef if that’s what your dog prefers. Adding in chopped carrots or sweet potatoes is a great way to mix things up, too! Just make sure all ingredients are dog-safe and well-cooked!
What should I do if my dough is too sticky?
If you find your dough is too sticky for rolling, don’t panic! Simply sprinkle a little more oat flour into the bowl and gently fold until you reach your desired consistency. Remember, you want a slightly tacky dough but not overly wet.
Are there any dietary considerations for these treats?
Definitely! If your dog has allergies, check the ingredient labels carefully. Oat flour is generally safe for most dogs, but if your dog is sensitive to grains, opt for almond or coconut flour. Always introduce new treats gradually and monitor for any adverse reactions.
How can I ensure my treats are crunchy?
For crunchier Green Bean and Chicken Crunchies, try baking at a lower temperature of 300°F (150°C) for an additional 10-15 minutes after the initial bake time. This draws out more moisture and gives a delightful crunch that your dog will love!

Delicious Green Bean and Chicken Crunchies Your Dog Will Love
Ingredients
Equipment
Method
- Preheat your oven to 350°F (175°C) and line a baking sheet with parchment paper.
- Cook the chicken thoroughly until it's no longer pink in the center, let it cool, then shred.
- Lightly steam or blanch the green beans for about 2 minutes then chop them into small pieces.
- In a large mixing bowl, combine the shredded chicken, chopped green beans, and oat flour.
- Add the two lightly beaten eggs, chicken broth, and chosen oil, mixing until a sticky dough forms.
- Flour your work surface generously, roll out the dough to about ¼ inch thickness.
- Cut rolled dough into desired shapes and place onto prepared baking sheet.
- Bake for 25-30 minutes until golden brown and crispy.
- Let the treats cool on a wire rack for about 10 minutes before storing them.

Leave a Reply