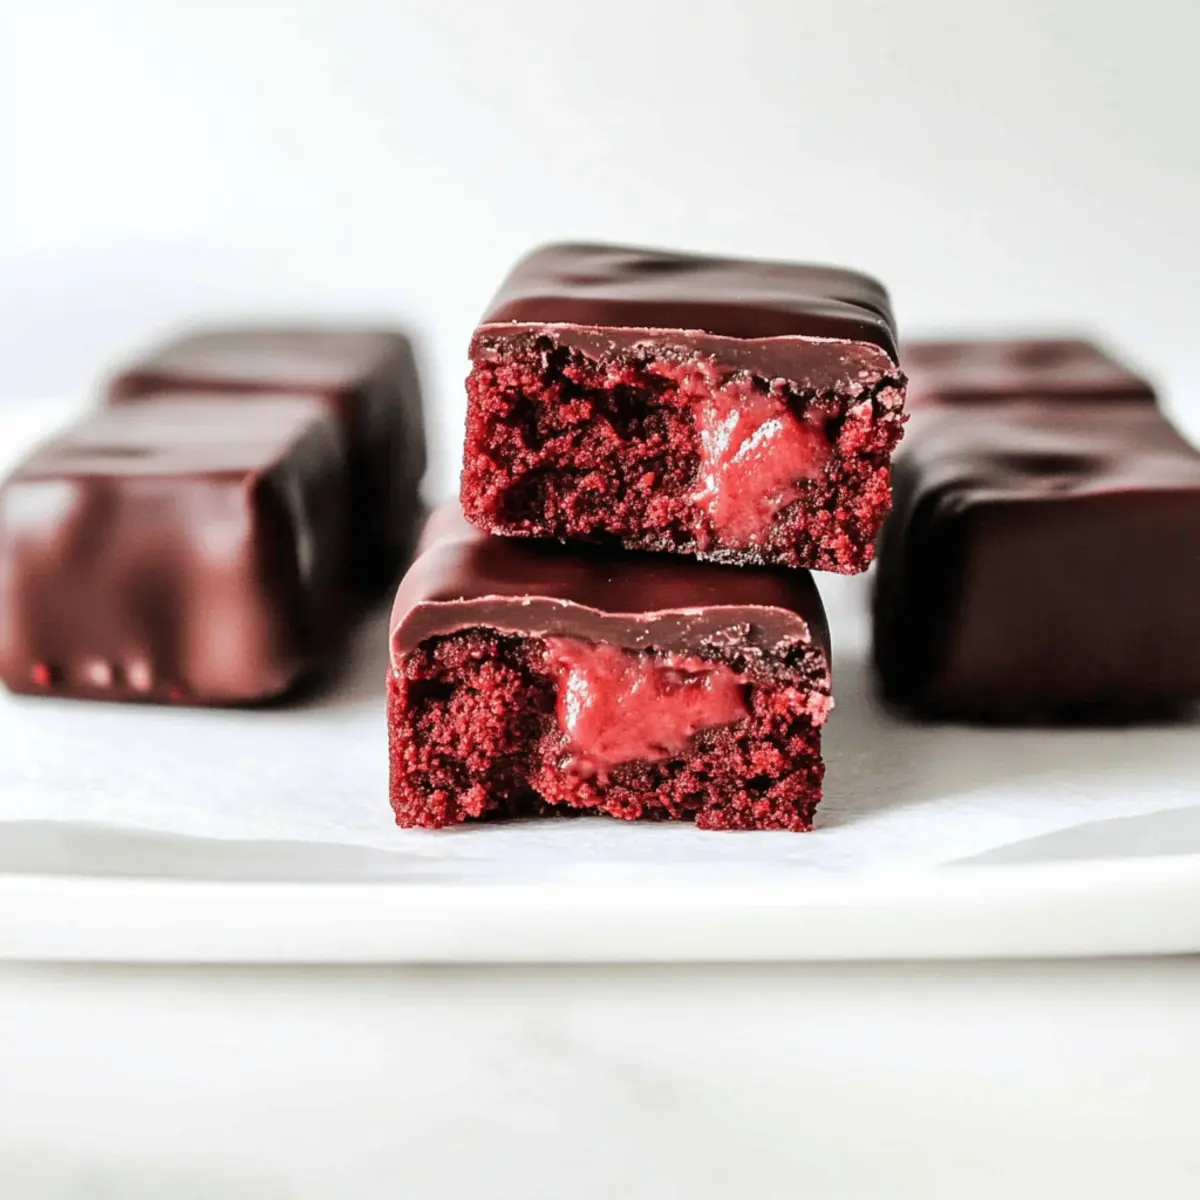
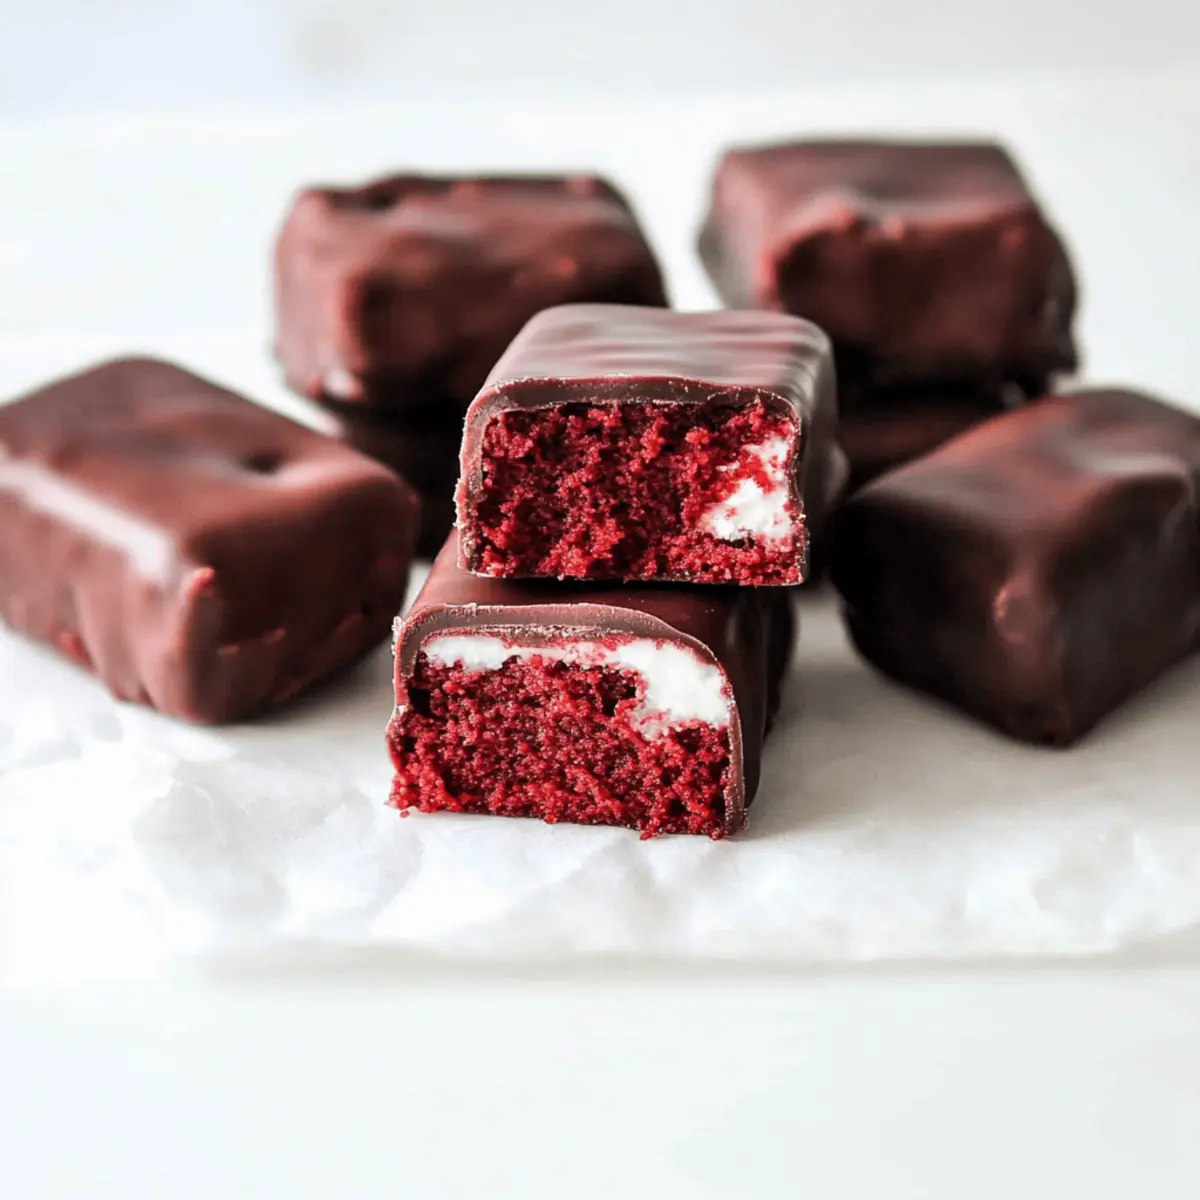
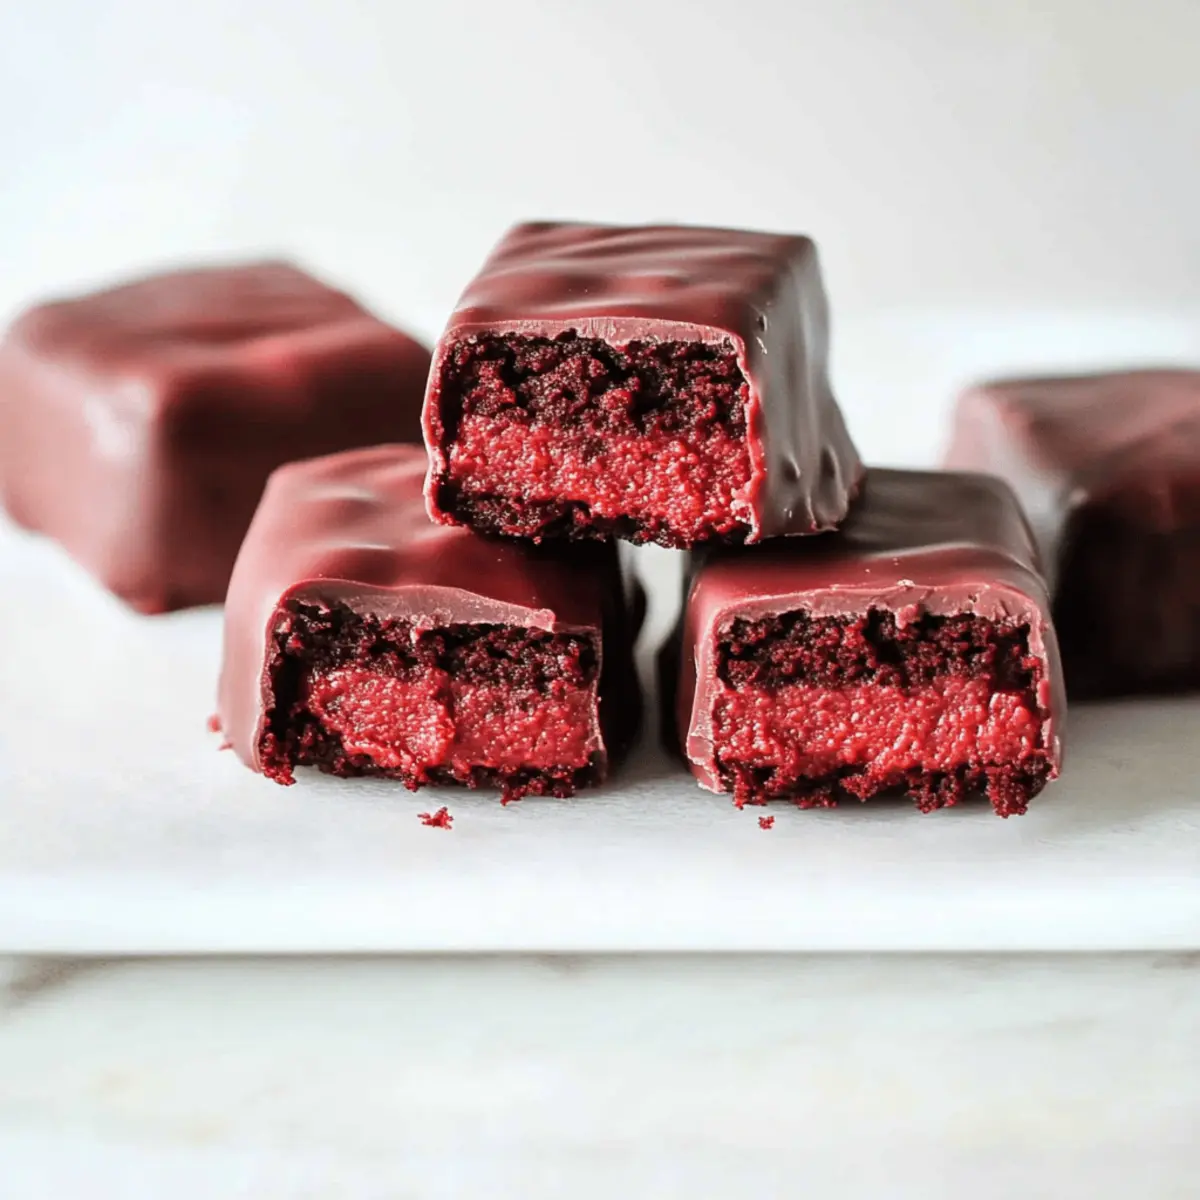
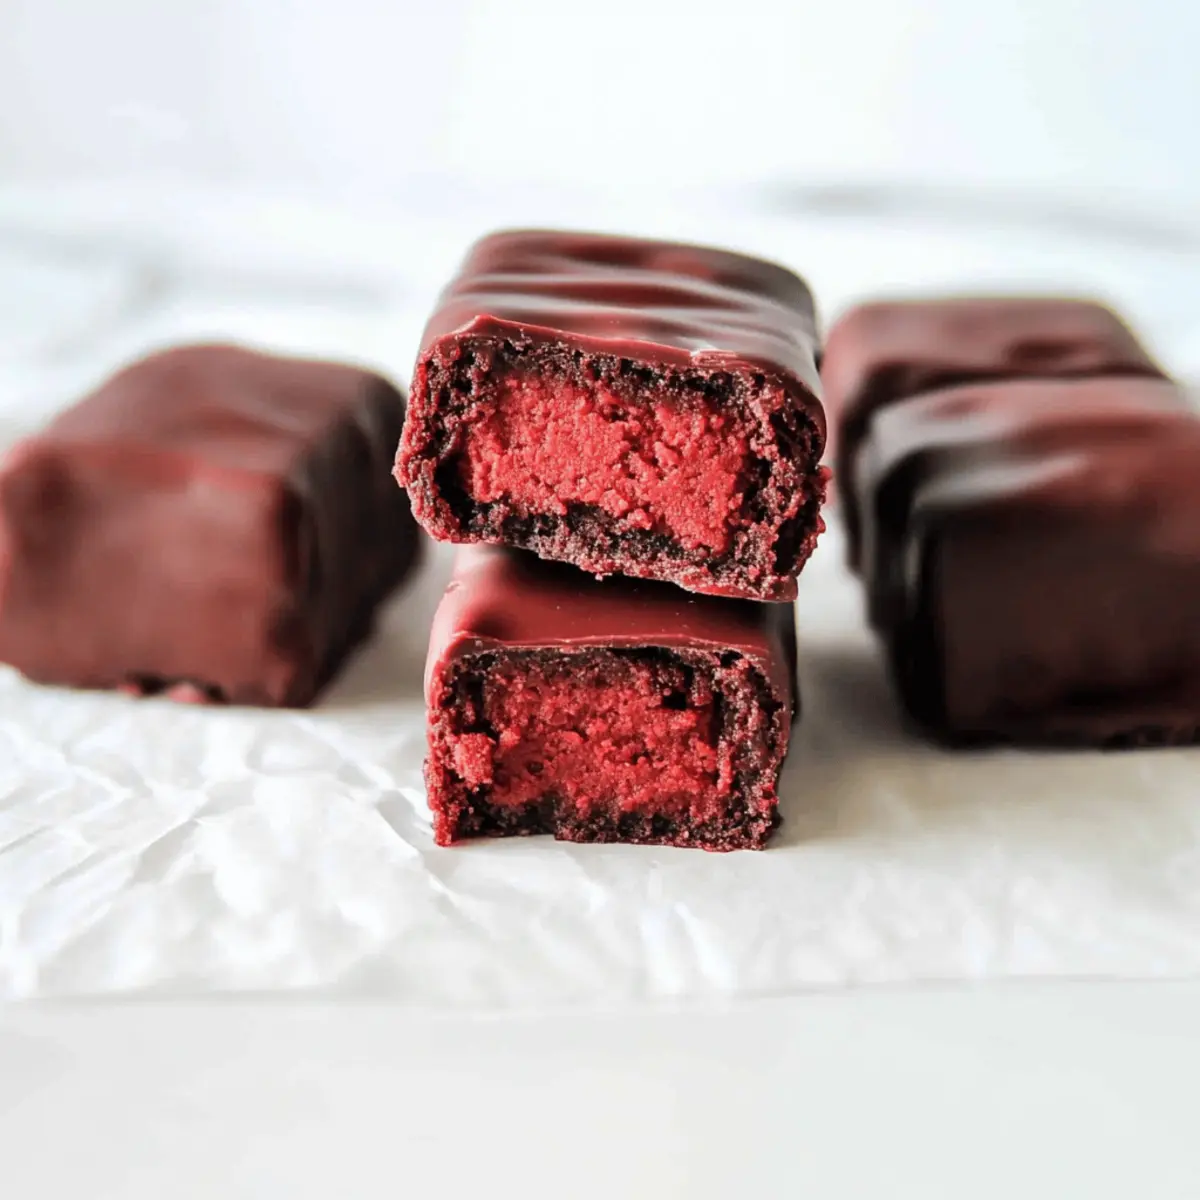
As I rummaged through my kitchen the other day, I stumbled upon a forgotten tub of protein powder and a half-empty package of coconut flour. That’s when the light bulb went off—why not create a deliciously unique treat? Enter my No-Bake Red Velvet Cake Protein Bars! These delightful bars capture the essence of classic red velvet cake while rolling in the benefits of being a quick and guilt-free snack. In just 20 minutes, you can whip up a batch that’s not only gluten-free but also packed with protein, making them an ideal pick-me-up for those busy days. Imagine savoring a soft, chewy bar that satisfies your sweet tooth while keeping your health goals intact. Can you think of a tastier way to fuel your day? Let’s dive into this delightful recipe!

Why are these bars a must-try?
Guilt-Free Indulgence: With a rich red velvet flavor, these bars let you satisfy your sweet cravings without the junk. Easy Preparation: They’re no-bake and come together in just 20 minutes, making them perfect for busy lifestyles. Protein-Packed: Each bar is a delicious way to fuel your workouts or afternoon slump, providing you with energy and nourishment. Versatile: Whether enjoyed as a snack, dessert, or post-workout treat, these bars fit seamlessly into your routine. Pair them with a refreshing smoothie or a bowl of fruit for an added boost!
Red Velvet Cake Protein Bars Ingredients
For the Base
- 1 cup vanilla protein powder – Adds protein and structure; feel free to use whey for a different texture.
- ½ cup coconut flour – Introduces fiber and texture; adjust the amount if the mixture feels too soft.
- 3 Tbsp cocoa powder – Provides depth and a hint of chocolate; using dark cocoa enhances color and taste.
- ¼ cup monk fruit sweetener – A natural sweetener that keeps calories low; swap with any granulated sugar you prefer.
For the Creamy Layer
- 4 oz low-fat cream cheese – Infuses creaminess and flavor; vegan cream cheese works well for a dairy-free version.
- 2 tsp no-taste red food coloring gel – Essential for that classic red velvet hue; make sure you use gel-based for the best results.
For Binding
- ⅓ cup plus 1 Tbsp unsweetened almond milk – Helps bind the mixture; any dairy-free milk like cashew or coconut milk can be used.
Optional Coating
- ½ cup white chocolate chips (optional) – Ideal for dipping and coating the bars; you can use dark chocolate chips for a healthier twist.
These Red Velvet Cake Protein Bars are a delightful way to indulge your sweet cravings while staying on track with your health goals!
Step‑by‑Step Instructions for Red Velvet Cake Protein Bars
Step 1: Mix Dry Ingredients
In a clean mixing bowl, combine 1 cup of vanilla protein powder, ½ cup of coconut flour, 3 tablespoons of cocoa powder, and ¼ cup of monk fruit sweetener. Stir the dry ingredients together thoroughly until well combined, ensuring there are no clumps. This base will provide structure and sweetness to your Red Velvet Cake Protein Bars.
Step 2: Add Creamy Ingredients
Next, incorporate 4 ounces of low-fat cream cheese into the dry mixture, followed by 2 teaspoons of no-taste red food coloring gel. Use a spatula or your hands to blend the mixture until it forms a uniform consistency. The cream cheese will add a rich creaminess that’s essential for your protein bars.
Step 3: Bind the Mixture
Gradually add ⅓ cup plus 1 tablespoon of unsweetened almond milk to the dough while kneading it gently by hand. Aim to achieve a dough that holds together without being sticky; it should be firm yet pliable. Adjust the texture if necessary by adding more coconut flour or a splash of milk as you mix.
Step 4: Shape and Chill
Shape the dough into a rectangular mound, about an inch thick. Once shaped, wrap it tightly in plastic wrap and place it in the freezer for at least 30 minutes. This step is crucial, as chilling allows the bars to firm up, making them easier to cut after freezing.
Step 5: Cut into Bars
After chilling, carefully remove the dough from the freezer and unwrap it. Using a sharp knife, cut the dough into 7 even bars. Each bar should be approximately the same size so that they don’t vary in taste and texture, making them the perfect Red Velvet Cake Protein Bars for snacking.
Step 6: Prepare Chocolate Coating
In a microwave-safe bowl, melt ½ cup of white chocolate chips in 20-second intervals, stirring well after each burst to ensure smoothness. If desired, add a teaspoon of coconut oil to enhance the melting process. Continue until the chocolate is fully melted and creamy, ready for dipping.
Step 7: Coat the Bars
Dip each chilled protein bar into the melted white chocolate, ensuring they are fully coated. Lift and let any excess chocolate drip off before placing them on parchment paper. This coating adds a deliciously sweet finish and a beautiful appearance to your Red Velvet Cake Protein Bars.
Step 8: Set and Serve
Allow the chocolate coating to harden completely, which may take about 15-20 minutes at room temperature or a quicker option in the fridge. Once set, your bars are ready to be enjoyed! Perfect as a sweet snack or post-workout treat, these Red Velvet Cake Protein Bars hit the spot with every bite.

Red Velvet Cake Protein Bars Variations
Feel free to personalize your protein bars and elevate their deliciousness with these fun twists!
-
Dairy-Free: Substitute low-fat cream cheese with a vegan cream cheese for a lactose-free treat that’s equally creamy and flavorful.
Enjoy exploring plant-based alternatives to get the perfect creaminess just right! -
Flavored Protein Powder: Swap vanilla protein powder for chocolate or red velvet-flavored protein powder for an extra boost in taste.
This simple change can completely alter the flavor profile while keeping the bars packed with protein. -
Nutty Crumble: Add ¼ cup of chopped walnuts or pecans for a crunchy texture and delightful nutty flavor.
Not only does this enhance the bars’ appeal, but it also adds healthy fats that keep you satisfied. -
Chocolate Dipping: Use dark chocolate chips instead of white chocolate for a richer coating with less sweetness.
The deeper cocoa notes can complement the red velvet flavor beautifully, making every bite a bit more decadent. -
Fruit Fusion: Mix in ½ cup of dried cranberries or cherries to the dough for a burst of fruity tartness.
The sweet and tangy notes will elevate your bars into a delightful, surprising treat that your taste buds will love. -
Coconut Delight: Add shredded coconut to the mixture or as a topping to elevate the tropical flavors.
This adds not only texture but also a sweet crunch that pairs wonderfully with the creaminess of the bars! -
Heat It Up: Sprinkling a pinch of cayenne pepper into the mix can give your bars a tantalizing kick to contrast with the sweetness.
Embrace the unexpected, as the spice adds a fun twist to your usual flavors! -
Drizzle Topping: Drizzle melted almond butter or peanut butter over the chocolate-coated bars for added creaminess and flavor.
This sweet finish will take your protein bars from good to downright unforgettable, perfect for enjoying or sharing!
For more delicious ideas, consider serving these bars alongside a refreshing fruit smoothie or as a sweet pairing with my Turtle Bars Satisfy! You can also add a cup of spiced tea to round out your delightful snacking experience.
Make Ahead Options
These Red Velvet Cake Protein Bars are perfect for meal prep, making them a fantastic option for busy home cooks! You can prepare the dough up to 24 hours in advance by following the first four steps of the recipe and then wrap it tightly in plastic wrap before refrigerating. This keeps the mixture fresh and prevents it from drying out. When you’re ready to enjoy your bars, simply take the chilled dough out of the fridge, shape it, and freeze for at least 30 minutes before cutting into bars and coating with chocolate. Doing this saves you time and ensures your protein bars are just as delicious as when freshly made!
How to Store and Freeze Red Velvet Cake Protein Bars
• Room Temperature: Keep the bars at room temperature for up to 2 hours if planning to enjoy them immediately; otherwise, store them in the fridge for optimal freshness.
• Fridge: Store in an airtight container in the fridge for up to 1 week. This keeps the bars moist and ready for snacking throughout the week.
• Freezer: For longer storage, freeze the Red Velvet Cake Protein Bars in an airtight container for up to 1 month. They maintain their delicious flavor and texture perfectly.
• Reheating: Enjoy straight from the freezer or let them thaw at room temperature for about 10 minutes before indulging for the best texture.
What to Serve with No-Bake Red Velvet Cake Protein Bars
These bars are an enticingly sweet treat that can elevate any occasion, perfectly pairing with fresh and vibrant flavors.
-
Fresh Berries: Juicy strawberries or raspberries bring a tart contrast to the bars’ sweetness, enhancing their flavor profile. A sprinkle of powdered sugar makes this presentation irresistibly inviting.
-
Greek Yogurt: Creamy and tangy, Greek yogurt complements the richness of the bars while also adding a satisfying texture. Top with a drizzle of honey for a delightful finishing touch.
-
Nutty Granola: The crunch of nutty granola provides a pleasing texture contrast, perfect for those who enjoy a little bite. This combination makes for a wholesome snack or breakfast pairing.
-
Chocolate Milkshake: A decadent chocolate milkshake elevates the dessert experience, bringing together smooth chocolate and creamy textures for a truly indulgent moment.
-
Iced Coffee: The rich flavors of iced coffee balance out the sweetness of the bars wonderfully. Consider adding a splash of vanilla syrup for an extra layer of flavor.
-
Dark Chocolate Dipping Sauce: For chocolate lovers, a warm dark chocolate sauce can transform these protein bars into an exquisite dessert. It’s the ultimate indulgence for when you want to treat yourself!
Expert Tips for Red Velvet Cake Protein Bars
-
Knead Properly: Ensure the dough is kneaded well until it forms a ball without crumbling. This texture is key for your Red Velvet Cake Protein Bars.
-
Adjust Consistency: If the dough feels too soft, add more coconut flour. Conversely, if it’s too firm, add a teaspoon of almond milk to achieve the right balance.
-
Chill Thoroughly: Don’t skip the chilling step! Freezing the dough for at least 30 minutes helps solidify the bars for easier cutting and better texture.
-
Coating Consistency: When melting white chocolate, stir in intervals to avoid overheating. Coconut oil can help achieve a smoother coating.
-
Storage Strategy: Keep your bars in an airtight container in the freezer to maintain freshness. They can be enjoyed straight from the freezer for a refreshing treat!

Red Velvet Cake Protein Bars Recipe FAQs
How do I select the right coconut flour for the bars?
Absolutely! When choosing coconut flour, look for a finely milled variety without any clumps or dark spots. The fresher the flour, the better both the taste and texture of your Red Velvet Cake Protein Bars will be. If you’re new to coconut flour, remember that it’s highly absorbent, so a little goes a long way!
What’s the best way to store Red Velvet Cake Protein Bars?
Very good question! To keep your bars fresh, store them in an airtight container in the fridge for up to 1 week. This helps them maintain moisture and flavor, making them perfect for snacking. If you plan to keep them longer, freeze them in an airtight container for up to a month.
Can I freeze these protein bars, and if so, how?
Yes, you can! I often freeze these bars for long-term storage. Simply cut the bars and wrap each one individually in plastic wrap before placing them in an airtight container. They’ll keep well for up to 3 months. When you’re ready to enjoy, take one out and let it thaw for about 10 minutes, or enjoy it straight from the freezer for a refreshing treat!
What if my protein bar mixture is too dry or crumbly?
No worries! If your mixture feels too dry, add a splash of almond milk, a teaspoon at a time, while kneading until it holds together. Alternatively, if it’s too sticky or wet, gradually mix in additional coconut flour until you reach a firm yet pliable consistency. Achieving the right texture is key to making delicious Red Velvet Cake Protein Bars.
Are there any dietary considerations for these bars?
Great question! These bars can fit various dietary needs. If you’re concerned about allergies, make sure to check that your protein powder is free from common allergens. Using vegan cream cheese is a fantastic way to make the bars dairy-free. As for pets, it’s best to avoid sharing these bars with dogs or cats, primarily because of the artificial sweetener and chocolate content.

Deliciously Chewy Red Velvet Cake Protein Bars to Satisfy Cravings
Ingredients
Equipment
Method
- In a clean mixing bowl, combine 1 cup of vanilla protein powder, ½ cup of coconut flour, 3 tablespoons of cocoa powder, and ¼ cup of monk fruit sweetener. Stir the dry ingredients together thoroughly until well combined, ensuring there are no clumps.
- Next, incorporate 4 ounces of low-fat cream cheese into the dry mixture, followed by 2 teaspoons of no-taste red food coloring gel. Use a spatula or your hands to blend the mixture until it forms a uniform consistency.
- Gradually add ⅓ cup plus 1 tablespoon of unsweetened almond milk to the dough while kneading it gently by hand. Aim to achieve a dough that holds together without being sticky.
- Shape the dough into a rectangular mound, about an inch thick. Once shaped, wrap it tightly in plastic wrap and place it in the freezer for at least 30 minutes.
- After chilling, carefully remove the dough from the freezer and unwrap it. Using a sharp knife, cut the dough into 7 even bars.
- In a microwave-safe bowl, melt ½ cup of white chocolate chips in 20-second intervals, stirring well after each burst.
- Dip each chilled protein bar into the melted white chocolate, ensuring they are fully coated. Lift and let any excess chocolate drip off before placing them on parchment paper.
- Allow the chocolate coating to harden completely, which may take about 15-20 minutes at room temperature or a quicker option in the fridge.

Leave a Reply