
As I stood in my kitchen, the sweet aroma of melting honey quickly transported me back to my grandmother’s cozy home, where laughter and love blended with the delightful scent of her famous Traditional Medovik Honey Layer Cake. This Eastern European treasure features rich, honey-infused layers that charm the senses and a creamy filling that invites you for seconds. What makes this cake a must-try is its simple preparation and budget-friendly ingredients—perfect for anyone looking to impress loved ones without breaking the bank. It’s not just a dessert; it’s a slice of nostalgia that celebrates togetherness. Are you ready to dive into this culinary adventure and recreate a piece of heartwarming history?
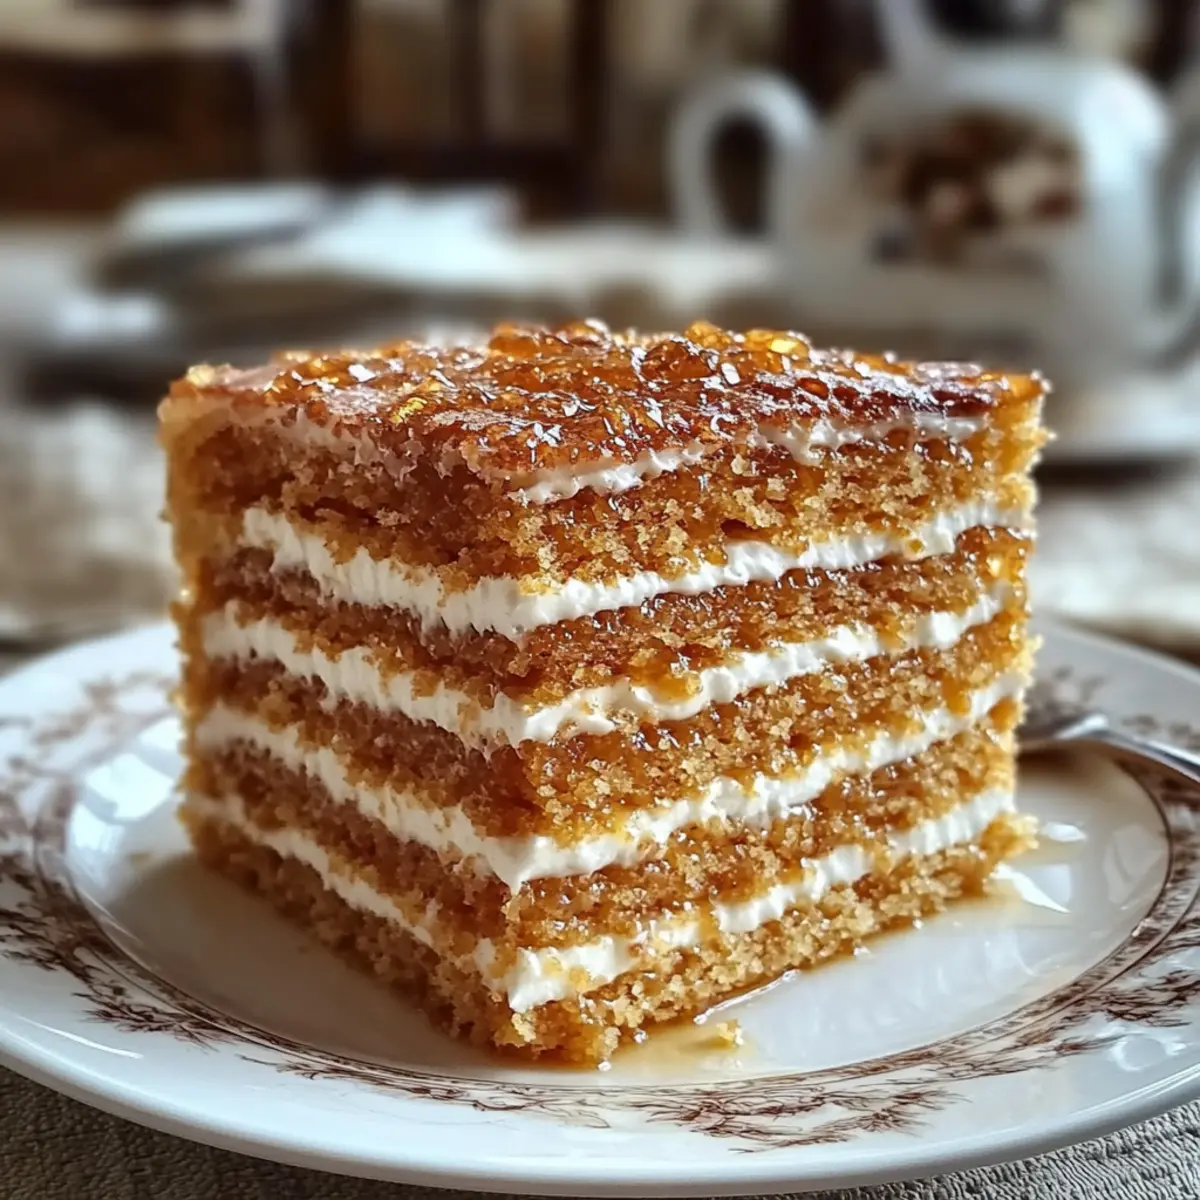
Why is Medovik Cake a Must-Try?
Simplicity at Its Core: Mixing just a few ingredients makes this dessert approachable for novice bakers while still impressive enough for culinary enthusiasts.
Rich, Layered Indulgence: Each slice of this Traditional Medovik Honey Layer Cake greets you with layers of honey goodness and creamy filling, making every bite an experience to savor.
Budget-Friendly Delight: With common pantry staples, you can create a lavish dessert that won’t strain your wallet—but feels like a luxurious treat.
Versatile Serving: Perfect alongside tea or coffee, consider pairing it with fresh berries or a scoop of vanilla ice cream to elevate your dessert table.
Family Tradition: Bringing together the essence of Eastern European heritage, this cake not only quenches your sweet tooth but also sparks joy and nostalgia, reminiscent of family gatherings.
Traditional Medovik Honey Layer Cake Ingredients
-
For the Cake Layers:
• All-purpose flour – Provides structure to the cake layers; use gluten-free flour for a gluten-free option.
• Sugar – Adds sweetness to balance the honey’s flavor; substitute with brown sugar for a richer taste.
• Honey – Main flavor agent, offering natural sweetness; high-quality honey is recommended for the best flavor.
• Baking soda – Reacts to create a light texture in the cake layers; do not substitute without adjusting other ingredients.
• Eggs – Adds moisture and binds the ingredients together; use a flaxseed mixture for a vegan alternative.
• Vanilla extract – Enhances the overall flavor profile; swap with almond extract for a different twist.
• Salt – Balances sweetness and intensifies flavors; use a smaller amount if reducing sodium intake. -
For the Cream Filling:
• Sour cream – Contributes creaminess and tanginess; plain yogurt can be used as a substitute.
• Heavy cream – Whipped to create a light and airy filling; substitute with whipped coconut cream for a lighter option.
• Powdered sugar – Sweetens the cream filling and stabilizes it; granulated sugar can be used in a pinch.
With these simple yet essential ingredients, you’re well on your way to crafting the delectable Traditional Medovik Honey Layer Cake that echoes with the warmth of Eastern European traditions.
Step‑by‑Step Instructions for Traditional Medovik Honey Layer Cake
Step 1: Preparation
In a mixing bowl, combine 1 cup of honey, 1 cup of sugar, and 2 large eggs. Heat the mixture gently over a double boiler for about 5–7 minutes, stirring continuously until the sugar dissolves completely and the mixture becomes smooth and slightly warm. This step infuses your Traditional Medovik Honey Layer Cake with a lovely honey flavor.
Step 2: Combine
Add 1 teaspoon of baking soda to the honey mixture and stir vigorously for another 3 minutes, allowing it to froth and become airy. Gradually mix in 4 cups of all-purpose flour and 1/2 teaspoon of salt to form a soft dough. It should be pliable and slightly sticky—a sign that you’re on the right track with this delightful cake.
Step 3: Chill
Divide the dough into six equal portions, wrapping each one tightly in plastic wrap. Refrigerate the wrapped dough for at least 30 minutes. Chilling the dough helps to firm it up, making it easier to roll out and shape during baking, essential for achieving thin, delicate layers that define the Traditional Medovik Honey Layer Cake.
Step 4: Bake
Preheat your oven to 350°F (175°C). On a floured surface, roll each dough portion into thin circles, approximately 1/8 inch thick. Trim the edges to create neat circles. Place the rounds on parchment-lined baking sheets and bake for 5–7 minutes or until they turn lightly golden. Keep a close eye on them to ensure they don’t overbake and become dry.
Step 5: Filling
While the layers cool, prepare the cream filling. In a mixing bowl, whip 1 1/2 cups of heavy cream until soft peaks form. In another bowl, combine 1 cup of sour cream, 1/2 cup of powdered sugar, and 1 teaspoon of vanilla extract. Carefully fold the whipped cream into the sour cream mixture to create a light and airy filling for your Medovik cake.
Step 6: Assemble
Take one cooled cake circle and spread a generous layer of cream filling on top. Repeat this process with the remaining layers, stacking them carefully and ensuring an even distribution of cream. Reserve some filling for decorating the top and sides of the cake, creating an elegant finish that invites everyone to take a slice of this traditional dessert.
Step 7: Chill
Once assembled, cover the cake with plastic wrap and refrigerate for at least 4 hours, although overnight chilling is ideal. This resting period allows the flavors to meld beautifully and the cake layers to soften, ultimately enhancing the delightful experience of your Traditional Medovik Honey Layer Cake.
Step 8: Finish
After chilling, remove the cake from the refrigerator and spread the reserved cream filling on the top and sides for a polished look. For an extra touch, garnish with crushed nuts or a drizzle of honey to elevate the presentation. Your Traditional Medovik Honey Layer Cake is now ready to shine at your dessert table!
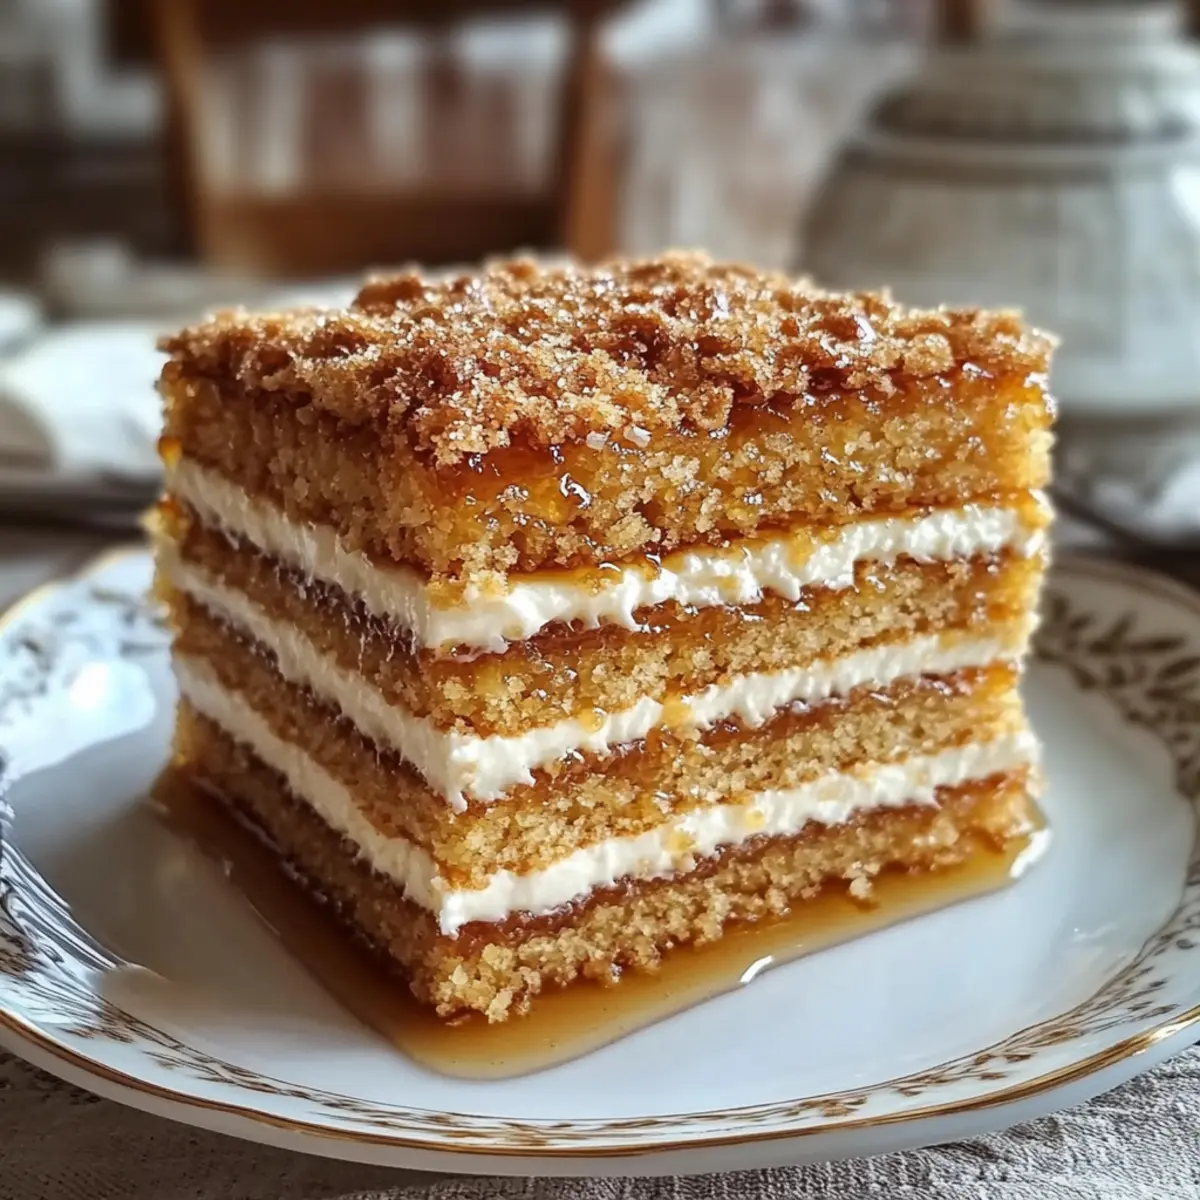
Expert Tips for Traditional Medovik Honey Layer Cake
-
Chill Overnight: Allowing your cake to chill overnight enhances flavors and ensures the layers soften perfectly, making the cake even more delightful.
-
Even Rolling: When rolling out your dough, aim for uniform thickness to achieve even baking. Use a ruler or guide to maintain consistency across all layers.
-
Parchment Paper: Line your baking sheets with parchment paper to prevent sticking and make transferring baked layers much easier, especially with the thinness required for this cake.
-
Quality Honey: Use high-quality, pure honey to elevate the flavor of your Traditional Medovik Honey Layer Cake. A good honey will make all the difference in this dessert.
-
Customize Fillings: Don’t hesitate to add fruit preserves or chopped nuts between the layers for a twist. This can add flavor contrasts while keeping the essence of the classic cake.
-
Whipped Cream Tips: Be careful not to over-whip the heavy cream; stop when soft peaks form to keep the filling light and airy.
Make Ahead Options
These Traditional Medovik Honey Layer Cakes are ideal for meal prep, allowing busy cooks to enjoy a homemade dessert without the last-minute rush. You can prepare the cake layers up to 24 hours in advance by baking them, cooling, and storing them in an airtight container at room temperature. For the cream filling, whip everything except the heavy cream, then refrigerate it for up to 3 days. When you’re ready to assemble, simply fold the whipped cream into your prepared mixture and layer it between the cooled cake circles. This way, the cake stays just as delicious, and the flavors meld beautifully, making it a perfect make-ahead treat!
Traditional Medovik Honey Layer Cake Variations
Feel free to make this lovely cake your own with these fun twists that will elevate its delightful flavors!
-
Vegan Twist: Replace eggs with a flaxseed mixture (1 tablespoon flaxseed meal + 2.5 tablespoons water) and use coconut cream for a surprisingly rich vegan cake. It’s a heartwarming way to share this tradition with everyone!
-
Gluten-Free Delight: Swap all-purpose flour for a gluten-free flour blend to cater to those with gluten sensitivities. This cake adaptation ensures that no one misses out on the joy of your homemade medovik.
-
Almond Infusion: Exchange vanilla extract for almond extract to give your cream filling an intriguing nutty flavor. Just a small change can create an entirely new flavor profile!
-
Fruity Filling: Layer in your favorite fruit preserves (like raspberry or apricot) between the cake layers for an added fruity burst. This fresh twist adds excitement and vibrancy to each slice, inviting smiles all around.
-
Spiced Comfort: Add a teaspoon of cinnamon or nutmeg to the cake batter for a warm spiced flavor—perfect for cozy gatherings or holiday celebrations. Every bite will feel like a warm hug!
-
Nutty Crunch: Fold in crushed nuts, such as walnuts or pecans, into the cream filling for added texture and depth. The pleasing crunch will complement the cake’s creamy layers beautifully!
-
Decadent Drizzle: Enhance your presentation with a drizzle of caramel or chocolate sauce atop the finished cake. It not only looks stunning but also elevates the sweetness to new heights—truly irresistible!
For additional flavor inspiration, consider checking out my delicious Hot Honey Sauce to drizzle on top, or add a layer of pecan flavor by introducing elements from my Butter Pecan Cake recipe. Enjoy customizing your creation!
What to Serve with Traditional Medovik Honey Layer Cake
Pairing this delightful cake with the right accompaniments can elevate your dessert experience to a whole new level.
-
Creamy Mashed Potatoes: The smooth texture and buttery flavor create a beautiful contrast to the sweet layers of Medovik, making your meal more rounded.
-
Fresh Berries: Seasonal berries like strawberries or blueberries add a refreshing tartness, balancing the rich sweetness of the cake.
-
Vanilla Ice Cream: A scoop of velvety vanilla ice cream enhances the dessert indulgence and complements the cake’s honey flavors exquisitely.
-
Cinnamon-Spiced Coffee: The warm spice from cinnamon-infused coffee perfectly blends with the honey notes, making each sip a comforting delight.
-
Light Fruit Salad: A mix of tropical fruits provides a fresh, juicy contrast to the dense layers, creating a refreshing finish to your meal.
-
Homemade Whipped Cream: Top each slice with a dollop of lightly sweetened whipped cream for extra creaminess. It’s a lovely way to enhance the flavors without overwhelming them.
-
Sparkling Water with Lemon: A refreshing drink that cleanses the palate between bites, the citrus notes beautifully brighten the dessert experience.
With these pairings, your dessert occasion will be filled with a delightful range of textures and flavors, creating lasting memories around the dining table.
How to Store and Freeze Traditional Medovik Honey Layer Cake
Fridge: Store your assembled cake in an airtight container in the refrigerator for up to 5 days. This keeps the layers fresh and the creamy filling rich.
Freezer: If you have leftovers, wrap individual slices tightly in plastic wrap and store in a freezer-safe bag for up to 3 months. Thaw in the refrigerator overnight before enjoying.
Reheating: While best served chilled, you can leave the cake at room temperature for about 30 minutes before serving to enhance the flavors and creaminess of the filling.
Composing Layers: If you’ve frozen slices, try not to freeze them more than once to maintain the delicious texture of the Traditional Medovik Honey Layer Cake.
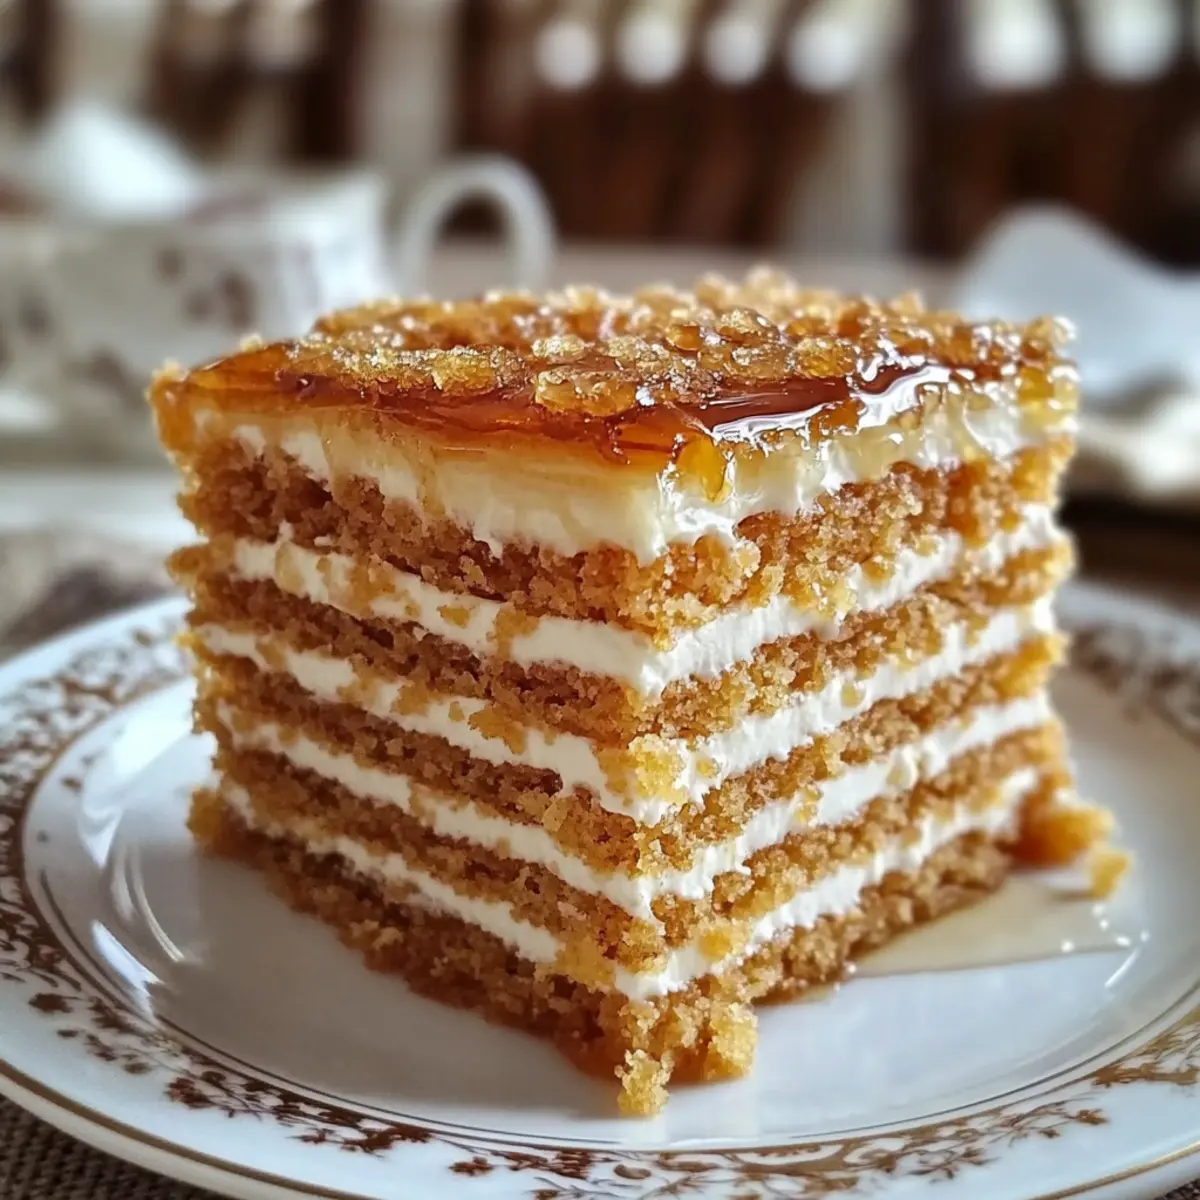
Traditional Medovik Honey Layer Cake Recipe FAQs
What type of honey is best for Medovik Cake?
Absolutely! For the best flavor, I recommend using high-quality, pure honey, such as wildflower or clover honey. These varieties provide a lovely richness and subtle floral notes that enhance the taste of the cake, transforming your Traditional Medovik Honey Layer Cake into something truly special.
How should I store my Medovik Cake?
You can store your assembled cake in an airtight container in the refrigerator for up to 5 days. This keeps the layers fresh and maintains the creaminess of the filling. Just make sure to cover it properly to avoid any fridge odors transferring to your delicious dessert!
Can I freeze leftover slices of Medovik Cake?
Very much so! To freeze, wrap individual slices tightly in plastic wrap and place them in a freezer-safe bag. They can stay frozen for up to 3 months. Just remember to thaw them in the refrigerator overnight before indulging, keeping that delightful texture intact.
What should I do if my cake layers are too thick?
If your cake layers end up thicker than desired, don’t worry! Simply use a serrated knife to gently trim them to your preferred thickness. This will help ensure they bake evenly and can help in making your layers as light as possible for your Traditional Medovik Honey Layer Cake.
Is there a dairy-free option for the filling?
Absolutely! You can easily substitute the heavy cream with whipped coconut cream for a delicious dairy-free alternative. Additionally, use dairy-free yogurt in place of sour cream. This way, everyone can enjoy the rich, creamy texture of the filling without any dairy!
How can I make my cake layers softer?
To achieve beautifully soft cake layers, allow your assembled Traditional Medovik Honey Layer Cake to chill overnight before serving. This resting period allows the layers to absorb moisture from the filling, enhancing the overall texture. Plus, it ensures all those wonderful flavors meld together deliciously!
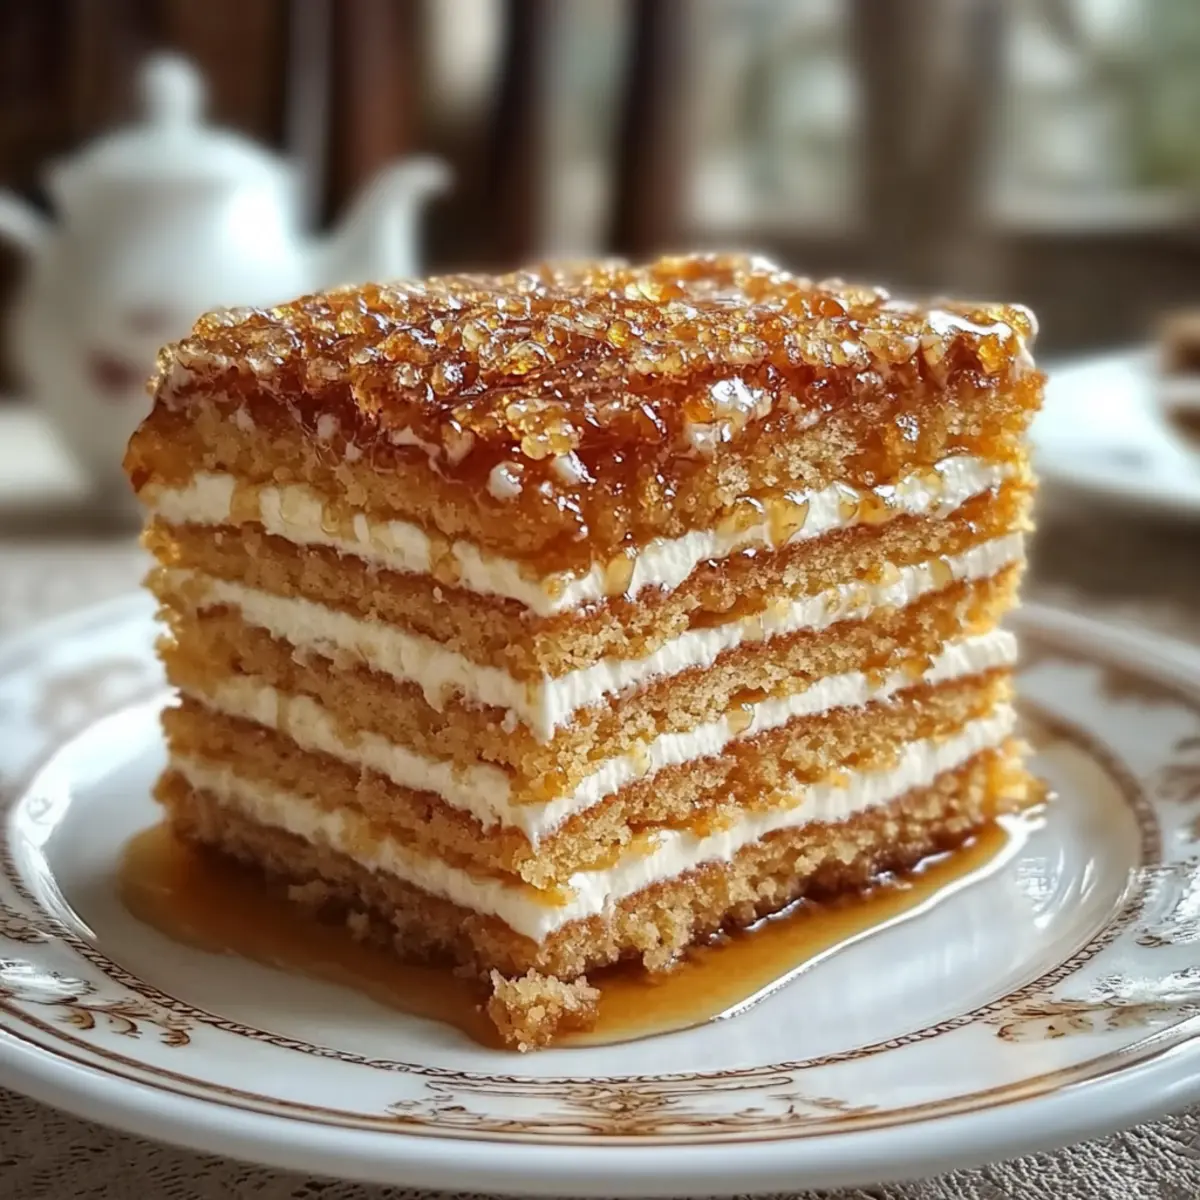
Irresistible Traditional Medovik Honey Layer Cake Recipe
Ingredients
Equipment
Method
- In a mixing bowl, combine honey, sugar, and eggs. Heat over a double boiler for 5–7 minutes, stirring until smooth and warm.
- Add baking soda to the honey mixture and stir for another 3 minutes. Gradually mix in flour and salt to form a soft dough.
- Divide the dough into six portions, wrap in plastic wrap, and refrigerate for at least 30 minutes.
- Preheat oven to 350°F (175°C). Roll each dough portion into thin circles and bake for 5–7 minutes until lightly golden.
- Cool the layers. Prepare the cream filling by whipping heavy cream, then combining with sour cream, powdered sugar, and vanilla.
- Spread cream filling on each layer, stack carefully, and reserve some filling for decorating.
- Cover the cake and refrigerate for at least 4 hours before serving.
- After chilling, spread reserved cream on top and sides, garnish with nuts or honey.
Leave a Reply