
Walking through a summer market, I couldn’t resist the allure of the vibrant berries stacked high in their baskets. The deep reds, luscious blues, and soft blacks whispered promises of something sweet and refreshing. With these Berry Cheesecake Kabobs, I’m excited to combine those juicy gems with creamy New York-style cheesecake for an easy dessert that’s sure to impress. Not only are these skewers a visually stunning way to enjoy a beloved classic, but they also come together in a snap—perfect for parties or those last-minute cravings for something sweet. Plus, they’re a fun, portable treat that your friends and family will love. Are you ready to take your dessert game to a whole new level? Let’s get started!
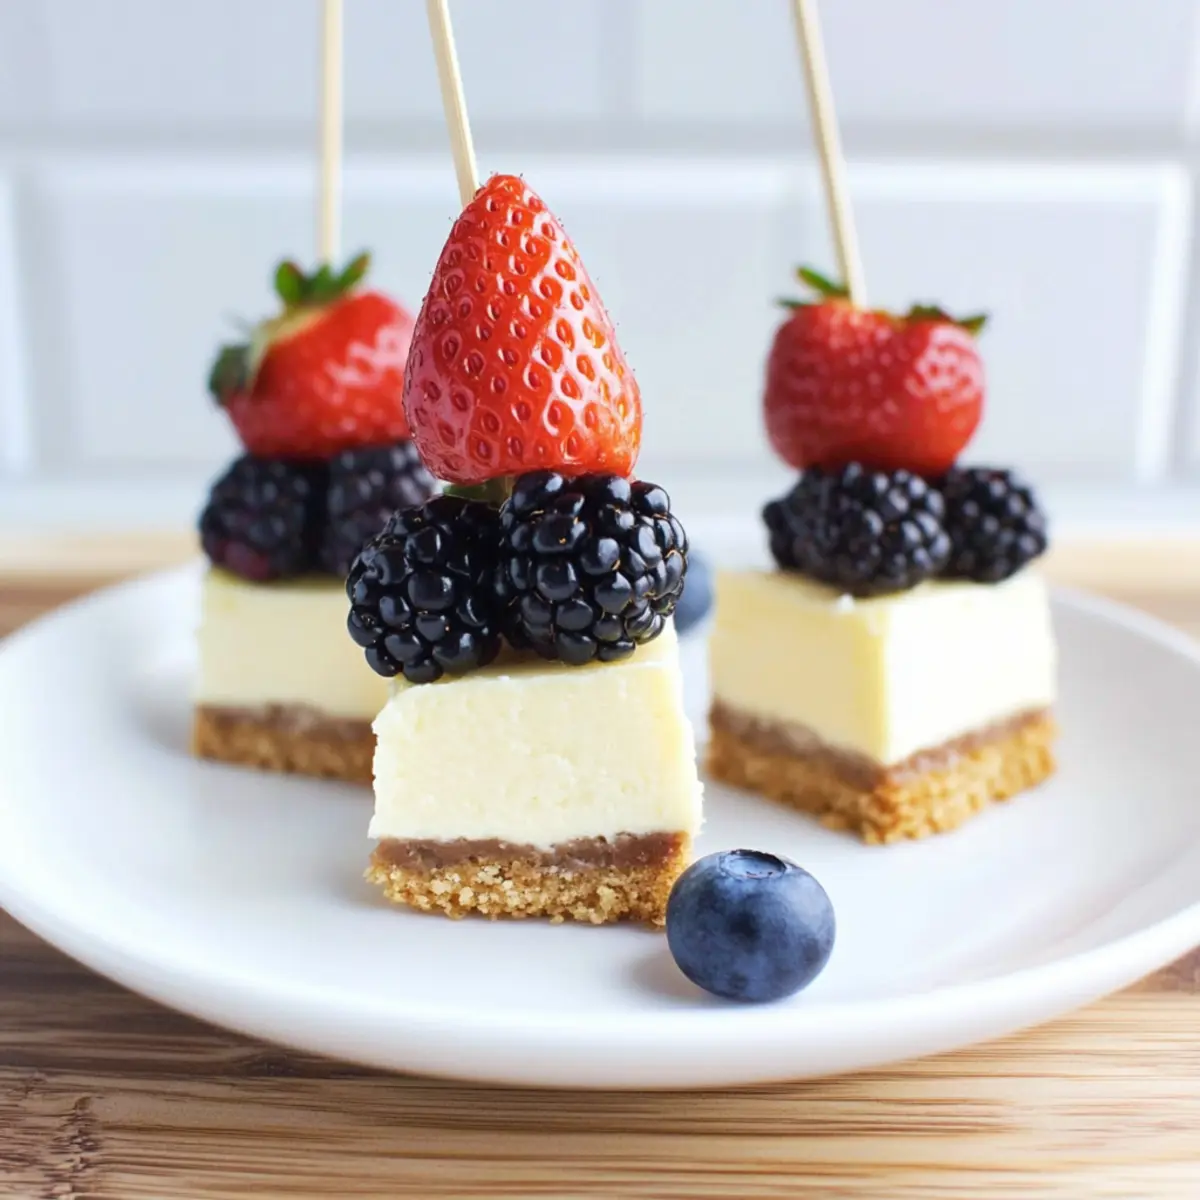
Why Are Berry Cheesecake Kabobs A Must-Try?
Easy to Assemble: These no-bake delights require minimal effort, making them a breeze to prepare for any occasion.
Colorful Presentation: The vibrant hues of strawberries, blueberries, and blackberries create a stunning visual appeal, sure to impress your guests.
Delicious Flavor Pairing: The creamy New York-style cheesecake perfectly complements the juicy, fresh berries, providing a delightful explosion of flavor in every bite.
Perfect for Every Gathering: Whether it’s a summer BBQ or a cozy movie night, these kabobs are a hit at any event. Plus, they double as a fun activity for kids!
For more fruity inspiration, try out my Pumpkin Cheesecake Truffles for a different seasonal twist!
Berry Cheesecake Kabobs Ingredients
Create a delectable dessert with these essentials!
For the Kabobs
- New York Style Cheesecake – Use refrigerated cheesecake for a creamy, rich base that makes assembly a breeze.
- Fresh Strawberries – Choose ripe, vibrant strawberries for sweetness and a pop of color; wash and remove tops before using.
- Fresh Blueberries – These little gems bring a burst of flavor; ensure they are clean and dry for best results.
- Fresh Blackberries – Their tartness perfectly balances the sweetness; wash thoroughly to enhance their flavor.
- Wood Skewers – Opt for 4 ½-inch skewers to create perfectly bite-sized kabobs that are easy to hold.
These Berry Cheesecake Kabobs are perfect for gatherings or just a sweet treat at home!
Step‑by‑Step Instructions for Berry Cheesecake Kabobs
Step 1: Prepare the Cheesecake
Start by removing your New York-style cheesecake from the refrigerator. Using a sharp knife, cut the cheesecake into four long strips. For the smaller end strips, cut these into three triangular pieces, while the center square piece should be cut diagonally for more bite-sized portions. This preparation lays a solid foundation for your Berry Cheesecake Kabobs.
Step 2: Assemble Skewers with Blueberries
Take a wooden skewer and thread three fresh blueberries onto it, ensuring they are evenly spaced. Next, gently add a piece of cheesecake, being careful not to puncture it. For these Berry Cheesecake Kabobs, maintaining the integrity of the cheesecake is key, so handle the skewer gently; this will keep your kabob looking beautiful.
Step 3: Add Strawberries
Now, grab another skewer and thread two strawberries onto it, placing the cut sides together for a pleasing look. Once your strawberries are in place, add another piece of the cheesecake. These layers of juicy strawberries paired with the creamy cheesecake will enhance the flavor combination in your Berry Cheesecake Kabobs, creating delightful texture contrasts.
Step 4: Finish with Blackberries
For the final touch, take a third skewer and carefully thread three blackberries onto it, alternating the direction to create a lovely visual. After that, add a piece of cheesecake to finish off these delicious kabobs. The tartness of the blackberries will balance the sweetness of the cheesecake and berries beautifully, making each bite irresistible.
Step 5: Serve or Store
If you’re not serving the Berry Cheesecake Kabobs immediately, cover them with plastic wrap and refrigerate. This keeps them fresh and ensures the kabobs maintain their appealing appearance. They can be stored in the fridge for up to 1-2 days, making them a great make-ahead dessert option for your next gathering.
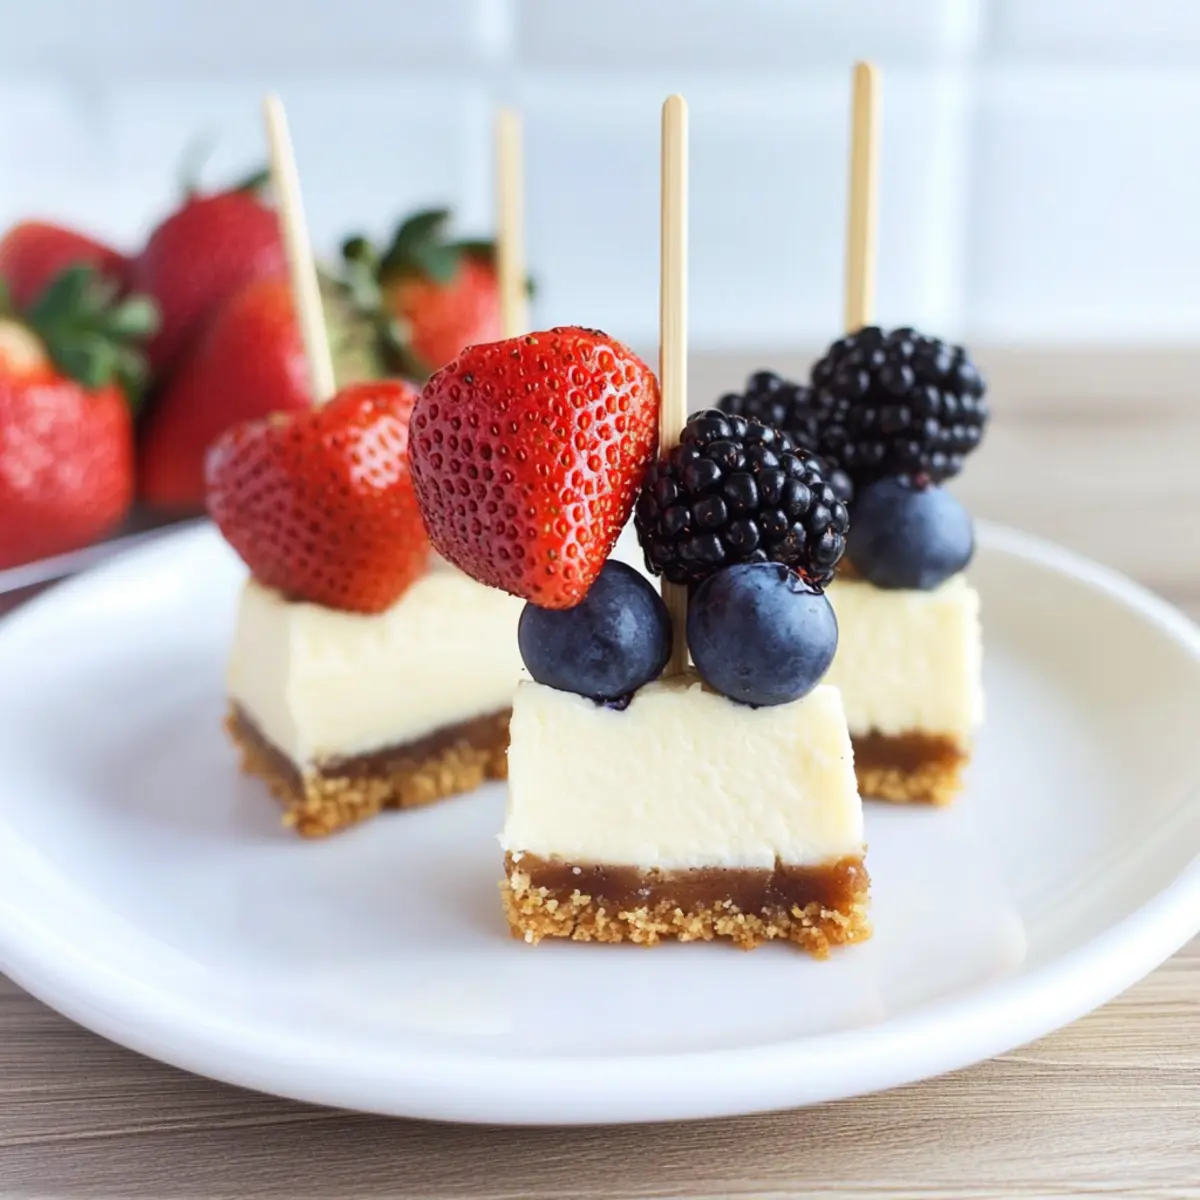
Storage Tips for Berry Cheesecake Kabobs
-
Room Temperature: Serve immediately for the best taste; don’t leave out for more than 2 hours to ensure freshness.
-
Fridge: Store in an airtight container in the refrigerator for up to 1-2 days. Layer with parchment paper between the kabobs to prevent squishing.
-
Freezer: For longer storage, place unassembled components (cheesecake and fruit) in the freezer for up to 2 months. Thaw in the refrigerator before reassembling your Berry Cheesecake Kabobs.
-
Reheating: These kabobs are best enjoyed cold. If desired, briefly chill them in the fridge before serving to enhance their refreshing taste.
Make Ahead Options
These Berry Cheesecake Kabobs are a fantastic option for meal prep, saving you time when entertaining or for busy weeknights! You can prepare the kabobs up to 24 hours in advance by assembling the fruit and cheesecake on skewers, then covering and refrigerating them. To keep the freshness intact, layer the skewers with parchment paper if storing multiple kabobs in one container, preventing any squishing. When it’s time to serve, simply take them out of the fridge and arrange them on a platter for a show-stopping presentation. Enjoy the convenience of having a delightful dessert ready to impress, without the last-minute hassle!
Expert Tips for Berry Cheesecake Kabobs
-
Chill Before Cutting: Make sure your New York-style cheesecake is well-chilled; it slices easier and holds its shape better for the kabobs.
-
Use a Sharp Knife: A sharp knife ensures clean cuts; this is essential for keeping your cheesecake pieces looking attractive and properly sized.
-
Gentle Handling: Handle the skewers with care to avoid breaking apart the cheesecake pieces—this will keep your Berry Cheesecake Kabobs visually appealing.
-
Ripe Fruits Only: Choose ripe strawberries, blueberries, and blackberries for the best flavor; this enhances the overall tastiness of your kabobs.
-
Mix It Up: Feel free to experiment with seasonal fruits, like raspberries or cherries, to create a unique twist on the classic Berry Cheesecake Kabobs.
What to Serve with Berry Cheesecake Kabobs?
Prepare to elevate your dessert experience with these delightful pairings that balance and enhance the flavors of your kabobs.
-
Refreshing Mint Tea: The coolness of mint tea provides a soothing contrast to the creamy cheesecake and sweet berries, making it a perfect sip alongside your kabobs.
-
Light Fruit Salad: A medley of seasonal fruits adds a refreshing touch, echoing the flavors of the kabobs while offering a light, palate-cleansing option.
-
Creamy Vanilla Ice Cream: This classic pairing gives a delightful creaminess that complements the kabobs perfectly. A scoop beside your kabobs transforms it into an indulgent dessert plate.
-
Chocolate Dipping Sauce: A rich, warm chocolate sauce invites a touch of decadence that pairs pleasantly with the tartness of blackberries, enticing all chocolate lovers.
-
Sparkling Lemonade: The zesty sparkle refreshes your taste buds while enhancing the fruity flavors of the kabobs—a perfect drink for summer gatherings!
-
Almond Biscotti: These crunchy cookies provide a satisfying texture contrast and nutty flavor, inviting you to dip them into the creamy cheesecake bites for a fun twist.
-
White Wine Spritzer: A light and bubbly spritzer harmonizes beautifully with the sweet profile of the kabobs, making it an elegant choice for festive occasions.
-
Pistachio Cake: The nutty flavors and moist texture of pistachio cake create a delightful duo with the berries’ sweetness, offering a touch of sophistication to your dessert spread.
These pairings ensure your Berry Cheesecake Kabobs make an unforgettable impression at any special gathering or casual get-together!
Berry Cheesecake Kabobs Variations
Feel free to get creative with your Berry Cheesecake Kabobs and bring your personal touches to this delightful treat!
-
Seasonal Fruits: Mix and match fruits according to availability, like fresh raspberries or juicy cherries for a delightful twist in flavor.
-
Chocolate Drizzle: Add a rich chocolate drizzle over the kabobs after assembling for a decadent finish that enhances the sweetness.
-
Nutty Crunch: Sprinkle some crushed nuts, like almonds or pistachios, over the cheesecake pieces before threading for an added crunch and texture.
-
Flavored Cheesecake: Swap out the New York-style cheesecake for flavored options such as chocolate or lemon to match the season or your mood. The possibilities are endless!
-
Add a Dip: Serve with a side of caramel or chocolate dip for an interactive dessert experience that everyone will love.
-
Mini Fruit Cups: If you prefer, assemble mini fruit cups with alternating layers of fruit and cheesecake instead of skewers for bite-sized indulgence.
-
Heated Variation: For a warm dessert twist, lightly broil the assembled kabobs for a minute to give them a golden, caramelized finish.
For even more playful dessert ideas, be sure to try my scrumptious Chocolate Strawberry Frozen Yogurt Bites and bring a refreshing dimension to your next gathering!
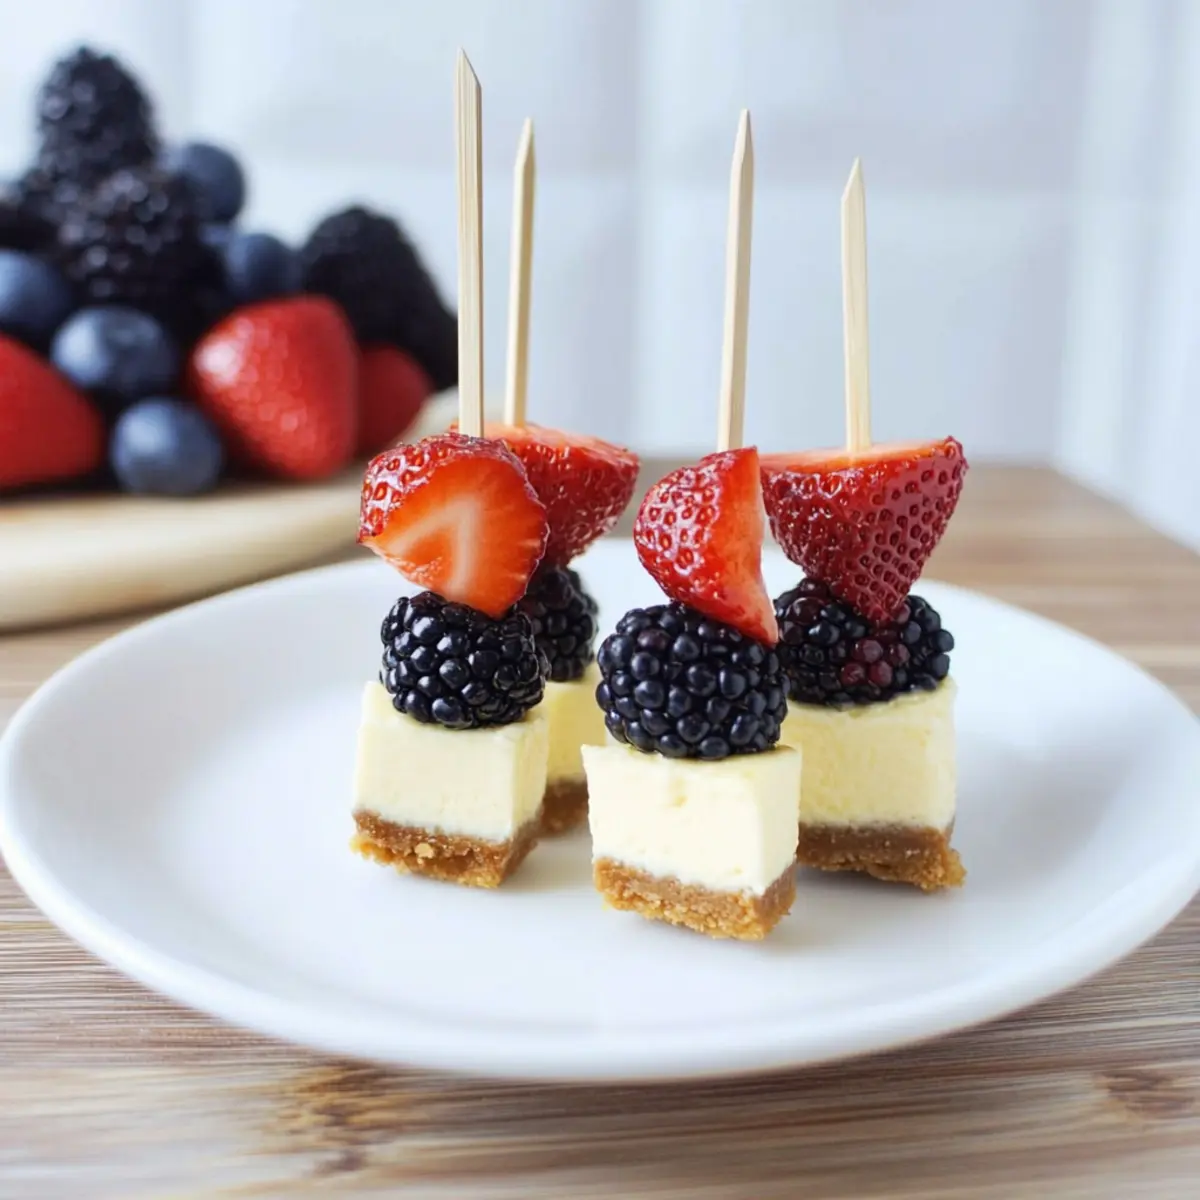
Berry Cheesecake Kabobs Recipe FAQs
How do I choose ripe berries for my kabobs?
Absolutely! For the sweetest flavor, select berries that are bright in color and firm to the touch. Strawberries should have vibrant red hues without dark spots or wilting tops. Blueberries should be deep blue and dry, while blackberries need to be plump and shiny with no soft spots. Ripe berries will ensure your kabobs are delicious and satisfying!
How should I store leftover kabobs?
Very important! If you have any leftover Berry Cheesecake Kabobs, store them in an airtight container in the refrigerator. They’ll stay fresh for up to 1-2 days. To prevent squishing, layer them with parchment paper between the kabobs. If you need to make them a day ahead, assemble them and store them wrapped in plastic wrap until you’re ready to serve.
Can I freeze the kabobs or their components?
Definitely! For best results, I recommend freezing the unassembled components—your cheesecake and the fresh fruit can be frozen separately. Place them in airtight containers or freezer bags, and they will remain good for up to 2 months. When ready to enjoy, simply thaw them in the refrigerator overnight, then reassemble your kabobs.
What should I do if my cheesecake crumbles when cutting?
If your cheesecake crumbles, don’t worry! First, ensure it’s chilled; it helps with slicing. If it’s still crumbling, pop it in the freezer for about 15-20 minutes. This will firm it up! Then, use a sharp knife and make clean cuts. If needed, think about pressing the crumbled pieces into shape and coating them with berries again for a new twist on the kabobs!
Are these kabobs safe for children and those with allergies?
Absolutely! However, if serving to children or guests with allergies, always double-check for common allergens. The components of these Berry Cheesecake Kabobs are generally safe, but cross-contact with nuts or gluten can occur in some cheesecakes. Always opt for allergen-free cheesecake and fresh fruits. It’s best to inquire about any specific dietary restrictions beforehand.
How long can I keep the assembled skewers at room temperature?
It’s best to serve the Berry Cheesecake Kabobs immediately. If they sit at room temperature, they should not be left out for more than 2 hours to ensure the safety and quality of the ingredients. If you’re serving them outdoors, consider keeping them on ice for that extra chill!
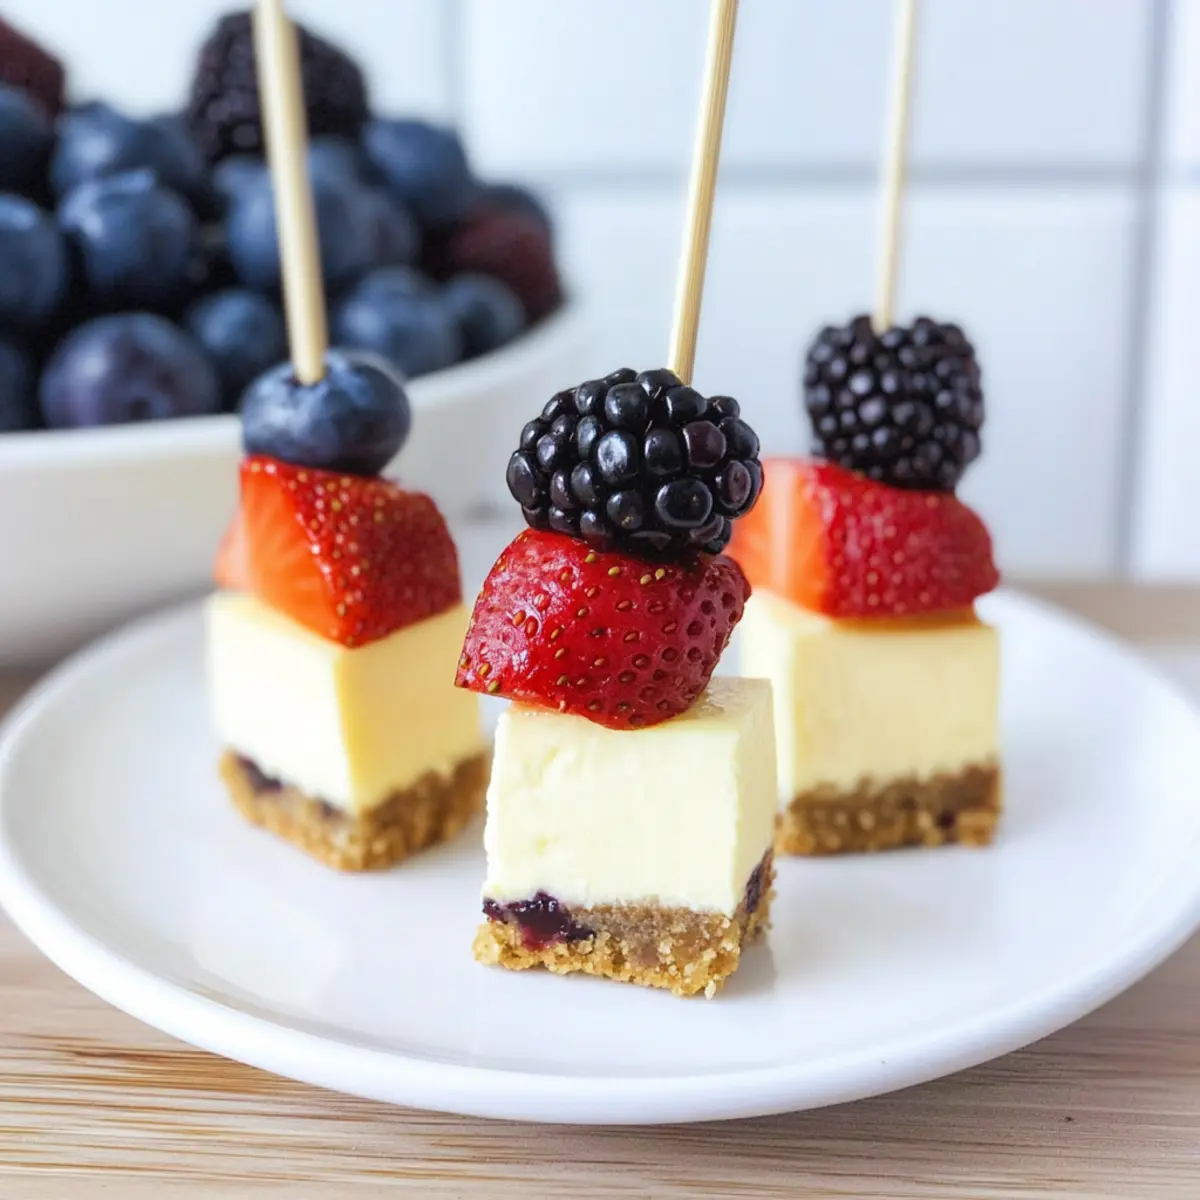
Berry Cheesecake Kabobs: A Delightful No-Bake Treat
Ingredients
Equipment
Method
- Step 1: Prepare the Cheesecake by cutting it into strips and then into bite-sized pieces.
- Step 2: Assemble Skewers with Blueberries by threading three blueberries onto a skewer, followed by a piece of cheesecake.
- Step 3: Add Strawberries by threading two strawberries onto a new skewer, followed by another piece of cheesecake.
- Step 4: Finish with Blackberries by threading three blackberries onto a skewer, ending with a piece of cheesecake.
- Step 5: Serve or Store by covering with plastic wrap and refrigerating if not serving immediately.
Leave a Reply