
In the whirlwind of life, sometimes all it takes is a little sweetness to turn a day around. That’s where my 3-Ingredient Chocolate Peanut Butter Crunch Cups come in! With just three simple ingredients, you can whip up these delightful treats in no time, making them a perfect option for that last-minute craving or a special surprise for the kids. Not only do they satisfy your sweet tooth without the fuss of baking, but they’re also gluten-free, dairy-free, and pack a satisfying crunch that both kids and adults adore. So, are you ready to fill your kitchen with rich chocolate and creamy peanut butter? Let’s dive into this easy, no-bake recipe that’s set to become your new favorite!
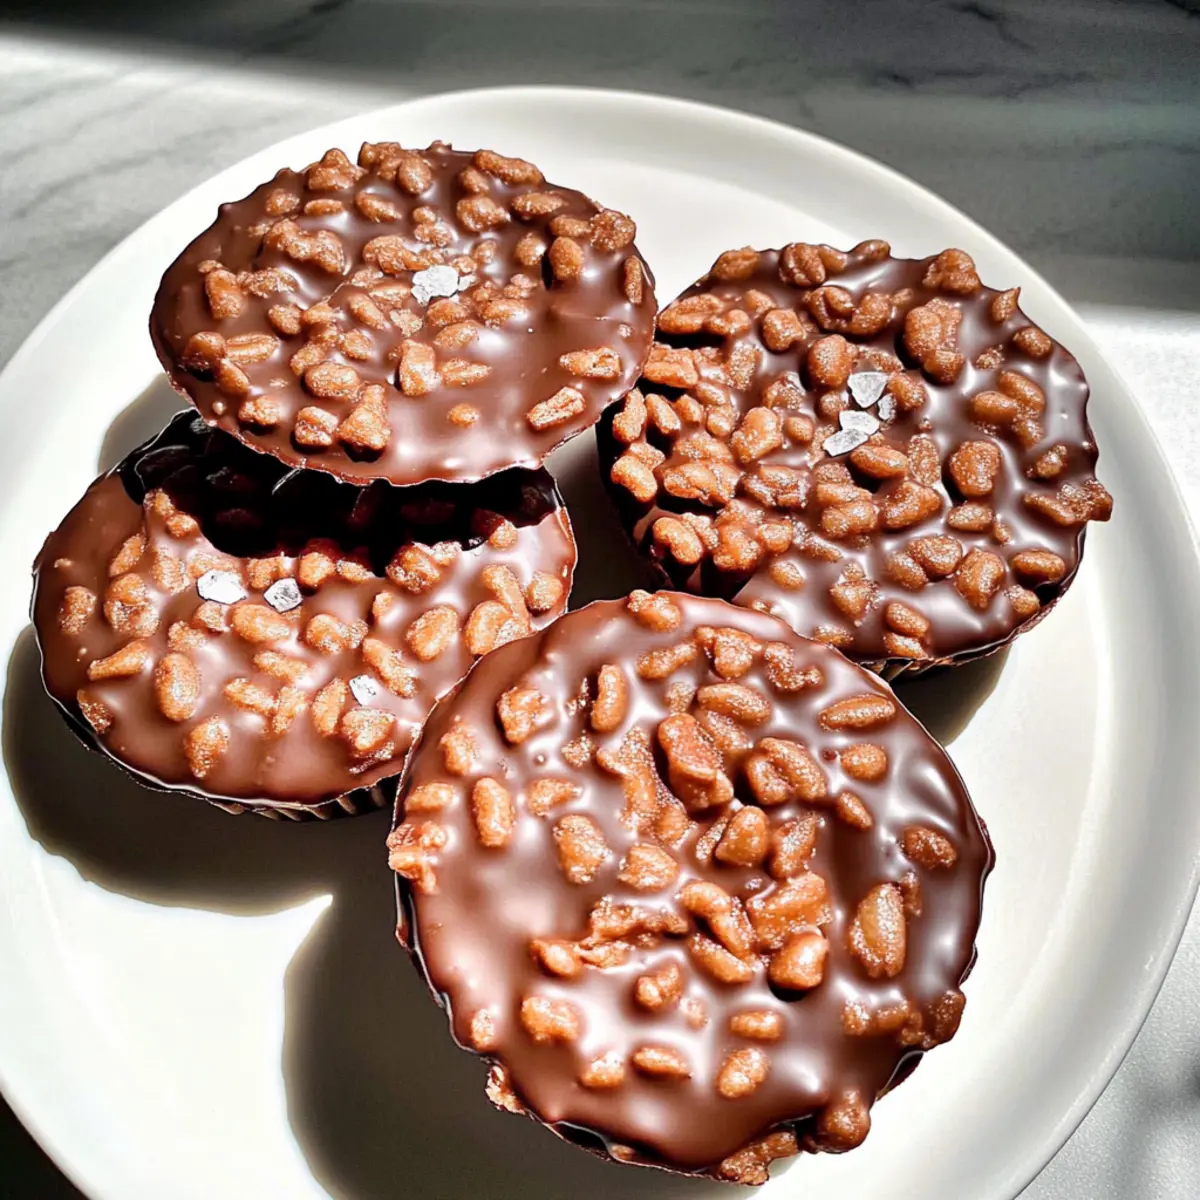
Why are these cups a must-try?
Simplicity at Its Best: With only three ingredients, these Chocolate Peanut Butter Crunch Cups come together effortlessly in mere minutes.
Kid-Friendly Fun: Uniting the love for chocolate and peanut butter, these treats are a hit with children and adults alike, making them perfect for any occasion.
No-Bake Ease: Say goodbye to the oven! These cups require no baking, so you can skip the heat and still enjoy a homemade sweet.
Gluten-Free Goodness: Ideal for various dietary needs, swap in gluten-free cereals or alternative nut butters to cater to everyone’s tastes! Check out my Chocolate Peanut Butter recipe for more fun ideas.
Crowd-Pleasing Delight: Whether it’s a dessert for a party or a sweet snack after dinner, these delicious cups are sure to please your guests.
Chocolate Peanut Butter Crunch Cups Ingredients
For the Chocolate Mixture
- Chocolate Chips – Use semi-sweet or dark chocolate to bring richness to your Chocolate Peanut Butter Crunch Cups.
- Peanut Butter – Choose creamy for an easy blend; if you want extra texture, chunky works too.
For the Crunch
- Rice Crispy Cereal – This adds the satisfying crunch; feel free to swap with gluten-free cereals or a nut mix for a fun twist.
Step‑by‑Step Instructions for Chocolate Peanut Butter Crunch Cups
Step 1: Melt Chocolate
Begin by placing a microwave-safe bowl filled with chocolate chips in the microwave. Heat them in 30-second intervals at medium power, stirring well after each interval until the chocolate is completely melted and smooth, which should take about 1 to 2 minutes. This melted chocolate will be the rich base for your Chocolate Peanut Butter Crunch Cups.
Step 2: Prepare Mixture
Once your chocolate is melted, carefully add creamy peanut butter to the bowl and mix thoroughly until you achieve a uniform, glossy consistency. The warmth from the chocolate will help the peanut butter blend seamlessly. This combination of chocolate and peanut butter creates the luscious filling for your cups, ensuring each bite is delightful.
Step 3: Incorporate Cereal
Next, gently fold in the rice crispy cereal into the chocolate-peanut butter mixture, ensuring all pieces are evenly coated. Stir diligently but gently for about 30 seconds until the cereal is well incorporated. The cereal adds that essential crunch to your Chocolate Peanut Butter Crunch Cups, making every bite enjoyable.
Step 4: Mold Cups
Using a spoon, scoop the mixture into lined muffin tins (silicone molds work wonderfully too). Press the mixture down gently with the back of the spoon to form cup shapes, ensuring they’re compact but not overly packed. This step will help maintain the shape and structure of your delicious treats once set.
Step 5: Chill
Place the muffin tin in the refrigerator and chill for about 1 hour, or until the cups are solid and firm to the touch. This cooling process allows the Chocolate Peanut Butter Crunch Cups to set properly, making them easy to remove and enjoy. Keep an eye on them to ensure they don’t over-chill.
Step 6: Serve
Once set, remove the cups from the refrigerator and carefully take them out of the molds. Allow them to sit at room temperature for about 5-10 minutes before serving. This brief thawing will enhance the flavors and textures, creating the perfect moment to indulge in your rich and crunchy creations!
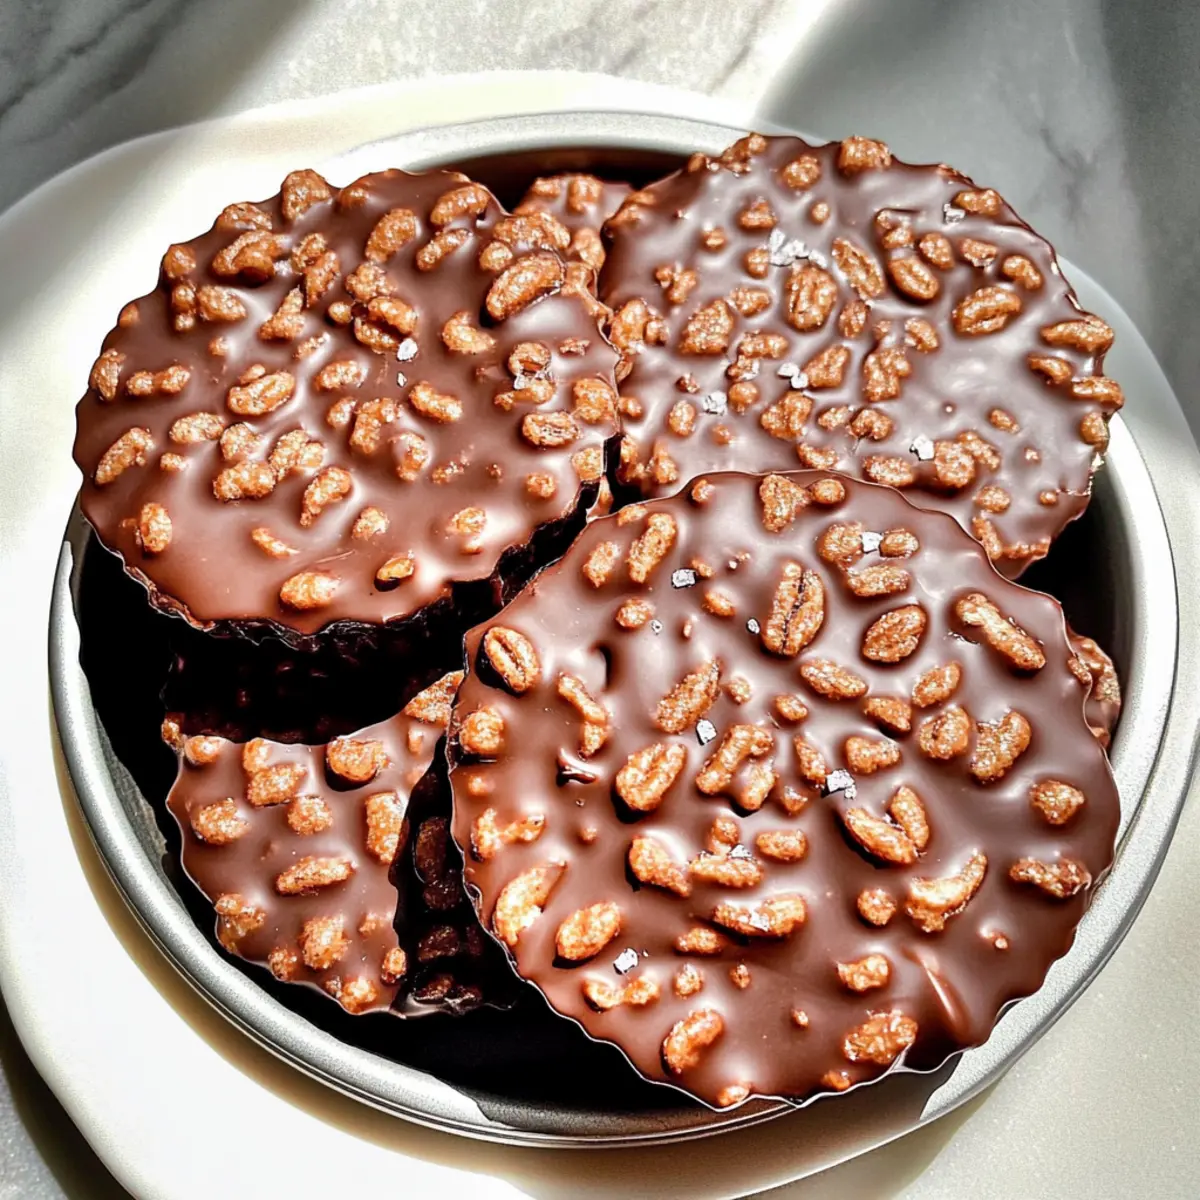
How to Store and Freeze Chocolate Peanut Butter Crunch Cups
- Room Temperature: Store in an airtight container at room temperature for up to 3 days. Keep them away from direct sunlight to maintain their deliciousness.
- Fridge: For a cooler treat, keep the cups in the fridge for about 1 week. Ensure they are in a sealed container to prevent moisture absorption.
- Freezer: Freeze the Chocolate Peanut Butter Crunch Cups for up to 2 months. Place them between layers of parchment paper in an airtight container for best results.
- Reheating: When ready to enjoy, simply thaw at room temperature for 5-10 minutes or microwave briefly for a warm treat.
Chocolate Peanut Butter Crunch Cups Variations
Feel free to make these delightful cups your own with a few creative twists!
-
Nut Butter Swap: Replace peanut butter with almond or sunflower seed butter for alternative flavors. Each nut butter brings its unique taste and character.
-
Sea Salt Sprinkles: A sprinkle of sea salt over the top before chilling can enhance the sweetness beautifully! This simple addition provides a burst of complementary flavor that elevates every bite.
-
Add Crunch: Incorporate mini marshmallows or chopped nuts into the mixture for extra texture. This variation not only offers a fun chewiness but also surprises any emerging flavors!
-
Chocolate Layering: Drizzle some melted chocolate on top before chilling for a decadent finish. It adds another layer of richness that is simply irresistible—perfect for chocolate lovers!
-
Flavor Infusion: Stir in a splash of vanilla extract for an additional depth of flavor. This subtle enhancement can make your Chocolate Peanut Butter Crunch Cups taste even more indulgent.
-
Spicy Kick: Want a little heat? Add a dash of cayenne pepper to the chocolate mixture. The heat beautifully contrasts the sweetness and may surprise your taste buds!
-
Oat Boost: Mix in some quick oats along with the rice crispy cereal for a wholesome crunch. These cups become a heartier snack that’s both filling and satisfying.
-
Chocolate Variations: Experiment with different kinds of chocolate, like white chocolate or even butterscotch, to bring a whole new flavor profile to your cups! A butterscotch melt complements the peanut butter perfectly and creates a unique treat. For even more sweet ideas, check out my Butterscotch Chocolate Chip recipe!
Make Ahead Options
These Chocolate Peanut Butter Crunch Cups are perfect for meal prep, allowing you to satisfy your sweet cravings even on the busiest days! You can prepare the chocolate-peanut butter mixture and incorporate the rice crispy cereal up to 24 hours in advance. Simply store the mixture in an airtight container in the refrigerator until you’re ready to mold the cups. To maintain their delightful crunch and texture, it’s best to mold the cups just before chilling. When you’re ready to serve, follow the steps to mold and chill them for about 1 hour. Once set, enjoy your delicious treats made with minimal effort!
What to Serve with Chocolate Peanut Butter Crunch Cups
Indulge your taste buds and elevate your dessert experience with exciting pairings that beautifully complement these delightful treats.
-
Fresh Berries: A burst of vibrant, juicy flavors that cut through the richness, adding a refreshing contrast to your cups.
-
Vanilla Ice Cream: Creamy and smooth, this classic favorite creates a heavenly combination when served alongside crunchy chocolate goodness.
-
Coffee: A warm cup of brewed coffee enhances the sweet and salty notes, making for a perfect afternoon pick-me-up.
-
Nutty Trail Mix: The added crunch of nuts and dried fruits brings in new textures, providing a satisfying snack contrast to your treats.
-
Whipped Cream: Light and airy, a dollop of whipped cream adds a touch of elegance and creaminess, balancing the crunch beautifully.
-
Coconut Flakes: Toasted coconut provides a tropical twist while contributing a chewy texture that harmonizes well with the cups’ crunch.
Expert Tips for Chocolate Peanut Butter Crunch Cups
- Perfectly Melted Chocolate: Ensure you melt the chocolate in brief intervals, stirring in between. Overheating can burn the chocolate, ruining your Chocolate Peanut Butter Crunch Cups.
- Mixing Technique: Combine the peanut butter and chocolate thoroughly for a smooth texture. Uneven mixing can lead to inconsistent flavors.
- Crunchiness Check: Don’t skimp on the rice crispy cereal; it’s essential for the ideal crunch. Add more if you desire extra texture in your cups.
- Proper Cooling: Chill your cups adequately to ensure they set properly. If they’re too warm, they may fall apart when removed from the molds.
- Flavor Enhancements: Sprinkle sea salt on top before chilling for a delightful sweet and salty contrast that elevates your Chocolate Peanut Butter Crunch Cups!
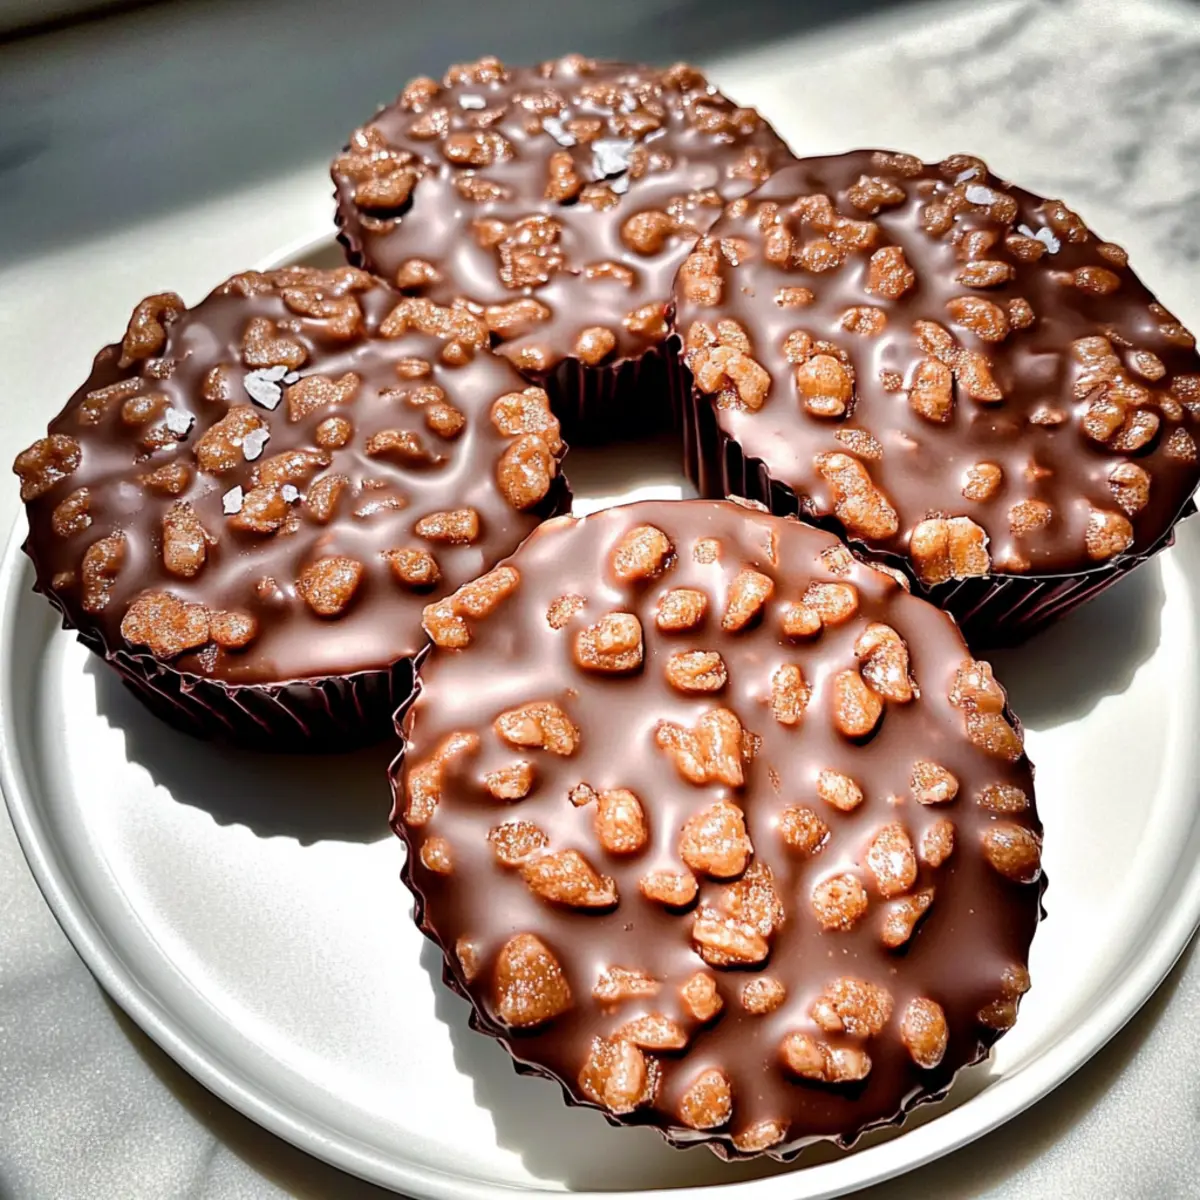
Chocolate Peanut Butter Crunch Cups Recipe FAQs
What type of chocolate should I use for the cups?
Absolutely! I recommend using semi-sweet or dark chocolate chips for the best balance of richness and sweetness. If you prefer a sweeter taste, you can mix in some milk chocolate chips as well. This combination not only enhances the flavor but also adds depth to your Chocolate Peanut Butter Crunch Cups.
How should I store the Chocolate Peanut Butter Crunch Cups?
For room temperature storage, keep them in an airtight container for up to 3 days. If you want them to last longer, you can refrigerate them, where they will stay fresh for about 1 week. For longer preservation, freeze the cups for up to 2 months; just make sure to place parchment paper between layers in an airtight container to prevent them from sticking together.
Can I freeze the Chocolate Peanut Butter Crunch Cups?
Yes, freezing is a great option! To freeze, place your cups in a single layer on a baking sheet until firm, then transfer them to an airtight container with layers of parchment paper in between. They can be frozen for up to 2 months. When you’re ready to enjoy them, simply thaw them at room temperature for 5-10 minutes for optimal taste and texture.
What should I do if my chocolate seizes up while melting?
If your chocolate seizes, don’t worry! This can happen if moisture gets in or if it’s overheated. To save it, add a teaspoon of vegetable oil or coconut oil and stir vigorously until it’s smooth again. Alternatively, place the seized chocolate bowl over a pot of simmering water (double boiler method) and gently heat while stirring until it becomes smooth again.
Are there any allergy considerations for this recipe?
Very! This recipe is naturally gluten-free and dairy-free, but always check the labels of your ingredients to be sure. If you’re making them for someone with nut allergies, consider using sunflower seed butter instead of peanut butter. Additionally, always keep them stored away from other allergens to avoid cross-contamination.
Can I add other ingredients to the cups?
The more the merrier! You can definitely customize your Chocolate Peanut Butter Crunch Cups. Adding a sprinkle of sea salt on top elevates the flavor profile. For extra crunch, consider mixing in mini marshmallows, chopped nuts, or even a handful of dried fruit. Just be mindful not to overcrowd your mixture!
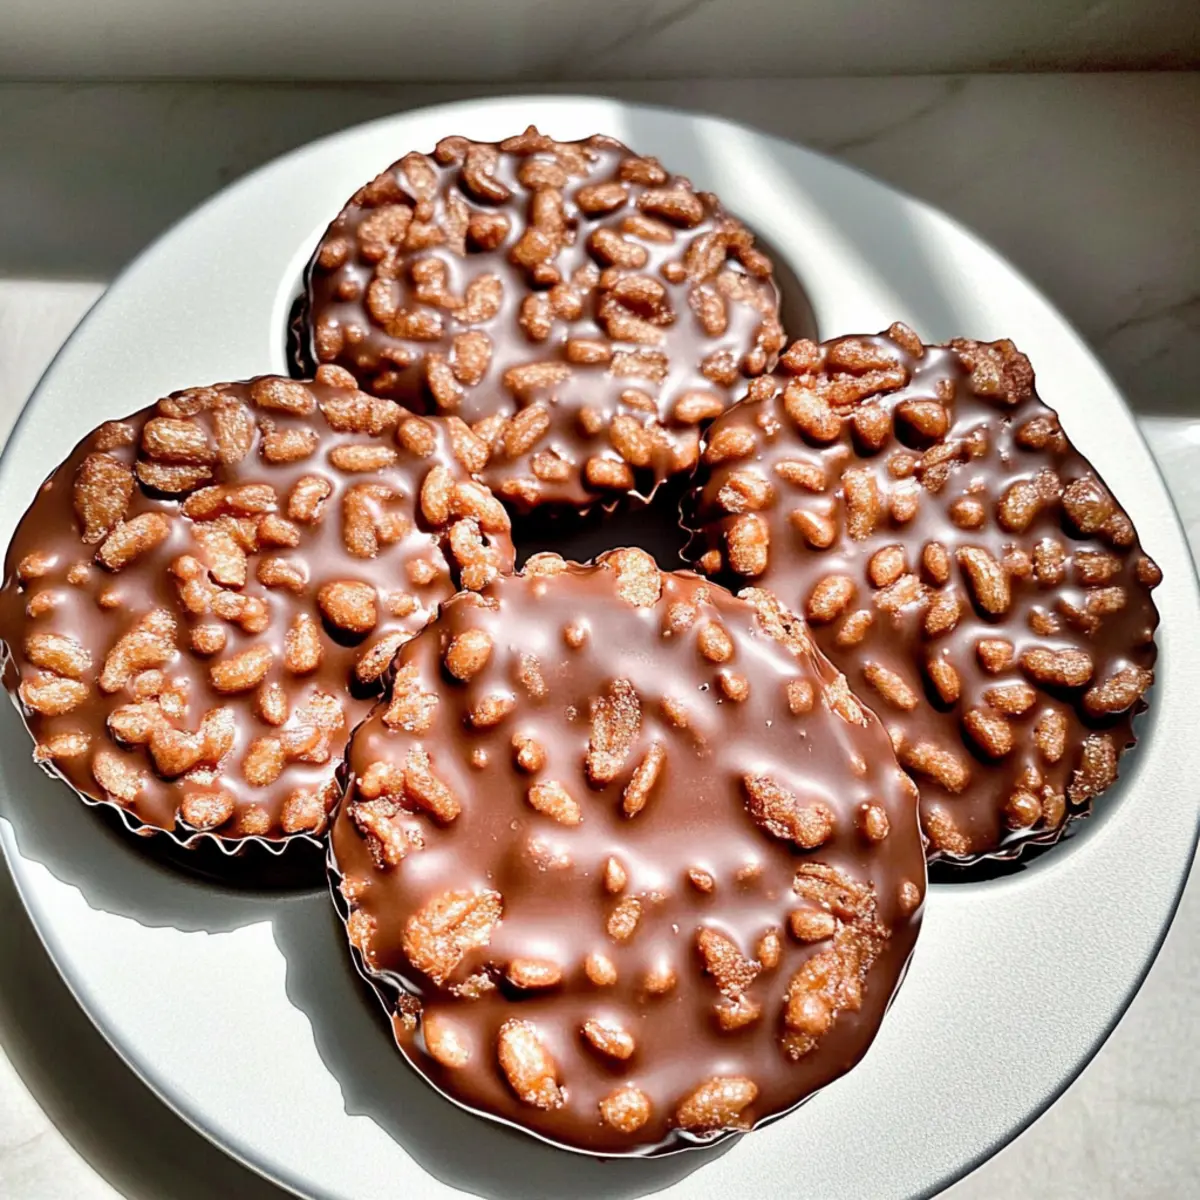
Chocolate Peanut Butter Crunch Cups for Quick Sweet Fix
Ingredients
Equipment
Method
- Begin by placing a microwave-safe bowl filled with chocolate chips in the microwave. Heat them in 30-second intervals at medium power, stirring well after each interval until the chocolate is completely melted and smooth.
- Once your chocolate is melted, carefully add creamy peanut butter to the bowl and mix thoroughly until you achieve a uniform, glossy consistency.
- Gently fold in the rice crispy cereal into the chocolate-peanut butter mixture, ensuring all pieces are evenly coated.
- Using a spoon, scoop the mixture into lined muffin tins. Press the mixture down gently to form cup shapes.
- Place the muffin tin in the refrigerator and chill for about 1 hour, or until the cups are solid and firm to the touch.
- Once set, remove the cups from the refrigerator and allow them to sit at room temperature for about 5-10 minutes before serving.
Leave a Reply