
The fridge door swung open, and I was greeted by the sweet chill of anticipation. That’s when I remembered the Rich and Creamy Brownie Refrigerator Cake I had stashed away, a dessert that’s sure to steal the show at any gathering. With its luscious layers—starting with a chewy brownie base, followed by a tangy cream cheese filling, and topped with silky chocolate and vanilla pudding—this brownie cake is both a make-ahead marvel and a guaranteed crowd-pleaser. Whether you’re hosting a potluck or simply indulging on a cozy evening at home, this layered dessert not only saves time but also elevates your dessert game to new heights. Are you ready to dive into the delightful world of brownie creations? Let me show you how!
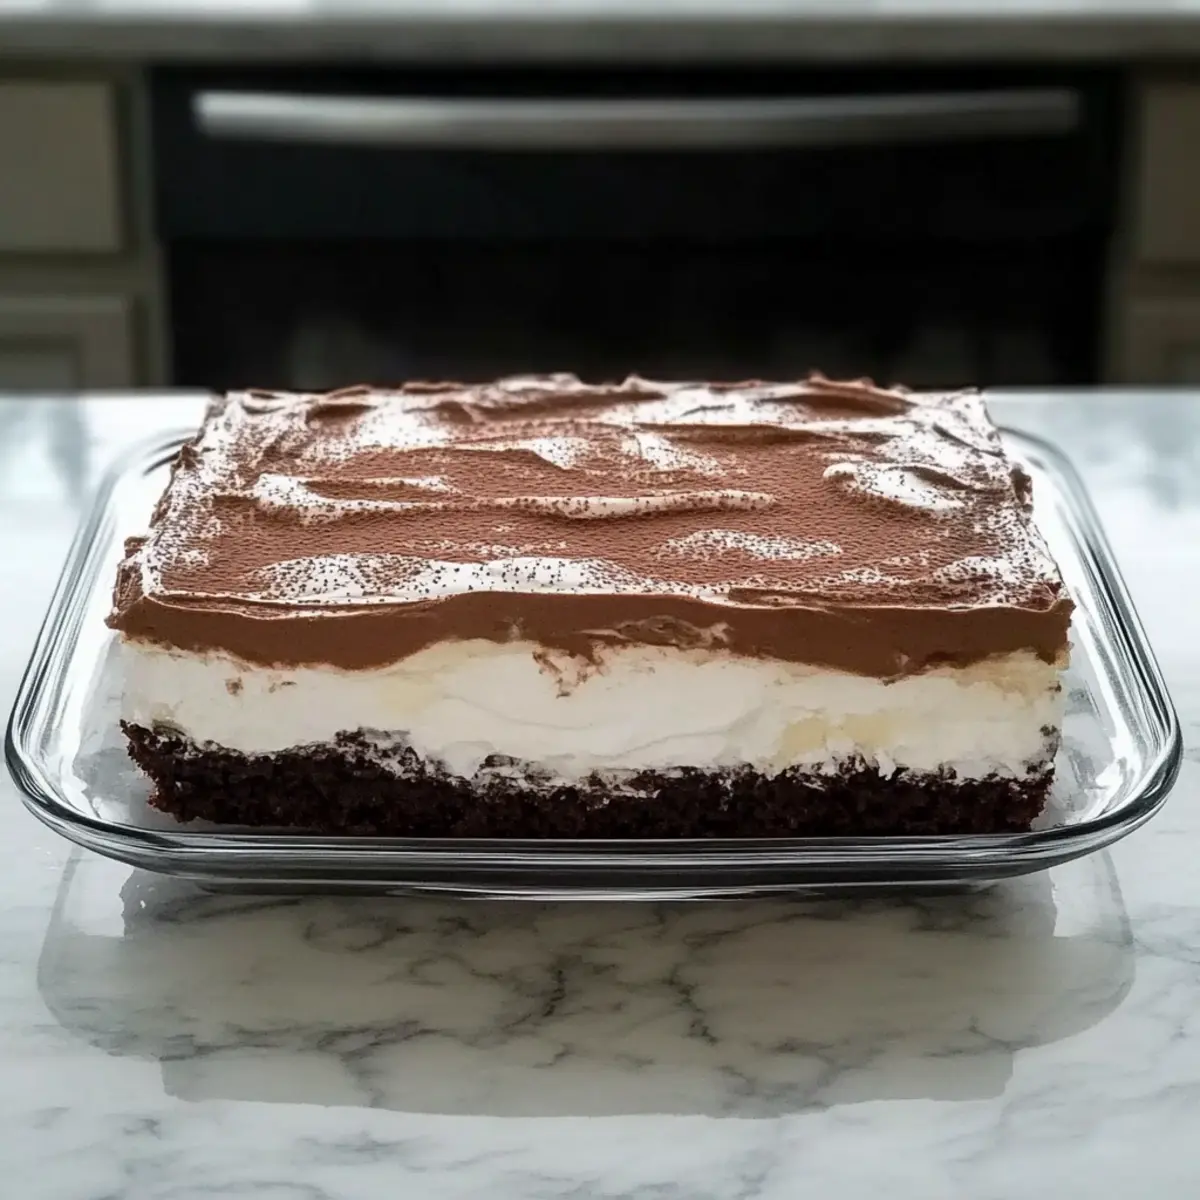
Why is this dessert a must-try?
Irresistible Layers: The Rich and Creamy Brownie Refrigerator Cake offers layers that play well together, from a chewy brownie base to a creamy cream cheese layer that balances the flavors beautifully.
Make-Ahead Convenience: This cake is a true time-saver, easily prepped a day in advance, letting you enjoy gatherings without last-minute stress.
Crowd-Pleasing Favorite: Its combination of textures and flavors makes it a showstopper at potlucks; everyone will be asking for the recipe!
Versatile and Fun: Feel free to experiment with variations—think peanut butter puddings or cookies-and-cream with crushed Oreos for a delicious twist!
Perfectly Chilled Indulgence: What’s better than enjoying a dessert that’s been chilling overnight? The flavors deepen, offering an even richer experience with each bite.
For another deliciously layered dessert, check out this Carrot Cake Coffee that’s perfect for any occasion!
Brownie Refrigerator Cake Ingredients
• Delightful ingredients for a delicious treat!
For the Brownie Layer
• Brownie Mix – Provides a rich, chocolatey base; feel free to swap for a homemade recipe!
• Extra-Large Egg – Ensures the brownies have the perfect structure and richness.
For the Cream Cheese Layer
• Cream Cheese – Adds a creamy, tangy flavor; opt for full-fat for more richness.
• Powdered Sugar – Sweetens and smooths out the cream cheese for a delightful filling.
For the Pudding Layer
• Instant Chocolate Pudding Mix – Creates a silky layer that complements the brownies perfectly.
• Instant Vanilla Pudding Mix – Balances the rich chocolate notes with its creamy sweetness.
• Cold Milk – Essential for thickening the pudding; whole milk works best but feel free to use lighter options.
For Topping
• Cool Whip Frozen Whipped Topping – Allows for neat slicing and adds a light, airy feel; substitute with stabilizing homemade whipped cream if desired.
• Hershey Candy Bar or Chocolate Syrup – Use for garnish to enhance the dessert’s presentation; sprinkle some for a visual treat.
Dive in and prepare to create a marvelous Brownie Refrigerator Cake that’s sure to be a favorite!
Step‑by‑Step Instructions for Brownie Refrigerator Cake
Step 1: Preheat and Prepare the Pan
Begin by preheating your oven to 350°F (175°C) and greasing a 9×13-inch baking pan. This is where the magic begins! Prepare the pan according to your brownie mix instructions, ensuring a non-stick surface for easy removal once baked. As the oven warms, gather your ingredients, and set the stage for a delightful Brownie Refrigerator Cake.
Step 2: Make the Brownie Batter
In a large mixing bowl, combine the brownie mix with the extra-large egg, following the package instructions. Stir until the batter is smooth and glossy, about 2 minutes. Pour the batter into the prepared pan and spread it evenly. Bake in the preheated oven for 25–30 minutes or until a toothpick inserted comes out with a few moist crumbs. Let the brownies cool completely on a wire rack.
Step 3: Cream Cheese Layer Preparation
Once the brownies are cool, it’s time to prepare the tangy cream cheese layer. In a spacious bowl, blend the softened cream cheese and powdered sugar with a hand mixer until silky and smooth, about 3–5 minutes. Gently fold in one container of Cool Whip until well combined. Spread this creamy mixture evenly over the cooled brownie layer, creating that luscious filling in your Brownie Refrigerator Cake.
Step 4: Whisk the Pudding Mixes
In another mixing bowl, combine the instant chocolate and vanilla pudding mixes. Gradually whisk in 4 cups of cold milk, mixing for about 2 minutes until it thickens to a creamy consistency. The pudding layer adds that delightful silkiness to your dessert. Carefully pour this mixture over the cream cheese layer, smoothing it out to create an even top.
Step 5: Add the Whipped Topping
Now it’s time to lighten things up! Spoon the remaining container of Cool Whip onto the pudding layer. Gently spread it out until the top is covered, ensuring every bit of the pudding is hidden beneath a fluffy cloud of whipped goodness. The layer is essential for the aesthetic appeal of your Brownie Refrigerator Cake.
Step 6: Chill Before Serving
Cover the assembled Brownie Refrigerator Cake with plastic wrap or aluminum foil, then place it in the refrigerator. Allow it to chill for at least 4 hours, though overnight is ideal. This chilling period lets the flavors meld beautifully and helps each layer set properly, securing their delicious textures in each delightful slice.
Step 7: Garnish and Serve
When ready to serve, remove the cake from the fridge and uncover it. For an extra touch of elegance, garnish with chocolate shavings or a drizzle of chocolate syrup on top. Using a sharp knife dipped in hot water will help create clean slices. Your stunning Brownie Refrigerator Cake is now ready to impress your guests—delight in this rich and creamy treat!
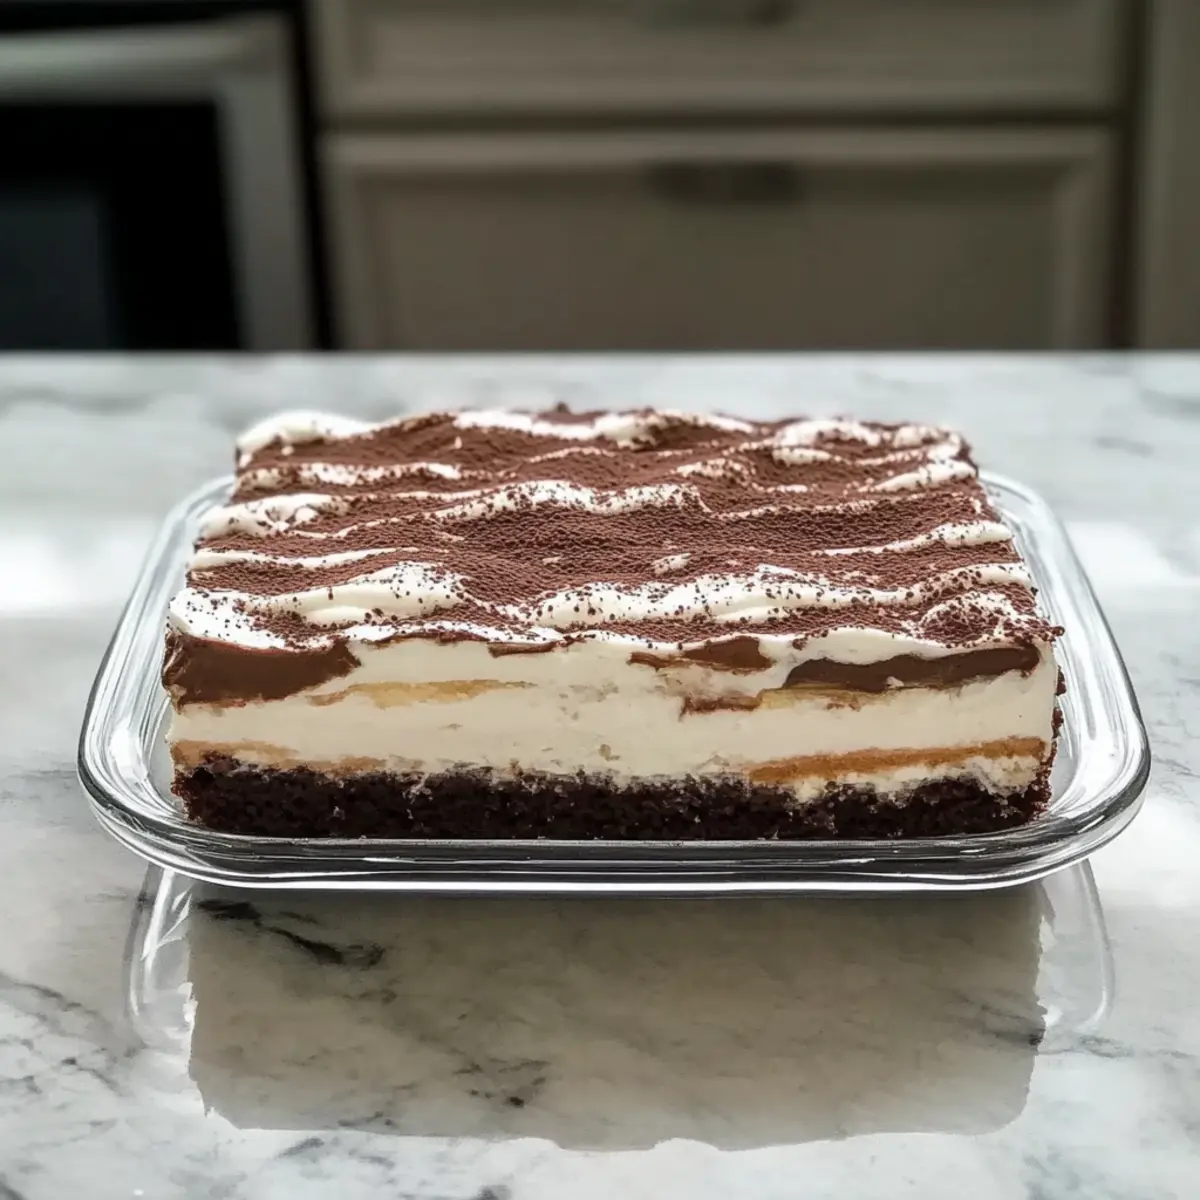
What to Serve with Rich and Creamy Brownie Refrigerator Cake
Creating a decadent dessert like this layered delight opens up a world of delightful pairings for a complete meal experience.
-
Fresh Berries: Bursting with sweetness and acidity, fresh raspberries or strawberries balance the richness of the cake perfectly.
-
Vanilla Ice Cream: A scoop of creamy vanilla ice cream adds a delightful contrast and elevates every chocolatey bite into a dreamy treat.
-
Chocolate Sauce: Drizzling chocolate sauce enhances the richness and creates a luxurious experience, inviting you to savor even more.
-
Whipped Cream: A dollop of homemade or extra Cool Whip on top adds airiness and enhances the overall texture, making each slice even more indulgent.
-
Mint Leaves: Fresh mint leaves provide a refreshing pop of color and flavor, cutting through the sweetness and awakening your palate.
-
Coffee or Espresso: A rich cup of coffee or espresso complements the chocolate flavors beautifully, creating a cozy and inviting atmosphere.
-
Nutty Crunch: Serve with salted peanuts or walnuts on the side for a delightful textural contrast, adding a satisfying crunch with every bite.
-
Decadent Brownie Sundae: Turn leftover slices into a brownie sundae—add ice cream, chocolate sauce, and nuts for an irresistible dessert experience!
-
Creamy Bean Salad: For a touch of savory, a light bean salad can be a surprising yet complementary side, balancing out dessert’s sweetness.
How to Store and Freeze Brownie Refrigerator Cake
Fridge: Store the Brownie Refrigerator Cake in an airtight container for up to 4–5 days. This allows the flavors to deepen, making it even more delicious as the days go by!
Freezer: If you want to save it for later, the cake can be frozen for up to 3 months. Wrap it tightly in plastic wrap and then in aluminum foil to prevent freezer burn.
Thawing: Before serving frozen Brownie Refrigerator Cake, place it in the refrigerator overnight to allow it to defrost gently for the best texture.
Reheating: While this dessert is best served chilled, if desired, you can microwave individual slices for about 10-15 seconds to enjoy a warm treat.
Brownie Refrigerator Cake Variations
Feel free to get creative with your Brownie Refrigerator Cake to suit your taste and occasion!
-
Dairy-Free: Substitute cream cheese and Cool Whip with dairy-free alternatives like coconut cream for a deliciously creamy layer.
-
Flavor Boost: Swap one pudding flavor for butterscotch for a rich, nostalgic twist that brightens the overall taste.
-
Cookies & Cream: Fold crushed Oreos into the cream cheese layer for a decadent cookies-and-cream experience that everyone will adore.
-
Nutty Crunch: Mix in chopped walnuts or pecans into the brownie batter for a delightful crunch that complements the chewy texture.
-
Peanut Butter Twist: Stir in some creamy peanut butter into the pudding mixture for a delightful peanut butter cup sensation.
-
Minty Fresh: Add a few drops of peppermint extract to the cream cheese layer for a refreshing mint chocolate experience.
-
Decadent Chocolate: Mix in mini chocolate chips into the brownie batter for an extra chocolate explosion in every bite.
For more yummy inspirations, check out these delightful desserts like the Butter Pecan Cake or indulge in the fun layers of an Ice Cream Cake for your next gathering!
Make Ahead Options
These Brownie Refrigerator Cakes are perfect for busy home cooks looking to save time! You can prepare the brownie base and refrigerate it up to 24 hours in advance, ensuring it’s completely cooled before layering. Additionally, both the cream cheese filling and pudding layers can be made ahead and stored separately in the refrigerator for up to 3 days. When you’re ready to finish the cake, simply layer everything together and top it with Cool Whip. This way, you’ll still enjoy a dessert that’s just as delicious as if you made it all at once! Remember to chill the assembled cake overnight for optimal flavor and texture.
Expert Tips for Brownie Refrigerator Cake
-
Chill Overnight: For the best flavors and firmer layers, refrigerate the cake overnight; it allows all components to meld together beautifully.
-
Cutting Technique: Use a sharp knife dipped in hot water between cuts for tidy slices; this helps maintain each layer’s distinct look without smearing.
-
Texture Matters: Always ensure the brownie base is completely cool before layering. This prevents the cream cheese layer from melting into the brownies, which can lead to a runny Brownie Refrigerator Cake.
-
Quick Mixing: When preparing the pudding mixture, whisk vigorously for about 2 minutes; this ensures it thickens properly and provides that luscious, silky texture.
-
Flavor Boost: Consider adding a teaspoon of instant espresso powder to the brownie mix or pudding for a more robust chocolate flavor—perfect for chocolate lovers!
-
Explore Variations: Feel free to experiment with your Brownie Refrigerator Cake by incorporating different flavors, like butterscotch pudding or crushed Oreos for a cookies-and-cream experience!
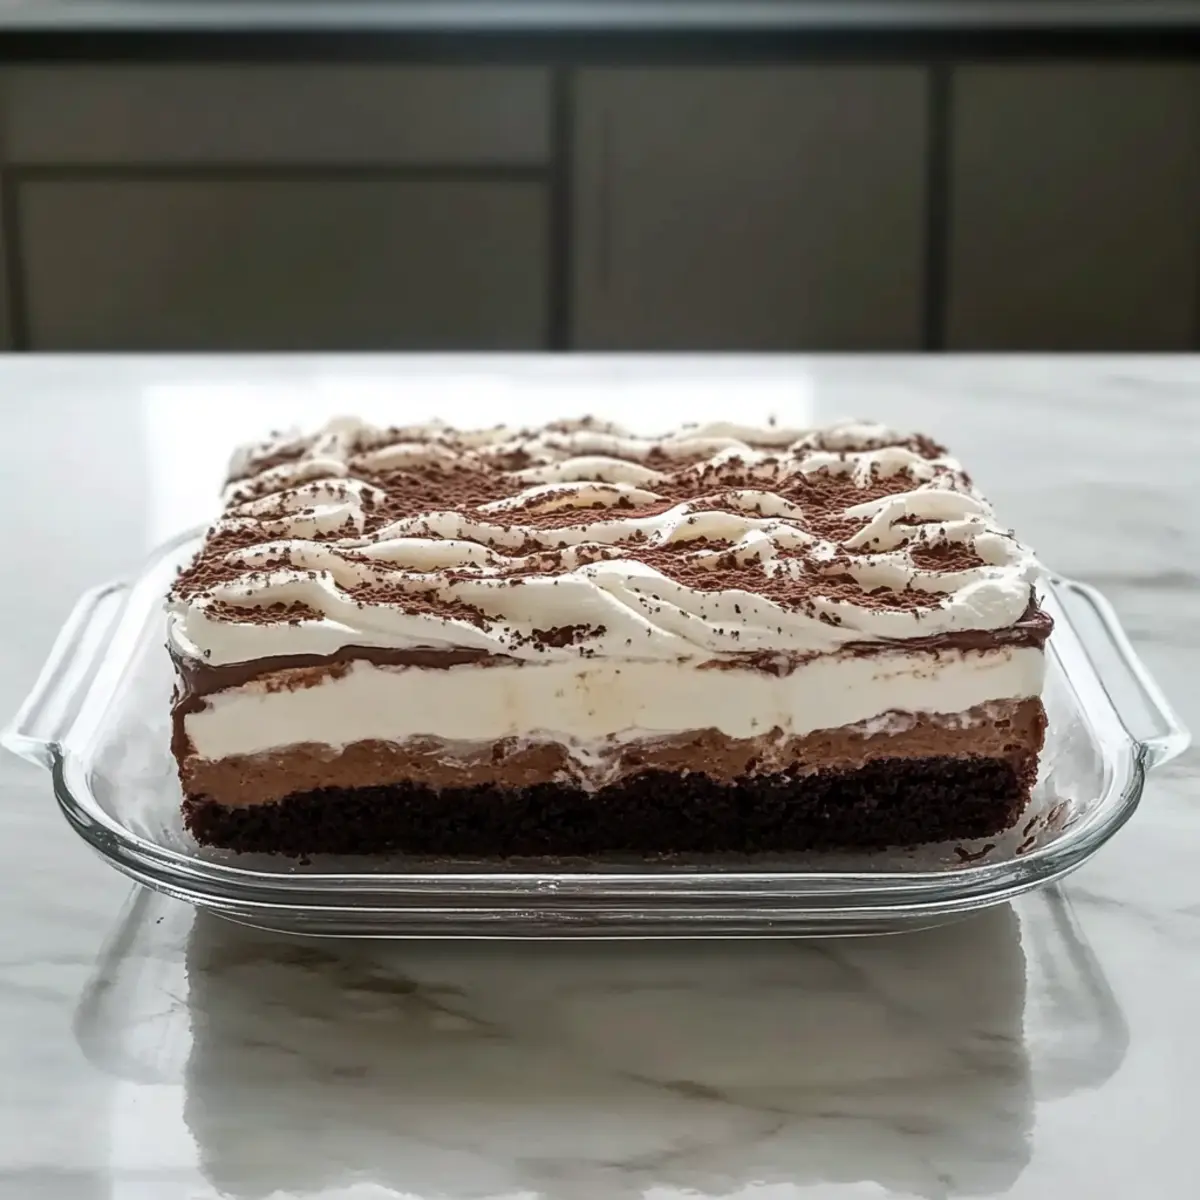
Brownie Refrigerator Cake Recipe FAQs
What type of brownie mix should I use for the Brownie Refrigerator Cake?
You can use any box brownie mix you prefer, or even a homemade version if you’re feeling adventurous! Just make sure it’s fully cooled before layering on the other ingredients to prevent the layers from mixing and melting together.
How should I store the Brownie Refrigerator Cake?
Store any leftovers in an airtight container in the fridge for up to 4-5 days. The cake actually gains flavor as it sits, making it even more delightful! If you want to save it for a later date, it can be frozen for up to 3 months. Just wrap it tightly in plastic wrap and aluminum foil to prevent freezer burn.
Can I freeze the Brownie Refrigerator Cake?
Absolutely! To freeze, wrap the entire cake tightly in plastic wrap, then in aluminum foil. Let it cool completely before freezing to maintain texture. For the best experience, thaw it in the refrigerator overnight before serving.
What if my cream cheese layer becomes runny?
If your cream cheese layer turns out runny, it could be due to not allowing the brownies to cool completely or using soft cream cheese. To remedy this, ensure that the brownies are allowed to cool fully on a wire rack, and consider using full-fat cream cheese for a firmer texture.
Can this dessert be made gluten-free?
Yes, you can easily make a gluten-free version of the Brownie Refrigerator Cake! Look for gluten-free brownie mixes and pudding mixes, ensuring all your ingredients are gluten-free certified. It’ll still taste fantastic!
Is it safe for my pets?
The Brownie Refrigerator Cake contains ingredients like chocolate and cream cheese, which can be harmful to pets. It’s best to keep this dessert away from your furry friends and enjoy it yourself, sharing it only with fellow humans!
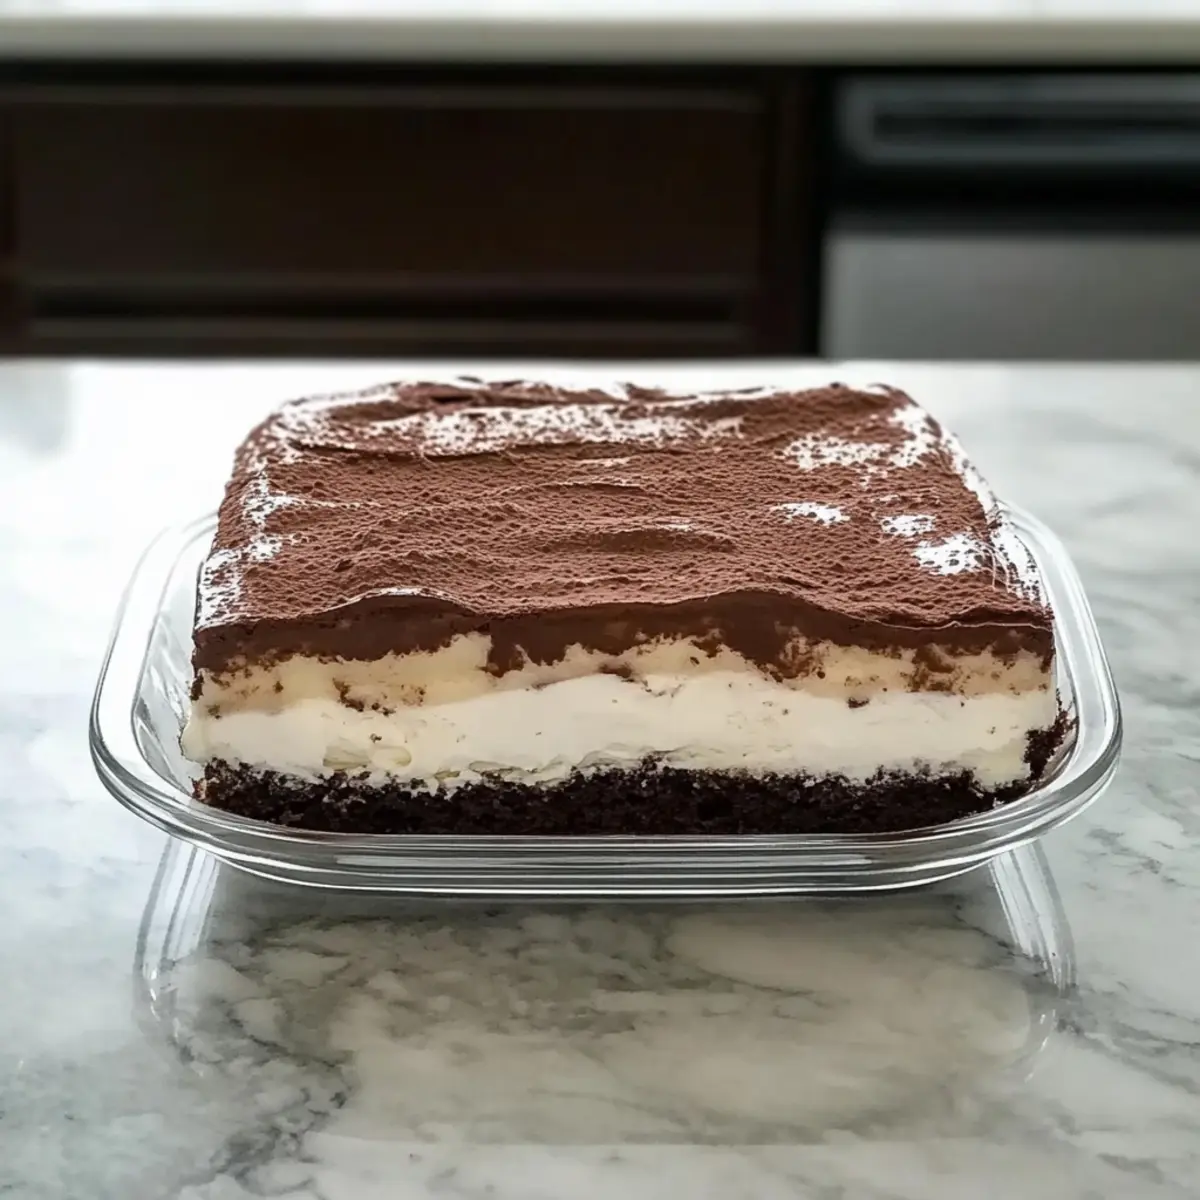
Irresistible Brownie Refrigerator Cake: A Make-Ahead Delight
Ingredients
Equipment
Method
- Preheat your oven to 350°F (175°C) and grease a 9x13-inch baking pan.
- Combine the brownie mix with the extra-large egg in a large mixing bowl. Stir until the batter is smooth and glossy, about 2 minutes.
- Pour the batter into the prepared pan and bake for 25–30 minutes.
- Once cooled, blend cream cheese and powdered sugar until smooth. Fold in one container of Cool Whip and spread over the brownie layer.
- In another bowl, mix the instant chocolate and vanilla pudding mixes with 4 cups of cold milk. Whisk for about 2 minutes until thickened.
- Pour the pudding mixture over the cream cheese layer and smooth it out.
- Spoon the remaining Cool Whip onto the pudding layer and spread it out evenly.
- Cover with plastic wrap and refrigerate for at least 4 hours or overnight.
- Garnish with chocolate shavings or a drizzle of chocolate syrup before serving.
Leave a Reply