
As the oven fills with the sweet scent of baking, I can’t help but think of lazy summer afternoons when we’d gather around the table with laughter and warmth. This Easy Peach Galette brings that nostalgic vibe to life with its flaky, buttery crust cradling juicy, sun-ripened peaches. Not only is this peach dessert a stunning centerpiece for any gathering, but it’s also a breeze to whip up, taking less time than your typical pie. The best part? You can mix and match with seasonal fruits, making it as versatile as your family’s tastes. Have you ever tried a warm slice with a scoop of vanilla ice cream? You’re in for a delightful treat that deserves a spot in your dessert rotation!

Why is this Peach Galette a must-try?
Irresistible experience: This Peach Galette’s flaky, buttery crust is a textural marvel, effortlessly cradling sweet and juicy peaches for a dessert that’s as delightful as it is beautiful.
Versatile options: Feel free to swap in your favorite fruits like strawberries or blackberries, ensuring you can adjust this dish to match the season or your cravings.
Quick preparation: Unlike traditional pies, this galette comes together in a snap, making it ideal for spontaneous gatherings or a cozy weeknight treat.
Crowd-pleaser appeal: From friends to family, everyone can’t resist a warm slice topped with ice cream or whipped cream. It’s an instant hit that leaves them asking for more!
Consider serving it alongside my Peach Bruschetta Whipped for a delicious summer spread. This galette will not only satisfy your sweet tooth but also nourish the fond memories shared around the table.
Peach Galette Ingredients
For the Crust
• Refrigerated Pie Crust – Provides the base for the galette; can substitute with homemade pie crust for a fresher taste.
For the Filling
• 3 cups Peaches (sliced) – The star ingredient, offering sweetness and juiciness; feel free to substitute with other fruits like strawberries, apples, or blackberries based on preference.
• ¾ cup Granulated Sugar – Adds sweetness to the peaches; adjust the amount based on the ripeness of your peaches.
• ¾ cup Brown Sugar – Enhances flavor depth with a hint of molasses; using all granulated sugar is an option if you prefer.
• Juice of Half a Lemon – Balances sweetness and adds acidity; lime juice works well as an alternative if lemon isn’t on hand.
• 1 teaspoon Vanilla Extract – Adds aroma and depth of flavor; can be omitted for a different profile or replaced with almond extract.
• 1 tablespoon Cornstarch – Thickens the fruit juices and prevents sogginess; substitute with tapioca flour if needed.
• ½ teaspoon Cinnamon – Adds warmth and complements the peaches; adjust based on personal taste preferences.
For the Finishing Touches
• 1½ teaspoons Butter – Enhances flavor and adds a rich finish; margarine can be used as a substitute.
• 1 Egg & 1 tablespoon Milk (for wash) – Creates a golden crust upon baking; consider omitting or using non-dairy milk for a dairy-free option.
• 2 teaspoons Coarse Sugar – For topping, adds a nice crunch and enhances sweetness; regular granulated sugar can be used instead.
Step‑by‑Step Instructions for Peach Galette
Step 1: Preheat the Oven
Begin by preheating your oven to 400 degrees F. This will ensure that it’s hot enough to create that perfect golden-brown crust for your Peach Galette. While the oven warms up, gather all your ingredients to streamline the process.
Step 2: Prepare the Pie Crust
Roll out the refrigerated pie crust on a sheet of parchment paper until it forms a roughly 12-inch circle. Transfer this crust carefully onto a rimmed half-sheet pan. This easy step sets the foundation for your galette and makes cleanup a breeze.
Step 3: Make the Peach Filling
In a medium mixing bowl, whisk together the lemon juice, vanilla extract, and cornstarch until smooth. Gradually blend in the granulated and brown sugars along with the cinnamon. This mixture will create a delicious syrup that enhances the flavor of the peaches and thickens as it bakes.
Step 4: Combine Peaches and Syrup
Toss the sliced peaches in the prepared juice mixture, ensuring they are evenly coated. This step is key, as it allows the sweetness to penetrate the fruit, bringing out the best in your Peach Galette. The vibrant colors of the peaches against the syrup will make your mouth water!
Step 5: Arrange the Peaches
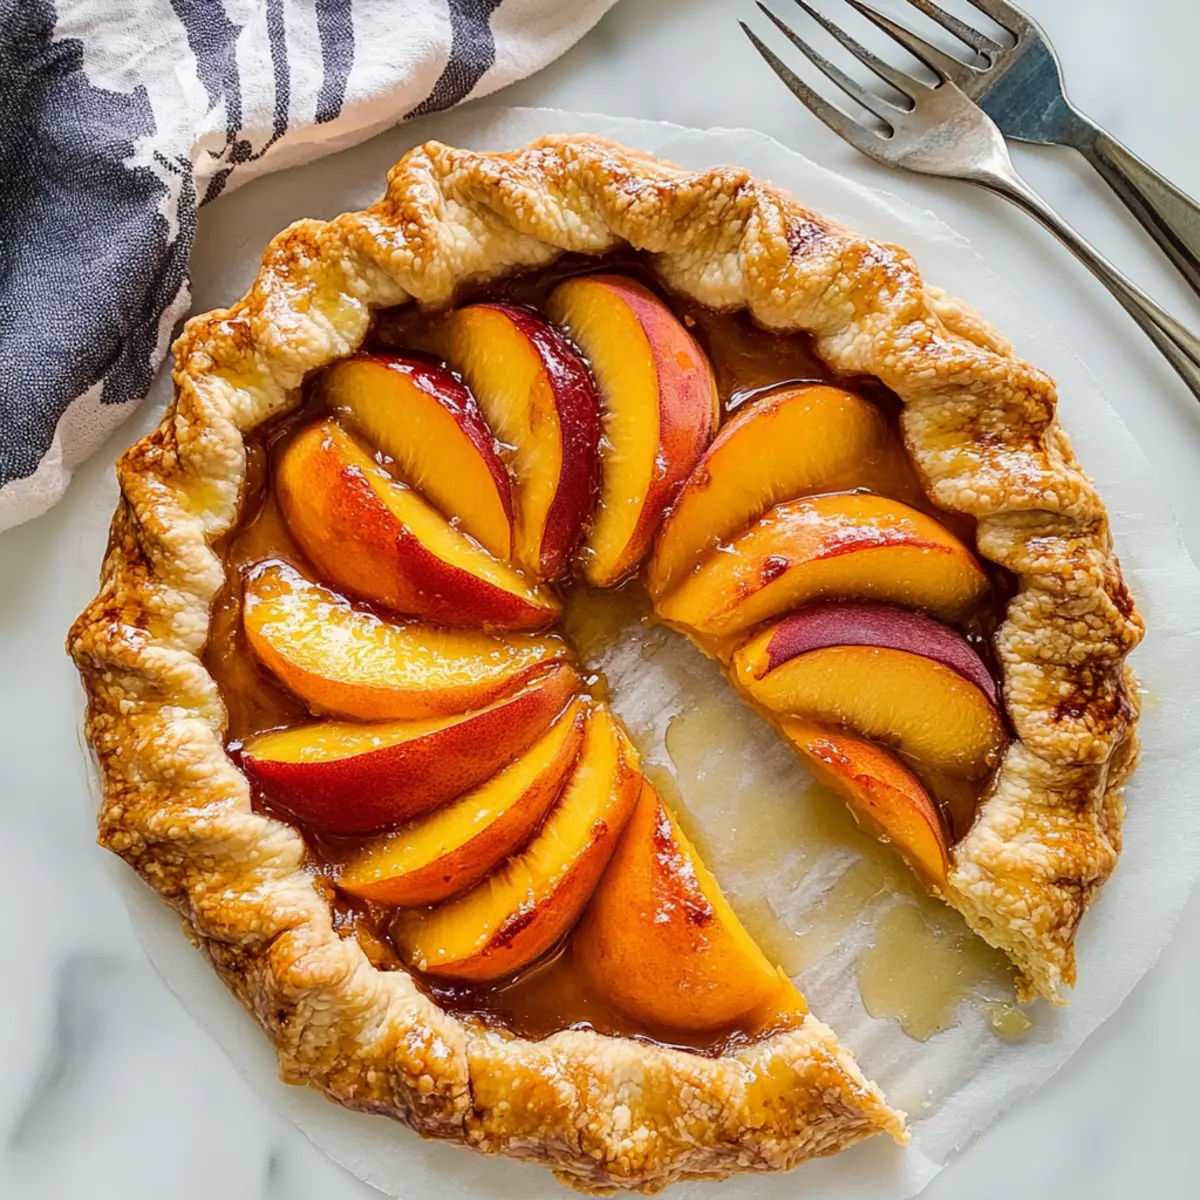
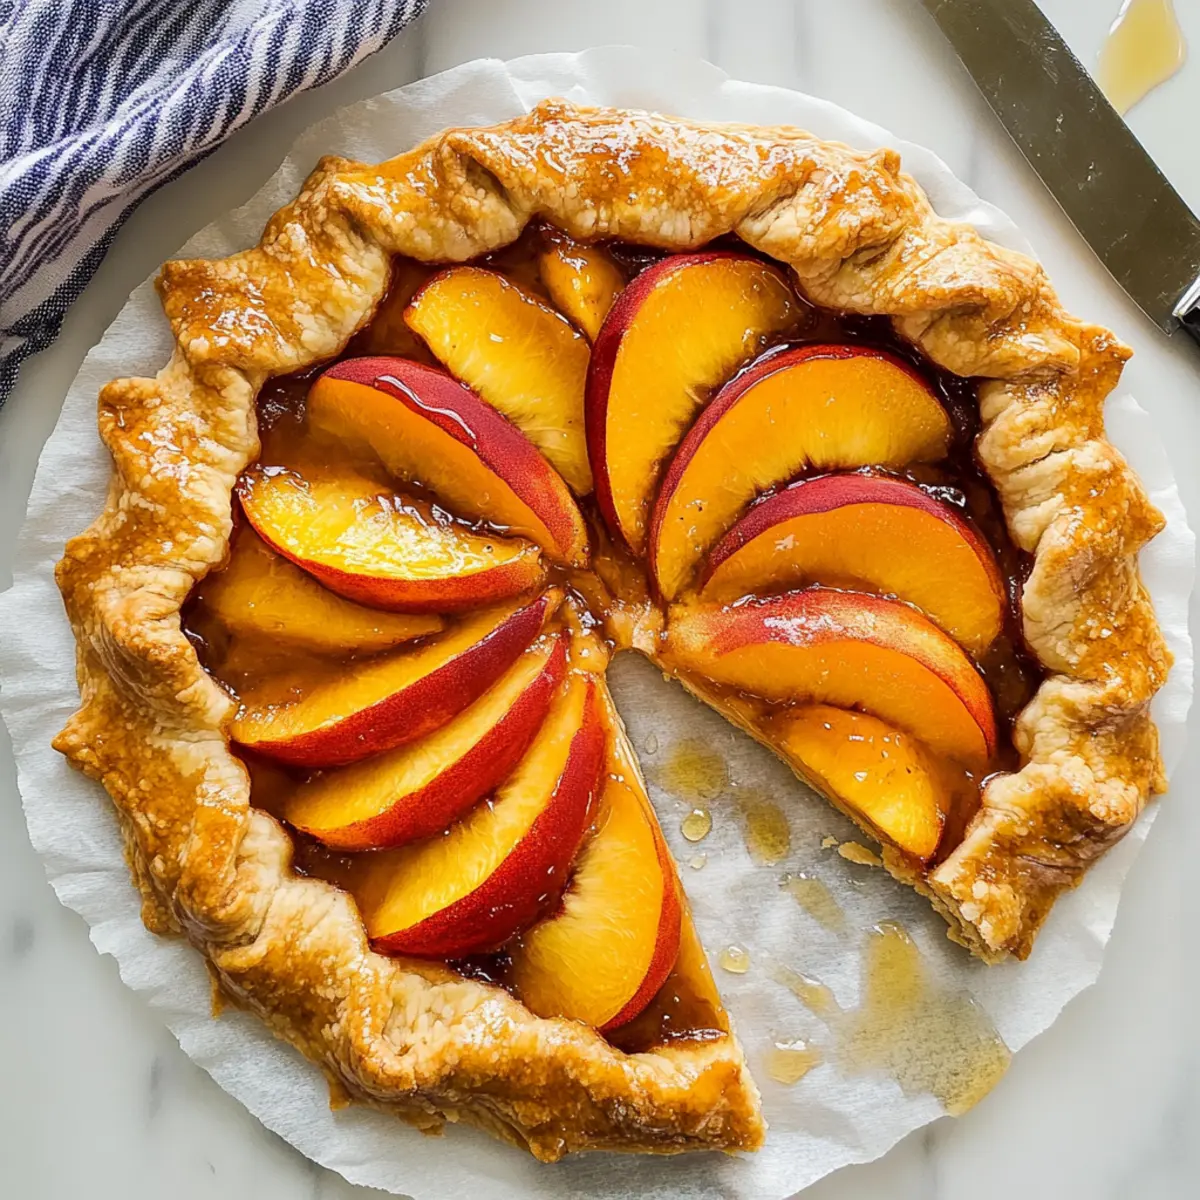
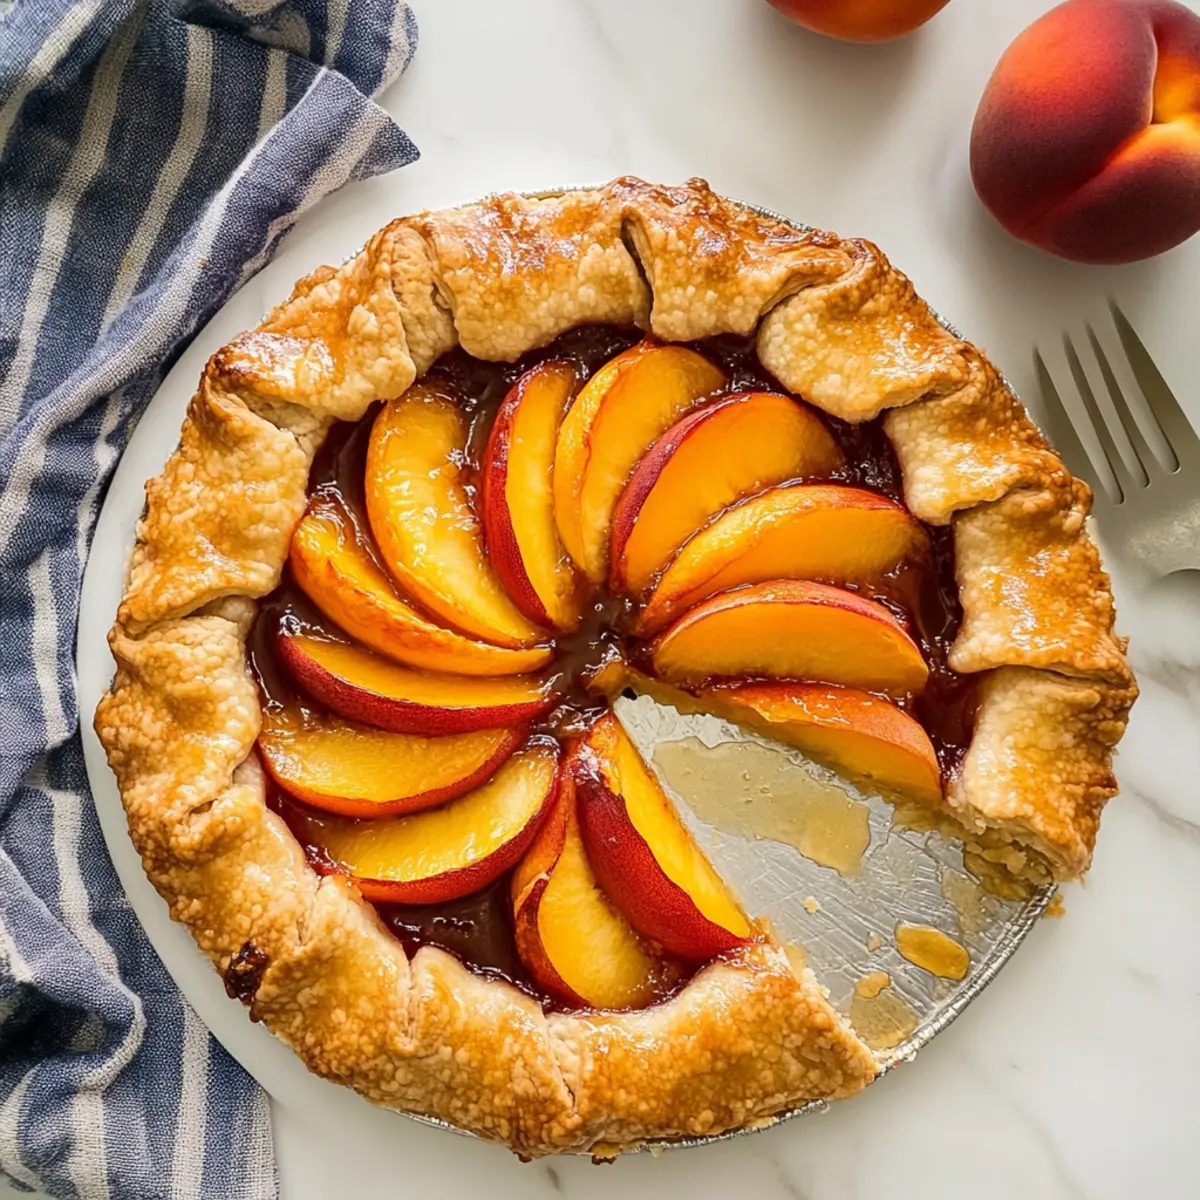
Spoon the peach mixture into the center of the pie crust, arranging it in a lovely circular pattern while leaving a 2-inch border around the edges. Pour any leftover juices over the peaches; this extra syrup will caramelize beautifully as it bakes, creating a luscious filling.
Step 6: Fold the Crust Edges
Gently fold the edges of the crust over the peaches, crimping them as necessary to create a rustic look. This step encases your filling while adding to the galette’s charming presentation. Don’t worry if it’s not perfect – that’s the beauty of a galette!
Step 7: Add the Finishing Touches
Dot the peaches with small bits of butter and brush the crust with an egg wash made from one beaten egg mixed with a tablespoon of milk. Finally, sprinkle coarse sugar on top for a delightful crunch. This will help create that enticing golden hue and add a touch of sweetness.
Step 8: Bake Your Galette
Place the galette in your preheated oven and bake for 25-30 minutes. Keep an eye on it starting at 25 minutes; the crust should be golden brown and the peaches should be bubbling. If the crust isn’t quite done, give it an extra 5 minutes until it reaches that perfect color.
Step 9: Cool and Serve
Once baked, allow the Peach Galette to rest for about 5 minutes before serving. This brief cooling period allows the filling to set, making it easier to slice. Enjoy warm on its own or with a scoop of vanilla ice cream for a delightful dessert experience!
What to Serve with Easy Peach Galette
Indulging in a scrumptiously warm slice of galette is always a delight, but pairing it with thoughtful accompaniments transforms it into an unforgettable meal.
-
Vanilla Ice Cream: The creamy texture of vanilla ice cream beautifully contrasts the flaky crust, making each bite a sweet and satisfying experience. As it melts over the warm galette, the flavors blend together perfectly.
-
Whipped Cream: A dollop of freshly whipped cream adds a light, airy finish that perfectly complements the rich peach filling. It enhances the dessert’s dreamy quality, making it even more irresistible.
-
Fresh Mint Leaves: Sprinkle some fresh mint over the top for a burst of color and refreshing flavor. The herbal notes will elevate the sweet peaches, providing a beautifully balanced taste.
-
Caramel Sauce: Drizzling warm caramel sauce over the galette adds an indulgent sweetness that enhances the dish’s rustic charm. The gooey richness creates a luxurious combination that everyone will love.
-
Lemon Zest: A sprinkle of lemon zest adds brightness and a zesty edge to the galette. This finish amplifies the peach flavor, making it a delightful experience that captivates the taste buds.
-
Sparkling Wine: A chilled glass of sparkling wine provides a festive touch and cuts through the sweetness of the dessert beautifully. The bubbles and acidity add a celebratory vibe to your meal.
-
Fruit Salad: A side of vibrant, seasonal fruit salad offers a refreshing contrast to the warmth of the galette. The assorted textures and flavors keep things lively and light.
-
Coffee or Tea: Pairing the galette with a warm cup of coffee or tea provides a cozy, comforting element to your dessert experience. The warmth and aroma complement the sweet and buttery notes of the galette wonderfully.
Expert Tips for Peach Galette
-
Choose Ripe Peaches: Ensure your peaches are perfectly ripe for maximum sweetness. If they’re too tart, consider reducing the sugar in the filling.
-
Avoid Sogginess: Sprinkle cornstarch evenly over the peach mixture to absorb excess juices during baking, keeping your galette from becoming soggy.
-
Experiment with Flavors: Don’t hesitate to mix in other seasonal fruits like blackberries or strawberries. This adds a new dimension to your peach galette and liven up the flavors!
-
Watch the Baking Time: Ovens can vary, so start checking your galette at the 25-minute mark. Look for a golden crust and bubbling fruit for the perfect finish.
-
Cool Before Serving: Allow the galette to cool for about 5 minutes after baking. This helps the filling set, making it easier to slice and serve.
Peach Galette Variations & Substitutions
Feel free to put your own twist on this delightful Peach Galette and let your creativity flow!
-
Seasonal Fruits: Replace peaches with other fruits like nectarines, berries, or plums to capture the essence of different seasons.
-
Nutty Crunch: Add chopped nuts or oats to the topping for extra texture; it adds a delightful crunch to each bite.
-
Boozy Boost: Mix a splash of bourbon or a pinch of nutmeg with your peaches for a captivating flavor twist that warms the heart.
-
Dairy-Free: Use non-dairy milk in your egg wash or omit it altogether for a delicious dairy-free dessert that everyone can enjoy.
-
Sugar Adjustments: Reduce the granulated sugar if using super sweet, ripe peaches for a more natural flavor; it’s all about preference!
-
Gluten-Free Crust: Swap in a gluten-free pie crust for a gluten-free version that’ll please everyone without sacrificing taste.
-
Fruit Medley: Combine peaches with other summer fruits like blackberries, which not only enhances flavor but also adds stunning color.
-
Savory Twist: For a savory galette, consider mixing in fresh herbs like basil or mint with your peaches. This combination creates a uniquely flavorful experience!
As you experiment with these variations, feel free to serve your peach galette alongside some Peach Bruschetta Whipped for an unforgettable summer spread. Each twist brings a new story to your table, making memories even sweeter!
Make Ahead Options
These Peach Galette preparations are perfect for busy cooks looking to save time without compromising flavor! You can slice and prepare the peaches with the lemon juice mixture up to 24 hours in advance, refrigerating them in an airtight container to prevent browning. Additionally, you can roll out the pie crust and store it in the fridge, wrapped tightly in plastic, up to 3 days ahead. When you’re ready to finish the galette, simply layer the peach mixture onto the prepared crust, fold the edges, and bake as instructed. This makes it easy to enjoy a delightful peach dessert with minimal last-minute effort, keeping your galette just as delicious!
Storage Tips for Peach Galette
Room Temperature: Store the galette at room temperature for up to 2 days, covering it lightly with foil or wax paper to preserve its texture.
Fridge: If you have leftovers, refrigerate the peach galette for up to 4 days in an airtight container. This keeps the flavors fresh and the crust from becoming too soggy.
Freezer: For longer storage, freeze the galette for up to 2 months. Wrap it tightly in plastic wrap and aluminum foil to prevent freezer burn.
Reheating: To enjoy your frozen peach galette, allow it to thaw overnight in the fridge, then reheat in a 350°F oven for 15-20 minutes until warmed through. Enjoy your delicious peach galette anytime!
Peach Galette Recipe FAQs
How do I select ripe peaches for the best flavor?
Absolutely! Look for peaches that are slightly soft to the touch, have a fragrant aroma, and exhibit a rich golden or blush color. Avoid peaches with dark spots all over, as they may be overripe or bruised. If they are too firm, let them sit at room temperature for a few days until they soften slightly.
What is the best way to store leftover peach galette?
I recommend storing your peach galette in an airtight container in the refrigerator for up to 4 days. For shorter-term storage, you can keep it at room temperature for about 2 days, just covering it lightly with foil to maintain its lovely texture.
Can I freeze peach galette? If so, how?
Absolutely! To freeze your peach galette, wrap it tightly in plastic wrap and then in aluminum foil or a freezer-safe bag to prevent freezer burn. It can be kept in the freezer for up to 2 months. When you’re ready to enjoy it, thaw it overnight in the fridge and reheat in a 350°F oven for 15-20 minutes, until warmed through and delicious.
What if my peach galette turns out soggy?
If you’re struggling with sogginess, be sure to sprinkle cornstarch evenly over the peach mixture before baking; this helps absorb excess juices. Also, ensure your peaches are not overly ripe, which can lead to a watery filling. A longer baking time at a slightly higher temperature can help achieve that perfect golden-brown crust!
Is this galette suitable for my gluten-free friends?
Very! You can easily adapt this peach galette by using a gluten-free pie crust, which many brands make available now. Just ensure all other ingredients, like sugars and cornstarch, are certified gluten-free to keep it safe for those with gluten sensitivities.
Can I use frozen peaches instead of fresh ones?
Yes, indeed! If you’re using frozen peaches, allow them to thaw and drain any excess moisture before mixing them into your filling. You might also want to increase the cornstarch slightly to help absorb any extra juices released during baking. Enjoy delicious fruity goodness all year round!
Irresistible Peach Galette with a Buttery Flaky Crust
Ingredients
Equipment
Method
- Preheat your oven to 400 degrees F.
- Roll out the refrigerated pie crust on parchment paper until it forms a 12-inch circle and transfer to a half-sheet pan.
- In a mixing bowl, whisk lemon juice, vanilla, and cornstarch until smooth. Blend in granulated and brown sugars along with cinnamon.
- Toss sliced peaches in the prepared juice mixture until evenly coated.
- Spoon the peach mixture into the center of the pie crust, leaving a 2-inch border.
- Fold the edges of the crust over the peaches, crimping as necessary.
- Dot the peaches with butter, brush the crust with egg wash, and sprinkle coarse sugar on top.
- Bake in the preheated oven for 25-30 minutes until the crust is golden brown.
- Allow the galette to cool for about 5 minutes before serving.
Leave a Reply