
As I stood in my kitchen, the sweet aroma of melting chocolate mingled with the tart scent of fresh cherries, I knew I was about to create something special. These Chocolate Chip Cherry Bars have become a favorite for their luscious, fudgy texture and the natural sweetness of seasonal fruits. What I love most about this easy no-mixer recipe is that it requires minimal effort but delivers maximum joy—perfect for those lazy afternoons or impromptu gatherings! Whether you’re a seasoned baker or just starting out, these bars promise to be a crowd-pleaser with their delightful combination of rich chocolate and juicy cherries. Feel free to get creative and switch in dried cherries or other stone fruits for an exciting twist. Ready to dive into a deliciously simple dessert? Let’s bake!
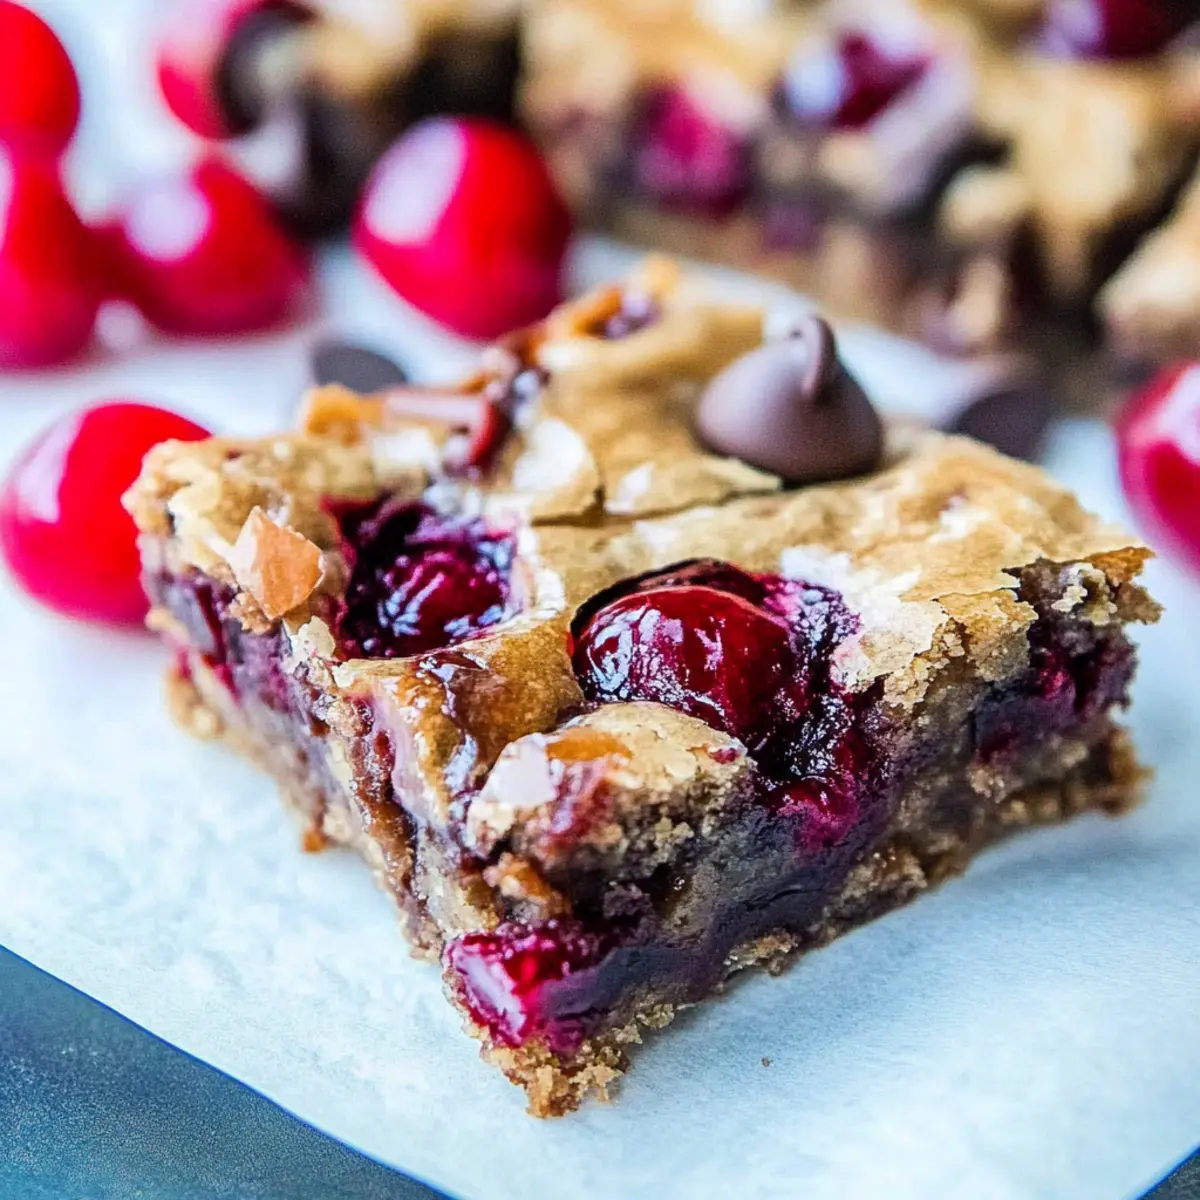
Why Are These Bars So Irresistible?
Delightful texture: Each bite offers a perfect blend of fudginess and chewiness, with a crispy edge that makes them hard to resist.
Seasonal sweetness: The combination of rich chocolate and juicy cherries bursts with flavor, celebrating seasonal fruits that everyone loves.
No-mixer magic: This easy recipe means you can whip these up without the fuss of complicated equipment—perfect for any home cook!
Customizable fun: Feel free to experiment by adding dried cherries or mixing in other favorites like plums or peaches. Check out my Butterscotch Chocolate Chip for another fantastic twist on classic bars!
Crowd-pleasing favorite: Whether at a picnic or a cozy gathering, these bars are sure to become the life of the party!
Chocolate Chip Cherry Bars Ingredients
For the Batter
- Unsalted Butter – Rich flavor that adds moisture; ensure it’s melted for easy mixing.
- Light Brown Sugar – Adds a hint of caramel sweetness that enhances the bars.
- Large Egg – Binds all ingredients together for a chewy texture.
- Vanilla Extract – Elevates the flavor; opt for pure vanilla for the best results.
- All-Purpose Flour – Essential for structure, forming the base of your bars.
- Salt – Enhances flavors; optional depending on your taste preference.
For the Mix-Ins
- Semi-Sweet Chocolate Chips – Provides rich sweetness and chocolatey goodness; feel free to substitute with milk or white chocolate.
- Cherries – Fresh, pitted cherries deliver a juicy burst of flavor; frozen can work if fresh ones aren’t available!
Feel free to dive into making these Chocolate Chip Cherry Bars, where every bite promises a delightful experience!
Step‑by‑Step Instructions for Chocolate Chip Cherry Bars
Step 1: Preheat the Oven
Begin by preheating your oven to 350°F (175°C). This initial step ensures your oven is at the perfect temperature for baking the Chocolate Chip Cherry Bars, creating that delightful fudgy texture. While the oven heats up, gather all your ingredients and equipment for a smooth baking experience.
Step 2: Prepare the Baking Pan
Take an 8×8-inch baking pan and line it with parchment paper or aluminum foil, leaving an overhang for easy removal later. Lightly grease the lined pan with cooking spray or butter to prevent sticking. This preparation sets the stage for your bars to bake evenly and come out beautifully.
Step 3: Melt the Butter
In a microwave-safe bowl, melt ½ cup of unsalted butter in short increments, about 20 seconds at a time, until completely melted. Stir the butter until it’s smooth and glossy. This melted butter is crucial for the texture of your Chocolate Chip Cherry Bars, providing richness and moisture.
Step 4: Combine Brown Sugar and Wet Ingredients
Once the butter is melted, stir in 1 cup of light brown sugar until well combined. Let it cool slightly, then add 1 large egg and 1 teaspoon of vanilla extract. Mix thoroughly until the mixture is smooth and creamy. This base will bring sweetness and flavor to your bars, setting the foundation for deliciousness.
Step 5: Add Dry Ingredients
Gradually add 1 cup of all-purpose flour and a pinch of salt to the wet mixture. Gently fold the ingredients together until just combined, being careful not to overmix. The flour will create the structure of your Chocolate Chip Cherry Bars, so maintaining tenderness is key as you mix.
Step 6: Fold in Chocolate Chips and Cherries
Next, gently fold in 1 cup of semi-sweet chocolate chips and 1 cup of pitted, halved cherries. Ensure that the cherries stay whole for that lovely chunky appearance. This step adds bursts of fruity flavor and rich chocolate goodness, making each bite an indulgent experience.
Step 7: Pour the Batter into the Pan
Pour the thick batter into your prepared baking pan, smoothing the top with a spatula. Make sure the mixture is evenly distributed in the pan to guarantee even baking. This is the moment where anticipation builds for those glorious Chocolate Chip Cherry Bars!
Step 8: Bake the Bars
Place the pan in your preheated oven and bake for 27 to 32 minutes. Look for the edges to pull slightly away from the sides and the center to be set, indicating doneness. The aroma wafting from the oven will surely whet your appetite for these delicious treats.
Step 9: Cool the Bars
Once baked, remove the pan from the oven and allow it to cool in the pan for at least 1 hour. This cooling time is essential for helping the bars firm up before cutting. Patience pays off, as you’ll savor the fudgy and fruity essence of your Chocolate Chip Cherry Bars once they’re ready!
Step 10: Slice and Serve
After cooling, use the parchment overhang to lift the bars from the pan, placing them on a cutting board. Cut into squares or rectangles based on your preference. These Chocolate Chip Cherry Bars are best served at room temperature or slightly warm, offering a delightful dessert any time of the day!
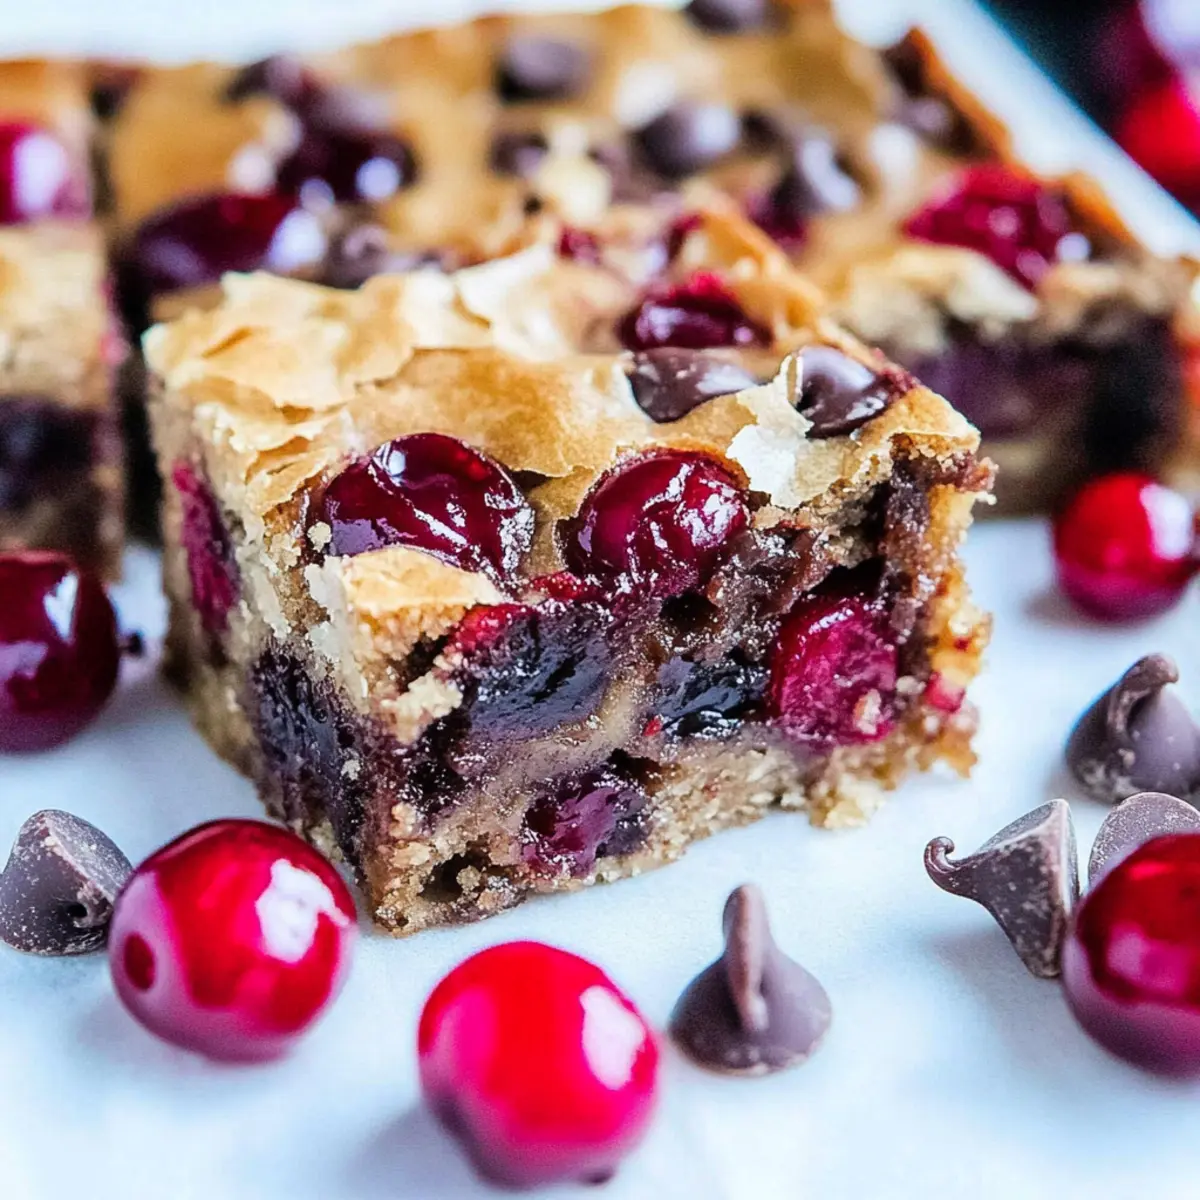
Expert Tips for Chocolate Chip Cherry Bars
-
Perfectly Melting Butter: Always melt your butter until it’s smooth; this ensures even mixing and a fudgy texture in your Chocolate Chip Cherry Bars.
-
Mix Gently: Avoid overmixing once you add the flour; too much mixing can lead to tough bars. Aim for a just-combined batter for optimal tenderness.
-
Fruit Variations: Feel free to substitute fresh cherries with dried ones, or mix in other seasonal fruits like peaches or plums for exciting flavor twists.
-
Bake and Check: Keep an eye on the baking time; the bars might not pass the toothpick test due to melting chocolate or juicy fruit, so look for firm edges instead.
-
Cooling Time: Be patient! Let the bars cool in the pan for at least 1 hour to ensure they firm up correctly before slicing and serving.
Chocolate Chip Cherry Bars Variations
Feel free to get creative with these bars, enhancing the flavors and textures to suit your tastes!
-
Dried Cherries: Swap fresh cherries for dried cherries for a concentrated sweet and tart flavor. The chewy texture makes for a delightful contrast to the fudginess of the bars.
-
Mixed Stone Fruits: Experiment with other stone fruits like plums, peaches, or apricots. Each fruit brings a unique sweetness that can transform these bars into a seasonal sensation.
-
Berry Bliss: Incorporate a cup of fresh blueberries or raspberries for a colorful twist. Their tartness pairs wonderfully with chocolate and adds an eye-catching appeal.
-
Nutty Additions: Add ½ cup of chopped nuts, like walnuts or pecans, for an added crunch and richness. Nuts can elevate the texture and flavor, making each bite even more satisfying.
-
Spiced Up: Sprinkle in a dash of cinnamon or nutmeg for some warming spices. This can add a cozy undertone that beautifully complements the chocolate and fruit flavors.
-
Chocolate Lovers: For an even richer chocolate experience, use a mix of semi-sweet and dark chocolate chips. It brings depth and a satisfying chocolate punch!
-
Chill Variations: Serve these bars chilled with a scoop of vanilla ice cream on top. This cool treat is perfect for hot summer days and adds a creamy contrast.
-
Drizzle Delight: Finish off your bars with a drizzle of melted white chocolate or caramel sauce. This adds an extra layer of sweetness and a beautiful presentation!
Ready to experiment? These variations will keep your Chocolate Chip Cherry Bars exciting and introduce new flavors into your favorite family treat. Plus, check out my delicious Cherry Clafoutis for another fantastic way to enjoy cherries!
Make Ahead Options
These Chocolate Chip Cherry Bars are perfect for meal prep enthusiasts! You can prepare the batter up to 24 hours in advance by mixing all dry ingredients in one bowl and wet ingredients in another, then refrigerate them separately. For added convenience, you can also pit and halve the cherries ahead of time, storing them in an airtight container in the refrigerator for up to 3 days. To maintain the bars’ delicious fudgy texture, avoid adding the chocolate chips and cherries until you’re ready to bake. When it’s time to indulge, simply combine the elements, pour the batter into the pan, and bake as directed. You’ll enjoy fresh, warm Chocolate Chip Cherry Bars with minimal effort!
What to Serve with Chocolate Chip Cherry Bars?
Indulging in the rich flavors of chocolate and cherries is only the beginning; let’s craft the perfect meal to complement this delightful dessert!
-
Vanilla Ice Cream: A classic pairing that enhances the fudgy texture while adding a creamy cold contrast, making each bite irresistible.
-
Fresh Berries Salad: A medley of seasonal berries adds a pop of freshness and a tangy bite, balancing the sweetness of the bars beautifully.
-
Whipped Cream: Light and airy, a dollop of freshly whipped cream provides a wonderful contrast to the dense bars, elevating your dessert experience.
-
Coffee or Espresso: A cup of robust coffee or a shot of espresso brings out the chocolate flavor, creating an indulgent after-dinner treat.
-
Mango Sorbet: The zesty sweetness of mango sorbet lightens the palate, making for a refreshing complement to the rich chocolate cherry bars.
-
Chocolate Drizzle: For an extra touch, drizzle some melted chocolate over the bars before serving. It enhances the presentation and adds a little extra decadence.
-
Chilled White Wine: A fruity, chilled white wine pairs perfectly, offering a crisp note that balances the desserts’ sweetness and complements the cherries.
-
Gourmet Nuts: Serve a small selection of toasted almonds or hazelnuts on the side for a crunchy texture, providing a savory contrast to the sweet bars.
How to Store and Freeze Chocolate Chip Cherry Bars
Room Temperature: Store the bars in an airtight container at room temperature for up to 1 week. This keeps them moist while allowing their flavors to develop.
Fridge: If you prefer your chocolate chip cherry bars chilled, keep them in the refrigerator for up to 2 weeks. Just be sure they’re in a sealed container to prevent drying out.
Freezer: For longer storage, freeze the bars in an airtight container or wrap them individually in plastic wrap. They can last for up to 3 months; simply thaw at room temperature before serving.
Reheating: If you desire a warm treat, pop a slice in the microwave for about 10-15 seconds. The chocolate will soften, making the bars even more indulgent!
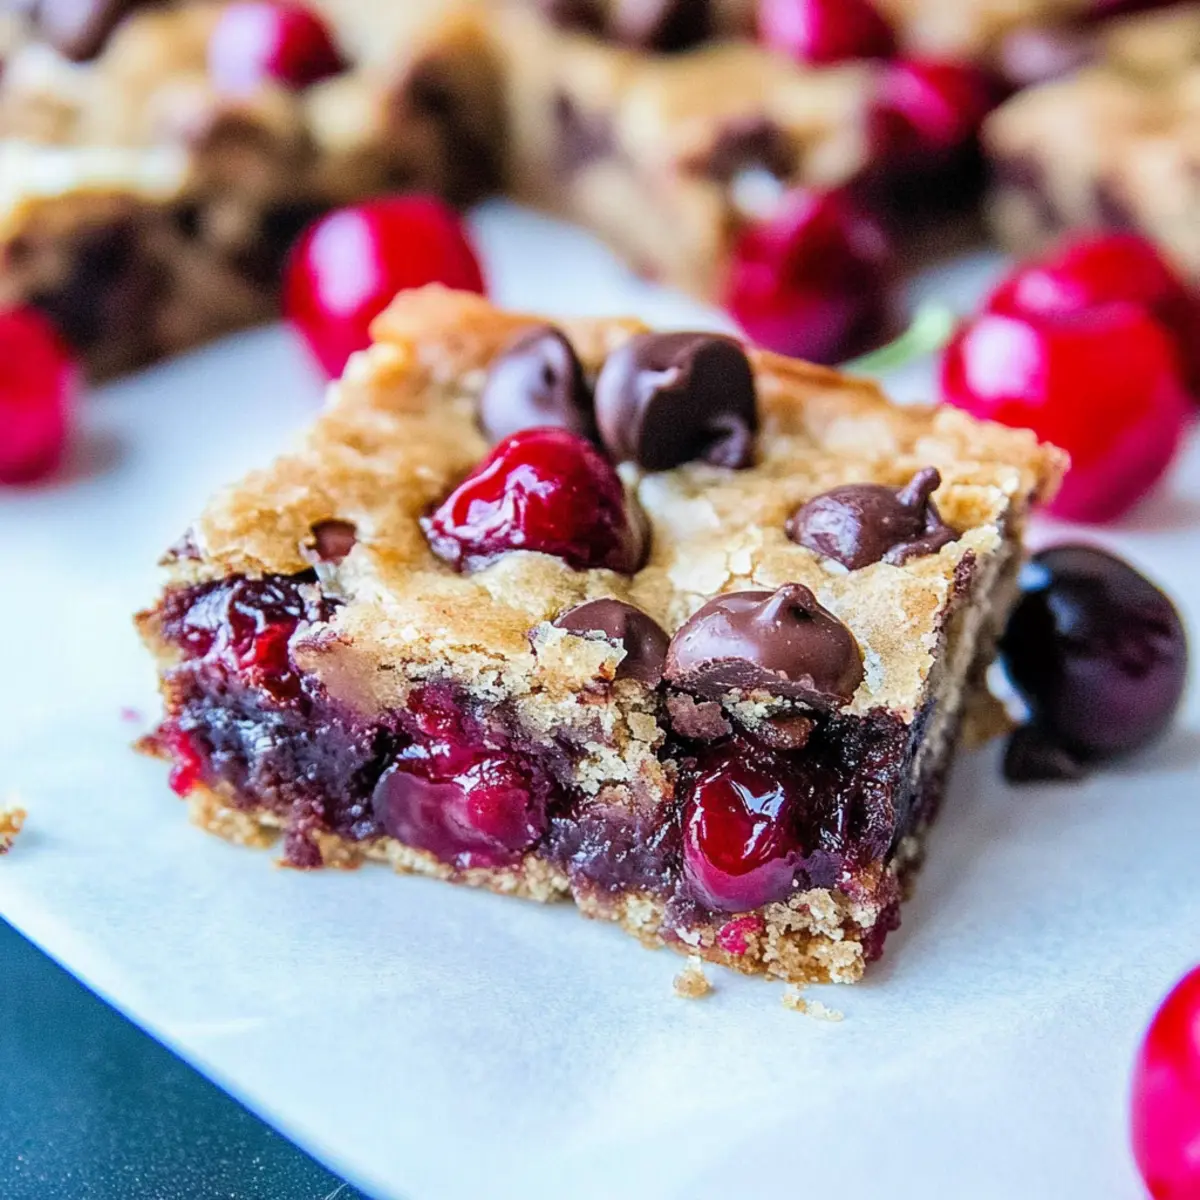
Chocolate Chip Cherry Bars Recipe FAQs
How do I choose the best cherries for my bars?
Absolutely! For optimal flavor, select fresh cherries that are bright, plump, and firm. Avoid cherries with dark spots or blemishes. If you’re opting for frozen cherries, make sure they’re individually frozen and not clumped together, so they blend nicely into your batter.
How should I store my Chocolate Chip Cherry Bars?
Very! Store your Chocolate Chip Cherry Bars in an airtight container at room temperature for up to 1 week. If you prefer them chilled (they’re delicious that way!), keep them in the refrigerator for up to 2 weeks. Just remember to seal them well to keep them from drying out.
Can I freeze these bars for later?
Absolutely! You can freeze Chocolate Chip Cherry Bars for up to 3 months. To do this, wrap each bar individually in plastic wrap and then place them in an airtight container. When you’re ready to enjoy them, just thaw them at room temperature for about 30 minutes, or pop them in the microwave for about 10-15 seconds to warm them up!
What should I do if my batter is too thick?
If your batter feels too thick, you might have mixed your ingredients too much or didn’t add enough moisture. You can fix this by folding in a splash of milk or an extra egg to the mixture. Just do so gently, to keep the bars tender and fudgy!
Are there any dietary considerations with these bars?
Great question! If you’re concerned about allergies, be mindful that this recipe contains gluten and dairy. For a gluten-free version, try using a gluten-free flour blend instead of all-purpose flour. If you’re avoiding dairy, you can substitute melted coconut oil for the butter and use dairy-free chocolate chips.
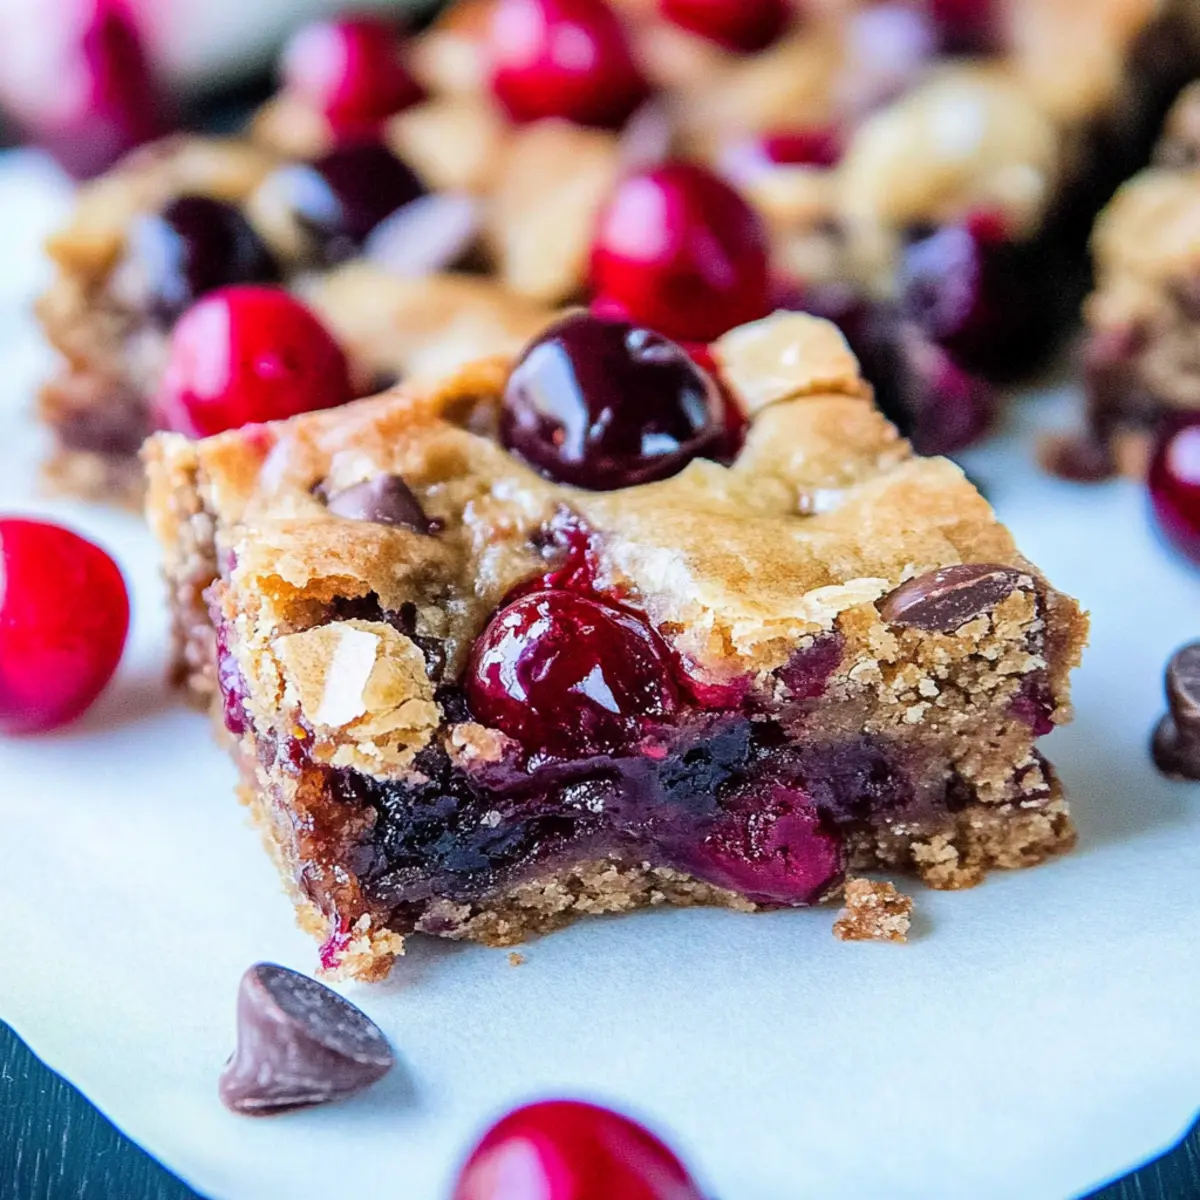
Chocolate Chip Cherry Bars – Easy, Fruity Bliss Awaits
Ingredients
Equipment
Method
- Preheat your oven to 350°F (175°C).
- Prepare an 8x8-inch baking pan with parchment paper and grease it.
- Melt ½ cup of unsalted butter in a microwave-safe bowl.
- Combine 1 cup of light brown sugar with the melted butter. Allow to cool, then add 1 egg and vanilla extract.
- Gradually mix in 1 cup of all-purpose flour and salt until combined.
- Fold in 1 cup of chocolate chips and 1 cup of cherries.
- Pour the batter into the prepared pan, smoothing the top.
- Bake for 27 to 32 minutes or until edges pull away from the sides.
- Allow the bars to cool in the pan for at least 1 hour before slicing.
- Slice into squares and serve warm or at room temperature.
Leave a Reply