
You might think there’s nothing more satisfying than a warm cookie just out of the oven, but wait until you try these Jif Peanut Butter Cookies! The aroma alone—sweet and nutty with a hint of buttery goodness—will whisk you back to cherished moments spent in a cozy kitchen. This classic cookie recipe promises a delightful crispy-chewy texture, making it a perfect choice for spontaneous family snacks or special gatherings. With just 23 minutes from prep to plate, they’re not only easy to whip up but also ideal for those looking to swap out fast food for something made with love. Curious about how a few simple ingredients can create such a scrumptious treat? Let’s dive into the world of peanut butter goodness!
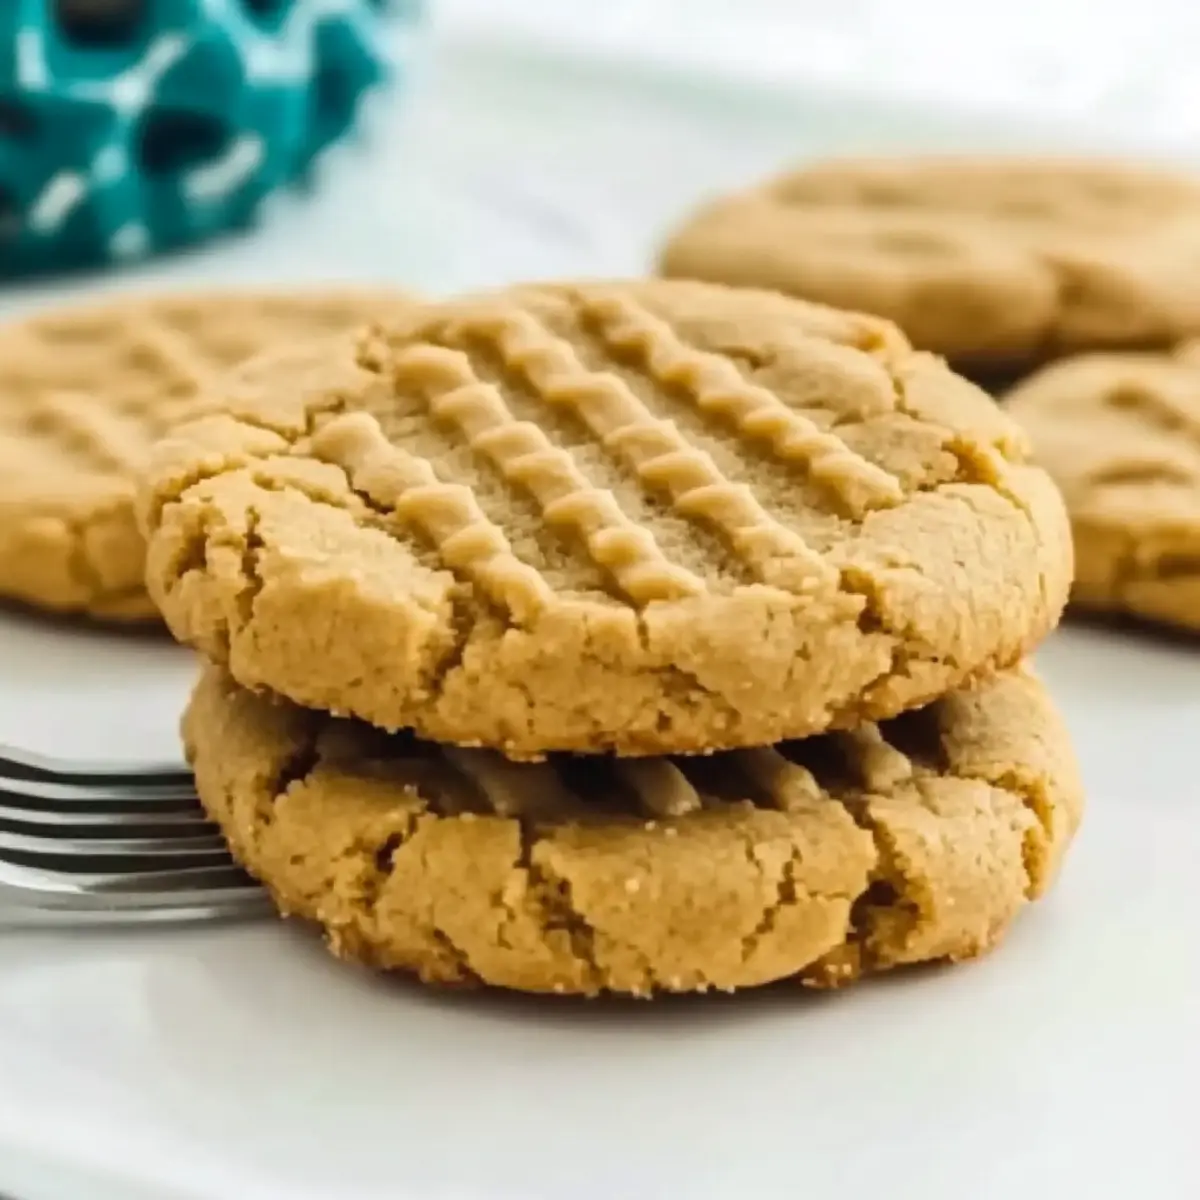
Why are Jif Peanut Butter Cookies irresistible?
Irresistible Aroma: The moment these cookies start baking, your kitchen will fill with a mouthwatering scent that beckons everyone inside.
Quick and Simple: In just 23 minutes, you can indulge in homemade cookies that are a step up from store-bought.
Classic Comfort: These cookies blend salty and sweet flavors, creating a nostalgic treat that pairs perfectly with a glass of milk.
Versatile Options: Feel free to toss in your favorite chocolate chips or nuts for an exciting twist, making them adaptable for any occasion.
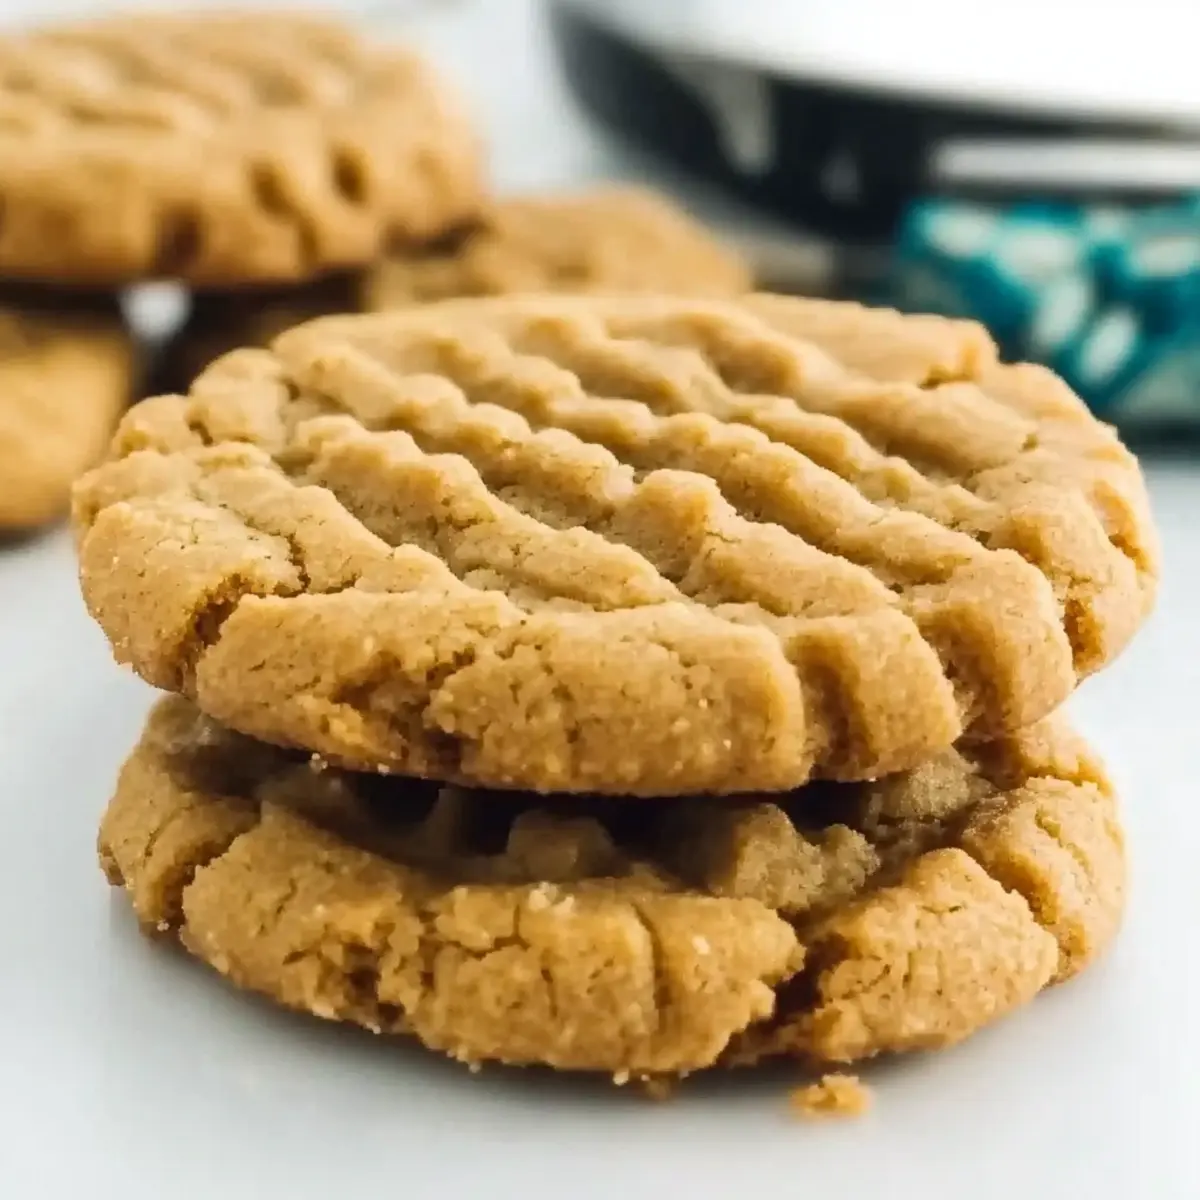
Texture Paradise: With a slightly crunchy edge and chewy center, each bite delivers a delightful contrast that’s simply unforgettable.
Make these Jif Peanut Butter Cookies and join the ranks of home bakers indulging in sweet wholesomeness!
Jif Peanut Butter Cookies Ingredients
• Here’s everything you need to create these soft, chewy delights!
For the Batter
- All-purpose flour – Provides structure to the cookies; you can use gluten-free flour for a gluten-free version.
- Baking soda – Aids in rising and gives cookies a soft texture; no substitutions recommended.
- Baking powder – Adds fluffiness; omit only if necessary, as this may result in denser cookies.
- Salt – Enhances flavors; kosher or sea salt offers a more pronounced taste.
- Butter (room temperature) – Adds richness and moisture; margarine or coconut oil can be used for a dairy-free option.
- Jif peanut butter – The star ingredient that imparts rich peanut flavor; substitute with any nut or seed butter if needed.
- White sugar – Sweetens and contributes to the chewy texture; brown sugar can replace half for added moisture.
- Brown sugar – Adds depth and moisture; feel free to use all white sugar in a pinch.
- Egg – Binds the ingredients together; a flax egg or applesauce works well for a vegan option.
- Egg yolk – Enriches the cookie’s structure; omit for a lighter version.
- Vanilla extract – Elevates flavor; opt for pure vanilla extract for best results or substitutes like maple syrup if necessary.
These Jif Peanut Butter Cookies are simple yet delightful, and each ingredient plays a crucial role in crafting that perfect cookie!
Step‑by‑Step Instructions for Jif Peanut Butter Cookies
Step 1: Preheat the Oven
Begin by preheating your oven to 350°F (175°C). While the oven warms up, take the time to line your baking sheets with parchment paper. This will prevent the cookies from sticking and make cleanup a breeze. Ensure your kitchen is filled with the anticipation of delicious cookies about to be baked!
Step 2: Mix the Dry Ingredients
In a medium bowl, combine the all-purpose flour, baking powder, baking soda, and salt. Whisk these dry ingredients together until well blended, which helps to evenly distribute the baking soda and powder. Once the mixture is smooth, set it aside to focus on the wet ingredients for your Jif Peanut Butter Cookies.
Step 3: Cream the Butters and Sugars
In a large mixing bowl, use a hand mixer or stand mixer to blend together the Jif peanut butter and room-temperature butter until you achieve a smooth consistency. Gradually mix in both white and brown sugars, continuing to blend until the mixture becomes creamy and fluffy. This step is crucial for the rich flavor of the cookies.
Step 4: Add Egg Mixture
Next, crack an egg and separate the yolk, adding both to the cookie mixture along with the vanilla extract. Mix thoroughly until all ingredients are combined seamlessly. This will create a beautifully rich batter that captures the essence of chewy Jif Peanut Butter Cookies, showcasing that delightful peanut flavor.
Step 5: Combine Wet and Dry Ingredients
Now it’s time to incorporate the dry ingredients into your creamy batter. Gradually add the flour mixture, blending just until combined. Be careful not to overmix, as this can lead to dense cookies. The dough should come together and be slightly sticky but manageable— the simple charm of Jif Peanut Butter Cookies is coming together!
Step 6: Shape the Cookies
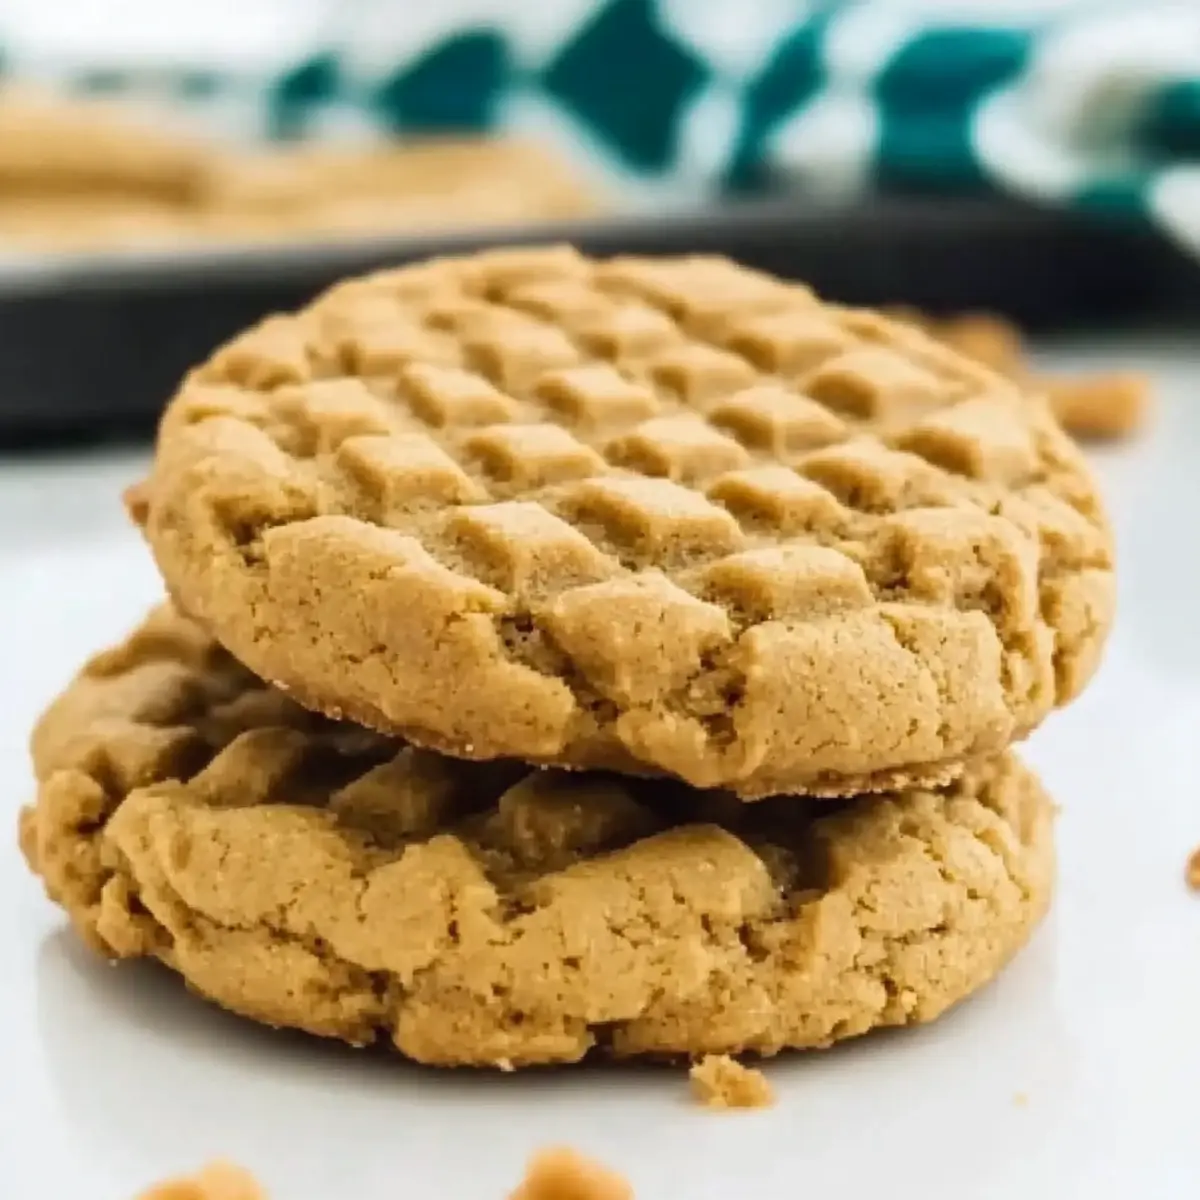
Using a cookie scoop or tablespoon, portion out the dough onto the prepared baking sheets, spacing them about 2 inches apart. For an iconic look, flatten each dough ball slightly with the tines of a fork, creating a crisscross pattern. This step gives your cookies that classic appearance while ensuring they bake evenly.
Step 7: Bake and Cool
Place the baking sheets in the preheated oven and bake for 8-10 minutes. You’ll know they’re ready when the edges turn a light golden brown, while the centers look soft and slightly underbaked. Remove them from the oven and let them cool on the sheets for about 5 minutes before transferring them to a wire rack to cool completely, ensuring they achieve that perfect chewy texture.
Expert Tips for Jif Peanut Butter Cookies
- Chill the Dough: Chilling the dough for 30 minutes prevents spreading and helps achieve that perfect cookie shape.
- Use Parchment Paper: Lining baking sheets with parchment paper avoids sticking and makes cleanup effortless.
- Don’t Overmix: Mix the ingredients until just combined to maintain the soft and chewy texture of your Jif Peanut Butter Cookies.
- Check Baking Time: Keep an eye on your cookies; they’re done when the edges are lightly golden, but the centers should still look soft.
- Storing Tips: Store cookies in an airtight container at room temperature for up to a week, keeping them fresh and delicious!
What to Serve with Jif Peanut Butter Cookies
Elevate your cookie experience with delightful pairings that enhance their irresistible flavor and nostalgia.
-
Glass of Milk: The classic combination, milk complements the cookies’ rich peanut flavor, creating a comforting indulgence. Dipping a warm cookie into cold milk is pure bliss!
-
Hot Coffee: The boldness of freshly brewed coffee balances the sweetness of the cookies, making it a perfect afternoon pick-me-up. It’s an ideal pairing for those cozy mornings or quiet moments.
-
Chocolate Ice Cream: Pair your cookies with a scoop of chocolate ice cream for a decadent dessert. The creamy, chilled treat juxtaposes beautifully with the warm, chewy cookie.
-
Fresh Fruit Salad: A light fruit salad with berries and melons adds a refreshing contrast to the rich flavors of the cookies. The natural sweetness of the fruit enhances the overall indulgence.
-
Peanut Butter Banana Smoothie: Blend together bananas, peanut butter, and milk for a creamy smoothie that echoes the cookie’s flavor profile. It’s a fantastic breakfast or snack option that hints at your baking.
-
Honey Drizzled Tart Apples: Sliced apples sprinkled with honey offer a crunchy and sweet side that beautifully balances the peanut butter richness. This pairing channels a delightful autumn vibe.
-
Nutty Trail Mix: A small bowl of nutty trail mix can provide a crunchy contrast, mixing textures and flavors. It’s perfect for a fun, casual snack alongside your cookies.
-
Caramel Sauce: Drizzling a warm caramel sauce over your cookies for an extra layer of sweetness is divine. It’s guaranteed to elevate your cookie enjoyment!
-
Iced Tea: A refreshing glass of iced tea—be it black, green, or herbal—invigorates the palate and matches wonderfully with the warmth of the cookies.
Storage Tips for Jif Peanut Butter Cookies
- Room Temperature: Store the cookies in an airtight container at room temperature for up to 1 week. This keeps them fresh while maintaining that delightful chewy texture.
- Freezer: For longer storage, freeze the cookies in a single layer on a baking sheet, then transfer to an airtight container after they’re frozen solid. They will last up to 3 months, ready to enjoy whenever you crave Jif Peanut Butter Cookies!
- Chilled Dough: If you’ve prepared the dough in advance, wrap it tightly and store in the fridge for up to 3 days. This allows for quick baking on a busy day while preventing the dough from drying out.
- Reheating: To enjoy leftover cookies warm, simply microwave them for 10-15 seconds. This will revive their soft, chewy goodness and remind you why you fell in love with these Jif Peanut Butter Cookies in the first place!
Jif Peanut Butter Cookies Variations
Customize your Jif Peanut Butter Cookies for a delightful twist that tantalizes your taste buds!
-
Chocolate Chip: Add 1 cup of semi-sweet chocolate chips to the dough for a classic combination. The rich chocolate pairs beautifully with the peanut butter, creating a symphony of flavors in every bite.
-
Nutty Crunch: Fold in 1/2 cup of chopped walnuts or pecans to enhance the texture. Adding nuts not only gives your cookies a satisfying crunch but also elevates the nutty flavor of the Jif peanut butter.
-
Oatmeal Boost: Incorporate 1 cup of rolled oats into the batter for added wholesomeness. Oats give your cookies a rustic quality while keeping the chewy texture intact, making them perfect for breakfast treats!
-
Maple Infusion: Substitute maple syrup for vanilla extract to create a unique flavor profile. This twist introduces a rich, sweet complexity that makes each cookie extra special, perfect for cozy moments.
-
Cocoa Delight: Mix in 1/4 cup of unsweetened cocoa powder for a chocolatey take. This variation offers a delightful deep flavor that pairs well with the signature peanut butter taste, making it an irresistible treat.
-
Spice it Up: A hint of cinnamon, perhaps 1 teaspoon, can warm up the flavor profile. It adds a cozy aroma and pairs beautifully with the sweetness of peanut butter, transforming your cookies into a treat suitable for fall gatherings.
-
Sugar Coated: Roll cookie balls in granulated sugar before baking for a dazzling finish. This adds a little extra sweetness and a beautiful sparkle to your cookies, making them a lovely addition to any dessert table.
-
Sweet and Salty: Sprinkle a pinch of sea salt on top before baking for that sweet-salty contrast. It brings out the flavors of the peanut butter while satisfying every craving for something savory.
These variations not only add dimension to your Jif Peanut Butter Cookies, but also invite creative expression in your baking! Whether you stick to the classic recipe or explore exciting twists, your cookies will be loved by family and friends alike. For more delicious cookie ideas, check out my Cappuccino Cookies Chewy or the timeless Snickerdoodle Cookies Sweet. Happy baking!
Make Ahead Options
These Jif Peanut Butter Cookies are perfect for meal prep, allowing you to satisfy those sweet cravings on busier days! You can prepare the cookie dough up to 24 hours in advance by mixing all the wet and dry ingredients together and then chilling it in the refrigerator. This chilling step not only prevents spreading during baking but also enhances the flavors, resulting in delicious cookies just as if you made them fresh. When you’re ready to bake, simply scoop the dough onto a baking sheet and follow the baking instructions. Enjoy restaurant-quality cookies with minimal effort, bringing warmth and smiles to any day!
Jif Peanut Butter Cookies Recipe FAQs
How do I choose the right peanut butter for the recipe?
Absolutely! For these cookies, I recommend using Jif peanut butter as it provides a rich flavor. You can substitute it with any creamy nut or seed butter if allergies are a concern. Just keep in mind that the texture and flavor may vary slightly based on the type of nut butter used.
What is the best way to store Jif Peanut Butter Cookies?
Very! Store the cookies in an airtight container at room temperature for up to 1 week. This helps preserve their soft, chewy texture. If you want to keep them longer, freeze the cookies by placing them in a single layer on a baking sheet. Once frozen solid, transfer them to an airtight container or freezer bag. They will stay fresh for up to 3 months!
Can I freeze the Jif Peanut Butter Cookie dough?
Definitely! To freeze the cookie dough, scoop out individual portions onto a baking sheet lined with parchment paper and freeze until solid. Once they are firm, you can transfer the cookie dough balls to an airtight container or freezer bag. They will last in the freezer for up to 3 months. To bake, simply add a few extra minutes to the baking time when you’re ready to indulge.
What should I do if my cookies spread too much during baking?
If your cookies spread excessively, it’s likely that the dough was too warm or you might have overmixed the batter. Make sure to chill the dough for about 30 minutes before baking to prevent too much spreading. Also, ensure you’re measuring your flour accurately—too little could cause them to spread.
Are Jif Peanut Butter Cookies safe for people with allergies?
It depends! This recipe contains common allergens such as peanuts and eggs. If you or your guests have food allergies, consider using a peanut butter alternative and replacing the eggs with a flax egg or unsweetened applesauce for a vegan option. Always check labels for any hidden allergens if you’re accommodating dietary restrictions!
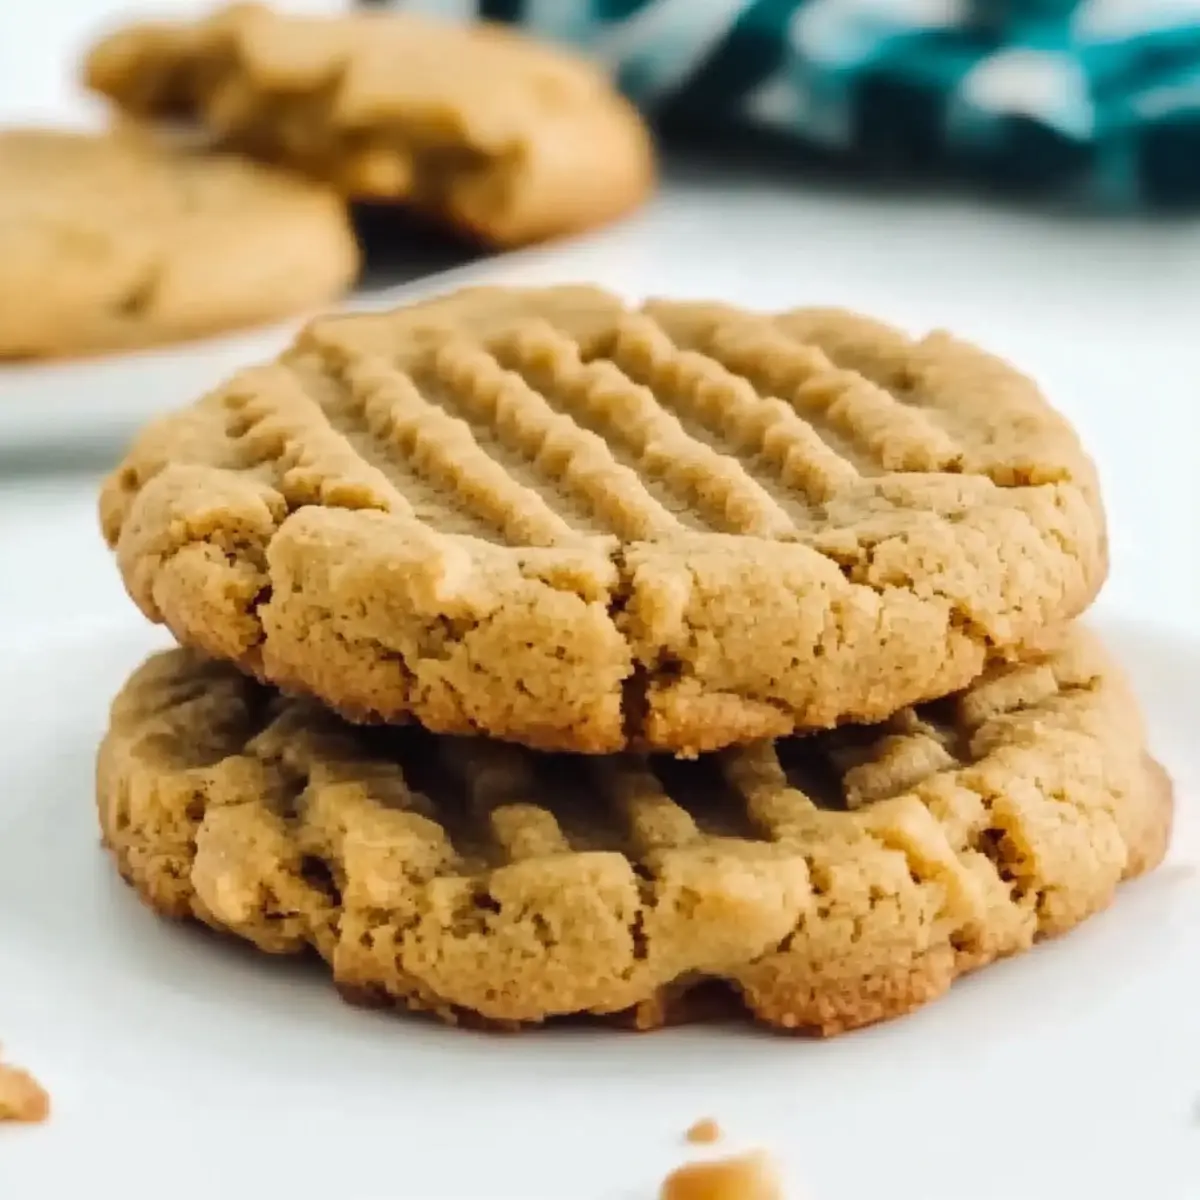
Jif Peanut Butter Cookies: Soft, Chewy, and Totally Irresistible
Ingredients
Equipment
Method
- Preheat your oven to 350°F (175°C) and line your baking sheets with parchment paper.
- In a medium bowl, combine flour, baking powder, baking soda, and salt. Whisk together until well blended.
- In a large mixing bowl, blend Jif peanut butter and butter until smooth. Gradually mix in white and brown sugars until creamy.
- Crack the egg, separate the yolk, and add both to the mixture with vanilla extract. Mix until combined.
- Gradually add the dry ingredients to the wet mixture, blending just until combined to avoid overmixing.
- Portion out dough onto prepared baking sheets, spacing about 2 inches apart. Flatten each ball slightly with a fork to create a crisscross pattern.
- Bake for 8-10 minutes until edges are light golden brown and centers look soft. Cool on sheets for 5 minutes before transferring to wire rack.
Leave a Reply