
As I stood by the kitchen counter last week, a whirlwind of tuna cans and rice was creating a delicious mess, I thought, “Why don’t I make my own portable snacks?” That moment sparked the creation of these 5-Ingredient Tuna Rice Balls (Onigiri)—a delightful blend of sushi rice and creamy tuna that defines quick meals. This recipe is not only fast to whip up, taking less than an hour, but it’s also incredibly versatile—perfect for customizing based on your favorite flavors. Whether you’re packing lunch for work or looking for a nutritious snack on the go, these tuna rice balls are both healthy and satisfying. Plus, they’re an impressive crowd-pleaser at any gathering. So, are you ready to dive into the world of homemade onigiri? Let’s roll!
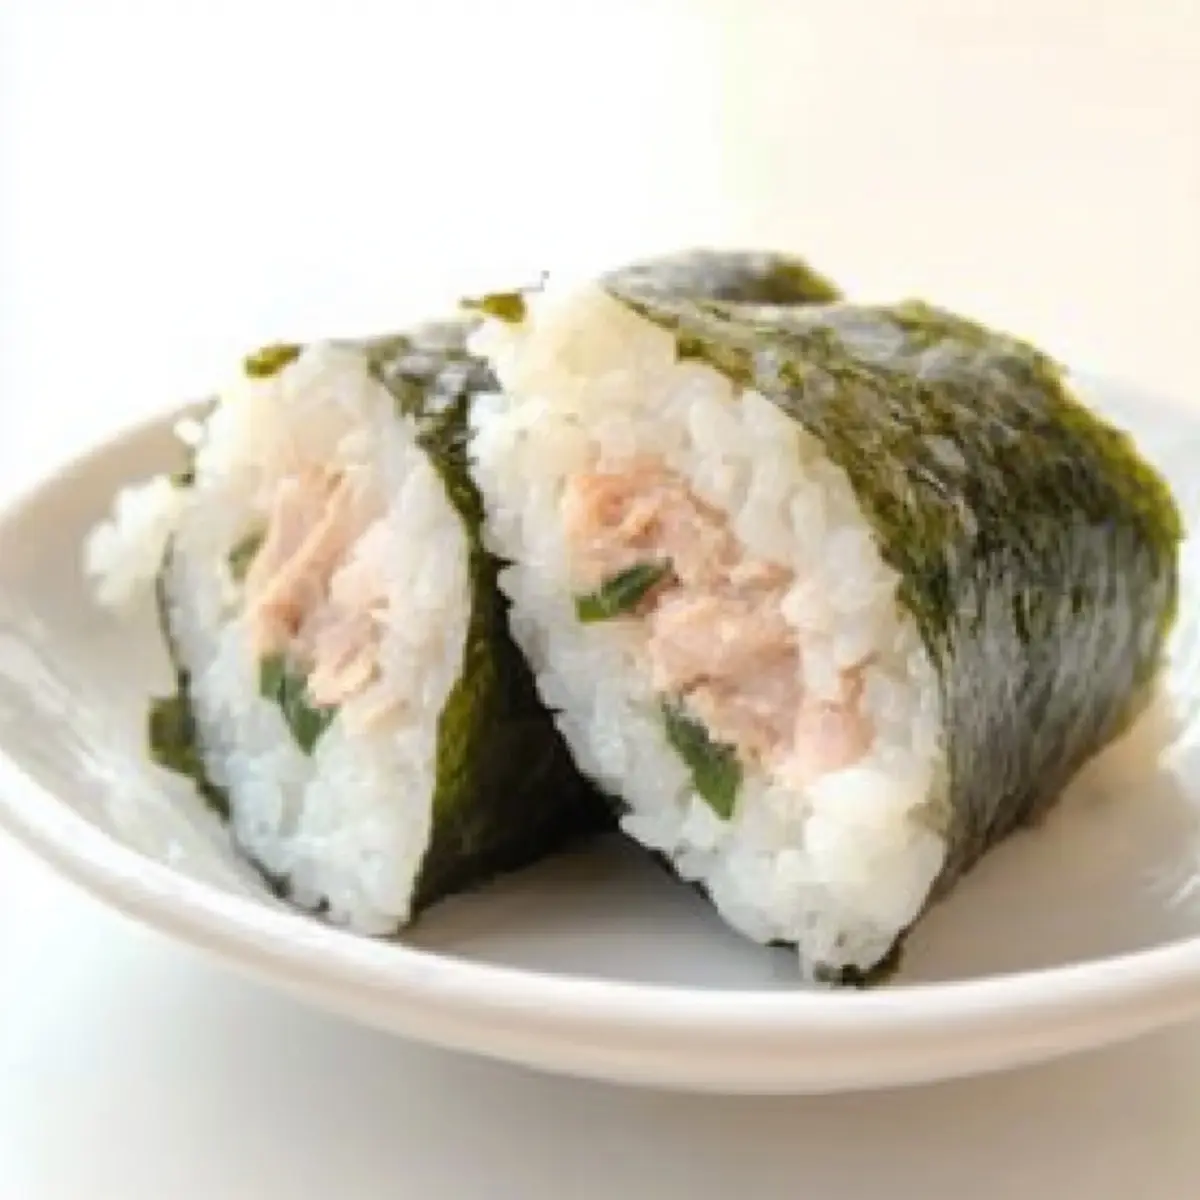
What’s the Best Rice for Rice Balls?
Choosing the right rice is crucial for achieving that perfect sticky texture in your Tuna Rice Balls. Sushi rice is the ideal choice, offering the right consistency for molding and flavor. For a healthy twist, consider using brown rice, although it may have slightly less stickiness. Plus, it’s easy to customize your filling; try pairing it with different proteins or even fresh vegetables, making these rice balls a versatile snack. Enjoy them fresh or store them in the fridge for quick meals throughout the week—your taste buds will thank you!
Best Rice for Rice Balls
• The right rice makes all the difference in creating beautifully shaped and delicious Tuna Rice Balls!
- Sushi Rice – This short-grain rice provides the sticky texture needed for the perfect rice balls; it’s your go-to for traditional onigiri.
- Calrose Rice – A great alternative to sushi rice, this medium-grain option mimics the stickiness well and works wonderfully for rice balls.
- Brown Rice – A healthier option packed with fiber; just note it may be less sticky than white rice, so be ready to press a bit more!
- Jasmine Rice – If you’re looking for a fragrant twist, jasmine rice offers a unique flavor, though it’s not as sticky as sushi rice.
- White Rice (long-grain) – While it’s not the best for rice balls due to its lower stickiness, it can work in a pinch if seasoned well.
Choosing the best rice for rice balls is essential for achieving that delightful consistency that makes these snacks not only tasty but easy to eat too!
Step‑by‑Step Instructions for Tuna Rice Balls
Step 1: Prepare the Rice
Begin by rinsing 2 cups of sushi rice under cold water until the water runs clear, removing excess starch. Then, cook the rice according to the package instructions or in a rice cooker for about 18-20 minutes until the grains are tender. The rice should be fluffy and slightly sticky—perfect for making Tuna Rice Balls!
Step 2: Season the Rice
Once the sushi rice is cooked, transfer it to a large mixing bowl and sprinkle in a pinch of salt, mixing thoroughly to ensure even seasoning. If desired, add a tablespoon of vinegar for a tangy flavor, giving the rice a glossy sheen as it cools. This seasoning will enhance the overall taste of your Tuna Rice Balls.
Step 3: Cool the Rice
Allow the seasoned rice to cool for about 10-15 minutes until it is warm but manageable to touch. This cooling step ensures that the rice is easy to handle and mold into shape for the Tuna Rice Balls. You’ll know it’s ready when it feels warm yet not scalding.
Step 4: Shape the Rice Balls
Wet your hands with water to prevent the rice from sticking. Take a portion of the cooled rice, about 1/2 cup, and flatten it in your palm. Place a spoonful of drained canned tuna in the center, then fold the rice around the filling. Gently mold and press the mixture into a ball shape, ensuring it holds together well.
Step 5: Wrap (Optional)
If you’d like to add a bit of extra flavor and support to your Tuna Rice Balls, cut nori sheets into strips or squares. Wrap a piece of nori around each rice ball, sealing the edges lightly. This adds a delicious umami flavor and makes the rice balls more portable for snacking.
Step 6: Serve
Your scrumptious Tuna Rice Balls are now ready to enjoy! Serve them immediately, or store them in an airtight container in the refrigerator for up to 2 days. These tasty treats are healthy, satisfying, and perfect for meals or snacks on the go!
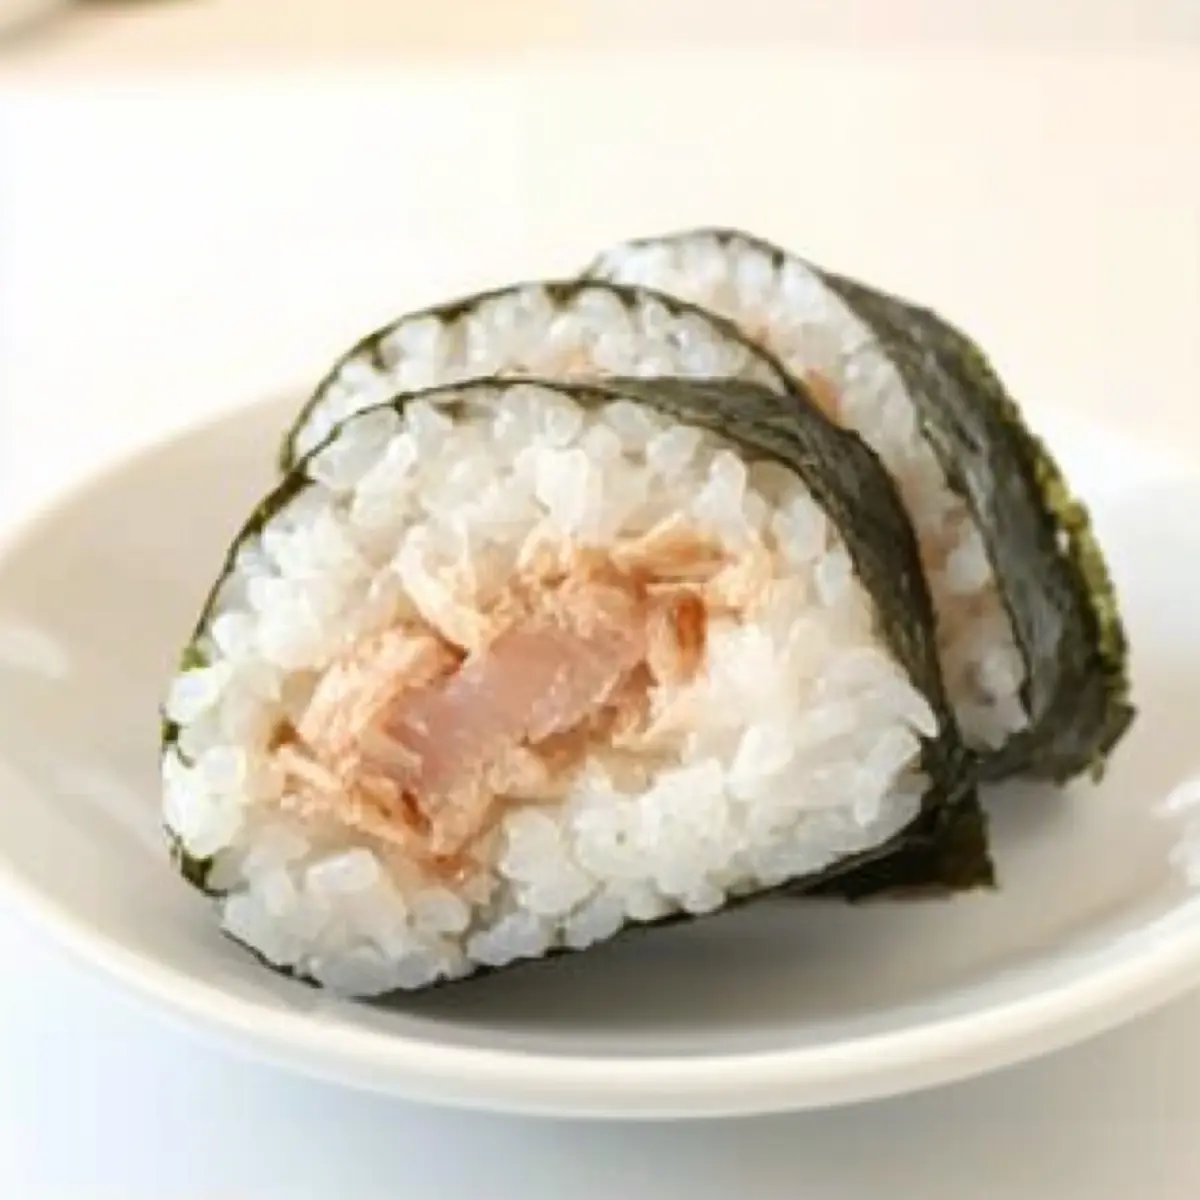
Rice Balls Variations & Substitutions
Feel free to let your creativity soar as you customize these Tuna Rice Balls to match your preferences and pantry staples!
-
Chicken Substitute: Replace tuna with shredded cooked chicken for a delightful twist. It’s a great option for those who prefer poultry.
-
Veggie Delight: Use finely diced veggies, such as cucumbers or carrots, for a refreshing twist. This adds color and nutrition to your rice balls.
-
Dairy-Free: If you’re craving something creamier, substitute the tuna with a dairy-free cheese spread. It will give a unique flavor while keeping it creamy.
-
Spicy Kick: Mix in a spoonful of sriracha or chili flakes with the tuna filling for a zesty punch. This adds warmth that will tantalize your taste buds!
-
Herb Infusion: Add fresh herbs like cilantro or green onions to the rice mixture for a burst of flavor. This not only brightens the taste but also enhances the visual appeal.
-
Brown Rice: For a healthy alternative, swap sushi rice with brown rice. Keep in mind it may require a bit more pressing to hold its shape.
-
Savory Miso Glaze: After shaping, brush a little miso paste over the rice balls before wrapping in nori. This adds umami and elevates the flavor profile beautifully.
Let these delicious ideas inspire you! Whether you enjoy them fresh or pack them for lunch, make sure to check out my recipes for Mashed Potato Balls or Greek Lemon Rice for more easy and tasty options!
What to Serve with Tuna Rice Balls?
Savor the delightful flavors of your Tuna Rice Balls with these meal-enhancing pairings for a memorable dining experience.
-
Soy Sauce: A classic dipping sauce that adds a salty umami kick, enhancing the flavor of the tuna filling. Just a few drops can elevate your rice balls!
-
Pickled Vegetables: Bright and tangy, these crunchy bites balance the soft texture of the rice balls, providing a refreshing contrast that enhances every bite.
-
Miso Soup: Warm and comforting, this savory soup pairs beautifully, offering a cozy complement to your portable snacks for a fulfilling meal.
-
Cucumber Salad: Crisp and refreshing, a simple cucumber salad adds a delightful crunch and a hint of acidity, perfect for cleansing the palate.
-
Edamame: Lightly salted and packed with protein, edamame offers a nutritious snack alongside your onigiri, balancing the meal with a satisfying bite.
-
Green Tea: A calming beverage that complements the flavors of the rice balls while promoting digestion—perfect for sipping as you enjoy your homemade creation!
-
Fruit Salad: A blend of sweet and juicy fruits adds a light, refreshing element, making a sweet finish to your meal that contrasts wonderfully with the savory rice balls.
Each of these pairings brings different textures and flavors to the table, creating a well-rounded meal that celebrates the beloved Tuna Rice Balls!
Make Ahead Options
These Tuna Rice Balls (Onigiri) are perfect for meal prep enthusiasts! You can prepare the sushi rice and shape the rice balls up to 24 hours in advance, storing them in an airtight container in the refrigerator. To maintain quality, allow the rice to cool completely before shaping, and keep them unwrapped to prevent sogginess. If you’d like, the tuna filling can also be prepped ahead of time, making your mealtime assembly even quicker. When ready to serve, simply reassemble the rice balls if needed, or enjoy them cold for a delightful, on-the-go snack. Say goodbye to fast food and hello to homemade convenience!
How to Store and Freeze Tuna Rice Balls
-
Room Temperature: Tuna Rice Balls are best enjoyed fresh but can be kept at room temperature for up to 2 hours if serving at a gathering.
-
Fridge: Store your Tuna Rice Balls in an airtight container for up to 2 days to maintain freshness and flavor. They’re perfect for quick meals throughout the week!
-
Freezer: For longer storage, freeze the rice balls in a single layer, then transfer them to a freezer-safe bag. They can last up to 3 months; just thaw and reheat before serving.
-
Reheating: To reheat, microwave the rice balls for about 30-45 seconds, or until warmed through. Enjoy the delightful taste of homemade rice balls without losing their texture!
Expert Tips for the Best Rice Balls
-
Stickiness Matters: Use sushi rice for optimal stickiness; it’s key for holding the rice balls together beautifully.
-
Cooling Technique: Allow rice to cool slightly before shaping; this prevents burns and helps the rice hold its form better.
-
Perfect Shaping: Wet your hands when molding rice balls to stop them from sticking, ensuring a smooth finish for each rice ball.
-
Check for Overcooking: Avoid overcooking the rice; it can become mushy and ruin the texture of your Tuna Rice Balls.
-
Seasoning Balance: Don’t skip the salt in the seasoning process; it enhances the overall flavor and brings your rice balls to life!
Choosing the right rice for rice balls can make all the difference in achieving that delightful texture and flavor.
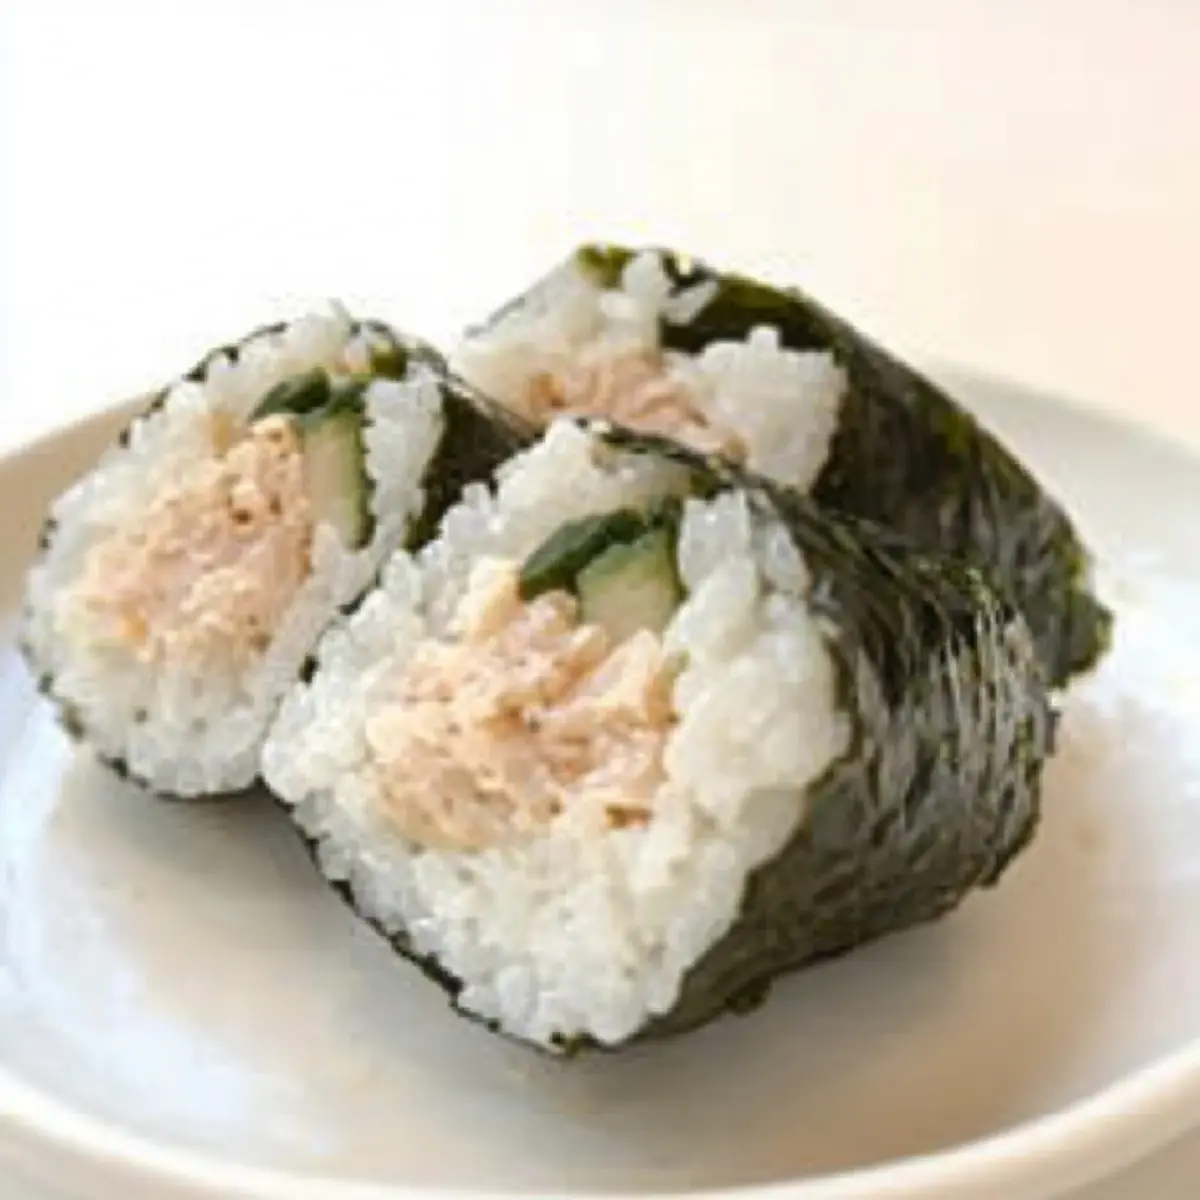
Tuna Rice Balls (Onigiri) Recipe FAQs
What type of rice is best for Tuna Rice Balls?
Absolutely! The best choice is sushi rice, known for its short grains that become wonderfully sticky when cooked, perfect for shaping rice balls. If sushi rice isn’t available, Calrose rice is a great alternative with similar characteristics. Brown rice is another healthy option, but keep in mind it may be less sticky, so you might need to press the rice more firmly when shaping.
How should I store Tuna Rice Balls?
Very good question! To maintain their freshness, store Tuna Rice Balls in an airtight container in the refrigerator for up to 2 days. They’re best enjoyed fresh, but if you have leftovers, they can still be a delicious quick snack throughout the week. Just remember to keep them sealed to prevent drying out!
Can I freeze Tuna Rice Balls?
Absolutely! If you’d like to freeze your Tuna Rice Balls, place them in a single layer on a baking sheet first. Once frozen, transfer them to a freezer-safe bag or container. They can be stored for up to 3 months. When you’re ready to enjoy them, simply thaw in the refrigerator overnight and reheat in the microwave for 30-45 seconds, or until warmed through.
What should I do if my rice isn’t sticky enough?
If your rice isn’t sticky enough, it might be undercooked or you might not be using the right type. Ensure you are using sushi rice and follow proper cooking instructions, rinsing the rice until the water runs clear. You can add a little extra vinegar to the cooled rice for flavor and stickiness. Another tip is to let the rice cool slightly before shaping, which can help it hold together better.
Are there any dietary considerations for Tuna Rice Balls?
Definitely! If you’re preparing these for anyone with allergies, be cautious with the tuna—especially flavored varieties—as they may contain added ingredients that some individuals might be allergic to. Moreover, if making these for kids or pets, the nori may pose a choking hazard, so it’s best to cut it into smaller pieces or serve without it.
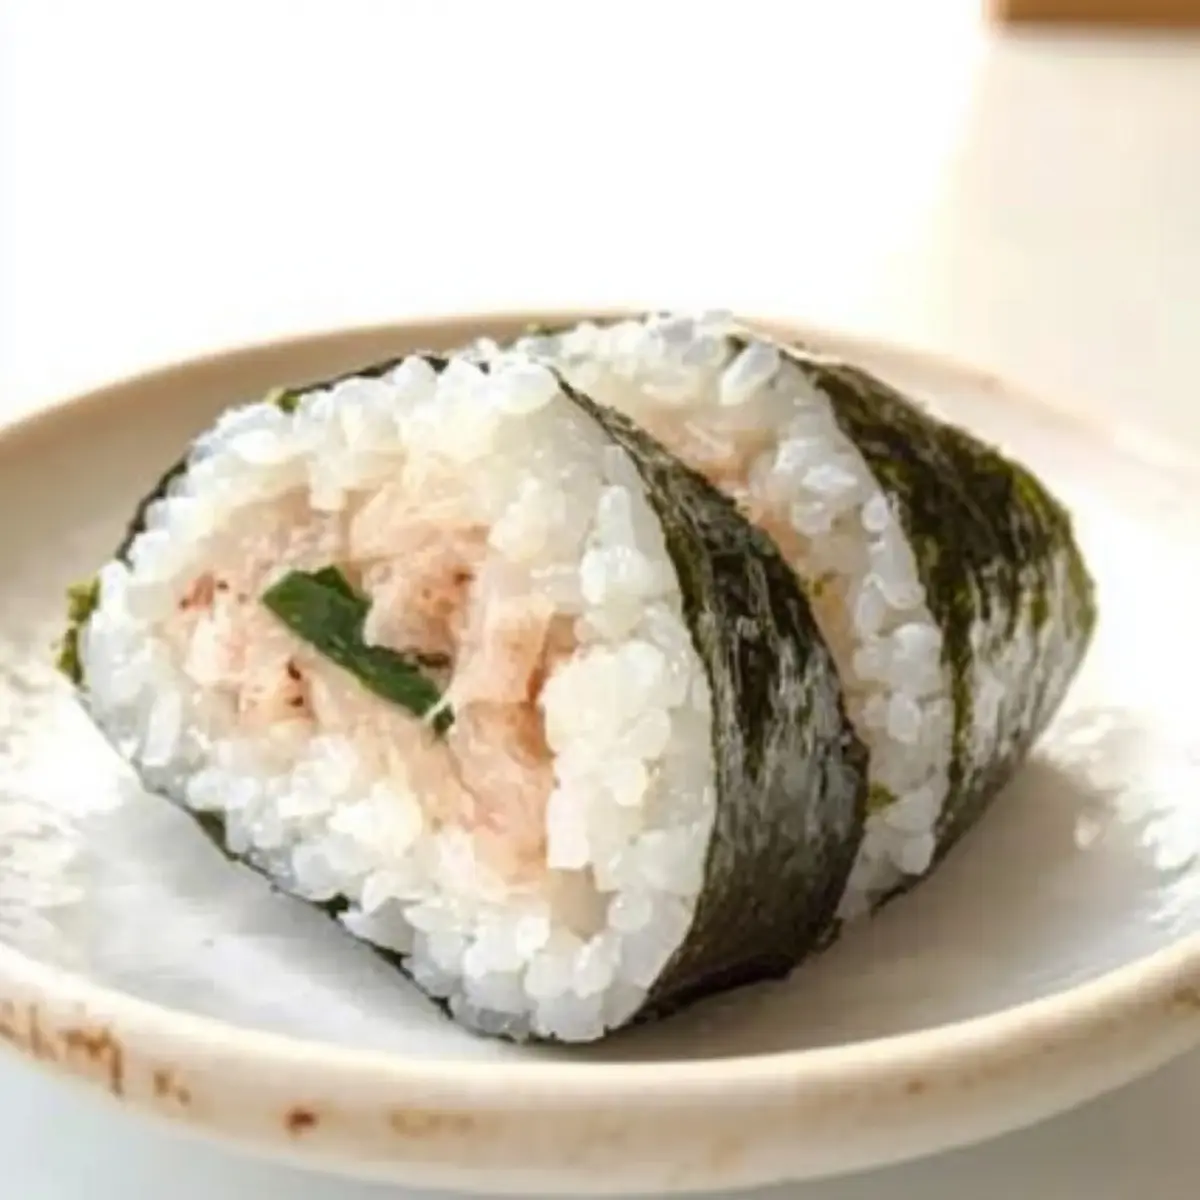
Best Rice for Rice Balls: Discover the Perfect Sticky Rice
Ingredients
Equipment
Method
- Begin by rinsing 2 cups of sushi rice under cold water until the water runs clear, removing excess starch. Cook according to the package instructions or in a rice cooker for 18-20 minutes.
- Once the rice is cooked, transfer it to a mixing bowl and sprinkle in a pinch of salt. Optionally, add a tablespoon of vinegar for flavor.
- Allow the seasoned rice to cool for about 10-15 minutes until it's warm but manageable to touch.
- Wet your hands and take a portion of cooled rice, about 1/2 cup, flatten it, place a spoonful of tuna in the center, and mold it into a ball shape.
- Optional: Wrap with nori strips for added flavor and easy snacking.
- Serve immediately or store in an airtight container for up to 2 days.
Leave a Reply