
As the aromas of sizzling pork belly and tangy kimchi waft through my kitchen, I can’t help but feel transported to a bustling street in Seoul. This is the magic of Kimchi Fried Rice—an everyday dish that elevates simple ingredients into something truly special. Made with the stickiness of sushi rice that perfectly clings to each savory bite, this recipe is not only quick to whip up but also a delightful way to turn your leftover kimchi into a comforting meal. Packed with flavor and texture, it’s a one-pan wonder that you’ll find hard to resist, whether you’re cooking for friends or just treating yourself. Ready to dive into this mouthwatering dish? Let’s get started!
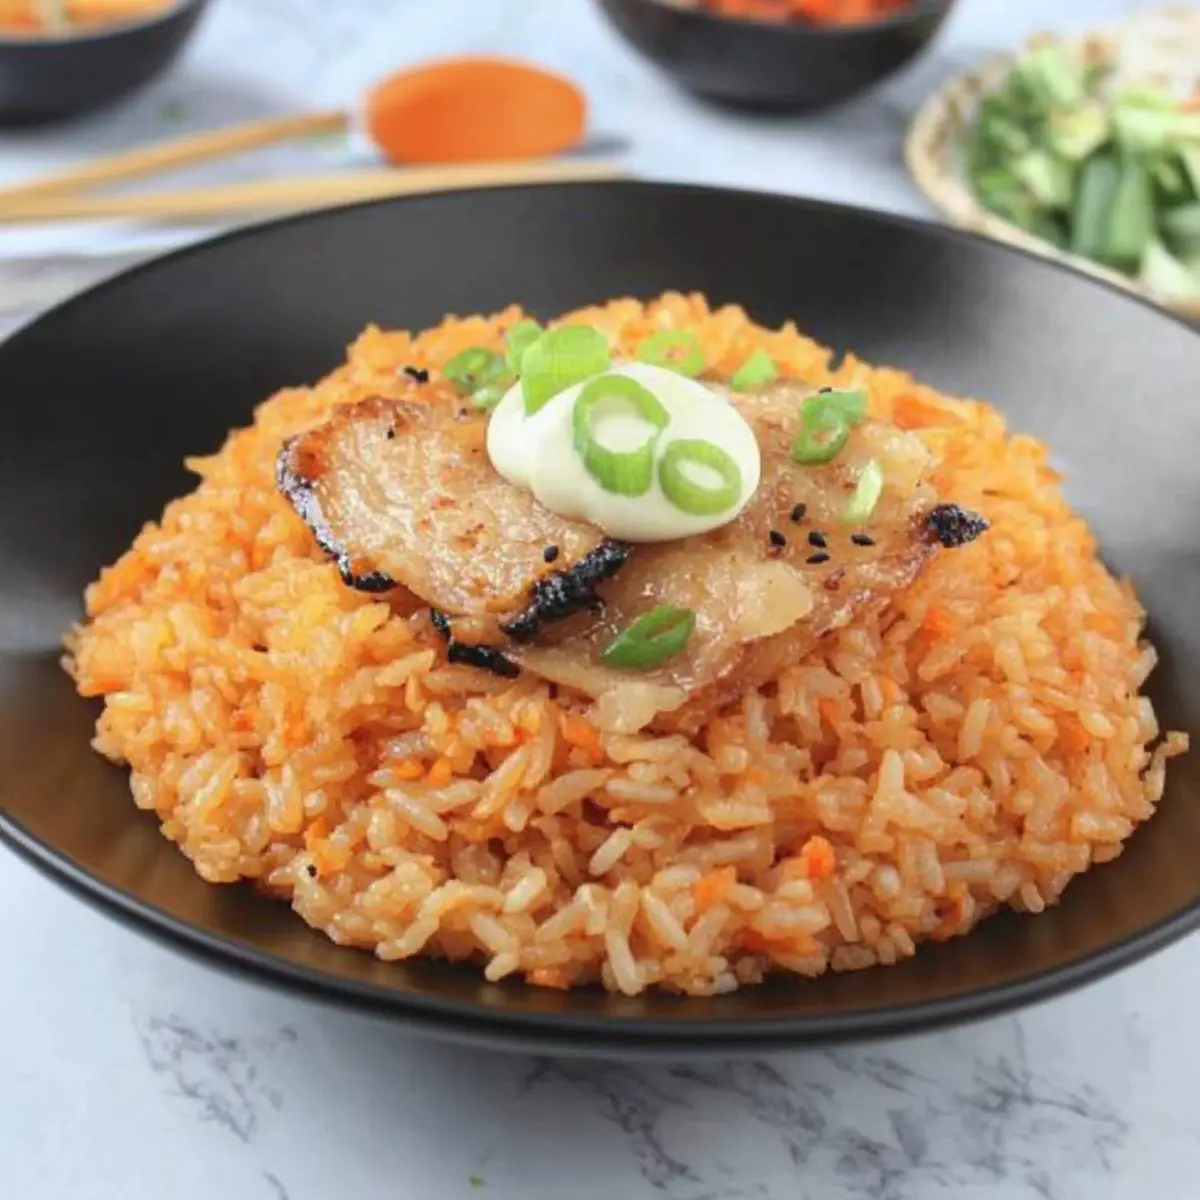
Why is Kimchi Fried Rice a Must-Try?
Bold, Flavorful Twist: This recipe takes traditional fried rice and amps it up with the vibrant flavors of fermented kimchi.
Quick and Easy: Navigating weeknight dinners is a breeze, with this one-pan dish ready in just 30 minutes.
Customizable Perfection: Switch out proteins and veggies to suit your taste—try crispy tofu or colorful bell peppers!
Comforting and Satisfying: The sticky sushi rice holds every delicious bite together, making it a meal your family will crave.
Cultural Favorite: This dish pays homage to Korean cuisine while fitting seamlessly into any foodie’s repertoire. Add a fried egg on top for an extra delicious layer, and let your taste buds celebrate!
Kimchi Fried Rice Ingredients
• Transform your meals with this flavorful dish!
For the Rice
- Cooked Sushi Rice – Essential for perfect stickiness; day-old is best for achieving texture.
- Sesame Oil – Adds a lovely nuttiness; swap with vegetable oil if you prefer a neutral flavor.
For the Vegetables
- Well-Fermented Kimchi – A must-have for tangy spice; homemade or store-bought works well.
- Scallions – Freshness personified; green onions can be a great substitute if needed.
- Carrot – Sweet crunch to balance flavors; frozen diced carrots are a convenient alternative.
- Onion – Provides aromatic depth; use yellow or white onions, steering clear of strong-tasting varieties.
For the Eggs and Protein
- Large Eggs – Adds richness and protein; feel free to swap in tofu for a vegetarian option.
- Pork Belly – Brings savory depth and crunch; bacon can be a delicious alternative or omit for a lighter dish.
Seasonings & Enhancements
- Gochujang – Adds heat and umami; this can be replaced with sriracha for a milder option.
- Salt and Pepper – Essential for flavor; adjust to your taste preferences.
- Butter – Enhances richness; olive oil can be used for a dairy-free version.
For Garnishing
- Sesame Seeds – Adds a nutty crunch; optional but recommended for visual appeal.
- Crushed Seaweed – Provides an extra layer of texture; use sparingly as a delightful topping.
With these vibrant ingredients, you’ll be well on your way to creating a delightful and comforting Kimchi Fried Rice that’ll have your loved ones asking for second helpings!
Step‑by‑Step Instructions for Kimchi Fried Rice
Step 1: Cook the Pork Belly
In a skillet over medium heat, add diced pork belly and cook for about 5–7 minutes until crispy and golden brown. Stir occasionally to ensure even cooking. Once done, remove the pork belly from the skillet, chop it into bite-sized pieces, and set aside, allowing the flavorful drippings to remain in the pan for the next steps.
Step 2: Sauté the Onions and Carrots
Using the same skillet, add the diced onion and sauté for 2–3 minutes until it becomes translucent and fragrant. Next, add the diced carrots and continue to cook for another 2–3 minutes until they soften slightly. This mixture will start to build the rich base flavor for your Kimchi Fried Rice.
Step 3: Add Scallions
Stir in the chopped scallions and cook for an additional minute, allowing their fresh flavor to infuse the sautéed mixture. The vibrant colors and aromas will fill your kitchen, making it hard to resist continuing the cooking process.
Step 4: Incorporate Kimchi
Now, add the chopped kimchi to the skillet and cook for 3–4 minutes, stirring frequently. This allows the kimchi to caramelize slightly, enhancing its tangy and spicy flavors, and infusing the entire dish with that signature Kimchi Fried Rice taste.
Step 5: Mix in Pork Belly
Return the chopped pork belly to your skillet, mixing it thoroughly with the kimchi and vegetables. This step ensures that all the flavors meld together beautifully. Allow the ingredients to cook together for about 1–2 minutes until well heated through.
Step 6: Add Sushi Rice and Season
Introduce the day-old sushi rice to the skillet, breaking up any clumps as you mix. Pour in the sesame oil and gochujang, stirring well to coat the rice evenly. Continue cooking for 3–4 minutes until everything is thoroughly combined and heated through, creating a colorful and flavorful Kimchi Fried Rice.
Step 7: Season and Create Space for Eggs
Season the mixture with salt and pepper to taste, ensuring balanced flavors. Once seasoned, push the fried rice mixture to one side of the skillet, creating an empty space. This will be your spot to scramble the eggs in the next step.
Step 8: Scramble the Eggs
Crack the eggs directly into the void in the skillet and scramble them for about 2–3 minutes until fully cooked. Stir the scrambled eggs into the rice mixture, ensuring the richness from the eggs enhances the dish’s overall texture and flavor.
Step 9: Stir in Butter
Finally, add the butter to the skillet, mixing it in until melted and well incorporated. This adds a luxurious richness to your Kimchi Fried Rice, rounding out its flavors and making it even more satisfying.
Step 10: Serve and Garnish
Serve your delicious Kimchi Fried Rice hot, garnished with a sprinkle of sesame seeds and crushed seaweed for added texture and flavor. This vibrant and inviting dish is sure to become a favorite at your dining table!
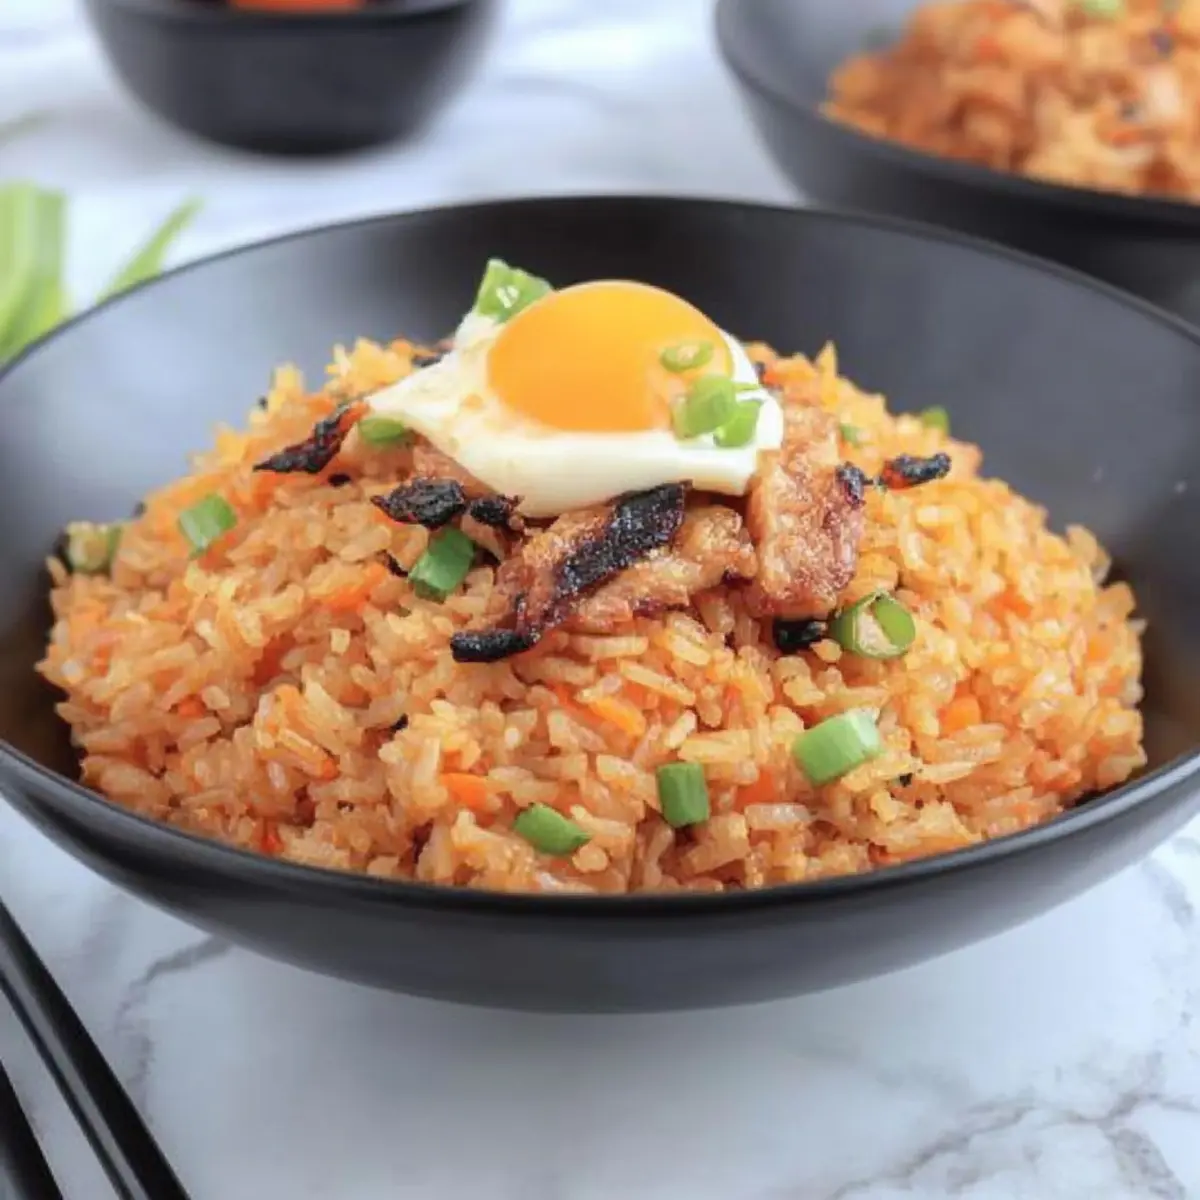
How to Store and Freeze Kimchi Fried Rice
Fridge: Store leftover Kimchi Fried Rice in an airtight container for up to 3 days. Reheat in a skillet over medium heat with a splash of water to restore moisture.
Freezer: For longer storage, freeze Kimchi Fried Rice in a sealed container for up to 2 months. Thaw in the fridge overnight before reheating.
Reheating: When ready to enjoy, reheat in a skillet or microwave until heated through, stirring occasionally for even heating. Add a bit of sesame oil for extra flavor.
Room Temperature: Avoid leaving Kimchi Fried Rice out at room temperature for more than 2 hours to prevent food safety issues.
Make Ahead Options
These Kimchi Fried Rice preparations are perfect for busy home cooks looking to save time during the week! You can prepare the pork belly and sauté the vegetables (onions, carrots, and scallions) up to 24 hours in advance, refrigerating them in an airtight container to maintain freshness. Additionally, you can chop the kimchi and set aside your cooked sushi rice for quick assembly later. When it’s time to serve, simply heat the prepped ingredients in a skillet, stir in the rice, add the gochujang, and finish by scrambling the eggs right before serving. This way, you’ll have delicious Kimchi Fried Rice ready in no time without sacrificing flavor!
Kimchi Fried Rice Variations
Feel free to put your unique spin on this delightful Kimchi Fried Rice recipe—your taste buds will thank you!
-
Protein Swap: Substitute pork belly with diced chicken or shrimp for a lighter protein option. Each protein will bring its own flavor while still delivering comfort in every bite.
-
Vegetarian Delight: Use firm tofu in place of eggs and double up on those fresh vegetables. Try adding mushrooms and bell peppers for an amazing texture.
-
Colorful Veggies: Incorporate additional vegetables like spinach, bell peppers, or peas for a pop of color and extra nutrition. These vibrant veggies support the dish’s overall healthiness and visual appeal.
-
Gluten-Free Version: Swap out the gochujang with a flavorful sweet chili sauce to cater to gluten sensitivities while still keeping the essence of the dish alive.
-
Extra Heat: For spice lovers, kick up the heat by adding diced jalapeños or a splash of chili oil. This heat can create a delightful contrast to the tangy kimchi.
-
Coconut Touch: Toss in a tablespoon of coconut milk for a creamy texture that subtly changes the flavor profile. This can be a fun twist that makes your fridges leftovers feel exotic.
-
Umami Booster: Enhance the umami flavor by adding a splash of soy sauce or a sprinkle of nutritional yeast. These additions not only deepen the flavor but also invite a richer dining experience.
-
Sweet Additions: Try mixing in a handful of sweet corn or cooked peas for a hint of sweetness that balances out the spiciness of the kimchi—perfect for those who love a sweet-savory combination.
With these variations, your Kimchi Fried Rice will become an ever-evolving family favorite! If you’re interested in more colorful rice dishes, you might also enjoy trying the Shawarma Chicken Rice or Greek Lemon Rice.
Expert Tips for Kimchi Fried Rice
-
Day-Old Rice Is Key: Using freshly cooked rice can lead to a mushy texture; always opt for day-old sushi rice for the best results.
-
Taste As You Go: Adjust seasoning with salt and gochujang while cooking to achieve the perfect balance of flavors in your Kimchi Fried Rice.
-
Crispy Pork Belly Must Be Done Right: Ensure your pork belly is crispy for the ideal texture—undercooked meat can detract from the overall dish.
-
Allow Kimchi to Caramelize: Don’t rush this step! Letting the kimchi caramelize enhances its flavor, adding a depth you’ll love.
-
Be Generous with Garnishes: Sesame seeds and crushed seaweed not only add visual appeal but also extra flavor and crunch. Use them liberally!
What to Serve with Authentic Kimchi Fried Rice
Elevate your meal with delightful side dishes that enhance the vibrant flavors of this Korean classic.
- Fried Egg: A sunny-side-up egg adds creaminess and richness, perfectly complementing the spicy and tangy fried rice.
- Cucumber Salad: The cool, crunchy texture of a simple cucumber salad brings refreshing balance to the dish’s heat, making each bite more exciting.
- Korean Pickled Radishes: These sweet and tangy pickles offer a delightful crunch, cutting through the savory notes and adding a zingy contrast that brightens the plate.
- Spicy Kimchi: For the true kimchi lover, serve extra, well-fermented kimchi on the side to amplify the dish’s inherent flavors while providing additional texture.
- Sesame Broccoli: Lightly steamed broccoli tossed in sesame oil adds a nutty flavor and vibrant green color, making your meal both nutritious and visually appealing.
- Miso Soup: A warm bowl of miso soup acts as a comforting start, grounding the meal’s bold flavors with its umami notes.
- Soda or Iced Tea: Pair with a refreshing iced tea or a soda to cut through the spice, providing a refreshing contrast to the hearty fried rice.
- Fruit Sorbet: For dessert, consider a light fruit sorbet. Its icy texture and sweetness are perfect for cleansing the palate after a savory meal.
- Korean BBQ Meat: Consider adding grilled bulgogi or galbi to create a hearty feast, as the marinated flavors pair beautifully with your fried rice.
- Sweet Potato Noodles: Tossed in a light sauce, these noodles add a unique texture and flavor, making your meal feel more indulgent and satisfying.
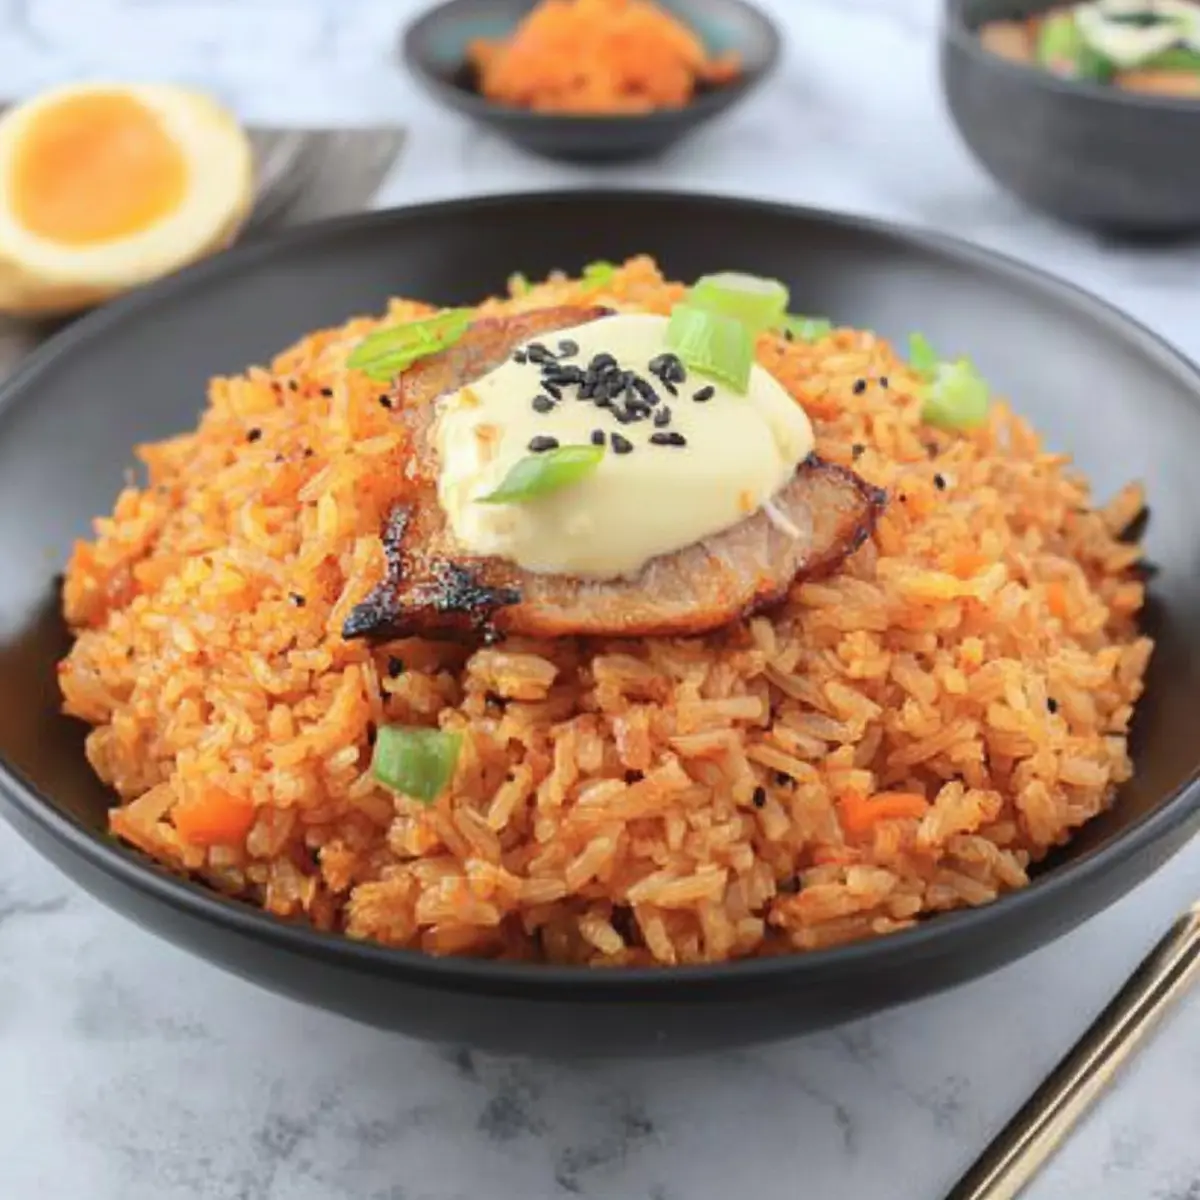
Kimchi Fried Rice Recipe FAQs
What type of kimchi should I use for Kimchi Fried Rice?
Absolutely! Well-fermented kimchi is highly recommended as it adds the tanginess and spice that make this dish sing. Whether you use homemade or store-bought, just ensure it’s ripe and packed with flavor for the best results. Look for kimchi with vibrant colors and a pleasant aroma; it should not have dark spots all over, which can indicate past its prime.
How should I store leftover Kimchi Fried Rice?
To keep your delicious Kimchi Fried Rice fresh, store it in an airtight container in the fridge for up to 3 days. When you’re ready to enjoy the leftovers, reheat in a skillet over medium heat with a splash of water to restore moisture and ensure even heating. It’s an easy way to enjoy a tasty meal without the fuss!
Can I freeze Kimchi Fried Rice?
Very! You can freeze Kimchi Fried Rice for up to 2 months. To do this, let it cool completely, then transfer it to a sealed container or freezer bag. When you’re ready to eat, thaw it in the fridge overnight. Reheat thoroughly in a skillet or microwave, and add a drizzle of sesame oil for that extra kick of flavor.
What if my Kimchi Fried Rice turns out too mushy?
If you find your Kimchi Fried Rice is mushy, it’s often due to using fresh rice. Always opt for day-old sushi rice, which has dried out a bit and holds its structure better. If the dish has already been cooked and is too wet, you can try cooking it a bit longer over medium heat, stirring frequently to drive off excess moisture. Adjust seasoning and add fresh ingredients if needed to balance flavors
Is there a vegetarian option for this recipe?
Absolutely! You can make a delightful vegetarian version by substituting the pork belly with crispy tofu or mushrooms. Additionally, you can double the vegetables for a hearty meal. Feel free to adjust seasonings and use soy sauce in place of the gochujang for added depth without the meat.
Should I be concerned about allergies with this dish?
Yes, it’s always a good idea to consider potential allergies. Traditional Kimchi Fried Rice may contain gluten due to the fermented components and some soy products. For gluten-free options, look for gluten-free soy sauce or tamari as a substitute. Additionally, if you’re cooking for pets, avoid any ingredients that may be harmful to them, such as onions or garlic. Always check labels for safety!
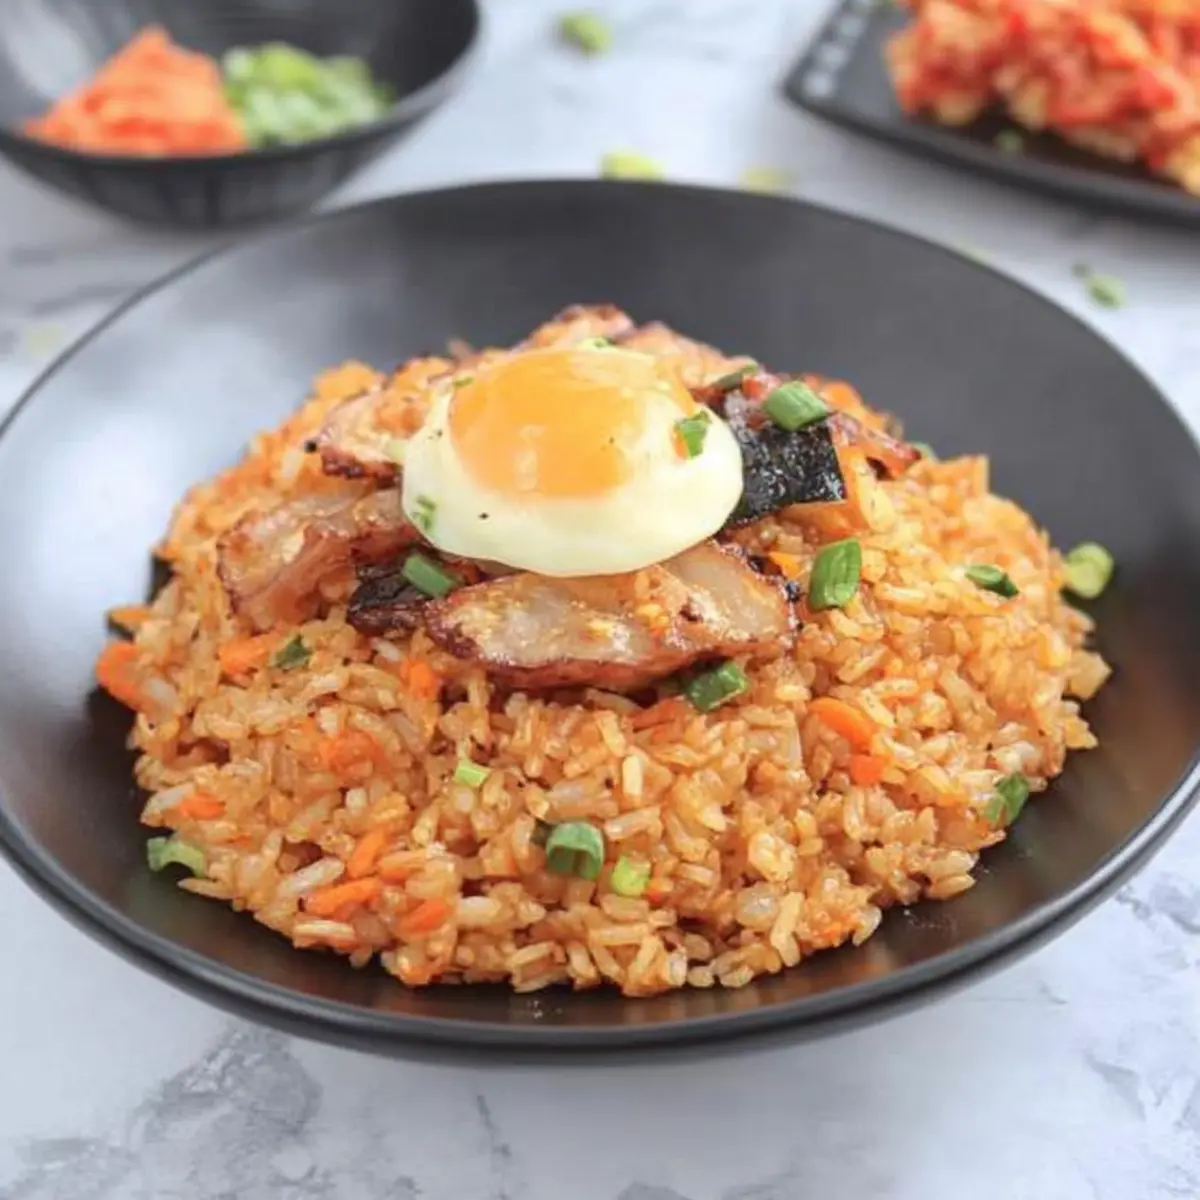
Irresistible Kimchi Fried Rice that Will Spice Up Your Meals
Ingredients
Equipment
Method
- In a skillet over medium heat, add diced pork belly and cook for 5–7 minutes until crispy and golden brown. Remove the pork belly, chop into pieces, and set aside.
- Using the same skillet, add diced onion and sauté for 2–3 minutes until translucent. Add diced carrots and cook for another 2–3 minutes until softened.
- Stir in chopped scallions and cook for an additional minute to infuse their flavor.
- Add chopped kimchi to the skillet and cook for 3–4 minutes, stirring frequently.
- Return chopped pork belly to the skillet and mix thoroughly.
- Introduce day-old sushi rice, breaking up clumps, and add sesame oil and gochujang. Cook for 3–4 minutes until combined.
- Season with salt and pepper, then push rice mixture to one side of the skillet to create space for eggs.
- Crack the eggs into the empty space and scramble for 2–3 minutes until fully cooked. Mix into the rice.
- Add butter to the skillet and mix until melted and incorporated.
- Serve hot, garnished with sesame seeds and crushed seaweed.
Leave a Reply